2020 Ram ProMaster City battery
[x] Cancel search: batteryPage 161 of 350

158 STARTING AND OPERATING
Cold Weather Operation
To ensure reliable starting at low temperatures, use of an
externally powered electric engine block heater (available
from your authorized dealer) is recommended.
To prevent possible engine damage while starting at low
temperatures, this vehicle will inhibit engine cranking when
the ambient temperature is less than -31°F (-35° C) and the oil
temperature sensor reading indicates an engine block heater
has not been used. The message “plug in engine heater” will
be displayed in the instrument cluster when the ambient
temperature is below -25°F (-32° C) at the time the engine is
shut off as a reminder.
Extended Park Starting
NOTE:
Extended Park condition occurs when the vehicle has not
been started or driven for at least 30 days.
1. Install a battery charger or jumper cables to the battery toensure a full battery charge during the crank cycle.
2. Cycle the ignition to the AVV/”START” position and release it when the engine starts. 3. If the engine fails to start within ten seconds, cycle the
ignition to the STOP (OFF/LOCK) position, wait five
seconds to allow the starter to cool, then repeat the
Extended Park Starting procedure.
4. If the engine fails to start after eight attempts, allow the starter to cool for at least 10 minutes, then repeat the
procedure.
If Engine Fails To Start
If the engine fails to start after you have followed the "Normal
Starting" or "Extreme Cold Weather" procedure, and has not
experienced an extended park condition as identified in
"Extended Park Starting" procedure it may be flooded. Push
the accelerator pedal all the way to the floor and hold it there.
Crank the engine for no more than 15 seconds. This should
clear any excess fuel in case the engine is flooded. Leave the
ignition key in the MAR position, release the accelerator pedal
and repeat the “Normal Starting” procedure.
CAUTION!
To prevent damage to the starter, do not crank
continuously for more than 10 seconds at a time. Wait 10
to 15 seconds before trying again.
2020_RAM_PROMASTER_CITY_OM_USA=GUID-7B6A7FCA-79B0-423F-95C5-ED2A949C3D13=1=en=.book Page 158
Page 162 of 350

STARTING AND OPERATING 159
After Starting
The idle speed is controlled automatically, and it will
decrease as the engine warms up.
ENGINE BLOCK HEATER — IF EQUIPPED
The engine block heater warms the engine and permits
quicker starts in cold weather.
Connect the cord to a 110-115 Volt AC electrical outlet with a
grounded, three-wire extension cord.
For ambient temperatures below 0°F (-18°C), the engine
block heater is recommended. For ambient temperatures
below -20°F (-29°C), the engine block heater is required.
The engine block heater cord is routed under the hood,
behind to the driver’s side headlamp. Follow the steps below
to properly use the engine block heater:
1. Locate the engine block heater cord (behind the driver’sside headlamp).
2. Undo the hook-and-loop strap that secures the heater cord in place.
WARNING!
• Never pour fuel or other flammable liquid into the throttle body air inlet opening in an attempt to start the
vehicle. This could result in flash fire causing serious
personal injury.
• Do not attempt to push or tow your vehicle to get it started. Vehicles equipped with an automatic
transmission cannot be started this way. Unburned fuel
could enter the catalytic converter and once the engine
has started, ignite and damage the converter and
vehicle.
• If the vehicle has a discharged battery, booster cables may be used to obtain a start from a booster battery or
the battery in another vehicle. This type of start can be
dangerous if done improperly. Refer to “Jump Starting
Procedure” in “In Case Of Emergency” for further
information.
CAUTION!
To prevent damage to the starter, do not continuously
crank the engine for more than 25 seconds at a time. Wait
60 seconds before trying again.
5
2020_RAM_PROMASTER_CITY_OM_USA=GUID-7B6A7FCA-79B0-423F-95C5-ED2A949C3D13=1=en=.book Page 159
Page 196 of 350

STARTING AND OPERATING 193
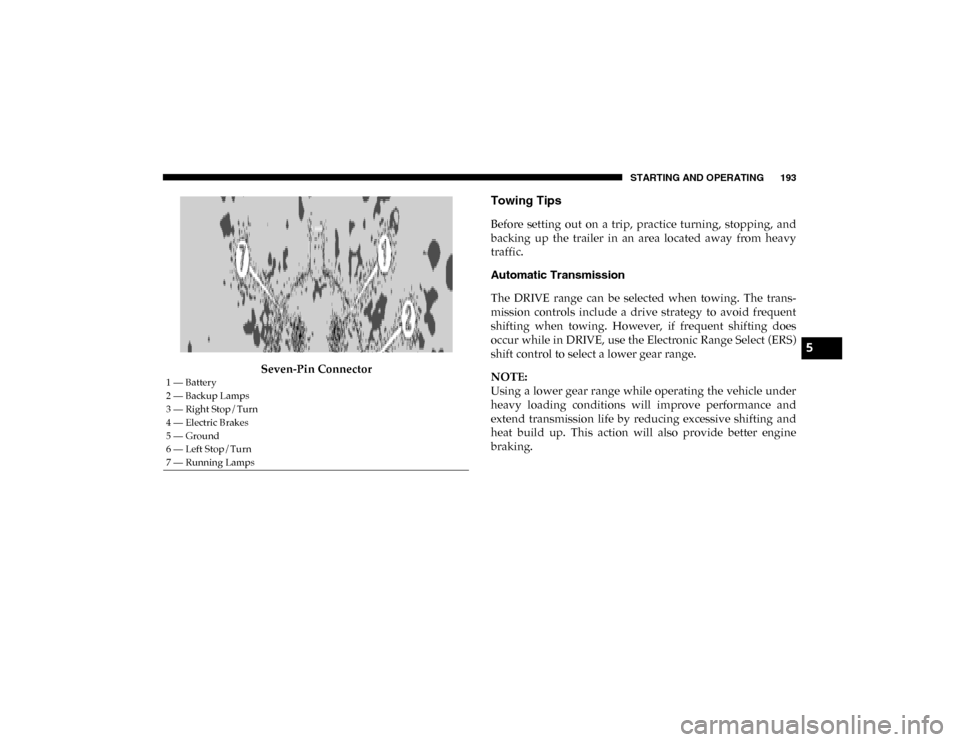
Seven-Pin Connector
Towing Tips
Before setting out on a trip, practice turning, stopping, and
backing up the trailer in an area located away from heavy
traffic.
Automatic Transmission
The DRIVE range can be selected when towing. The trans-
mission controls include a drive strategy to avoid frequent
shifting when towing. However, if frequent shifting does
occur while in DRIVE, use the Electronic Range Select (ERS)
shift control to select a lower gear range.
NOTE:
Using a lower gear range while operating the vehicle under
heavy loading conditions will improve performance and
extend transmission life by reducing excessive shifting and
heat build up. This action will also provide better engine
braking.
1 — Battery
2 — Backup Lamps
3 — Right Stop/Turn
4 — Electric Brakes
5 — Ground
6 — Left Stop/Turn
7 — Running Lamps
5
2020_RAM_PROMASTER_CITY_OM_USA=GUID-7B6A7FCA-79B0-423F-95C5-ED2A949C3D13=1=en=.book Page 193
Page 202 of 350

199
IN CASE OF EMERGENCY
HAZARD WARNING FLASHERS
The Hazard Warning flasher switch is located on the instru-
ment panel below the climate controls.Push the switch to turn on the Hazard Warning
flasher. When the switch is activated, all directional
turn signals will flash on and off to warn oncoming
traffic of an emergency. Push the switch a second time to
turn off the Hazard Warning flashers.
This is an emergency warning system and it should not be
used when the vehicle is in motion. Use it when your vehicle
is disabled and it is creating a safety hazard for other
motorists. When you must leave the vehicle to seek assistance, the
Hazard Warning flashers will continue to operate even
though the ignition is placed in the OFF position.
NOTE:
With extended use, the Hazard Warning flashers may wear
down your battery.
6
2020_RAM_PROMASTER_CITY_OM_USA=GUID-7B6A7FCA-79B0-423F-95C5-ED2A949C3D13=1=en=.book Page 199
Page 209 of 350

206 IN CASE OF EMERGENCY
FUSESUnderhood Fuses
The Front Distribution Unit is located on the right side of the
engine compartment, next to the battery. To access the fuses,
remove fasteners and remove the cover.
Front Distribution Unit
The ID number of the electrical component corresponding to
each fuse can be found on the back of the cover.WARNING!
• When replacing a blown fuse, always use an appro -
priate replacement fuse with the same amp rating as the
original fuse. Never replace a fuse with another fuse of
higher amp rating. Never replace a blown fuse with
metal wires or any other material. Do not place a fuse
inside a circuit breaker cavity or vice versa. Failure to
use proper fuses may result in serious personal injury,
fire and/or property damage.
• Before replacing a fuse, make sure that the ignition is off and that all the other services are switched off and/
or disengaged.
• If the replaced fuse blows again, contact an authorized dealer.
• If a general protection fuse for safety systems (air bag system, braking system), power unit systems (engine
system, transmission system) or steering system blows,
contact an authorized dealer.
2020_RAM_PROMASTER_CITY_OM_USA=GUID-7B6A7FCA-79B0-423F-95C5-ED2A949C3D13=1=en=.book Page 206
Page 234 of 350

IN CASE OF EMERGENCY 231
JUMP STARTING
If your vehicle has a discharged battery, it can be jump
started using a set of jumper cables and a battery in another
vehicle or by using a portable battery booster pack. Jump
starting can be dangerous if done improperly, so please
follow the procedures in this section carefully.
NOTE:
When using a portable battery booster pack, follow the
manufacturer’s operating instructions and precautions.
Preparations For Jump Starting
The battery in your vehicle is located in the front of the
engine compartment, behind the left headlight assembly.
NOTE:
The positive battery post is covered with a protective cap.
Lift up on the cap to gain access to the positive battery post.Positive Battery Post Location
WARNING!
Do not attempt jump starting if the battery is frozen. It
could rupture or explode and cause personal injury.
CAUTION!
Do not use a portable battery booster pack or any other
booster source with a system voltage greater than 12 Volts or
damage to the battery, starter motor, alternator or electrical
system may occur.
6
2020_RAM_PROMASTER_CITY_OM_USA=GUID-7B6A7FCA-79B0-423F-95C5-ED2A949C3D13=1=en=.book Page 231
Page 235 of 350

232 IN CASE OF EMERGENCY
1. Apply the parking brake, shift the automatic transmis-sion into PARK (P) and turn the ignition to STOP.
2. Turn off the heater, radio, and all unnecessary electrical accessories. 3. If using another vehicle to jump-start the battery, park the
vehicle within the jumper cables reach, apply the parking
brake and make sure the ignition is OFF.
Jump Starting Procedure
WARNING!
• Take care to avoid the radiator cooling fan whenever the hood is raised. It can start anytime the ignition
switch is ON. You can be injured by moving fan blades.
• Remove any metal jewelry such as rings, watch bands and bracelets that could make an inadvertent electrical
contact. You could be seriously injured.
• Batteries contain sulfuric acid that can burn your skin or eyes and generate hydrogen gas which is flammable
and explosive. Keep open flames or sparks away from
the battery.
WARNING!
Do not allow vehicles to touch each other as this could
establish a ground connection and personal injury could
result.
WARNING!
Failure to follow this jump starting procedure could
result in personal injury or property damage due to
battery explosion.
CAUTION!
Failure to follow these procedures could result in
damage to the charging system of the booster vehicle or
the discharged vehicle.
2020_RAM_PROMASTER_CITY_OM_USA=GUID-7B6A7FCA-79B0-423F-95C5-ED2A949C3D13=1=en=.book Page 232
Page 236 of 350

IN CASE OF EMERGENCY 233
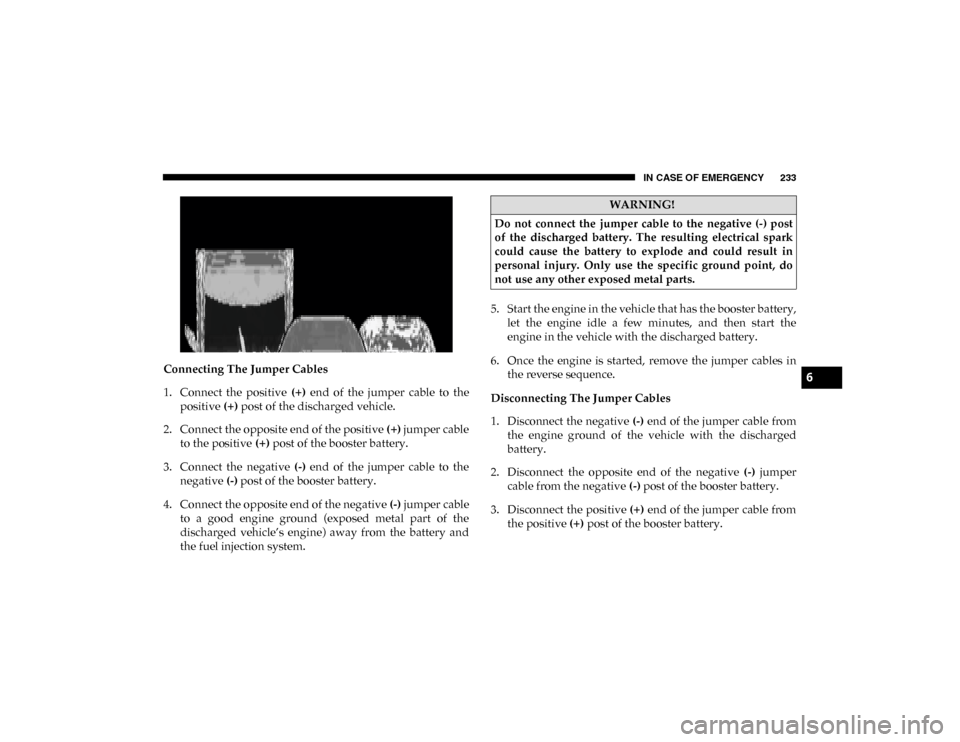
Connecting The Jumper Cables
1. Connect the positive (+) end of the jumper cable to the
positive (+) post of the discharged vehicle.
2. Connect the opposite end of the positive (+) jumper cable
to the positive (+) post of the booster battery.
3. Connect the negative (-) end of the jumper cable to the
negative (-) post of the booster battery.
4. Connect the opposite end of the negative (-) jumper cable
to a good engine ground (exposed metal part of the
discharged vehicle’s engine) away from the battery and
the fuel injection system. 5. Start the engine in the vehicle that has the booster battery,
let the engine idle a few minutes, and then start the
engine in the vehicle with the discharged battery.
6. Once the engine is started, remove the jumper cables in the reverse sequence.
Disconnecting The Jumper Cables
1. Disconnect the negative (-) end of the jumper cable from
the engine ground of the vehicle with the discharged
battery.
2. Disconnect the opposite end of the negative (-) jumper
cable from the negative (-) post of the booster battery.
3. Disconnect the positive (+) end of the jumper cable from
the positive (+) post of the booster battery.
WARNING!
Do not connect the jumper cable to the negative (-) post
of the discharged battery. The resulting electrical spark
could cause the battery to explode and could result in
personal injury. Only use the specific ground point, do
not use any other exposed metal parts.
6
2020_RAM_PROMASTER_CITY_OM_USA=GUID-7B6A7FCA-79B0-423F-95C5-ED2A949C3D13=1=en=.book Page 233