2020 MERCEDES-BENZ GLS SUV A BUTTON
[x] Cancel search: A BUTTONPage 358 of 682
#
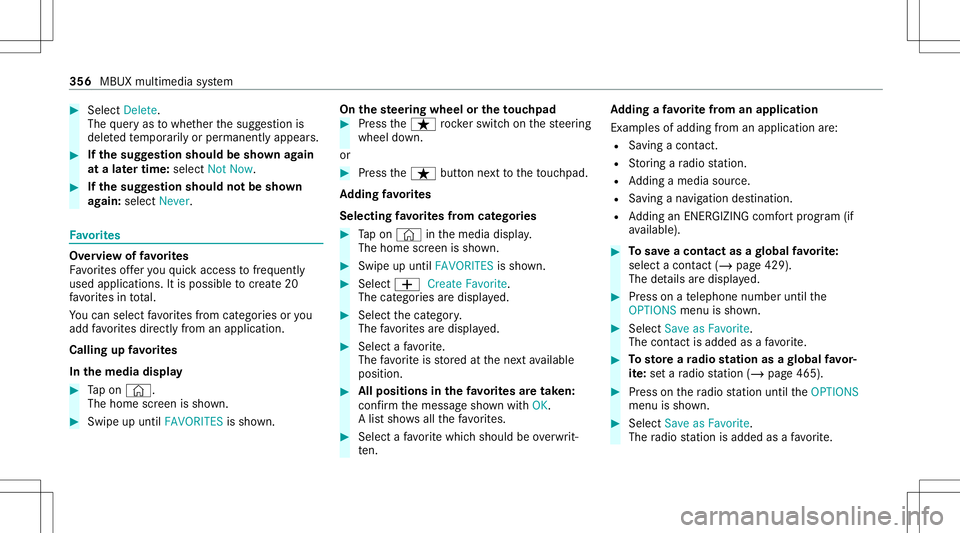
Select Dele te.
The queryas towhe ther thesugg estion is
dele tedte mp orarily or per manent lyappear s. #
Ifth esugg estion shou ldbe sho wnagain
at alat er tim e:selec tNot Now. #
Ifth esugg estion shou ldno tbe sho wn
ag ain: selec tNev er. Fa
vo rite s Ov
ervie wof favo rite s
Fa vorite sof feryo uqu ick acc ess tofreq uently
use dapp lications. Itis possi bletocrea te 20
fa vo rite sin tota l.
Yo ucan selectfavo rite sfrom categor iesoryou
add favo rite sdir ectl yfrom anappli cation.
Calling upfavo rite s
In themed iadisp lay #
Tapon ©.
The home screen issho wn. #
Swipe upuntil FAVORITES issho wn. On
thest eer ing wheel ortheto uc hpad #
Press theß rock er switc hon thesteer ing
wheel down.
or #
Press theß buttonnext to theto uc hpad.
Ad ding favo rite s
Selec tingfavo rite sfrom categor ies #
Tapon © inthemedia display.
The home screen issho wn. #
Swipe upuntil FAVO RITES issho wn. #
Select 0081Create Favorite.
The categor iesaredispla yed. #
Select thecat egor y.
The favo rite sar edispla yed. #
Select afa vo rite .
The favo rite isstor ed atthene xt available
posit ion. #
Allposi tionsin thefa vo rite sar etak en:
conf irm themessag esho wnwithOK.
A lis tsho wsallthefa vo rite s. #
Select afa vo rite whic hshould beove rwrit‐
te n. Ad
ding afa vo rite from anapplicatio n
Ex am ples ofadd ingfrom anapp lication are:
R Saving acont act.
R Stor ing ara dio statio n.
R Adding amedia source.
R Saving ana vig ation destination.
R Adding anENE RGIZING comfortpr ogr am (if
av ailable). #
Tosave aco ntact asagl obal favo rite :
sel ect acont act(/ page 429) .
The details aredispla yed. #
Press onate lephon enumb erunt ilth e
OPTIONS menuissho wn. #
Select SaveasFavorite.
The cont actisadded asafa vo rite . #
Tosto reara dio station asagl obal favo r‐
it e: seta ra dio statio n(/ page46 5). #
Press onthera dio statio nunt ilth eOPTIONS
menu issho wn. #
Select SaveasFavorit e.
The radio statio nis added asafa vo rite . 356
MBUX multimedia system
Page 364 of 682
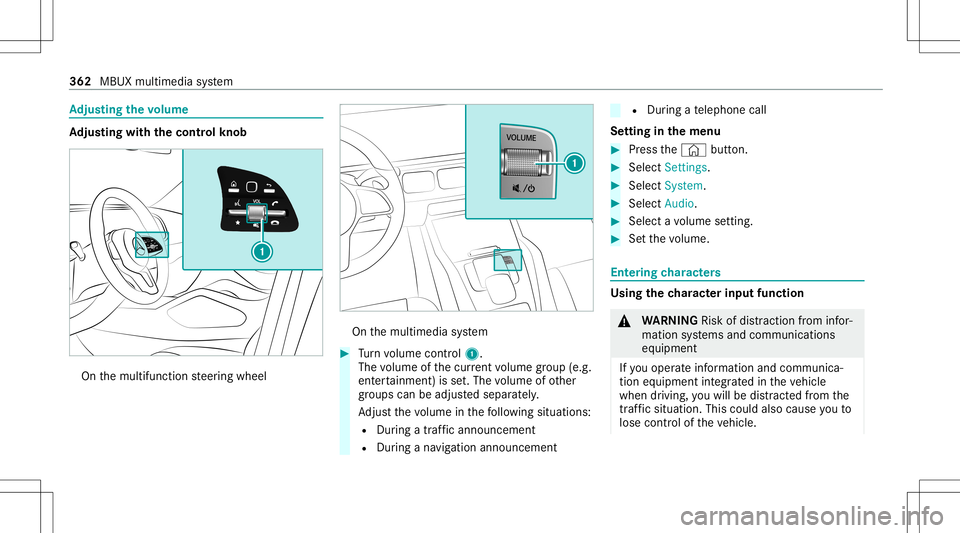
Ad
jus tingthe volum e Ad
jus tingwi th the contr olkno b On
themultifunc tionsteer ing wheel On
themultimedia system #
Turn volume control 1.
The volume ofthecur rent volume grou p(e.g.
ent ertainm ent)is set.The volume ofother
gr oups canbeadjus tedsepar ately.
Ad jus tth evo lume inthefo llo wing situat ions:
R Dur ing atraf fic annou ncement
R Dur ing ana vig ation annou ncement R
Dur ing ate lephon ecall
Se tting inthemenu #
Press the© button. #
Select Setting s. #
Select System. #
Select Audio. #
Select avo lume setting. #
Setth evo lume. Ent
ering charact ers Usi
ngthech aract erinput functi on &
WARNIN GRisk ofdist ra ction from infor‐
mati onsystems andcomm unication s
eq uipment
If yo uoper ateinf ormat ionand comm unic a‐
tio neq uipme ntintegratedin theve hicle
when driving, youwill bedistract ed from the
tr af fic situ ation. Thiscou ldalso cau seyouto
lose control of theve hicle. 362
MBUX multimedia system
Page 374 of 682
Blu
etoo th®
is are gis tere dtra demar kof Blue‐
to othSpecial Interes tGr oup (SIG) Inc.
% Interne tconn ection viaBlue tooth®
is no t
av ailable inall coun tries.
Ac tiv atin g/deac tivatin gBlue tooth®
Multimedia system:
4 © 5
Set ting s5
System
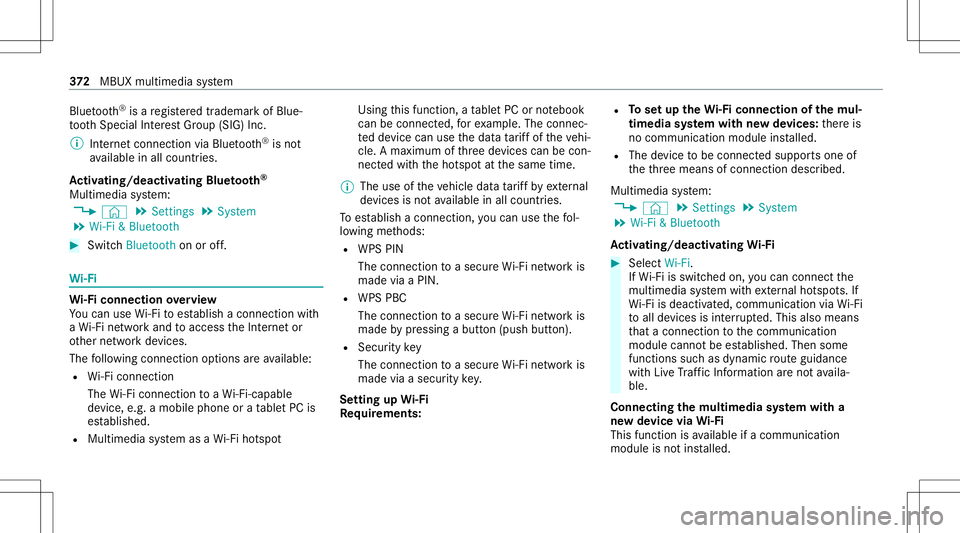
5 Wi-Fi &Bluetoot h #
Switc hBluetoot hon oroff. Wi
-Fi Wi
-Fico nne ctio nove rview
Yo ucan useWi-Fi toestablish acon nection with
a Wi -Fi networkand toacc ess theInt erne tor
ot her networkde vices.
The follo wing connection option sar eav ailable:
R Wi-Fi conne ction
The Wi-Fi conne ctionto aWi -Fi-ca pable
de vice ,e.g .a mob ile pho neorata ble tPC is
es tab lished.
R Multim ediasystem asaWi -Fi hotspo t Usi
ngthis func tion,a ta ble tPC ornotebook
can becon nected, forex am ple. Theconnec‐
te dde vice canusethedat ata riff of theve hi‐
cle. Amaximum ofthre ede vices canbecon ‐
nect edwithth eho tspo tat thesame time.
% The useoftheve hicle datata riff by extern al
de vic es isno tav ailable inall coun tries.
To estab lish acon nection ,yo ucan usethefo l‐
lo wing methods:
R WPS PIN
The conn ection toasec ureWi -Fi networkis
mad evia aPIN .
R WPS PBC
The conne ctionto asec ureWi -Fi networkis
mad eby pressing abutt on(push button).
R Secur itykey
The conn ection toasec ureWi -Fi networkis
mad evia asecu rity key.
Se tting upWi-Fi
Re quirement s: R
Tosetup theWi -Fico nne ctio nof themu l‐
tim edia system withne wde vices: ther eis
no comm unication moduleinstalled.
R The device tobe con nectedsuppor tsone of
th eth re emeans ofcon nect iondescr ibed.
Multimedia system:
4 © 5
Set ting s5
System
5 Wi-Fi &Bluetoot h
Ac tiv atin g/deac tivatin gWi -Fi #
Sele ctWi-Fi .
If Wi -Fi issw itched on,youcan conn ect the
multime diasystem withex tern al ho tspo ts.If
Wi -Fi isde acti vated, comm unicationviaWi-Fi
to all devic es isint erru pte d.This also means
th at acon nectionto thecomm unication
module cannotbe established. Thensome
func tionssuc has dynamic routeguidan ce
wit hLiv eTr af fic Inf ormati onareno tav aila‐
ble.
Connect ingthemu ltim edia system witha
ne wde vice viaWi-Fi
Thi sfunction isavailable ifacom mun ication
modul eis no tins talled. 37
2
MBUX multimedia system
Page 375 of 682
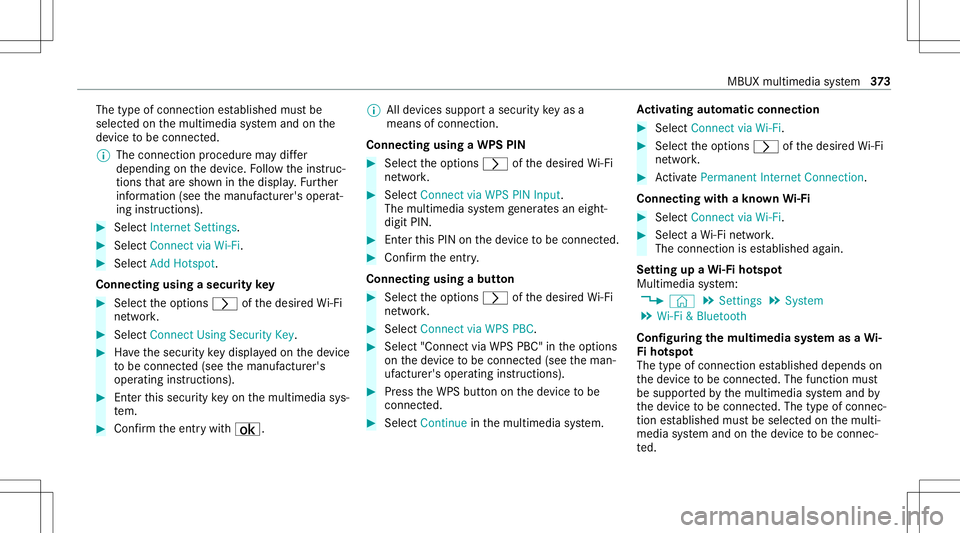
The
type ofconn ection established mustbe
select edon themultimedia system and onthe
de vice tobe con nected.
% The connection procedur ema ydif fer
dependin gon thede vice. Followtheins truc‐
tion sth at aresho wninthedispla y.Fu rther
inf ormation (seethemanuf acturer'soper at‐
ing instruction s). #
Select Internet Setting s. #
Select Connec tvia Wi-Fi. #
Select AddHotspot.
Connecting usingasecur itykey #
Select theop tion s0048 ofthedesir edWi-Fi
ne twork. #
Select Connect UsingSecu rityKey. #
Have thesecur itykeydisp laye don thede vice
to be con nected(see themanuf acturer's
oper ating instruction s). #
Enterth is secur itykeyon themultimedia sys‐
te m. #
Conf irm theent rywit h¡. %
Alldevic es suppor ta sec urity keyas a
mean sof conn ection .
Connec ting using aWPS PIN #
Selec tth eop tion s0048 ofthedesir edWi-Fi
ne twork. #
Select Connect viaWPS PINInpu t.
The multime diasy stem gener ates an eight-
di gitPIN . #
Enterthis PIN onthede vice tobe con nected. #
Conf irm theent ry.
Connect ingusin gabut ton #
Select theop tion s0048 ofthedesir edWi-Fi
ne twork. #
Select Connect viaWPS PBC. #
Select "Connect viaWPS PBC"in theop tion s
on thede vice tobe con nected(see theman‐
uf actur er'soper ating instruction s). #
Press theWPS buttononthede vice tobe
con nected. #
Select Continueinthemultimedia system. Ac
tiv atin gaut omati cco nn ectio n #
Select Connect viaWi-Fi. #
Select theop tion s0048 ofthedesir edWi-Fi
ne twork. #
ActivatePe rma nent InternetConnecti on.
Co nnectin gwi th akno wnWi-Fi #
Sele ctConnect viaWi-Fi . #
Sele ctaWi -Fi network.
The conn ection ises tablished again.
Se tting upaWi -Fiho tspo t
Mul timed iasystem:
4 © 5
Set ting s5
System
5 Wi-Fi &Bluetoot h
Conf iguringthemu ltim edia system asaWi -
Fi ho tspo t
The type ofconnection established depends on
th ede vice tobe con nected. The func tion must
be suppor tedby themultimedia system and by
th ede vice tobe con nected. The type ofcon nec‐
tion established mustbe select edon themulti‐
media system and onthede vice tobe con nec‐
te d. MBUX
multimedia system 37
3
Page 376 of 682

#
Select Veh icleHotsp ot. #
Select Connect DevicetoVeh icleHotsp ot.
Co nne cting using WPS PIN ge ner ation #
Select Connec tvia WPS PINGeneration. #
Enterth ePIN showninthemedia displayon
th ede vice tobe con nectedand confirm .
Connect ingusin gWPS PINentr y #
Sele ctConn ectviaWPS PINInput. #
Enterth ePIN that issho wnontheex tern al
de vic e's displa yon themultimedia system.
Connecting usingabutt on #
Select Connec tvia WPS PBC. #
Press thepush buttononthede vice tobe
con nected(see themanuf acturer'soper ating
ins truction s). #
Select Continue.
Connecting usingasecur itykey #
Select Connect DevicetoVeh icleHotsp ot.
A secu rity keyis disp laye d. #
Select theve hicle from thede vice tobe con ‐
nec ted. The vehicle isdispla yedwit hth eMB
Hot spot XXXXX networkname. #
Enterth esecur itykeywhic his sho wninthe
media display on thede vice tobe con nected. #
Conf irm theent ry.
Connect ingusin gNFC #
Sele ctConn ectviaNFC. #
ActivateNFC onthemobile device (see the
manuf acturer'soper ating instructions). #
Bring themobile device intoth eNFC area of
th eve hicle (/page426). #
Select Finished.
The mobile device isno wconn ectedtothe
multime diasystem hotspo tvia NFC.
Gener atingane wsecur itykey #
Select Veh icleHotsp ot. #
Select Genera teSecu rityKey.
A connecti onwillbe established withth e
ne wly crea tedsecur itykey. #
Tosave asec urity key:select Save.
When ane wsecur itykeyis save d, all existin g
Wi -Fi conne ctionsareth en discon nected.If
th eWi -Fi conne ctionsarebe ing re-es tab‐
lished, thene wsecur itykeymus tbe entere d. Mana
gingMBUX Touc hde vic es Re
quirement s:
R The MBUX Touc happ isins talled onthe
ex tern al de vic e(e. g.table tor smar tphon e).
R Wi-Fi isacti vated(/ page37 2) and themul‐
timedia system iscon figur edasaWi -Fi hot‐
spo t(/ page 373).
Mul timediasystem:
4 © 5
Set ting s5
System
5 MBUX Touch
Connecting andauthor izing ane wde vice #
Select AuthorizeaNew Devic e. #
Select AddNew Devic eto List. 37
4
MBUX multimedia system
Page 382 of 682
Na
vig ation Switc
hingnavig ation on Multimedia
system:
4 © 5
Navigation (Navigation ) #
Alternat ivel y: press thez button.
The map appear s.The current vehicle posi‐
tion issho wn. The navig ation menu issho wn.
The navig ation menu ishidden ifro uteguid‐
anc eis act ive. Sho
wing/h iding thena vig ation menu 4
© 5
Navig ation
If ro uteguidan ceisno tact ive th emap appear s.
The navig ation menu issho wn.
The navig ation menu ishidden ifro uteguidan ce
is act ive. #
Tosho w:tapon theto uc hsc reen.
or #
Press theTo uc hCon trol or theto uc hpad. #
Tohide: thena vig ation menu ishidden auto‐
maticall y. 380
MBUX multimedia system
Page 400 of 682
Multimedia
system:
4 © 5
Navigation 5
ª Where to?
5 SAVED ROUTES #
Tostar tre cor ding:selec tSt art Reco rdinga
New Route.
A redre cor ding symbo lis sho wn.
The routeis stor ed on theUSB device. #
Tosto pre cor ding:selec tEn dReco rding.
Sa ving are cor ded rout e
Re quirement s:
R AUSB device iscon nectedwit hth emultime‐
dia system (/ page460).
Multimedia system:
4 © 5
Navigation 5
ª Where to?
5 SAVED ROUTES #
Select aro ute. #
Select f. #
Select Savein "Pre vious Destinat ions".
The routeis stor ed inthe"Pr evious destina‐
tion s"memo ryand canbecalle dup from
th er efo rro uteguidan ce. Edit
ingasto redro ute
Re quirement s:
R AUSB device withstor ed routes isco nn ec‐
te dwit hth emultimedia system
(/ page460).
Multimedia system:
4 © 5
Navigation 5
ª Where to?
5 SAVED ROUTES #
Select aro utewit hV. #
Toent eranam e:selec tChang eName . #
Enterth ename. #
Select OK.
or #
When thename hasbeen chang ed, press the
G button. #
Select Yes. #
Todel etearo ut e: sele ctDelete. #
Select Yes. Ro
uteguidanc e No
teson rout eguidanc e &
WARNIN GRisk ofdist ra ction from oper‐
ati ng integr ated commu nication equip‐
ment whiletheve hicle isin mo tion
If yo uoper ateco mm unic ationeq uipme nt
int egrat edintheve hicle when driving, you
will bedistract edfrom thetra ffic situat ion.
This could alsocause youto lose control of
th eve hicle. #
Onlyoper ateth is eq uipmen twhen the
tr af fic situ ation per mits. #
Ifyo ucan notbe sur eof this, stop the
ve hicle whilstpa ying attention toroad
and traffic condi tions andoperate the
eq uipment withth eve hicle statio nary. Yo
umus tobse rveth eleg alrequ iremen tsforth e
cou ntryin whi chyouar ecur rentl ydr ivi ng when
op erati ng themultimedia system.
Ro uteguidan cebegin son ce aro utehas been
calc ulated. 398
MBUX mult imed iasystem
Page 405 of 682
Switc
hingnavig ation announcements onor
of fdur ing aphone call #
Press the© buttononthesteer ing wheel
or on theto uc hpad.
or #
Tapon © inthemedia display. #
Select Setting s. #
Select System . #
Select Aud io. #
Select Nav igati on and Traffic Announce -
ments . #
Swi tchVoi ceGuidance DuringCallon oroff.
Whe nth eop tion isswitc hedon,thedispla y
butt onisactiv ated. #
Tolea vethemenu :selec t0047.
Ad jus tingthe volum eof navig ation
announ cement s
Multime diasystem:
4 © 5
Set ting s5
System 5
Audio
5 Navigation andTraffic Announc ement s #
Select VoiceGuidance Volume. #
Setth evo lume. #
Tolea vethemenu :selec t0047.
Ro uteguidanc eis activ e #
Turn thevo lume control on thesteer ing
wheel ornext to theto uc hpad during ana vi‐
ga tio nanno unceme nt.
Sw itchin gaudi ofa deo uton oroffdur ing nav‐
ig atio nanno unceme nts #
Press the© buttononthesteer ing wheel
or on theto uc hpad.
or #
Tapon © inthemedia display. #
Select Setting s. #
Select System . #
Select Aud io. #
Swi tchAud ioFad eou ton oroff.
Whe nth eop tion isswitc hedon,thedispla y
butt onisactiv ated. #
Tolea vethemenu :selec t0047.
Re peati ngnavig atio nanno unceme nts
Re quirement s: R
Aro utehas already been creat ed.
R Routeguidan ceisact ive.
Mult imed iasystem:
4 Navigation (Navigation ) #
Selec t!. #
Selec t#.
The current navig ation anno uncement is
re peat ed.
% This function canbeadded andcalled up
fr om thefa vo rite swit hin thena vig ation cate‐
gor y.
Canceli ngrout eguidanc e
Re quirement s:
R aro utehas already been creat ed.
R routeguidan ceisact ive. #
Show thena vig ation menu. #
Select ¤inthena vig ation menu
(/ page38 1). MBUX
multimedia system 403