2020 MERCEDES-BENZ AMG GT R-ROADSTER lock
[x] Cancel search: lockPage 136 of 441
R
ABS pr events the wheels from locking.
The brakes will function as usual once you
re lease the brake pedal. BAS is deactivated. Fu
nctions of ESP ®
(Electronic Stability Pro‐
gr am) &
WARNING Risk of skidding if ESP ®
is
malfunctioning
If ESP ®
is malfunctioning, ESP ®
cannot car ry
out vehicle stabilisation. In addition, other
driving saf ety sy stems are switched off. #
Drive on carefull y. #
Have ESP ®
ch ecked at a qualified spe‐
cialist workshop. Yo
u can select between thefo llowing modes of
ESP ®
:
R ESP ®
ON
R ESP ®
SPO RT
R ESP ®
OFF Charac
terist ics when ESP ®
is activated
ESP ®
monitors and impr oves driving stability and
traction, particular ly inthefo llowing situations:
R When pulling away on wet or slippe rycar ria‐
ge wa ys.
R When braking.
ESP ®
can stabilise theve hicle byinter vening in
th efo llowing ways:
R One or more wheels are braked.
R The engine output is adap ted according to
th e situation.
ESP ®
is activated every time the engine is star‐
te dre ga rdless of whe ther ESP ®
wa s in ESP ®
SPORT or deactivated before the engine was
switched off.
If th e÷ ESP®
wa rning lamp flashes in the
instrument clus ter,one or se veralve hicle wheels
has reached its grip limit:
R Adapt the driving style to suit the pr evailing
ro ad and weather conditions. R
Do not deactivate ESP ®
under any circum‐
st ances.
R Onlydepress the accelera tor pedal as far as
is necessar y.
Cha racteristics of ESP ®
SPORT &
WARNING Risk of skidding if ESP ®
SPORT is used incor rectly
When you activate ESP ®
SPOR T,there is an
increased risk of skidding and having an acci‐
dent. #
Activate ESP ®
SPO RTonly in the cir‐
cums tances described belo w. When ESP
®
SPORT is activated, theå and
Æ warning lamps light up continuously in the
instrument clus ter.
Select ESP ®
SPORT when theve hicle's own
ove rste ering and under steering characteristics
are desired, e.g. on designated roads.
Driving with ESP ®
SPO RTor with ESP ®
deactiva‐
te dre qu ires an extreme ly qualified and experi‐
enced driver. Driving and parking
13 3
Page 151 of 441
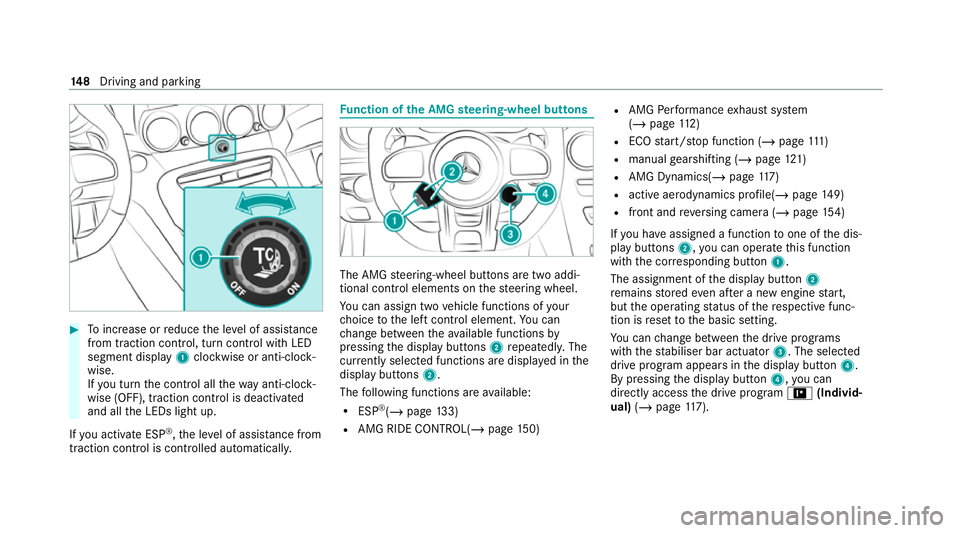
#
Toinc rease or reduce the le vel of assis tance
from traction control, turn control wi thLED
segment display 1clockwise or anti-clock‐
wise.
If yo u turn the control all thewa y anti-clo ck‐
wise (OFF), traction control is deactivated
and all the LEDs light up.
If yo u activate ESP ®
,th e le vel of assis tance from
traction control is controlled auto matically. Fu
nction of the AMG steering-wheel but tons The AMG
steering-wheel buttons are two addi‐
tional control elements on thesteering wheel.
Yo u can assign two vehicle functions of your
ch oice tothe left control element. You can
ch ange between theav ailable functions by
pressing the display buttons 2repeatedl y.The
cur rently selected functions are displ ayed in the
display buttons 2.
The following functions are available:
R ESP ®
(/ page 133)
R AMG RIDE CONTROL(/ page150) R
AMG Performance exhaust sy stem
(/ page 112)
R ECO start/ stop function (/ page111 )
R manual gearshifting (/ page121)
R AMG Dynamics( /page 117)
R active ae rodynamics profile(/ page149)
R front and reve rsing camera (/ page154)
If yo u ha veassigned a function toone of the dis‐
play buttons 2,you can operate this function
with the cor responding button 1.
The assignment of the display button 2
re mains stored even af ter a new engine start,
but the operating status of there spective func‐
tion is reset tothe basic setting.
Yo u can change between the drive prog rams
with thest abiliser bar actuator 3. The selected
drive program appears in the display button 4.
By pressing the display button 4,you can
direct lyaccess the drive prog ram = (Individ‐
ual) (/page 117). 14 8
Driving and pa rking
Page 186 of 441
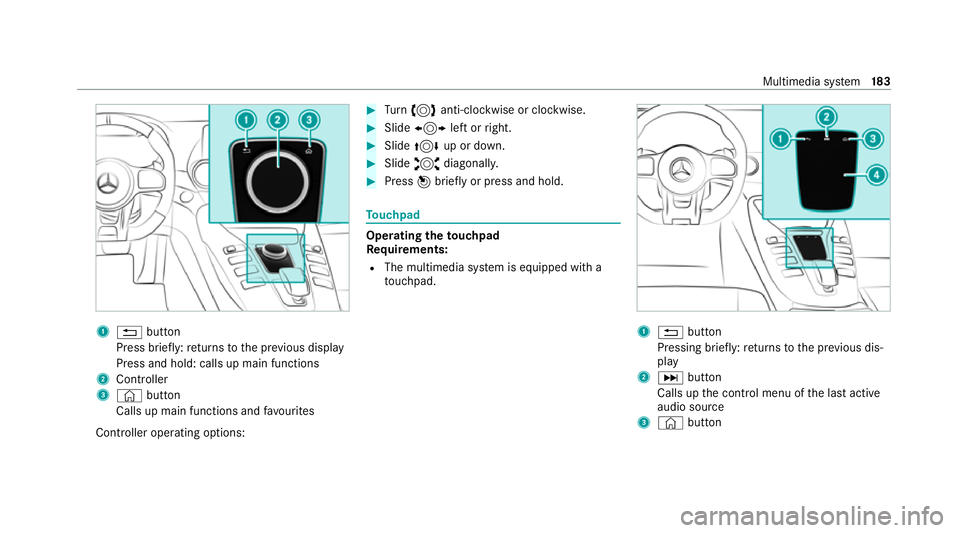
1
% button
Press brief ly:re turns tothe pr evious display
Press and hold: calls up main functions
2 Cont roller
3 © button
Calls up main functions and favo urites
Controller operating options: #
Turn 3 anti-clockwise or clo ckwise. #
Slide 1 left orright. #
Slide 4 up or down. #
Slide 2 diagonally. #
Press 7brief lyor press and hold. To
uchpad Operating
theto uchpad
Re quirements:
R The multimedia sy stem is equipped with a
to uchpad. 1
% button
Pressing brief ly:re turns tothe pr evious dis‐
play
2 D button
Calls up the control menu of the last active
audio source
3 © button Multimedia sy
stem 18 3
Page 197 of 441
Multimedia sy
stem:
4 System 5
COMAND Touch
Connecting and authorising a new device #
Select Authorise a new device. #
Select Connect new device. #
Ente rth e security key in theex tern al device.
The Please start COMAND Touch on your
device and follow the instructions. message
appears. #
Select Continue. #
The connection requ est from the device
Accept. #
Ente rth e PIN shown on theex tern al device.
The device is authorised.
Au thorising a connected device #
Select Authorise a new device.
The devices already connec ted are displa yed. #
Select Continue using connected devices.
The Please start COMAND Touch on your
device and follow the instructions. message
appears. #
Select Continue. #
The connection requ est from the device
Accept. #
Ente rth e PIN shown on theex tern al device.
The device is authorised.
De-authorising the device #
Select an authorised device from the list.
A prom ptwill appear asking whe ther you
wo uld like tode-authorise the selected
device. #
Select Yes.
The device is de-authorised. Ac
tivating/deactivating the COMAND Touch
ch ild saf ety lock Multimedia sy
stem:
4 System 5
COMAND Touch
Child saf ety lock #
Switch Parental control onO or off ª.
The content displa yed on theex tern al device
can on lybe set on the multimedia sy stem. Sy
stem language Note
s onthe sy stem language
This function allo wsyouto determ ine the lan‐
guage forth e menu displa ysand the navigation
announcements. The selected language af fects
th ech aracters available for entr y.The navigation
announcements are not available in all lan‐
guages. If a language is not available, the naviga‐
tion announcements will be in Engl ish.
Setting the sy stem language
Multimedia sy stem:
4 System 5
Language #
Set the language. Setting
the distance unit Multimedia sy
stem:
4 System 5
% Units #
Select kmormi. #
Inthe multifunction display of the Instrument
Displa y,switch theAdditional speedometer
display on O. 194
Multimedia sy stem
Page 199 of 441
Changing
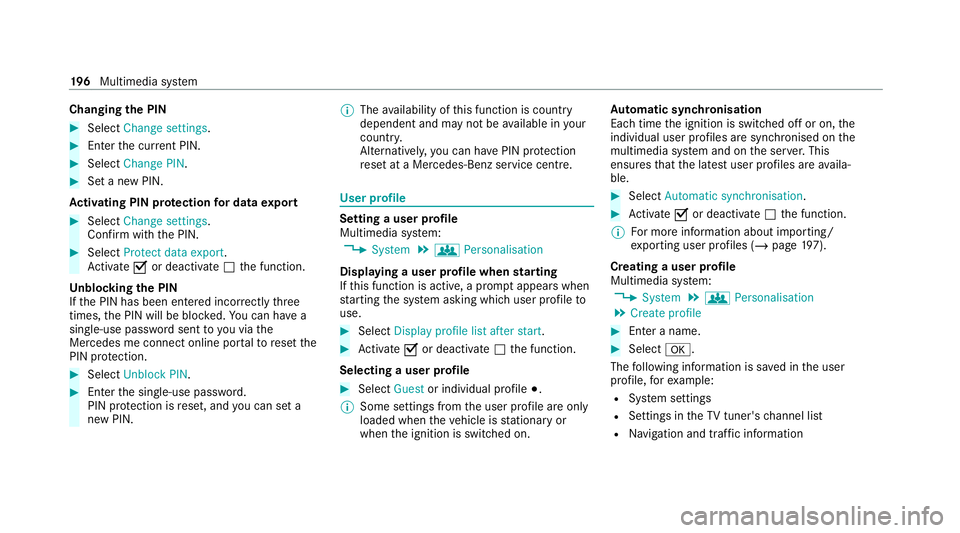
the PIN #
Select Change settings. #
Enterth e cur rent PIN. #
Select Change PIN . #
Set a new PIN.
Ac tivating PIN pr otection for data export #
Select Change settings .
Confirm with th e PIN.#
Select Protect data export.
Ac tivate Oor deacti vate ª the function.
Un blocking the PIN
If th e PIN has been entered incor rectly three
times, the PIN will be bloc ked. You can ha ve a
single-use password sent to you via the
Mercedes me connect online por talto reset the
PIN pr otection. #
Select Unblock PIN. #
Ente rth e single-use password.
PIN pr otection is reset, and you can set a
new PIN. %
The availability of this function is country
dependent and may not be available in your
count ry.
Alternati vely, you can ha vePIN pr otection
re set at a Mercedes-Benz service centre. User profile
Setting a user profile
Multimedia sy
stem:
4 System 5
g Personalisation
Displaying a user profile when starting
If th is function is active, a prom ptappears when
st arting the sy stem asking which user profile to
use. #
Select Display profile list after start . #
Activate Oor deacti vate ª the function.
Selecting a user profile #
Select Guestor individual profile #.
% Some settings from the user profile are only
loaded when theve hicle is stationary or
when the ignition is switched on. Au
tomatic syn chronisation
Each time the ignition is switched off or on, the
individual user profiles are synchronised on the
multimedia sy stem and on the ser ver.This
ensures that the latest user profiles are availa‐
ble. #
Select Automatic synchronisation. #
Activate Oor deacti vate ª the function.
% For more information about importing/
ex porting user profiles (/ page197).
Creating a user profile
Multimedia sy stem:
4 System 5
g Personalisation
5 Create profile #
Ente r a name. #
Select a.
The following information is sa ved in the user
profile, forex ample:
R System settings
R Settings in theTV tuner's channel list
R Navigation and traf fic information 19 6
Multimedia sy stem
Page 228 of 441
R
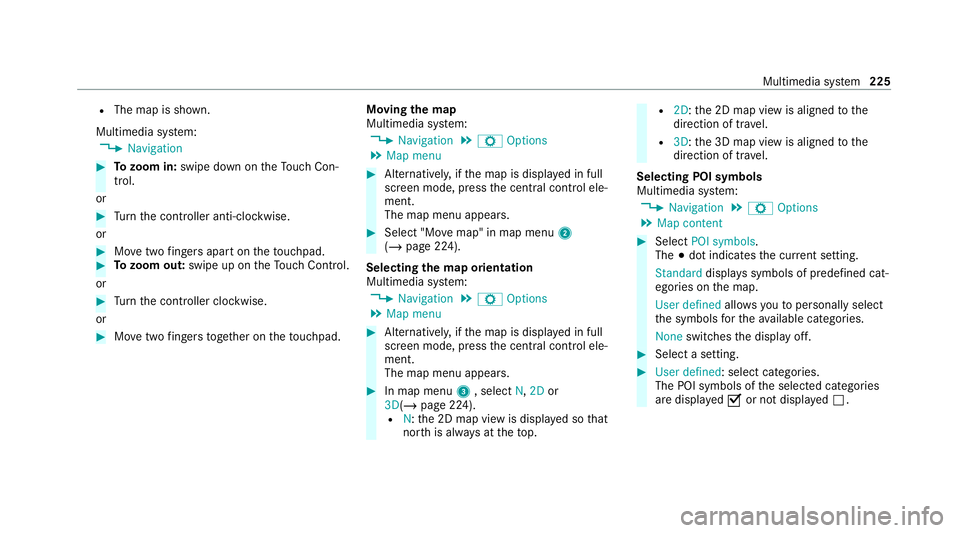
The map is shown.
Multimedia sy stem:
4 Navigation #
Tozoom in: swipe down on theTo uch Con‐
trol.
or #
Turn the controller anti-clockwise.
or #
Movetwo fingers apart on theto uchpad. #
Tozoom out: swipe up on theTo uch Control.
or #
Turn the controller clockwise.
or #
Movetwo fingers toge ther on theto uchpad. Moving
the map
Multimedia sy stem:
4 Navigation 5
Z Options
5 Map menu #
Alternatively, if the map is displa yed in full
screen mode, press the cent ral control ele‐
ment.
The map menu appears. #
Select "Mo vemap" in map menu 2
(/ page 224).
Selecting the map orientation
Multimedia sy stem:
4 Navigation 5
Z Options
5 Map menu #
Alternatively, if the map is displa yed in full
screen mode, press the cent ral control ele‐
ment.
The map menu appears. #
In map menu 3, select N,2D or
3D( /page 224).
R N:the 2D map view is displa yed so that
no rth is alw ays at theto p. R
2D: the 2D map view is aligned tothe
direction of tra vel.
R 3D:th e 3D map view is aligned tothe
direction of tra vel.
Selecting POI symbols
Multimedia sy stem:
4 Navigation 5
Z Options
5 Map content #
Select POI symbols .
The #dot indicates the cur rent setting.
Standard displays symbols of predefined cat‐
egories on the map.
User defined allowsyouto personally select
th e symbols forth eav ailable categories.
None switches the display off. #
Select a setting. #
User defined : select categories.
The POI symbols of the selected categories
are displa yedO or not displa yedª. Multimedia sy
stem 225
Page 241 of 441
6
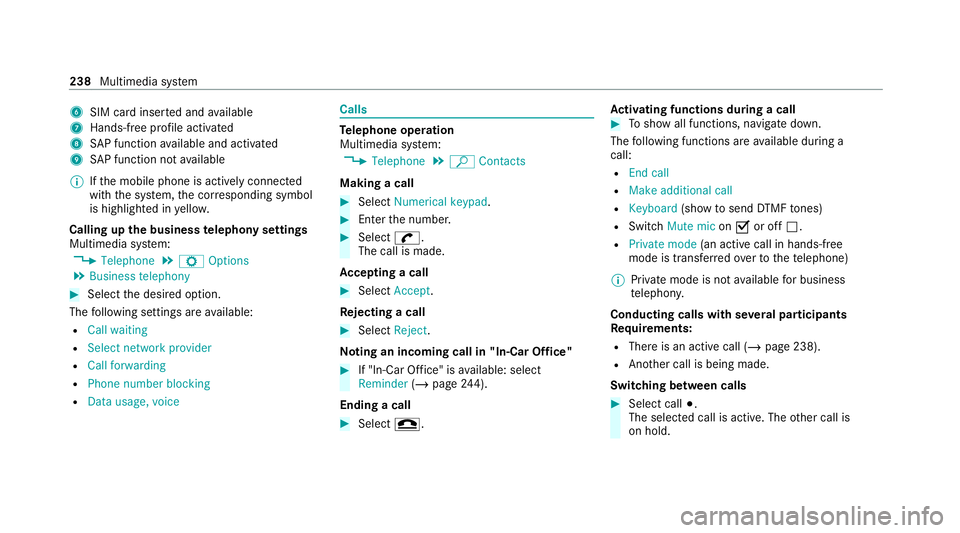
SIM card inse rted and available
7 Hands-free profile activated
8 SAP function available and activated
9 SAP function not available
% Ifth e mobile phone is actively connected
with the sy stem, the cor responding symbol
is highlighte d inyello w.
Calling up the business telephony settings
Multimedia sy stem:
4 Telephone 5
Z Options
5 Business telephony #
Select the desired option.
The following settings are available:
R Call waiting
R Select network provider
R Call forwarding
R Phone number blocking
R Data usage, voice Calls
Te
lephone operation
Multimedia sy stem:
4 Telephone 5
ª Contacts
Making a call #
Select Numerical keypad. #
Ente rth e number. #
Select w.
The call is made.
Ac cepting a call #
Select Accept .
Re jecting a call #
Select Reject.
No ting an incoming call in "In-Car Of fice" #
If "In-Car Of fice" is available: select
Reminder (/page 244).
Ending a call #
Select =. Ac
tivating functions during a call #
Toshow all functions, navigate down.
The following functions are available during a
call:
R End call
R Make additional call
R Keyboard (showtosend DTMF tones)
R Switch Mute mic onO or off ª.
R Private mode (an activecall in hands-free
mode is transfer redove rto thete lephone)
% Private mode is not available for business
te lephon y.
Conducting calls with se veral participants
Re quirements:
R There is an active call (/ page 238).
R Another call is being made.
Switching between calls #
Select call #.
The selected call is active. The other call is
on hold. 238
Multimedia sy stem
Page 293 of 441
R
frequent operation in mountainous terrain or
on poor road sur faces
R when the engine is of ten le ftidling for long
periods
R operation in particula rly dusty conditions
and/or if air-recirculation mode is frequently
used
In these or similar operating conditions, ha vethe
interior air filter, engine air cleaner, engine oil
and oil filter etc. changed more frequent ly. The
tyres must be checked more frequently if the
ve hicle is operated under increased loads. Fur‐
th er information can be obtained at a qualified
specialist workshop. Battery disconnection periods
The ASS
YST PLUS se rvice inter val display
can only calculate the service due da tewhen
th e bat tery is connected. #
Notedown the service due date displa yed on
th e instrument display before disconnecting
th e battery (/ page 289). Engine compartment
Opening/closing
the bonnet &
WARNING Risk of accident due todriv‐
ing with the bonn etunlo cked
The bonn etmay open and block your vie w. #
Neverre lease the bonn etwhen driving. #
Before every trip, ensure that the
engine bonn etis loc ked. &
WARNING Risk of accident and inju ry
when opening and closing the bonn et
The bonnet may suddenly drop into the end
position.
There is a risk of injury for an yone in the bon‐
net's range of mo vement. #
Open or close the bonn etonly when
th ere is nobody in the bonn et's range of
mo vement. &
WARNING Danger of burn s when open‐
ing the bonn et
If yo u open the engine bonn etwhen the
engine has overheated or during a fire inthe
engine compartment, you could come into
contact with hot gases or other escaping
operating fluids. #
Before opening the bonn et, allow the
engine tocool down. #
Intheeve nt of a fire inthe engine com‐
partment, keep the engine bonn et
closed and call thefire service. &
WARNING Risk of injury duetomoving
parts
Components in the engine compartment may
continue running or start up sudden ly,even if
th e ignition is switched off.
Make sure of thefo llowing before per form ing
ta sks in the engine compartmen t: #
Switch the ignition off. 290
Maintenance and care