2020 MERCEDES-BENZ AMG GT COUPE navigation
[x] Cancel search: navigationPage 186 of 433

#
Toselect a character suggestion: swipe up
or down on theto uchpad. #
Resume character input. #
Toenter a space: swiperight when the cur‐
sor is located in the input line. #
Todel ete a character: swipe left when the
cursor is loca ted in the input line. #
Toconfirm the entr y:press theto uchpad. #
Tofinish character entr y:swipe upwards.
or #
Press the% button.
Example: entering a destination (navigation) #
Ente rth e POI or address (/ page199). Sy
stem settings Display
Configuring display settings
Multimedia sy
stem:
4 System 5
G Display and styles
Setting the display brightness #
Select Display brightness . #
Select a brightness value.
Switching the display off/on #
Toswitch off: selectDisplay off . #
Toswitch on: press a button, %,for
ex ample.
Displ aydesign #
Select Day/night design. #
Select Automatic, Day design orNight
design.
Ad ditional displ ayarea
Depending on theve hicle, various items of addi‐
tional information can be shown. The additional display area comprises
the left-hand or right-
hand third of the displa y. #
Select Additional display area .
The following display con tent can be selected:
R Dynamic
R Navigation map
R Consumption
R Time and date Ti
me and date Setting the time and date automatically
Multimedia sy
stem:
4 System 5
& Time and date #
Deactivate ªManual time adjustment.
The time and date are set automatically for
th e selected time zone and summer time
option.
% The cor rect time is requ ired forth efo llowing
functions:
R Route guidance with time-dependent
traf fic guidance. Multimedia sy
stem 18 3
Page 191 of 433
Multimedia sy
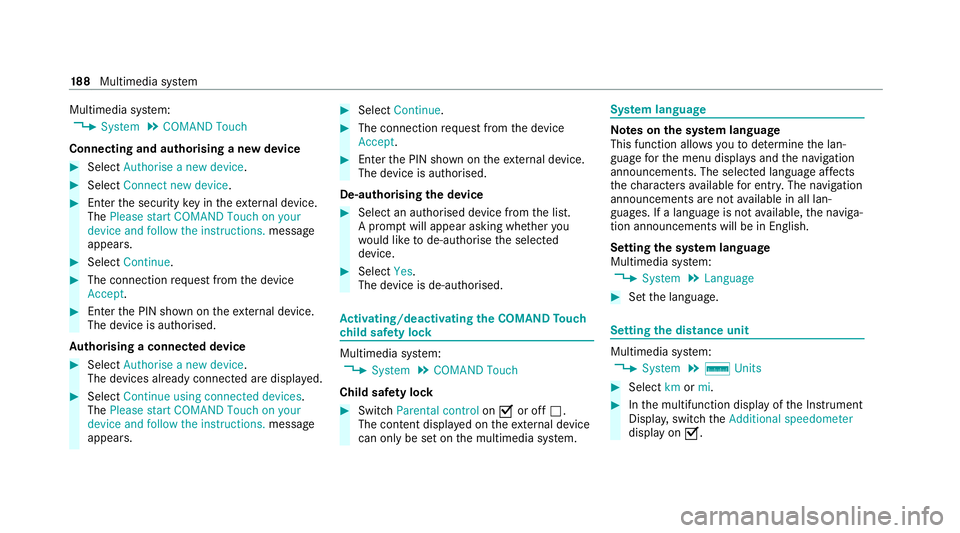
stem:
4 System 5
COMAND Touch
Connecting and authorising a new device #
Select Authorise a new device. #
Select Connect new device. #
Ente rth e security key in theex tern al device.
The Please start COMAND Touch on your
device and follow the instructions. message
appears. #
Select Continue. #
The connection requ est from the device
Accept. #
Ente rth e PIN shown on theex tern al device.
The device is authorised.
Au thorising a connected device #
Select Authorise a new device.
The devices already connec ted are displa yed. #
Select Continue using connected devices.
The Please start COMAND Touch on your
device and follow the instructions. message
appears. #
Select Continue. #
The connection requ est from the device
Accept. #
Ente rth e PIN shown on theex tern al device.
The device is authorised.
De-authorising the device #
Select an authorised device from the list.
A prom ptwill appear asking whe ther you
wo uld like tode-authorise the selected
device. #
Select Yes.
The device is de-authorised. Ac
tivating/deactivating the COMAND Touch
ch ild saf ety lock Multimedia sy
stem:
4 System 5
COMAND Touch
Child saf ety lock #
Switch Parental control onO or off ª.
The content displa yed on theex tern al device
can on lybe set on the multimedia sy stem. Sy
stem language Note
s onthe sy stem language
This function allo wsyouto determ ine the lan‐
guage forth e menu displa ysand the navigation
announcements. The selected language af fects
th ech aracters available for entr y.The navigation
announcements are not available in all lan‐
guages. If a language is not available, the naviga‐
tion announcements will be in Engl ish.
Setting the sy stem language
Multimedia sy stem:
4 System 5
Language #
Set the language. Setting
the distance unit Multimedia sy
stem:
4 System 5
% Units #
Select kmormi. #
Inthe multifunction display of the Instrument
Displa y,switch theAdditional speedometer
display on O. 18 8
Multimedia sy stem
Page 193 of 433
Changing
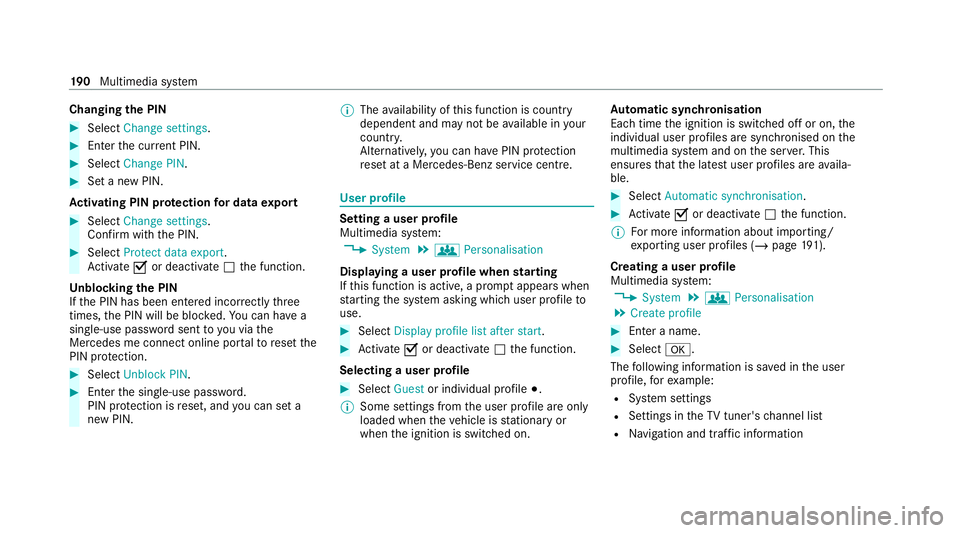
the PIN #
Select Change settings. #
Enterth e cur rent PIN. #
Select Change PIN . #
Set a new PIN.
Ac tivating PIN pr otection for data export #
Select Change settings .
Confirm with th e PIN.#
Select Protect data export.
Ac tivate Oor deacti vate ª the function.
Un blocking the PIN
If th e PIN has been entered incor rectly three
times, the PIN will be bloc ked. You can ha ve a
single-use password sent to you via the
Mercedes me connect online por talto reset the
PIN pr otection. #
Select Unblock PIN. #
Ente rth e single-use password.
PIN pr otection is reset, and you can set a
new PIN. %
The availability of this function is country
dependent and may not be available in your
count ry.
Alternati vely, you can ha vePIN pr otection
re set at a Mercedes-Benz service centre. User profile
Setting a user profile
Multimedia sy
stem:
4 System 5
g Personalisation
Displaying a user profile when starting
If th is function is active, a prom ptappears when
st arting the sy stem asking which user profile to
use. #
Select Display profile list after start . #
Activate Oor deacti vate ª the function.
Selecting a user profile #
Select Guestor individual profile #.
% Some settings from the user profile are only
loaded when theve hicle is stationary or
when the ignition is switched on. Au
tomatic syn chronisation
Each time the ignition is switched off or on, the
individual user profiles are synchronised on the
multimedia sy stem and on the ser ver.This
ensures that the latest user profiles are availa‐
ble. #
Select Automatic synchronisation. #
Activate Oor deacti vate ª the function.
% For more information about importing/
ex porting user profiles (/ page191).
Crea ting a user profile
Multimedia sy stem:
4 System 5
g Personalisation
5 Create profile #
Ente r a name. #
Select a.
The following information is sa ved in the user
profile, forex ample:
R System settings
R Settings in theTV tuner's channel list
R Navigation and traf fic information 19 0
Multimedia sy stem
Page 194 of 433
The settings dif
fer depending on theve hicle
equipment.
Importing/exporting a user profile
Re quirements:
R There is an Internet connection
(/ page 252).
R A Mercedes me account exists at https://
me.secure.mercedes-benz.com.
R The Personalisation service is active.
R The function is available in your count ry.
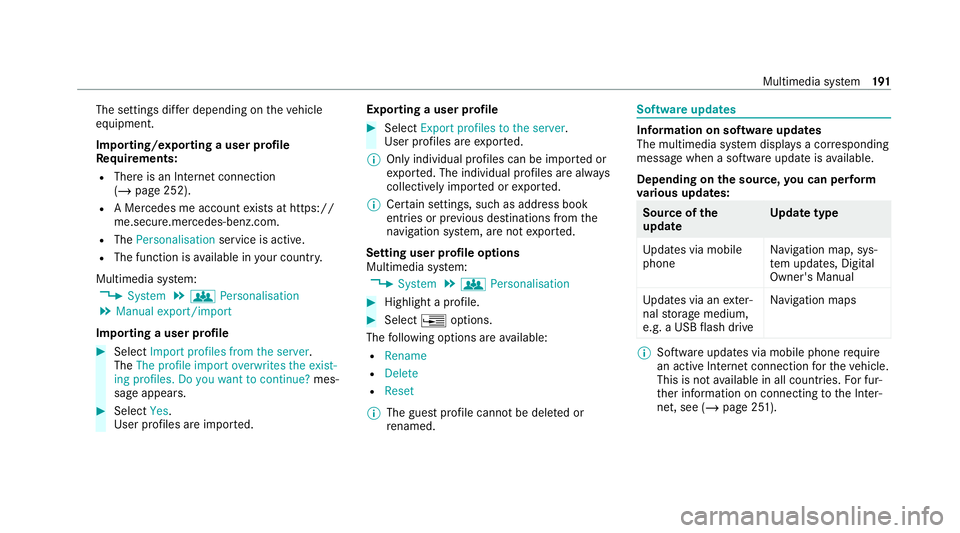
Multimedia sy stem:
4 System 5
g Personalisation
5 Manual export/import
Importing a user profile #
Select Import profiles from the server.
The The profile import overwrites the exist-
ing profiles. Do you want to continue? mes‐
sage appears. #
Select Yes.
User profiles are impor ted. Exporting a user profile #
Select Export profiles to the server.
User profiles are expor ted.
% Only individual profiles can be impor ted or
ex por ted. The individual profiles are alw ays
collectively impor ted or expor ted.
% Certain settings, such as address book
ent ries or pr evious destinations from the
navigation sy stem, are not expor ted.
Setting user profile options
Multimedia sy stem:
4 System 5
g Personalisation #
Highlight a profile. #
Select ¥options.
The following options are available:
R Rename
R Delete
R Reset
% The guest profile cannot be dele ted or
re named. So
ftwa reupdates Information on software updates
The multimedia sy
stem displa ysa cor responding
message when a software update isavailable.
Depending on the source, you can per form
va rious update s: Source of
the
update Up
date type
Up dates via mobile
phone Na
vigation map, sys‐
te m updates, Digital
Owner's Manual
Up dates via an exter‐
nal storage medium,
e.g. a USB flash drive Na
vigation maps %
Software updates via mobile phone requ ire
an active Internet connection forth eve hicle.
This is not available in all countries. For fur‐
th er information on connecting tothe Inter‐
net, see (/ page 251). Multimedia sy
stem 191
Page 201 of 433
Na
vigation Switching navigation on
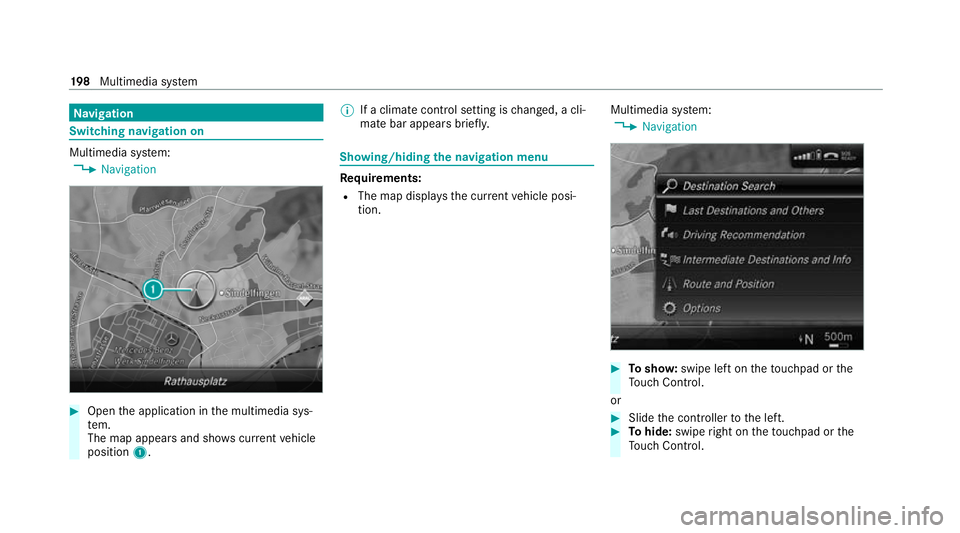
Multimedia sy
stem:
4 Navigation #
Open the application in the multimedia sys‐
te m.
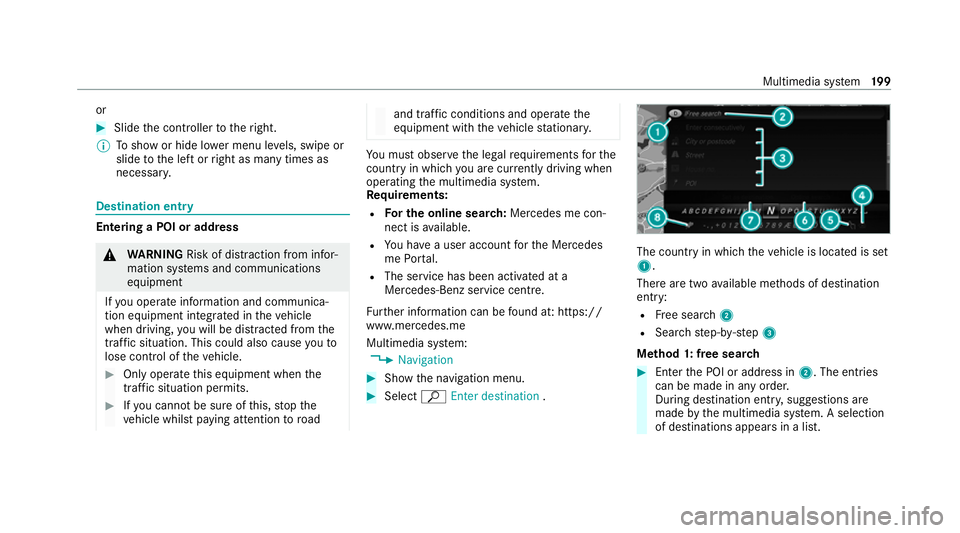
The map appears and sho wscurrent vehicle
position 1. %
If a climate contro l setting ischanged, a cli‐
mate bar appears brief ly. Showing/hiding
the navigation menu Re
quirements:
R The map displa ys the cur rent vehicle posi‐
tion. Multimedia sy
stem:
4 Navigation #
Tosho w:swipe left on theto uchpad or the
To uch Control.
or #
Slide the controller tothe left. #
Tohide: swipe right on theto uchpad or the
To uch Control. 19 8
Multimedia sy stem
Page 202 of 433
or
#
Slide the controller totheright.
% Toshow or hide lo wer menu le vels, swipe or
slide tothe left or right as many times as
necessar y. Destination ent
ry Entering a POI or address
&
WARNING Risk of dist raction from infor‐
mation sy stems and communications
equipment
If yo u operate information and communica‐
tion equipment integ rated in theve hicle
when driving, you will be distracted from the
traf fic situation. This could also cause youto
lose control of theve hicle. #
Only operate this equipment when the
traf fic situation permits. #
Ifyo u cannot be sure of this, stop the
ve hicle whilst paying attention toroad and traf
fic conditions and ope rate the
equipment with theve hicle stationar y. Yo
u must obse rveth e legal requirements forthe
country in whi chyou are cur rently driving when
operating the multimedia sy stem.
Re quirements:
R For the online sear ch:Me rcedes me con‐
nect is available.
R You ha vea user account forth e Mercedes
me Portal.
R The service has been activated at a
Mercedes-Benz service centre.
Fu rther information can be found at: https://
www.mercedes.me
Multimedia sy stem:
4 Navigation #
Show the navigation menu. #
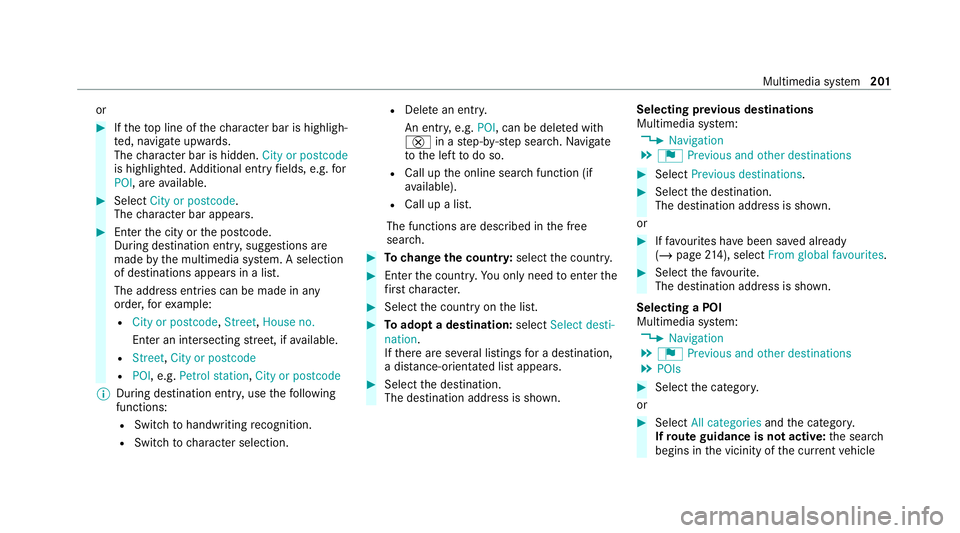
Select ªEnter destination . The count
ryin which theve hicle is located is set
1.
There are two available me thods of destination
entry:
R Free sear ch2
R Sea rchstep-b y-step 3
Me thod 1: free sear ch #
Enter the POI or address in 2. The entries
can be made in any order.
During destination entry , suggestions are
made bythe multimedia sy stem. A selection
of destinations appears in a list. Multimedia sy
stem 19 9
Page 204 of 433
or
#
Ifth eto p line of thech aracter bar is highligh‐
te d, navigate upwards.
The character bar is hidden. City or postcode
is highlighted. Additional ent ryfields, e.g. for
POI, are available. #
Select City or postcode.
The character bar appears. #
Enterth e city or the postcode.
During destination entry , suggestions are
made bythe multimedia sy stem. A selection
of destinations appears in a list.
The address entri es can be made in any
order, forex ample:
R City or postcode, Street,House no.
En ter an intersecting stre et, if available.
R Street, City or postcode
R POI , e.g. Petrol station, City or postcode
% During destination ent ry, use thefo llowing
functions:
R Swit chtohandwriting recognition.
R Switch tocharacter selection. R
Dele tean ent ry.
An entr y,e.g. POI, can be dele ted with
£ in astep-b y-step sear ch.Na vigate
to the left todo so.
R Call up the online sear chfunction (if
av ailable).
R Call up a list.
The functions are desc ribed in the free
sear ch. #
Tochange the count ry:select the count ry. #
Enter the count ry.Yo u on ly need toenter the
fi rs tch aracter. #
Select the count ryon the list. #
Toadopt a destination: selectSelect desti-
nation.
If th ere are se veral listings for a destination,
a dis tance-o rientated list appears. #
Select the destination.
The destination address is shown. Selecting pr
evious destinations
Multimedia sy stem:
4 Navigation
5 ¬ Previous and other destinations #
Select Previous destinations. #
Select the destination.
The destination address is shown.
or #
Iffavo urites ha vebeen sa ved already
(/ page 214), sele ctFrom global favourites. #
Select thefa vo urite.
The destination address is shown.
Selecting a POI
Multimedia sy stem:
4 Navigation
5 ¬ Previous and other destinations
5 POIs #
Select the categor y.
or #
Select All categories andthe categor y.
If ro ute guidance is not active: the sear ch
begins in the vicinity of the cur rent vehicle Multimedia sy
stem 201
Page 206 of 433
tions are dele
ted. Ro ute guidance tothefill‐
ing station begins.
Set as next intermediate destination: the
selected filling station is set as the next inter‐
mediate destination. Route guidance begins. #
Ifth ere are already four intermediate des‐
tinations: selectYesinthe prom pt.
The selected filling station is entered into
position 1 of the intermediate destinations
menu. Intermediate destination 4 is dele ted.
Ro ute guidance begins.
Entering an intermediate destination
Re quirements:
R A destination is entered.
Multimedia sy stem:
4 Navigation
5 Intermediate destinations and info #
Select Search for an intermediate destina-
tion . #
Ente rth e intermediate destination as a POI
or address (/ page199). #
Select the intermediate destination. #
Select Set as destination.
or #
Select an intermediate destination using
ª Enter destination duringroute guid‐
ance. #
Select Set as next intermediate destination
af te r entering the destination.
Editing intermedia tedestinations
Re quirements:
R The destination and at least one intermediate
destination ha vebeen entered.
Multimedia sy stem:
4 Navigation
5 Intermediate destinations and info #
Tocall up the map: highlight the destination
or the intermediate destination. #
Select ¥Map. #
Movethe map (/ page219). #
Select destination on the map (/ page 205). #
Tochange the order of destinations: high‐
light the destination or the intermediate des‐
tination. #
Select ¥Move . #
Movethe intermediate destination tothe
desired position. #
Press theTo uch Control, the controller or the
to uchpad. #
Todel ete a destination: highlightthe desti‐
nation or the intermediate destination. #
Select ¥Delete.
Calculating a route with intermediate desti‐
nations
Re quirements:
R The destination and at least one intermediate
destination ha vebeen entered.
Multimedia sy stem:
4 Navigation
5 Intermediate destinations and info #
Select Start new route guidance.
The route is calculated with the set inter‐
mediate destinations. Multimedia sy
stem 203