2020 Hyundai Santa Fe control panel
[x] Cancel search: control panelPage 15 of 557

1-4
Your vehicle at a glance
I
IN
N T
TE
ER
R I
IO
O R
R
O
O V
VE
ER
R V
V I
IE
E W
W
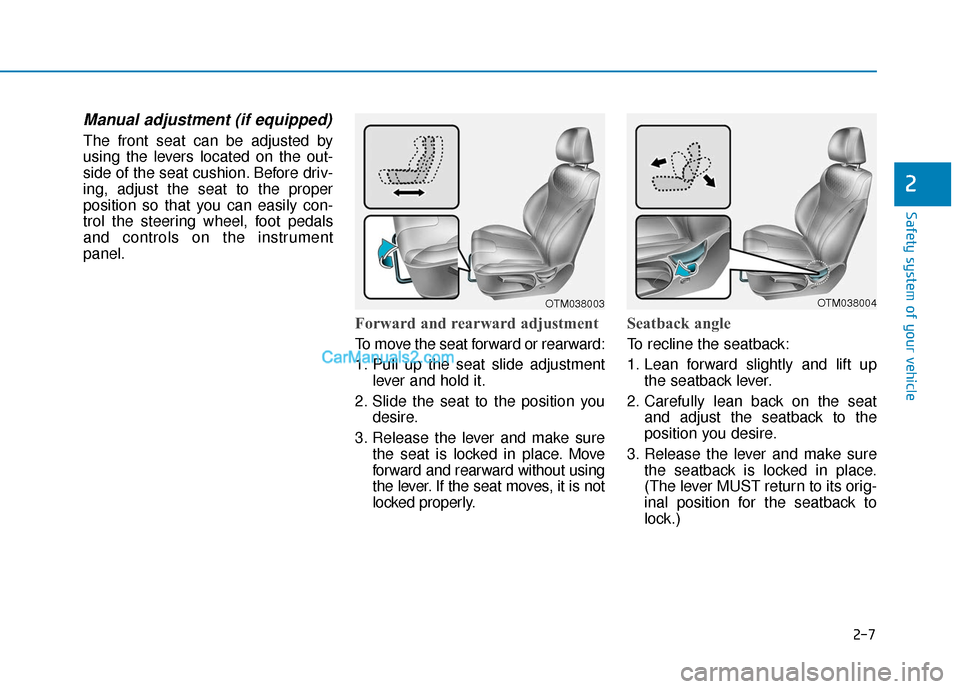
1. Inside door handle ................................3-15
2. Central door lock/unlock switch ............3-16
3. Power window switches ........................3-41
4. Power window lock switch/ ....................3-44
Electronic child safety lock switch ........3-19
5. Side view mirror control switch ..............3-39
6. Instrument panel illumination control switch ....................................................3-67
7. Lane Keeping Assist (LKA) system switch ....................................................5-94
8. Blind-spot Collision Warning (BCW)/ Blind-Spot Collision-Avoidance
Assist switch (BCA) ..............................5-70
9. AWD LOCK button ................................5-40
10. ESC OFF button ..................................5-32
11. Power liftgate button ............................3-52
12. Hood release lever ..............................3-49
13. Steering wheel tilt/telescopic lever ......3-28
14. Steering wheel ....................................3-27
15. Seat........................................................2-4
16. Fuse panel ..........................................7-53
OTMA018003
The actual shape may differ from the illustration.
Page 25 of 557

2-7
Safety system of your vehicle
2
Manual adjustment (if equipped)
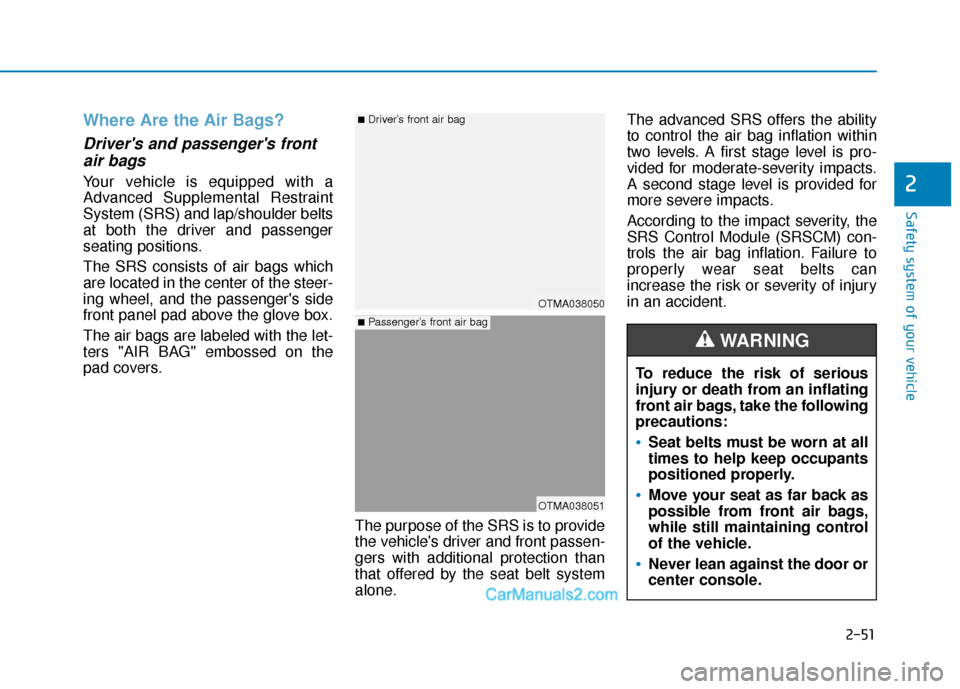
The front seat can be adjusted by
using the levers located on the out-
side of the seat cushion. Before driv-
ing, adjust the seat to the proper
position so that you can easily con-
trol the steering wheel, foot pedals
and controls on the instrument
panel.
Forward and rearward adjustment
To move the seat forward or rearward:
1. Pull up the seat slide adjustmentlever and hold it.
2. Slide the seat to the position you desire.
3. Release the lever and make sure the seat is locked in place. Move
forward and rearward without using
the lever. If the seat moves, it is not
locked properly.
Seatback angle
To recline the seatback:
1. Lean forward slightly and lift upthe seatback lever.
2. Carefully lean back on the seat and adjust the seatback to the
position you desire.
3. Release the lever and make sure the seatback is locked in place.
(The lever MUST return to its orig-
inal position for the seatback to
lock.)
OTM038003OTM038004
Page 27 of 557

2-9
Safety system of your vehicle
2
Lumbar support
(for driver's seat, if equipped)
The lumbar support can be adjusted
by pressing the lumbar support
switch.
Press the front portion of the switch
(1) to increase support or the rear
portion of the switch (2) to decrease
support.
Power adjustment (if equipped)
The front seat can be adjusted by
using the control switches located on
the outside of the seat cushion. Before
driving, adjust the seat to the proper
position so that you can easily control
the steering wheel, foot pedals and
controls on the instrument panel.To prevent damage to the seats:
Always stop adjusting the seats
when the seat has moved as far
forward or rearward as possible.
Do not adjust the seats for longer than necessary when the
vehicle is turned off. This may
result in unnecessary battery
drain.
Do not operate two or more seats at the same time. This may
result in an electrical malfunc-
tion.
NOTICE
NEVER allow children in the
vehicle unattended. The power
seats are operable when the
vehicle is turned off.
WARNING
OTM038006
Page 51 of 557

2-33
Safety system of your vehicle
2
The Pre-Tensioner Seat Belt System
consists mainly of the following com-
ponents. Their locations are shown in
the illustration above:
1. SRS air bag warning light
2. Retractor pre-tensioner
3. SRS control module
4. Emergency fastening deviceThe sensor that activates the SRS
air bag is connected with the
pre–tensioner seat belts. The SRS
air bag warning light on the instru-
ment panel will illuminate for
approximately 6 seconds after the
ignition switch is in the ON posi-
tion, and then it should turn off.
If the pre-tensioner is not working
properly, the warning light will illu-
minate even if the SRS air bag is
not malfunctioning. If the warning
light does not illuminate, stays
illuminated or illuminates when
the vehicle is being driven, have
an authorized HYUNDAI dealer
inspect the pre-tensioner seat
belts and SRS air bags as soon as
possible.
Both the driver's and front pas-
senger's pre-tensioner seat
belts may be activated in certain
frontal or side collisions or
rollovers.
When the pre-tensioner seat belts are activated, a loud noise
may be heard and fine dust,
which may appear to be smoke,
may be visible in the passenger
compartment. These are normal
operating conditions and are not
hazardous.
Although it is non-toxic, the fine dust may cause skin irritation
and should not be inhaled for
prolonged periods. Wash all
exposed skin areas thoroughly
after an accident in which the
pre-tensioner seat belts were
activated.
NOTICENOTICE
OLMB033040/Q
Page 69 of 557

2-51
Safety system of your vehicle
2
Where Are the Air Bags?
Driver's and passenger's frontair bags
Your vehicle is equipped with a
Advanced Supplemental Restraint
System (SRS) and lap/shoulder belts
at both the driver and passenger
seating positions.
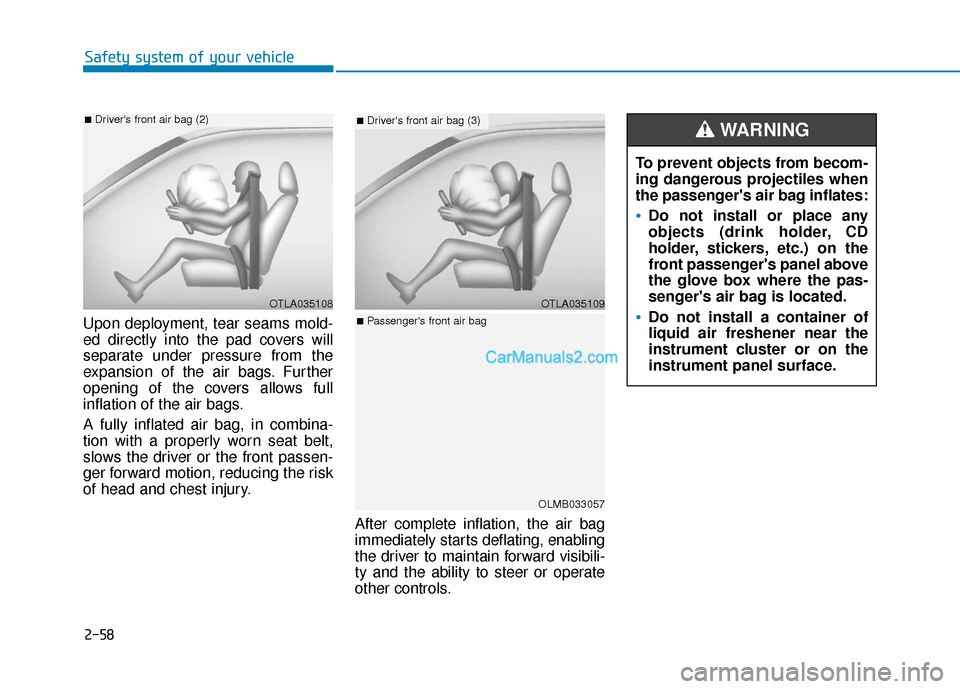
The SRS consists of air bags which
are located in the center of the steer-
ing wheel, and the passenger's side
front panel pad above the glove box.
The air bags are labeled with the let-
ters "AIR BAG" embossed on the
pad covers.
The purpose of the SRS is to provide
the vehicle's driver and front passen-
gers with additional protection than
that offered by the seat belt system
alone.The advanced SRS offers the ability
to control the air bag inflation within
two levels. A first stage level is pro-
vided for moderate-severity impacts.
A second stage level is provided for
more severe impacts.
According to the impact severity, the
SRS Control Module (SRSCM) con-
trols the air bag inflation. Failure to
properly wear seat belts can
increase the risk or severity of injury
in an accident.
OTMA038051
OTMA038050
■Passenger’s front air bag
■Driver’s front air bag
To reduce the risk of serious
injury or death from an inflating
front air bags, take the following
precautions:
Seat belts must be worn at all
times to help keep occupants
positioned properly.
Move your seat as far back as
possible from front air bags,
while still maintaining control
of the vehicle.
Never lean against the door or
center console.
WARNING
Page 73 of 557

2-55
Safety system of your vehicle
2
10.Side pressure sensors
11.Seat belt buckle sensor
12.Emergency Fastening DeviceSystem
13.Occupant classification system
The SRSCM (Supplemental Restraint
System Control Module) continually
monitors all SRS components while
the ignition switch is in the ON position
to determine if a crash impact is
severe enough to require air bag
deployment or pre-tensioner seat belt
deployment.SRS warning light
The SRS (Supplement Restraint
System) air bag warning light on the
instrument panel displays the air bag
symbol depicted in the illustration.
The system checks the air bag elec-
trical system for malfunctions. The
light indicates that there is a potential
malfunction with your air bag system,
which could include your side and
curtain air bags used for rollover pro-
tection.
If your SRS malfunctions, the air
bag may not inflate properly dur-
ing an accident increasing the
risk of serious injury or death.
If any of the following condi-
tions occur, your SRS is mal-
functioning:
The light does not turn on for
approximately six seconds
when the Engine Start/Stop
button is in the ON position.
The light stays on after illumi-
nating for approximately six
seconds.
The light comes on while the
vehicle is in motion.
The light blinks when the
engine is running.
Have an authorized HYUNDAI
dealer inspect the SRS as soon
as possible if any of these con-
ditions occur.
WARNING
Page 76 of 557

2-58
Safety system of your vehicle
Upon deployment, tear seams mold-
ed directly into the pad covers will
separate under pressure from the
expansion of the air bags. Further
opening of the covers allows full
inflation of the air bags.
A fully inflated air bag, in combina-
tion with a properly worn seat belt,
slows the driver or the front passen-
ger forward motion, reducing the risk
of head and chest injury. After complete inflation, the air bag
immediately starts deflating, enabling
the driver to maintain forward visibili-
ty and the ability to steer or operate
other controls.
OTLA035108
■Driver's front air bag (2)
To prevent objects from becom-
ing dangerous projectiles when
the passenger's air bag inflates:
Do not install or place any
objects (drink holder, CD
holder, stickers, etc.) on the
front passenger's panel above
the glove box where the pas-
senger's air bag is located.
Do not install a container of
liquid air freshener near the
instrument cluster or on the
instrument panel surface.
WARNING
OTLA035109
■Driver's front air bag (3)
OLMB033057
■Passenger's front air bag
Page 114 of 557

3-25
Convenient features of your vehicle
3
Recalling Positions from
Memory
1. Shift to P (Park) while the ignitionswitch is in the ON position.
2. Press the desired memory button (1 or 2). The system will beep
once, and then the driver's seat
position, side view mirror position,
instrument panel illumination
intensity and head-up display
height/brightness will automatical-
ly adjust to the stored positions.
3. "Driver 1 (or 2) settings applied" will appear on the cluster LCD dis-
play.
Information
• While recalling the "1" memoryposition, pressing the SET or 1 but-
ton temporarily stops the adjust-
ment of the recalled memory posi-
tion. Pressing the 2 button recalls
the "2" memory position. • While recalling the "2" memory
position, pressing the SET or 2 but-
ton temporarily stops the adjust-
ment of the recalled memory posi-
tion. Pressing the 1 button recalls
the "1" memory position.
• While recalling the stored positions, pressing one of the control buttons
for the driver's seat, side view mir-
ror, instrument panel illumination
or head-up display will cause the
movement of that component to stop
and move in the direction that the
control button is pressed.
Resetting the Driver's Seat
Memory System
Take the following procedures to reset
the driver's seat memory system,
when it does not operate properly.
To reset the driver's seat memo-ry system
1. Place the ignition switch to the ON
position, shift to P (Park), and
open the driver's door. 2. Operate the control switch to set
the driver's seat and seatback to
the foremost position.
3. Simultaneously press the SET button and push forward the seat
movement switch over 2 seconds.
While resetting the driver's seatmemory system
1. It starts with the notification sound.
2. The driver's seat and seatback is
adjusted to the rearward position
with the notification sound.
3. The driver's seat and seatback is re-adjusted to the default position
(central position) with the notifica-
tion sound.
However, in the following cases, the
resetting procedure and the notifica-
tion sound may stop.
- The memory button is pressed.
- The control switch is operated.
- The gear is shifted out of P (Park).
- The driving speed exceeds 2 mph (3 km/h).
- The driver's door is closed.
i