2020 Hyundai Santa Fe ignition
[x] Cancel search: ignitionPage 116 of 557
3-27
Convenient features of your vehicle
3
S
ST
T E
EE
ER
R I
IN
N G
G
W
W H
HE
EE
EL
L
Electric Power Steering (EPS)
The system assists you with steering
the vehicle. If the vehicle is turned off
or if the power steering system
becomes inoperative, you may still
steer the vehicle, but it will require
increased steering effort.
Should you notice any change in the
effort required to steer during normal
vehicle operation, have the system
checked by an authorized HYUNDAI
dealer.
If the Electric Power Steering
System does not operate nor-
mally, the warning light ( ) will
illuminate on the instrument
cluster. You may steer the vehi-
cle, but it will require increased
steering efforts. Take your vehi-
cle to an authorized HYUNDAI
dealer and have the system
checked as soon as possible. When abnormality is detected in
the electric power steering sys-
tem, the steering assist function
will stop. At this time, the warn-
ing light turns on or blinks on
the cluster. The steering wheel
may become difficult to control
or operate. Have your vehicle
checked immediately, after mov-
ing the vehicle to a safe zone.
Information
The following symptoms may occur
during normal vehicle operation:
• The steering effort may be high immediately after placing the igni-
tion switch in the ON position.
This happens as the system per-
forms the EPS system diagnostics.
When the diagnostics are complet-
ed, the steering wheel effort will
return to its normal condition.
• A click noise may be heard from the EPS relay after the ignition switch
is in the ON or LOCK/OFF position.
• Motor noise may be heard when the vehicle is at a stop or at a low driv-
ing speed. • When you operate the steering
wheel in low temperatures, abnor-
mal noise may occur. If the temper-
ature rises, the noise will disappear.
This is a normal condition.
• When an error is detected from the EPS, the steering effort assist func-
tion will not be activated.
Instrument cluster warning lights
may be on or the steering effort
may be high. If these symptoms
occur, drive the vehicle to a safe
area as soon as it is safe to do so.
Have the system checked by an
authorized HYUNDAI dealer as
soon as possible.
i
NOTICE
Page 118 of 557
3-29
Convenient features of your vehicle
3
Heated Steering Wheel
(if equipped)
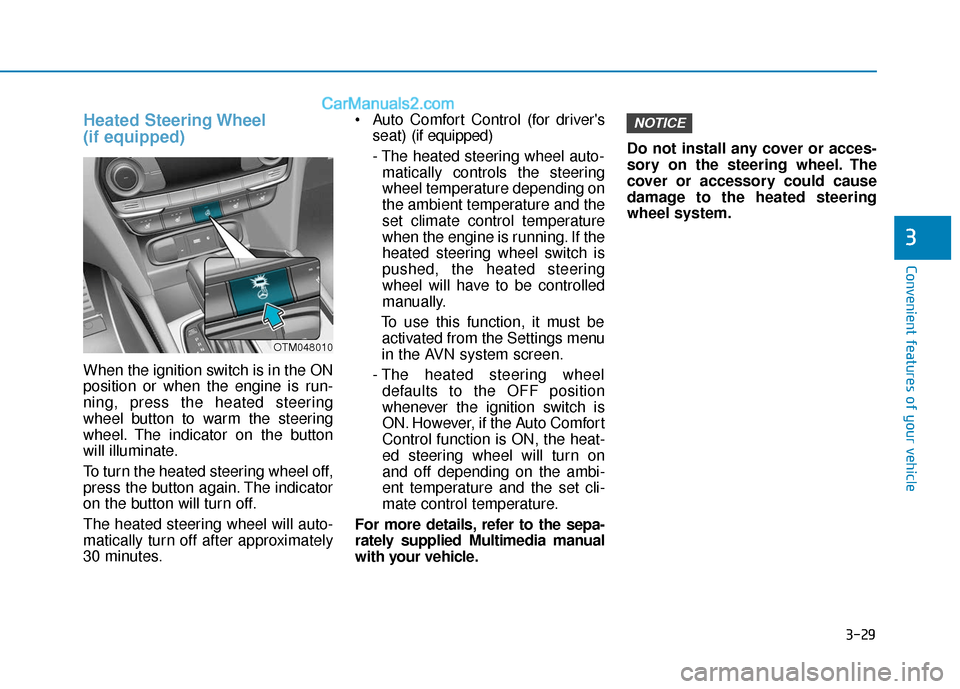
When the ignition switch is in the ON
position or when the engine is run-
ning, press the heated steering
wheel button to warm the steering
wheel. The indicator on the button
will illuminate.
To turn the heated steering wheel off,
press the button again. The indicator
on the button will turn off.
The heated steering wheel will auto-
matically turn off after approximately
30 minutes. Auto Comfort Control (for driver's
seat) (if equipped)
- The heated steering wheel auto- matically controls the steering
wheel temperature depending on
the ambient temperature and the
set climate control temperature
when the engine is running. If the
heated steering wheel switch is
pushed, the heated steering
wheel will have to be controlled
manually.
To use this function, it must be activated from the Settings menu
in the AVN system screen.
- The heated steering wheel defaults to the OFF position
whenever the ignition switch is
ON. However, if the Auto Comfort
Control function is ON, the heat-
ed steering wheel will turn on
and off depending on the ambi-
ent temperature and the set cli-
mate control temperature.
For more details, refer to the sepa-
rately supplied Multimedia manual
with your vehicle. Do not install any cover or acces-
sory on the steering wheel. The
cover or accessory could cause
damage to the heated steering
wheel system.
NOTICE
OTM048010
Page 122 of 557
3-33
Convenient features of your vehicle
3
Compass function
The Compass can be turned ON and
OFF and will remember the last state
when the ignition is cycled. To turn
the display feature ON/OFF:
1. Press and release the buttonwithin 1 second to turn the display
feature OFF.
2. Press and release the button again within 1 second to turn the
display back ON.
Additional options can be set with
press and hold sequences of the
button and are detailed below.
There is a difference between mag-
netic north and true north. To com-
pensate for this difference you will
need to adjust the Zone setting based
on where you live.
B520C05NF
Page 129 of 557

3-40
Convenient features of your vehicle
Folding the side view mirrors
To fold the side view mirrors, grasp
the housing of the mirror and then
fold it inwards.
Reverse Parking Aid Function
(if equipped)
When you move the shift lever to the
R (Reverse) position, the side view
mirror(s) will rotate downwards to aid
with driving in reverse. The position
of the side view mirror switch (1)
determines whether or not the mir-
rors will move:
Left/Right :When either the L (Left) or
R (Right) switch is select-
ed, both side view mirrors
will move.
Neutral : When neither switch is select- ed, the side view mirrors will
not move. The side view mirrors will automati-
cally revert to their original positions
if any of the following occur:
The ignition switch is placed to
either the LOCK/OFF position or
the ACC position.
The shift lever is moved to any position except R (Reverse).
The remote control side view mir- ror switch is not selected.
OTMA048008
OTMA048015
Page 131 of 557
3-42
Convenient features of your vehicle
Power Windows
The ignition switch must be in the ON
position to be able to raise or lower
the windows. Each door has a Power
Window switch to control that door’s
window. The driver has a Power
Window Lock switch which can block
the operation of passenger windows.
The power windows will operate for
approximately 10 minutes after the
ignition switch is placed in the ACC
or LOCK/OFF position. However, if
the front doors are opened, the
Power Windows will not operate even
within the 10 minutes period.
Information
• In cold and wet climates, powerwindows may not work properly
due to freezing conditions.
• While driving with the rear win- dows down or with the sunroof (if
equipped) opened (or partially
opened), your vehicle may demon-
strate a wind buffeting or pulsation
noise. This noise is normal and can
be reduced or eliminated by taking
the following actions. If the noise
occurs with one or both of the rear
windows down, partially lower
both front windows approximately
one inch. If you experience the
noise with the sunroof open, slight-
ly close the sunroof.
Window opening and closing
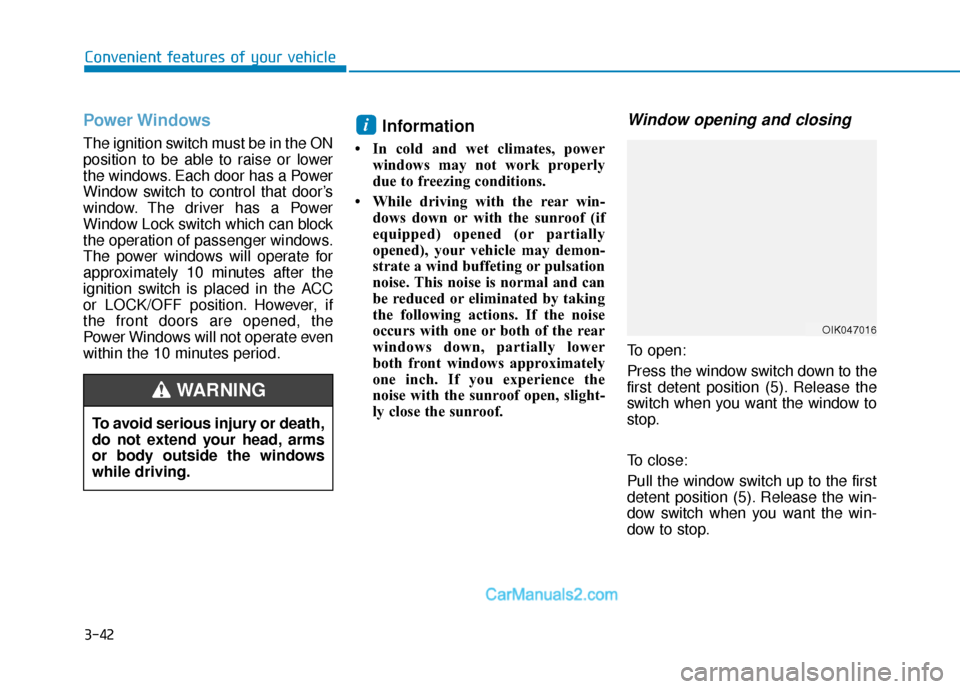
To open:
Press the window switch down to the
first detent position (5). Release the
switch when you want the window to
stop.
To close:
Pull the window switch up to the first
detent position (5). Release the win-
dow switch when you want the win-
dow to stop.
i
To avoid serious injury or death,
do not extend your head, arms
or body outside the windows
while driving.
WARNING
OIK047016
Page 132 of 557
3-43
Convenient features of your vehicle
3
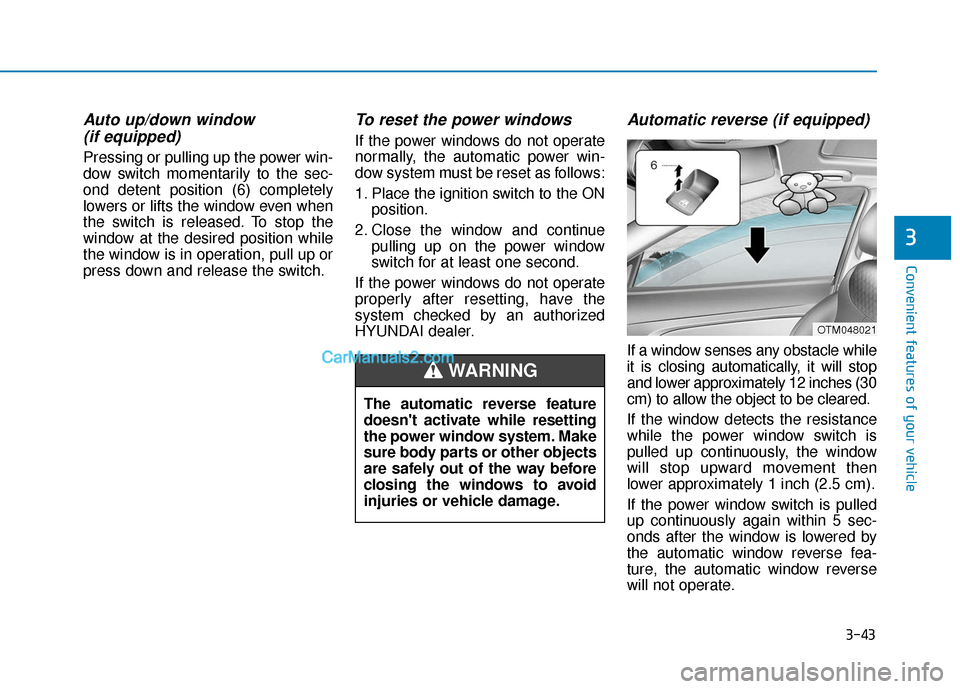
Auto up/down window (if equipped)
Pressing or pulling up the power win-
dow switch momentarily to the sec-
ond detent position (6) completely
lowers or lifts the window even when
the switch is released. To stop the
window at the desired position while
the window is in operation, pull up or
press down and release the switch.
To reset the power windows
If the power windows do not operate
normally, the automatic power win-
dow system must be reset as follows:
1. Place the ignition switch to the ON
position.
2. Close the window and continue pulling up on the power window
switch for at least one second.
If the power windows do not operate
properly after resetting, have the
system checked by an authorized
HYUNDAI dealer.
Automatic reverse (if equipped)
If a window senses any obstacle while
it is closing automatically, it will stop
and lower approximately 12 inches (30
cm) to allow the object to be cleared.
If the window detects the resistance
while the power window switch is
pulled up continuously, the window
will stop upward movement then
lower approximately 1 inch (2.5 cm).
If the power window switch is pulled
up continuously again within 5 sec-
onds after the window is lowered by
the automatic window reverse fea-
ture, the automatic window reverse
will not operate.
The automatic reverse feature
doesn't activate while resetting
the power window system. Make
sure body parts or other objects
are safely out of the way before
closing the windows to avoid
injuries or vehicle damage.
WARNING
OTM048021
Page 134 of 557
3-45
Convenient features of your vehicle
3
If your vehicle is equipped with a
sunroof, you can slide or tilt your
sunroof with the sunroof control lever
located on the overhead console.
The ignition switch must be in the ON
position before you can open or close
the sunroof.
The sunroof can be operated for
approximately 10 minutes after the
ignition switch is removed or turned
to the ACC or LOCK/OFF position.
However, if the front doors are
opened, the sunroof cannot be
adjusted even within the 10 minutes
period.Information
• In cold and wet climates, the sun-roof may not work properly due to
freezing conditions.
• After the vehicle is washed or in a rainstorm, be sure to wipe off any
water that is on the sunroof before
operating it.
Do not continue to move the sun-roof control lever after the sun-
roof is fully opened, closed, or
tilted. Damage to the motor or
system components could occur.
Make sure the sunroof is closed fully when leaving your vehicle.
If the sunroof is left open, rain or
snow may wet the interior of the
vehicle. Also, leaving the sunroof
open when the vehicle is unat-
tended may invite theft.
NOTICE
i
P PA
A N
N O
O R
RA
A M
M I
IC
C
S
S U
U N
NR
RO
O O
OF
F
(
( I
IF
F
E
E Q
Q U
UI
IP
P P
PE
ED
D )
)
OTM048022
Never adjust the sunroof or
sunshade while driving. This
could result in loss of control
and an accident that may
cause death, serious injury, or
property damage.
Make sure heads, hands, arms
or any other body parts or
objects are out of the way
before operating the sunroof.
Do not extend your head, arms
or body outside the sunroof
while driving, to avoid serious
injury.
Do not leave the engine run-
ning and the key in your vehi-
cle with unsupervised children.
WARNING
Unattended children could
operate the sunroof, which
could result in serious injury.
The sunroof is made of glass,
subject to break in case of an
accident. Passengers without
the appropriate protection (e.g.
seat belt, CRS, etc.) on may
project out thr ough the broken
glass and may be seriously
injured or even result in death.
Do not sit on the top of the
vehicle. It may cause injury or
vehicle damage.
Page 141 of 557
3-52
Convenient features of your vehicle
Power Liftgate (if equipped)
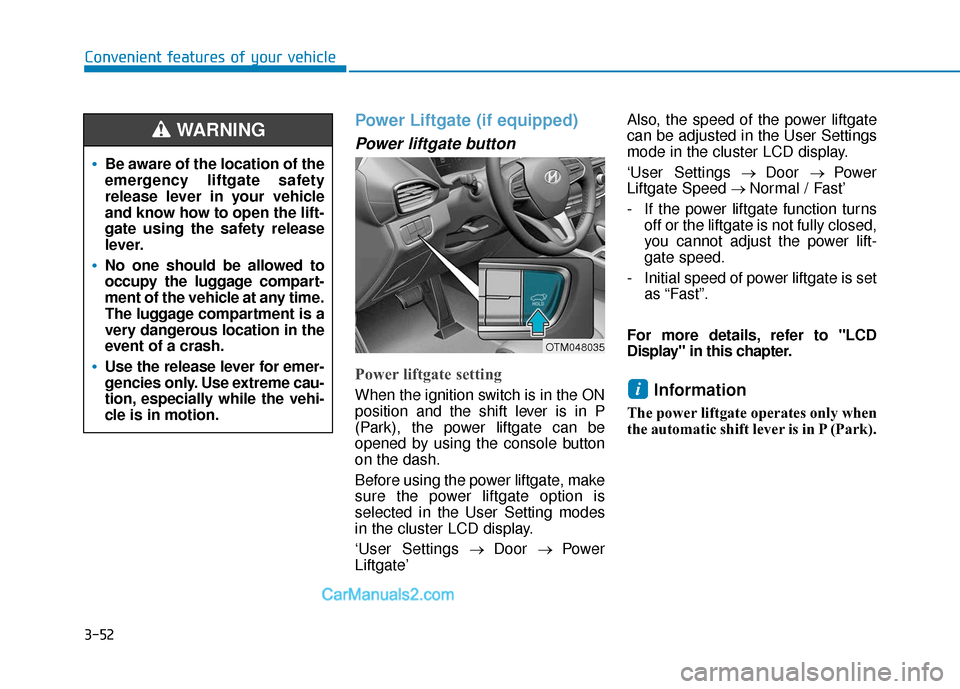
Power liftgate button
Power liftgate setting
When the ignition switch is in the ON
position and the shift lever is in P
(Park), the power liftgate can be
opened by using the console button
on the dash.
Before using the power liftgate, make
sure the power liftgate option is
selected in the User Setting modes
in the cluster LCD display.
‘User Settings→ Door → Power
Liftgate’ Also, the speed of the power liftgate
can be adjusted in the User Settings
mode in the cluster LCD display.
‘User Settings
→ Door → Power
Liftgate Speed → Normal / Fast’
- If the power liftgate function turns off or the liftgate is not fully closed,
you cannot adjust the power lift-
gate speed.
- Initial speed of power liftgate is set as “Fast”.
For more details, refer to "LCD
Display" in this chapter.Information
The power liftgate operates only when
the automatic shift lever is in P (Park).
i
Be aware of the location of the
emergency liftgate safety
release lever in your vehicle
and know how to open the lift-
gate using the safety release
lever.
No one should be allowed to
occupy the luggage compart-
ment of the vehicle at any time.
The luggage compartment is a
very dangerous location in the
event of a crash.
Use the release lever for emer-
gencies only. Use extreme cau-
tion, especially while the vehi-
cle is in motion.
WARNING
OTM048035