2020 Hyundai Santa Fe Engine Off
[x] Cancel search: Engine OffPage 427 of 557
6-7
What to do in an emergency
6
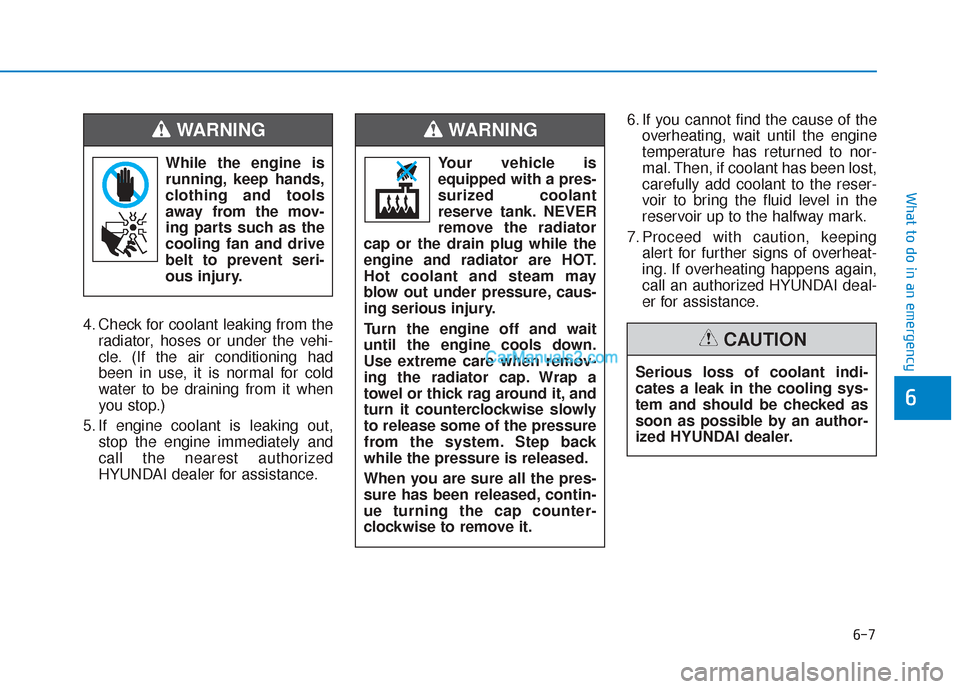
4. Check for coolant leaking from theradiator, hoses or under the vehi-
cle. (If the air conditioning had
been in use, it is normal for cold
water to be draining from it when
you stop.)
5. If engine coolant is leaking out, stop the engine immediately and
call the nearest authorized
HYUNDAI dealer for assistance. 6. If you cannot find the cause of the
overheating, wait until the engine
temperature has returned to nor-
mal. Then, if coolant has been lost,
carefully add coolant to the reser-
voir to bring the fluid level in the
reservoir up to the halfway mark.
7. Proceed with caution, keeping alert for further signs of overheat-
ing. If overheating happens again,
call an authorized HYUNDAI deal-
er for assistance.
While the engine is
running, keep hands,
clothing and tools
away from the mov-
ing parts such as the
cooling fan and drive
belt to prevent seri-
ous injury.
WARNING
Serious loss of coolant indi-
cates a leak in the cooling sys-
tem and should be checked as
soon as possible by an author-
ized HYUNDAI dealer.
CAUTION
Your vehicle is
equipped with a pres-
surized coolant
reserve tank. NEVER
remove the radiator
cap or the drain plug while the
engine and radiator are HOT.
Hot coolant and steam may
blow out under pressure, caus-
ing serious injury.
Turn the engine off and wait
until the engine cools down.
Use extreme care when remov-
ing the radiator cap. Wrap a
towel or thick rag around it, and
turn it counterclockwise slowly
to release some of the pressure
from the system. Step back
while the pressure is released.
When you are sure all the pres-
sure has been released, contin-
ue turning the cap counter-
clockwise to remove it.
WARNING
Page 436 of 557
6-16
What to do in an emergency
Changing Tires
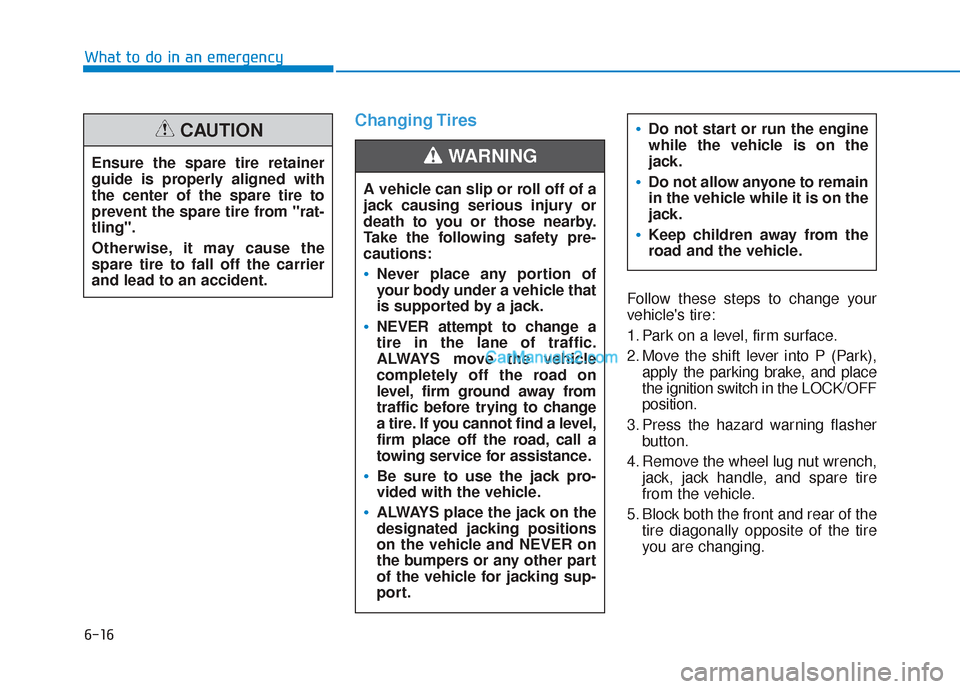
Follow these steps to change your
vehicle's tire:
1. Park on a level, firm surface.
2. Move the shift lever into P (Park),apply the parking brake, and place
the ignition switch in the LOCK/OFF
position.
3. Press the hazard warning flasher button.
4. Remove the wheel lug nut wrench, jack, jack handle, and spare tire
from the vehicle.
5. Block both the front and rear of the tire diagonally opposite of the tire
you are changing.
A vehicle can slip or roll off of a
jack causing serious injury or
death to you or those nearby.
Take the following safety pre-
cautions:
Never place any portion of
your body under a vehicle that
is supported by a jack.
NEVER attempt to change a
tire in the lane of traffic.
ALWAYS move the vehicle
completely off the road on
level, firm ground away from
traffic before trying to change
a tire. If you cannot find a level,
firm place off the road, call a
towing service for assistance.
Be sure to use the jack pro-
vided with the vehicle.
ALWAYS place the jack on the
designated jacking positions
on the vehicle and NEVER on
the bumpers or any other part
of the vehicle for jacking sup-
port.
Do not start or run the engine
while the vehicle is on the
jack.
Do not allow anyone to remain
in the vehicle while it is on the
jack.
Keep children away from the
road and the vehicle.
WARNING Ensure the spare tire retainer
guide is properly aligned with
the center of the spare tire to
prevent the spare tire from "rat-
tling".
Otherwise, it may cause the
spare tire to fall off the carrier
and lead to an accident.
CAUTION
Page 447 of 557
O
OW
W N
NE
ER
R
M
M A
AI
IN
N T
TE
EN
N A
AN
N C
CE
E
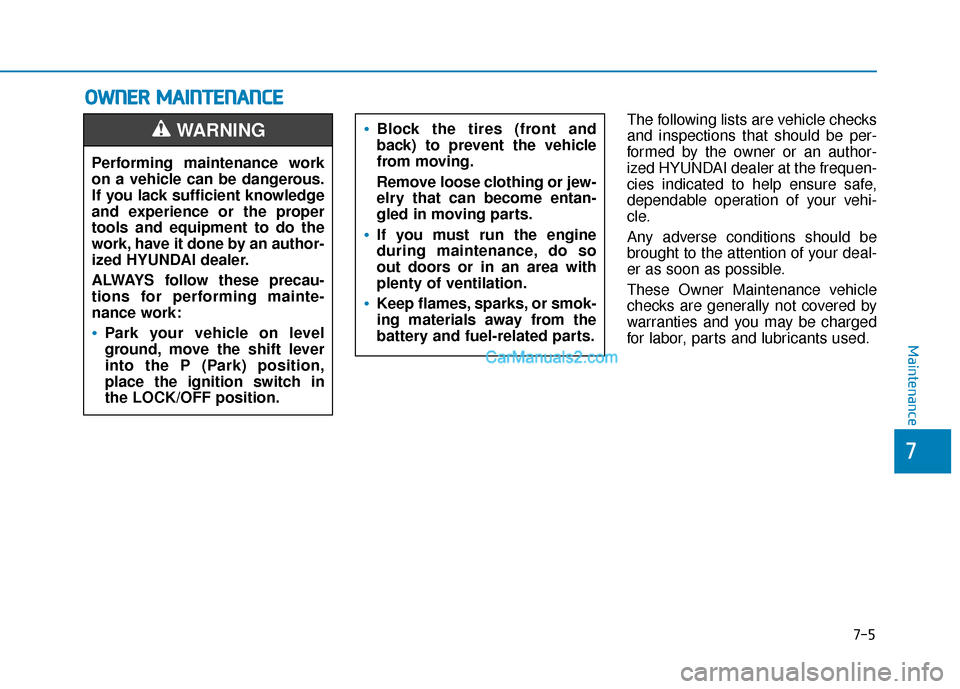
The following lists are vehicle checks
and inspections that should be per-
formed by the owner or an author-
ized HYUNDAI dealer at the frequen-
cies indicated to help ensure safe,
dependable operation of your vehi-
cle.
Any adverse conditions should be
brought to the attention of your deal-
er as soon as possible.
These Owner Maintenance vehicle
checks are generally not covered by
warranties and you may be charged
for labor, parts and lubricants used.
Performing maintenance work
on a vehicle can be dangerous.
If you lack sufficient knowledge
and experience or the proper
tools and equipment to do the
work, have it done by an author-
ized HYUNDAI dealer.
ALWAYS follow these precau-
tions for performing mainte-
nance work:
•Park your vehicle on level
ground, move the shift lever
into the P (Park) position,
place the ignition switch in
the LOCK/OFF position.
WARNING Block the tires (front and
back) to prevent the vehicle
from moving.
Remove loose clothing or jew-
elry that can become entan-
gled in moving parts.
If you must run the engine
during maintenance, do so
out doors or in an area with
plenty of ventilation.
Keep flames, sparks, or smok-
ing materials away from the
battery and fuel-related parts.
Maintenance
7
7-5
Page 462 of 557
7-20
Maintenance
Brake Hoses and Lines
Visually check for proper installation,
chafing, cracks, deterioration and
any leakage. Replace any deteriorat-
ed or damaged parts immediately.
Brake Fluid
Check the brake fluid level in the
brake fluid reservoir. The level should
be between the MIN and the MAX
marks on the side of the reservoir.
Use only hydraulic brake fluid con-
forming to DOT 3 or DOT 4 specifi-
cation.
Parking Brake
Inspect the parking brake system
including the parking brake pedal
and cables.
Brake Discs, Pads, Calipers
and Rotors
Check the pads for excessive wear,
discs for run out and wear, and
calipers for fluid leakage.
Exhaust Pipe and Muffler
Visually inspect the exhaust pipes,
muffler and hangers for cracks, dete-
rioration, or damage. Start the engine
and listen carefully for any exhaust
gas leakage. Tighten connections or
replace parts as necessary.
Suspension Mounting Bolts
Check the suspension connections
for looseness or damage. Retighten
to the specified torque.
Steering Gear Box, Linkage &
Boots/Lower Arm Ball Joint
With the vehicle stopped and the
engine off, check for excessive free-
play in the steering wheel. Check the
linkage for bends or damage. Check
the dust boots and ball joints for
deterioration, cracks, or damage.
Replace any damaged parts.
Drive Shafts and Boots
Check the drive shafts, boots and
clamps for cracks, deterioration, or
damage. Replace any damaged
parts and, if necessary, repack the
grease.
Air Conditioning Refrigerant
Check the air conditioning lines and
connections for leakage and dam-
age.
Page 463 of 557
7-21
7
Maintenance
E
EN
N G
GI
IN
N E
E
O
O I
IL
L
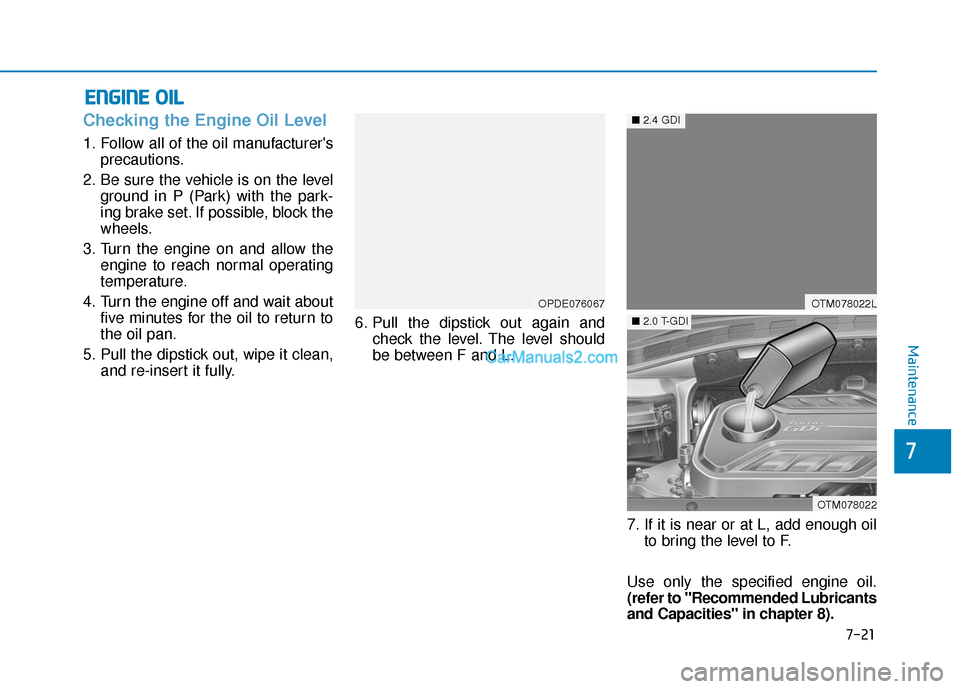
Checking the Engine Oil Level
1. Follow all of the oil manufacturer's
precautions.
2. Be sure the vehicle is on the level ground in P (Park) with the park-
ing brake set. If possible, block the
wheels.
3. Turn the engine on and allow the engine to reach normal operating
temperature.
4. Turn the engine off and wait about five minutes for the oil to return to
the oil pan.
5. Pull the dipstick out, wipe it clean, and re-insert it fully. 6. Pull the dipstick out again and
check the level. The level should
be between F and L.
7. If it is near or at L, add enough oilto bring the level to F.
Use only the specified engine oil.
(refer to "Recommended Lubricants
and Capacities" in chapter 8).
OPDE076067OTM078022L
OTM078022
■ 2.4 GDI
■2.0 T-GDI
Page 464 of 557
To prevent damage to your
engine:
Do not overfill with engine oil.Add oil in small quantities and
recheck level to ensure engine
is not overfilled.
Do not spill engine oil when adding or changing engine oil.
Use a funnel to help prevent oil
from being spilled on engine
components. Wipe off spilled oil
immediately.
Checking the Engine Oil and
Filter
Have engine oil and filter changed by
an authorized HYUNDAI dealer
according to the Maintenance
Schedule at the beginning of this
chapter.
NOTICE
CALIFORNIA PROPOSITION 65
WARNING
Engine oil contains chemicals
known to the State of California
to cause cancer, birth defects
and reproductive harm. Used
engine oil may cause irritation
or cancer of the skin if left in
contact with the skin for pro-
longed periods of time. Always
protect your skin by washing
your hands thoroughly with
soap and warm water as soon
as possible after handling used
oil.
WARNING
Maintenance
7-22
Page 466 of 557
Do not use a solution that containsmore than 60% antifreeze or less
than 35% antifreeze, which would
reduce the effectiveness of the
solution.
For mixing percentage, refer to the
following table:
Information
If in doubt about the mix ratio, a 50%
water and 50% antifreeze mix is the
easiest to mix together as it will be the
same quantity of each. It is suitable to
use for most temperature ranges of
- 31°F and higher.
i
7-24
Maintenance
The electric motor for
the cooling fan may
continue to operate
or start up when the
engine is not running
and can cause serious injury.
Keep hands, clothing and tools
away from the rotating fan
blades of the cooling fan.
Always turn off the engine
unless the vehicle has to be
inspected with the engine on.
Be cautious as the cooling fan
may operate if the negative (-)
battery terminal is not discon-
nected.
WARNING Ambient
Temperature Mixture Percentage
(volume)
Antifreeze Water
5°F (-15°C) 35 65
-13°F (-25°C) 40 60
-31°F (-35°C) 50 50
-49°F (-45°C) 60 40
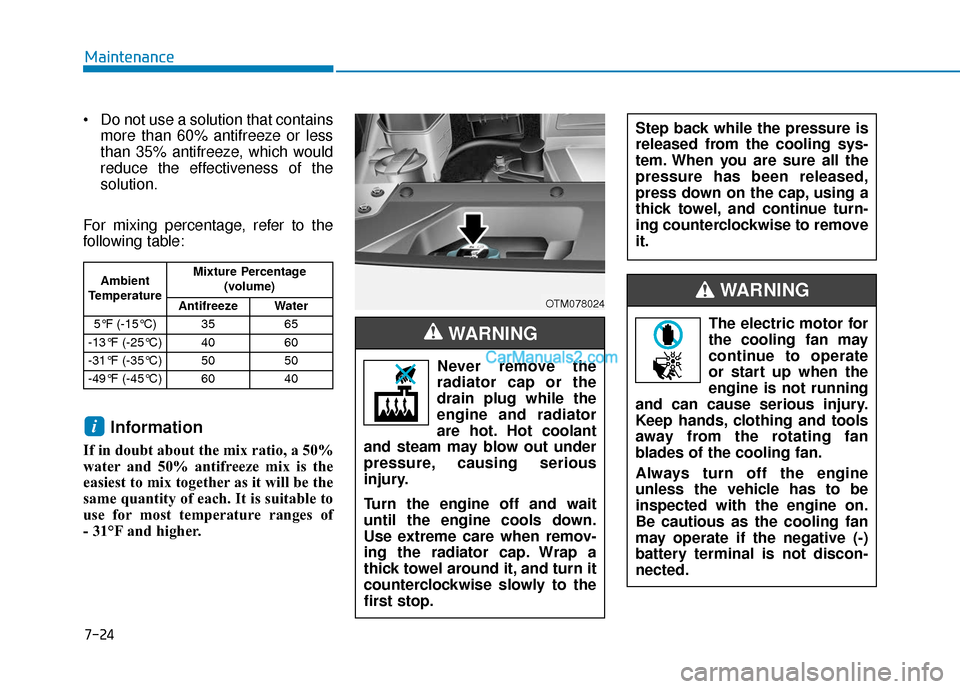
Never remove the
radiator cap or the
drain plug while the
engine and radiator
are hot. Hot coolant
and steam may blow out under
pressure, causing serious
injury.
Turn the engine off and wait
until the engine cools down.
Use extreme care when remov-
ing the radiator cap. Wrap a
thick towel around it, and turn it
counterclockwise slowly to the
first stop.
WARNING
OTM078024
Step back while the pressure is
released from the cooling sys-
tem. When you are sure all the
pressure has been released,
press down on the cap, using a
thick towel, and continue turn-
ing counterclockwise to remove
it.
Page 473 of 557
W
WI
IP
P E
ER
R
B
B L
LA
A D
DE
ES
S
Blade Inspection
Contamination of either the windshield
or the wiper blades with foreign matter
can reduce the effectiveness of the
windshield wiper functionality.
Common sources of contamination
are insects, tree sap, and hot wax
treatments used by some commercial
car washes. If the blades are not wip-
ing properly, clean both the window
and the blades with a clean cloth
dampened with washer fluid.
To prevent damage to the wiper
blades, arms or other compo-
nents, do not:
Use gasoline, kerosene, paint
thinner, or other solvents on or
near them.
Attempt to move the wipers manually.
Use non-specified wiper blades.
Information
Commercial hot waxes applied by auto-
matic car washes have been known to
make the windshield difficult to clean.
Blade Replacement
When the wipers no longer clean
adequately, the blades may be worn
or cracked, and require replacement.
To prevent damage to the wiper
arms or other components, do not
attempt to move the wipers manu-
ally.
The use of a non-specified wiper
blade could result in wiper mal-
function and failure.
In order to prevent damage to the hood and the wiper arms, the
wiper arms should only be lifted
when in the top wiping position.
Always return the wiper arms to the windshield before driving.
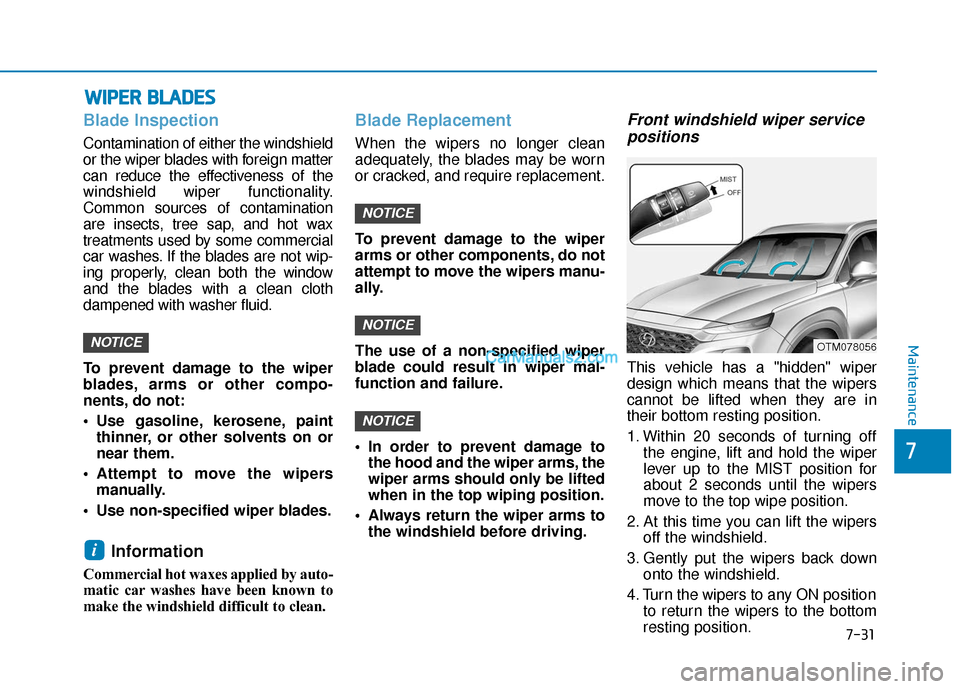
Front windshield wiper servicepositions
This vehicle has a "hidden" wiper
design which means that the wipers
cannot be lifted when they are in
their bottom resting position.
1. Within 20 seconds of turning off
the engine, lift and hold the wiper
lever up to the MIST position for
about 2 seconds until the wipers
move to the top wipe position.
2. At this time you can lift the wipers off the windshield.
3. Gently put the wipers back down onto the windshield.
4. Turn the wipers to any ON position to return the wipers to the bottom
resting position.
NOTICE
NOTICE
NOTICE
i
NOTICEOTM078056Maintenance
7
7-31