Page 113 of 561

3-26
Convenient features of your vehicle
To adjust the Zone setting:
1. Determine the desired Zone
Number based upon your current
location on the Zone Map.
2. Press and hold the button for
more than 3 but less than 6 sec-
onds, the current Zone Number
will appear on the display.
3. Pressing and holding the button
again will cause the numbers to
increment (Note: they will repeat
…13, 14, 15, 1, 2, …). Releasing
the button when the desired Zone
Number appears on the display
will set the new Zone.
4. Within about 5 seconds the com-
pass will start displaying a com-
pass heading again.
There are some conditions that can
cause changes to the vehicle mag-
nets, such as installing a ski rack or
a CB antenna. Body repair work on
the vehicle can also cause changes
to the vehicle's magnetic field. In
these situations, the compass will
need to be re-calibrated to quickly
correct these changes.If you need to recalibrate the com-
pass:
1. Press and hold the button for
more than 6 seconds. When the
compass memory is cleared a "C"
will appear in the display.
2. Drive the vehicle in 2 complete cir-
cles at less than 5 mph (8 km/h).
Integrated HomeLink®Wireless
Control System
The HomeLink®Wireless Control
System can replace up to three hand-
held radio-frequency (RF) transmit-
ters with a single built-in device. This
innovative feature will learn the radio
frequency codes of most current
transmitters to operate devices such
as gate operators, garage door open-
ers, entry door locks, security sys-
tems, even home lighting. Both stan-
dard and rolling code-equipped trans-
mitters can be programmed by fol-
lowing the outlined procedures.
Additional HomeLink
®information
can be found at: www.homelink.com
or by calling 1-800-355-3515.
Retain the original transmitter of the
RF device you are programming for
use in other vehicles as well as for
future HomeLink
®programming. It is
also suggested that upon the sale of
the vehicle, the programmed
HomeLink
®buttons be erased for
security purposes.
Page 128 of 561
3-41
Convenient features of your vehicle
Sunroof Open Warning
(if equipped)
If the driver turns off the vehicle
when the sunroof is not fully closed,
the warning chime will sound for
approximately 3 seconds and the
sunroof open warning will appear
on the LCD display.
If the driver turns off the vehicle and
opens the door when the sunroof is
not fully closed, the open sunroof
warning will appear on the LCD dis-
play until the door is closed or the
sunroof is fully closed.
Close the sunroof securely when
leaving your vehicle.
3
OFE048148
Page 132 of 561

3-45
Convenient features of your vehicle
3
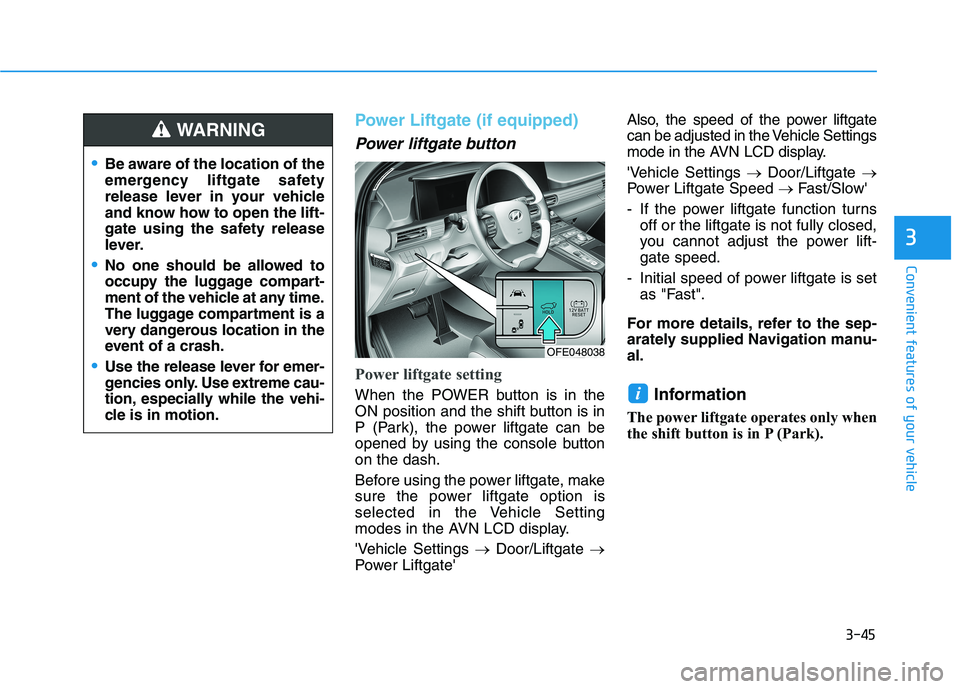
Power Liftgate (if equipped)
Power liftgate button
Power liftgate setting
When the POWER button is in the
ON position and the shift button is in
P (Park), the power liftgate can be
opened by using the console button
on the dash.
Before using the power liftgate, make
sure the power liftgate option is
selected in the Vehicle Setting
modes in the AVN LCD display.
'Vehicle Settings →Door/Liftgate →
Power Liftgate'Also, the speed of the power liftgate
can be adjusted in the Vehicle Settings
mode in the AVN LCD display.
'Vehicle Settings →Door/Liftgate →
Power Liftgate Speed →Fast/Slow'
- If the power liftgate function turns
off or the liftgate is not fully closed,
you cannot adjust the power lift-
gate speed.
- Initial speed of power liftgate is set
as "Fast".
For more details, refer to the sep-
arately supplied Navigation manu-
al.Information
The power liftgate operates only when
the shift button is in P (Park).
i
Be aware of the location of the
emergency liftgate safety
release lever in your vehicle
and know how to open the lift-
gate using the safety release
lever.
No one should be allowed to
occupy the luggage compart-
ment of the vehicle at any time.
The luggage compartment is a
very dangerous location in the
event of a crash.
Use the release lever for emer-
gencies only. Use extreme cau-
tion, especially while the vehi-
cle is in motion.
WARNING
OFE048038
Page 145 of 561
3-58
Convenient features of your vehicle
I IN
NS
ST
TR
RU
UM
ME
EN
NT
T
C
CL
LU
US
ST
TE
ER
R
1. Power gauge
2. Speedometer
3. Fuel cell stack temperature gauge
4. Fuel gauge
5. Odometer/LCD display/Trip computer
6. Warning and indicator lights
OFE048100N
The actual cluster in the vehicle may differ
from the illustration.
For more details, refer to the "Gauges and
Meters" in this chapter.
Page 146 of 561
3-59
Convenient features of your vehicle
3
Instrument Cluster Control
Adjusting instrument cluster
illumination
When the vehicle's position lights or
headlights are on, press the illumina-
tion control button to adjust the
brightness of the instrument panel
illumination.
When pressing the illumination con-
trol button, the interior switch illumi-
nation intensity is also adjusted. The brightness of the instrument
panel illumination is displayed.
If the brightness reaches the maxi-
mum or minimum level, a chime
will sound.
Gauges and Meters
Speedometer
The speedometer indicates the
speed of the vehicle and is calibrated
in miles per hour (MPH) and/or kilo-
meters per hour (km/h). Never adjust the instrument
cluster while driving. Doing so
could lead to driver distraction
which may cause an accident
and lead to vehicle damage,
serious injury, or death.
WARNING
OFE048043
OFE048101N
Page 149 of 561
3-62
Convenient features of your vehicle
Outside temperature gauge
This gauge indicates the current out-
side air temperature by 1 degrees F
(1 degrees C).
- Temperature range :-40°F ~ 140°F
(-40°C ~ 60°C)
Note that the temperature indicated
on the LCD display may not change
as quickly as the outside tempera-
ture (there may be a slight delay
before the temperature changes.) The temperature unit (from °C to °F
or from °F to °C) can be changed by:
- Press the AUTO button while
pressing the OFF button on the cli-
mate control unit for 3 seconds
- Go to General settings mode →
Unit → Temperature in the AVN dis-
play.
Both the temperature unit on the
cluster LCD display and climate con-
trol screen will change.
Odometer
The odometer indicates the total dis-
tance that the vehicle has been driv-
en and should be used to determine
when periodic maintenance should
be performed.
OFE048106NOFE048104N
Page 150 of 561
3-63
Convenient features of your vehicle
3
Range
The range is the estimated dis-
tance the vehicle can be driven
with the remaining fuel.
If the estimated distance is below
1 mi. (1 km), the trip computer will
display "---" as range.
If the hydrogen supply line is empty,
the gauge may indicate that the
hydrogen is not in the hydrogen
tank.
Information
• If the vehicle is not on level ground
or the battery power has been inter-
rupted, the range function may not
operate correctly.
• The range may differ from the actu-
al driving distance as it is only an
estimate of the available driving
range for the vehicle and driving
conditions.
• The range may vary significantly
based on driving conditions, driving
habits, and condition of the vehicle.
Gear shift indicator
This indicator displays which gear is
selected.
i
OFE048108NOFE048105
Page 151 of 561

3-64
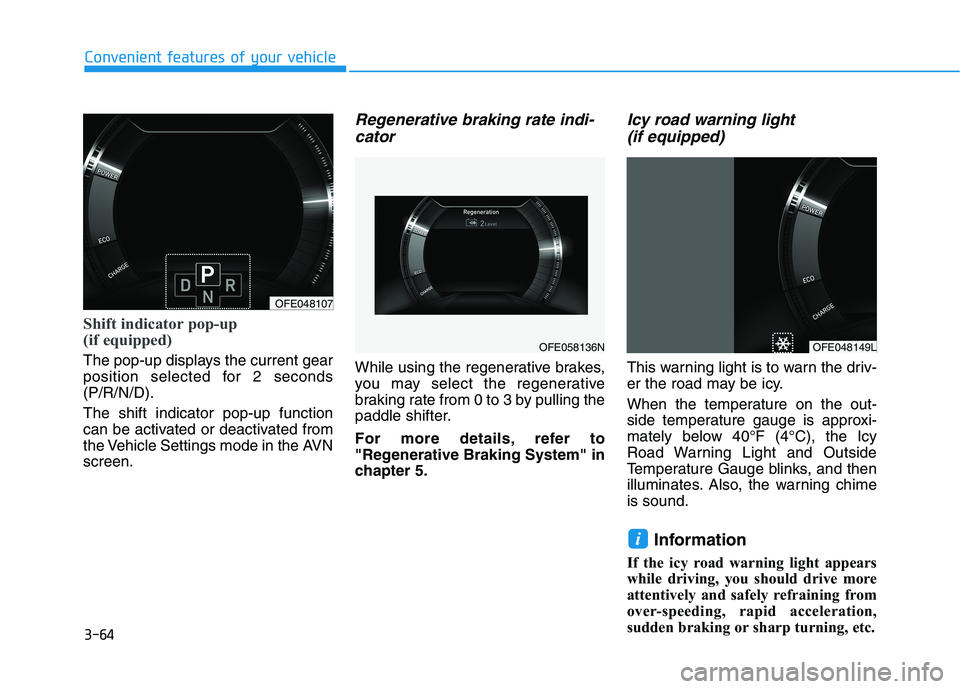
Shift indicator pop-up
(if equipped)
The pop-up displays the current gear
position selected for 2 seconds
(P/R/N/D).
The shift indicator pop-up function
can be activated or deactivated from
the Vehicle Settings mode in the AVN
screen.
Regenerative braking rate indi-
cator
While using the regenerative brakes,
you may select the regenerative
braking rate from 0 to 3 by pulling the
paddle shifter.
For more details, refer to
"Regenerative Braking System" in
chapter 5.
Icy road warning light
(if equipped)
This warning light is to warn the driv-
er the road may be icy.
When the temperature on the out-
side temperature gauge is approxi-
mately below 40°F (4°C), the Icy
Road Warning Light and Outside
Temperature Gauge blinks, and then
illuminates. Also, the warning chime
is sound.
Information
If the icy road warning light appears
while driving, you should drive more
attentively and safely refraining from
over-speeding, rapid acceleration,
sudden braking or sharp turning, etc.
i
Convenient features of your vehicle
OFE048107
OFE058136NOFE048149L