Page 430 of 561
7-5
7
Maintenance
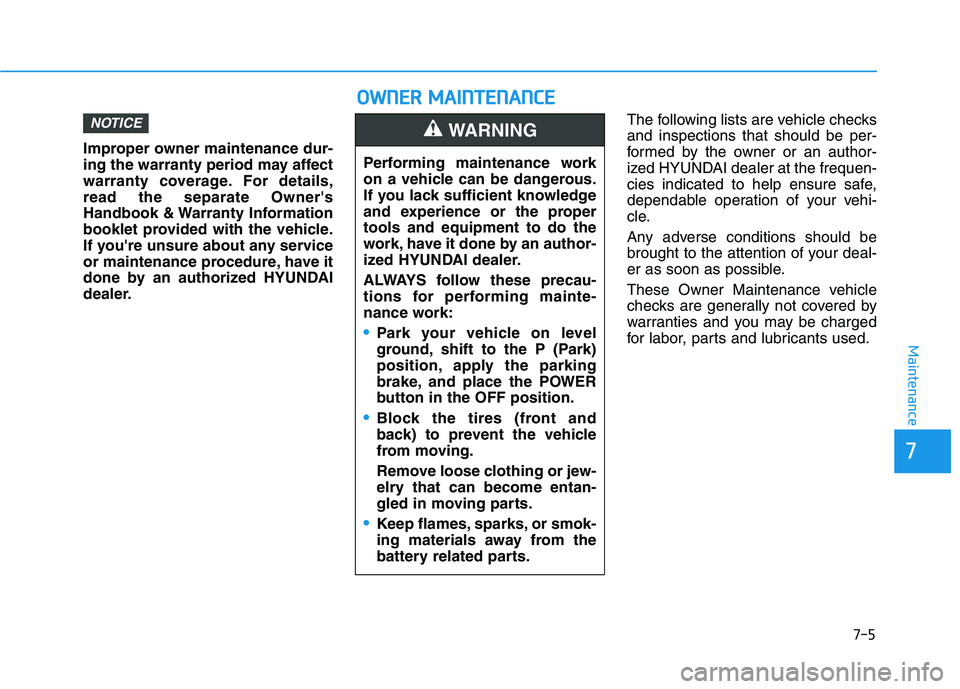
Improper owner maintenance dur-
ing the warranty period may affect
warranty coverage. For details,
read the separate Owner's
Handbook & Warranty Information
booklet provided with the vehicle.
If you're unsure about any service
or maintenance procedure, have it
done by an authorized HYUNDAI
dealer.The following lists are vehicle checks
and inspections that should be per-
formed by the owner or an author-
ized HYUNDAI dealer at the frequen-
cies indicated to help ensure safe,
dependable operation of your vehi-
cle.
Any adverse conditions should be
brought to the attention of your deal-
er as soon as possible.
These Owner Maintenance vehicle
checks are generally not covered by
warranties and you may be charged
for labor, parts and lubricants used.
NOTICE
Performing maintenance work
on a vehicle can be dangerous.
If you lack sufficient knowledge
and experience or the proper
tools and equipment to do the
work, have it done by an author-
ized HYUNDAI dealer.
ALWAYS follow these precau-
tions for performing mainte-
nance work:
•Park your vehicle on level
ground, shift to the P (Park)
position, apply the parking
brake, and place the POWER
button in the OFF position.
Block the tires (front and
back) to prevent the vehicle
from moving.
Remove loose clothing or jew-
elry that can become entan-
gled in moving parts.
Keep flames, sparks, or smok-
ing materials away from the
battery related parts.
WARNING
O O
W
W N
NE
ER
R
M
M A
AI
IN
N T
TE
EN
N A
AN
N C
CE
E
Page 432 of 561
7-7
7
Maintenance
At least once a year:
Clean body and door drain holes.
Lubricate door hinges and hoodhinges.
Lubricate door and hood locks and latches.
Lubricate door rubber weather strips.
Lubricate door checker.
Check the air conditioning system.
Inspect and lubricate reduction gear linkage and controls.
Check the brake fluid level.
S S C
C H
H E
ED
D U
U L
LE
E D
D
M
M A
AI
IN
N T
TE
EN
N A
AN
N C
CE
E
S
S E
E R
R V
V I
IC
C E
E S
S
Follow Normal Maintenance Schedule if the vehicle is usually operated where
none of the following conditions apply. If any of the following conditions apply,
you must follow the Maintenance Under Severe Usage Conditions.
Repeated driving short distance of less than 8 km (5 miles) in normal tem-
perature or less than 16 km (10 miles) in freezing temperature
Low speed driving for long distances
Driving on rough, dusty, muddy, unpaved, graveled or salt-spread roads
Driving in areas using salt or other corrosive materials or in very cold weather
Driving in heavy dust condition
Driving in heavy traffic area
Driving on uphill, downhill, or mountain road repeatedly
Towing a trailer or using a camper, or roof rack
Driving as a patrol car, taxi, other commercial use of vehicle towing
Driving over 170 km/h (106 miles/h)
Frequently driving in stop-and-go condition
If your vehicle is operated under the above conditions, you should inspect, replace or refill more frequently than the following Normal MaintenanceSchedule. After the periods or distance shown in the chart, continue to followthe prescribed maintenance intervals.
Page 439 of 561
7-14
Maintenance
For mixing percentage, refer to the
following table:
Information
If in doubt about the mix ratio, a 50%
water and 50% antifreeze mix is the
easiest to mix together as it will be the
same quantity of each. It is suitable to
use for most temperature ranges of
- 31°F and higher.
i
Ambient
Temperature Mixture Percentage
(volume)
Antifreeze Water
5°F (-15°C) 35 65
-13°F (-25°C) 40 60
-31°F (-35°C) 50 50
-49°F (-45°C) 60 40
Never remove the
radiator cap or the
drain plug while the
radiator is hot. Hot
coolant and steam
may blow out under pressure,
causing serious injury.
WARNING
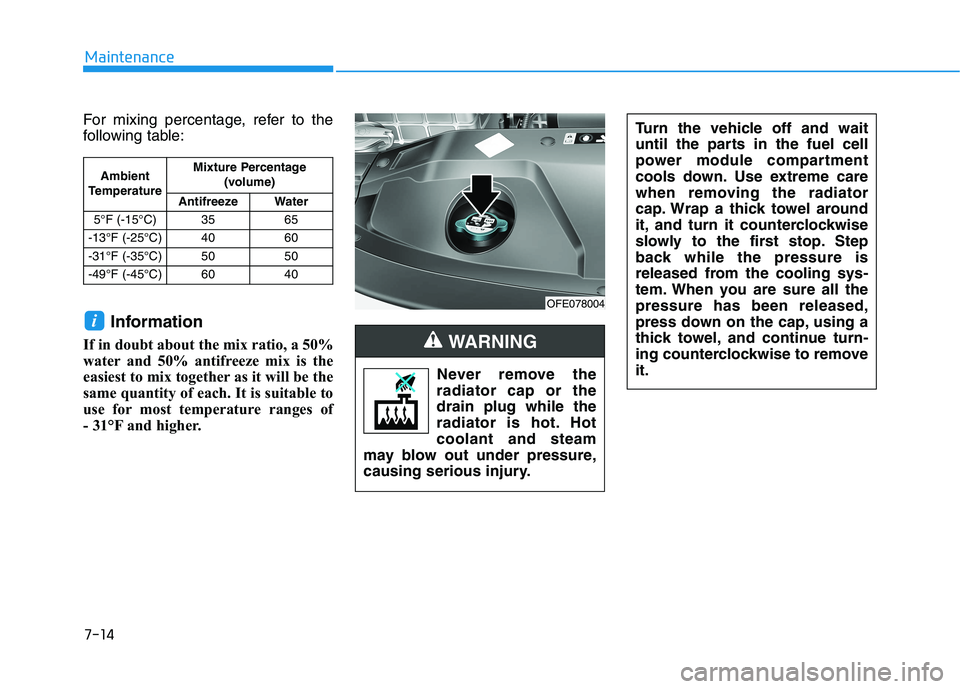
OFE078004
Turn the vehicle off and wait
until the parts in the fuel cell
power module compartment
cools down. Use extreme care
when removing the radiator
cap. Wrap a thick towel around
it, and turn it counterclockwise
slowly to the first stop. Step
back while the pressure is
released from the cooling sys-
tem. When you are sure all the
pressure has been released,
press down on the cap, using a
thick towel, and continue turn-
ing counterclockwise to remove
it.
Page 442 of 561
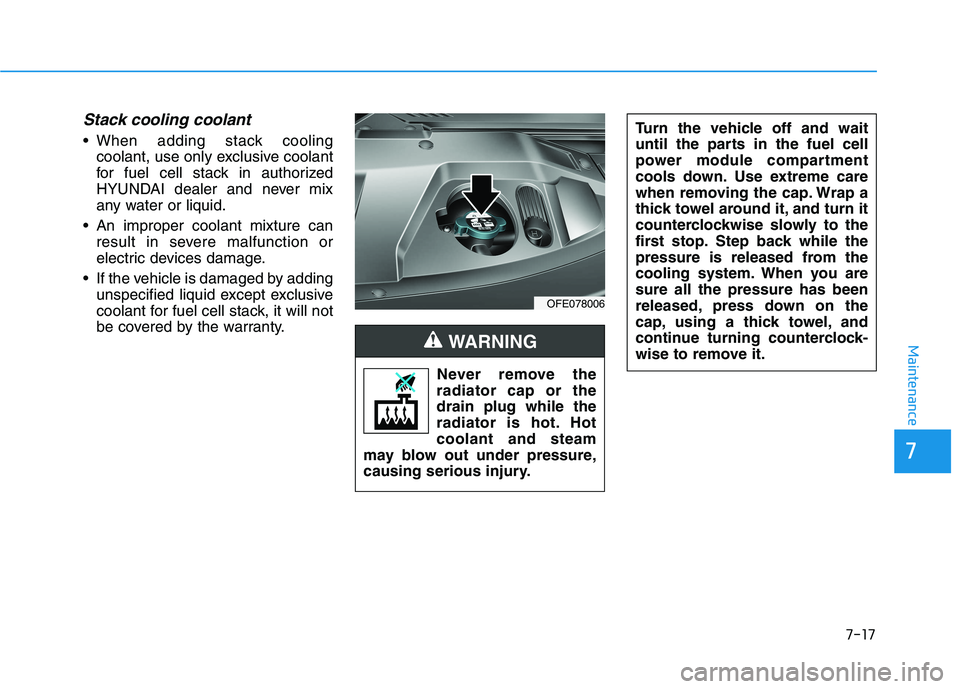
Stack cooling coolant
When adding stack coolingcoolant, use only exclusive coolant
for fuel cell stack in authorized
HYUNDAI dealer and never mix
any water or liquid.
An improper coolant mixture can result in severe malfunction or
electric devices damage.
If the vehicle is damaged by adding unspecified liquid except exclusive
coolant for fuel cell stack, it will not
be covered by the warranty.
7-17
7
Maintenance
Never remove the
radiator cap or the
drain plug while the
radiator is hot. Hot
coolant and steam
may blow out under pressure,
causing serious injury.
WARNING
OFE078006
Turn the vehicle off and wait
until the parts in the fuel cell
power module compartment
cools down. Use extreme care
when removing the cap. Wrap a
thick towel around it, and turn it
counterclockwise slowly to the
first stop. Step back while the
pressure is released from the
cooling system. When you are
sure all the pressure has been
released, press down on the
cap, using a thick towel, and
continue turning counterclock-
wise to remove it.
Page 446 of 561
1. Loosen the air cleaner coverattaching clips and open the
cover. 2. Wipe the inside of the air cleaner.
3. Replace the air cleaner filter.
4. Lock the cover with the cover
attaching clips.
5. Check that the cover is firmly installed.
Information
If the vehicle is operated in extremely
dusty or sandy areas, replace the air
cleaner filter more often than the
usual recommended intervals (refer to
"Maintenance Under Severe Usage
Conditions" in this chapter).
i
7-21
7
Maintenance
OFE078010OFE078009Do not drive with the air clean-
er filter removed. This will
result in excessive wear.
When removing the air clean-
er filter, be careful that dust or
dirt does not enter the air
intake, or damage may result.
Use HYUNDAI genuine parts,
use of non-genuine parts
could damage the air flow
sensor.
CAUTION
Page 448 of 561
7-23
7
Maintenance
3. Press and hold the lock (1) on leftside of the cover.
4. Pull out (2) the cover. 5. Replace the climate control air fil-
ter.
6. Reassemble in the reverse order of disassembly. Install a new climate control air fil-
ter in the correct direction with the
arrow symbol (
↓ ↓) facing down-
wards. Otherwise, the climate con-
trol effects may decrease, possi-
bly with a noise.
NOTICE
OHG075041OFE078013
Page 453 of 561
7-28
Maintenance
Battery recharging
By RESET button
To charge the discharged 12V bat-
tery, attempt charging by pressing
12V BATT RESET button. For more
details, refer to “If the 12 volt battery
is discharged” in chapter 6.
By jump starting
After a jump start from a good bat-
tery, drive the vehicle for 20-30 min-
utes before it is shutoff. The vehicle
may not restart if you shut it off
before the battery had a chance to
adequately recharge. See “Jump
Starting” in chapter 6 for more infor-
mation on jump starting procedures.
Reset Features
Some items need to be reset after
the battery has been discharged or
the battery has been disconnected.
See chapter 3 for:
Power Windows
Trip Computer
Climate Control System
Clock
Audio System
Sunroof
Driver Position Memory System
OFEQ018012
Page 454 of 561
7-29
7
Maintenance
T
TI
IR
R E
ES
S
A
A N
N D
D
W
W H
HE
EE
EL
LS
S
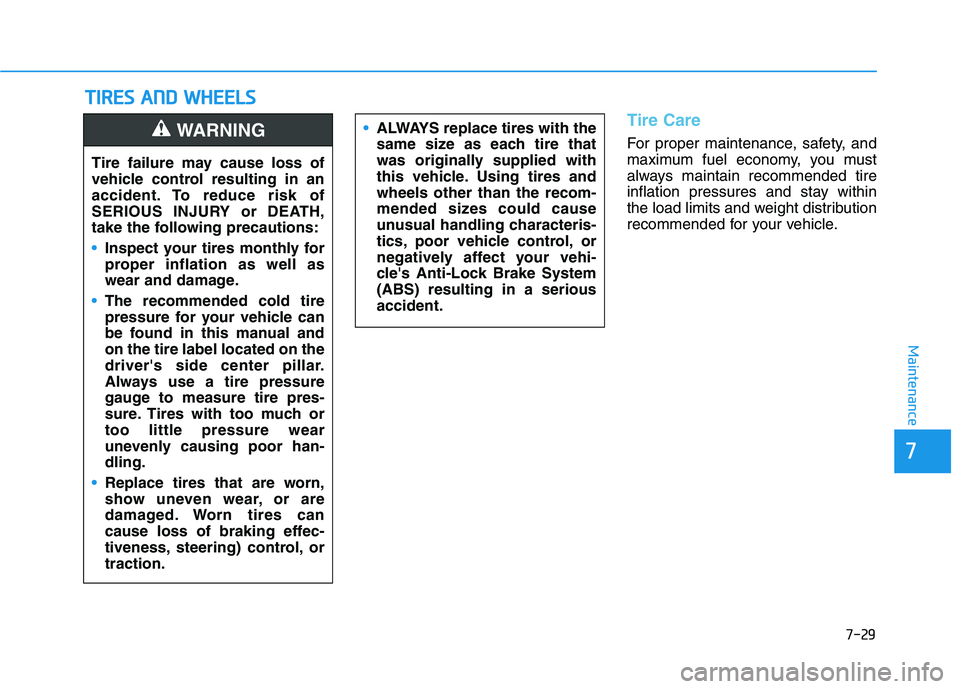
Tire Care
For proper maintenance, safety, and
maximum fuel economy, you must
always maintain recommended tire
inflation pressures and stay within
the load limits and weight distribution
recommended for your vehicle.
ALWAYS replace tires with the
same size as each tire that
was originally supplied with
this vehicle. Using tires and
wheels other than the recom-
mended sizes could cause
unusual handling characteris-
tics, poor vehicle control, or
negatively affect your vehi-
cle's Anti-Lock Brake System
(ABS) resulting in a serious
accident.
Tire failure may cause loss of
vehicle control resulting in an
accident. To reduce risk of
SERIOUS INJURY or DEATH,
take the following precautions:
Inspect your tires monthly for
proper inflation as well as
wear and damage.
The recommended cold tire
pressure for your vehicle can
be found in this manual and
on the tire label located on the
driver's side center pillar.
Always use a tire pressure
gauge to measure tire pres-
sure. Tires with too much or
too little pressure wear
unevenly causing poor han-
dling.
Replace tires that are worn,
show uneven wear, or are
damaged. Worn tires can
cause loss of braking effec-
tiveness, steering) control, or
traction.
WARNING