2020 DODGE CHARGER change time
[x] Cancel search: change timePage 255 of 412

SERVICING AND MAINTENANCE253
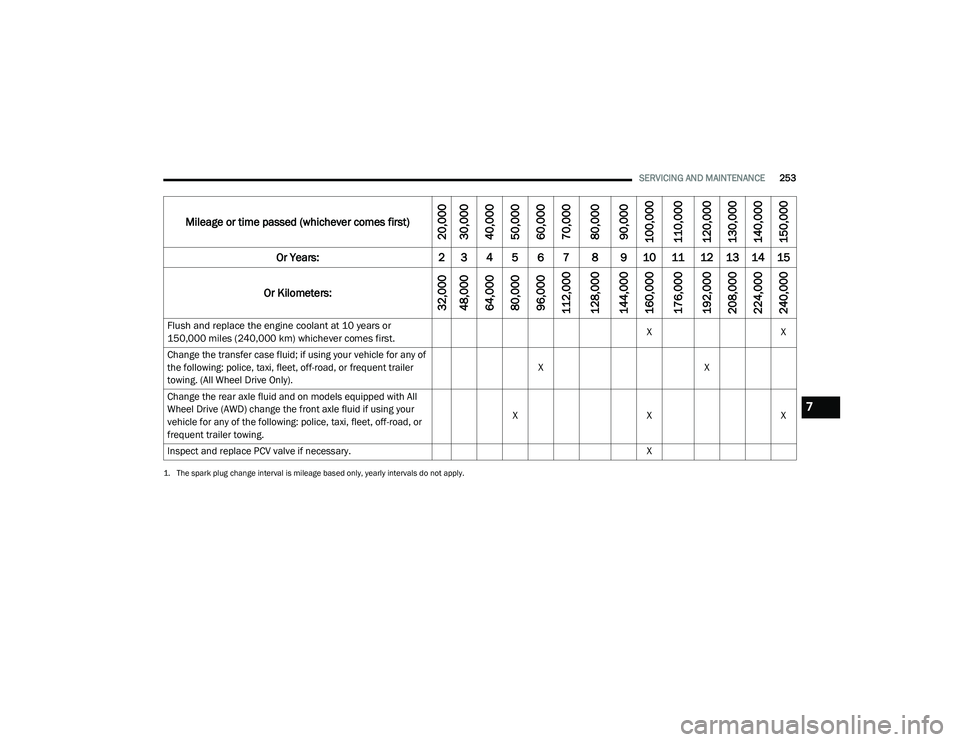
Flush and replace the engine coolant at 10 years or
150,000 miles (240,000 km) whichever comes first.
X
X
Change the transfer case fluid; if using your vehicle for any of
the following: police, taxi, fleet, off-road, or frequent trailer
towing. (All Wheel Drive Only). X
X
Change the rear axle fluid and on models equipped with All
Wheel Drive (AWD) change the front axle fluid if using your
vehicle for any of the following: police, taxi, fleet, off-road, or
frequent trailer towing. X
XX
Inspect and replace PCV valve if necessary. X
1. The spark plug change interval is mileage based only, yearly intervals do not apply.
Mileage or time passed (whichever comes first)
20,000
30,000
40,000
50,000
60,000
70,000
80,000
90,000
100,000
110,000
120,000
130,000
140,000
150,000
Or Years: 2 3 4 5 6 7 8 9 10 11 12 13 14 15
Or Kilometers:
32,000
48,000
64,000
80,000
96,000
112,000
128,000
144,000
160,000
176,000
192,000
208,000
224,000
240,000
7
20_LD_OM_EN_USC_t.book Page 253
Page 256 of 412

254SERVICING AND MAINTENANCE
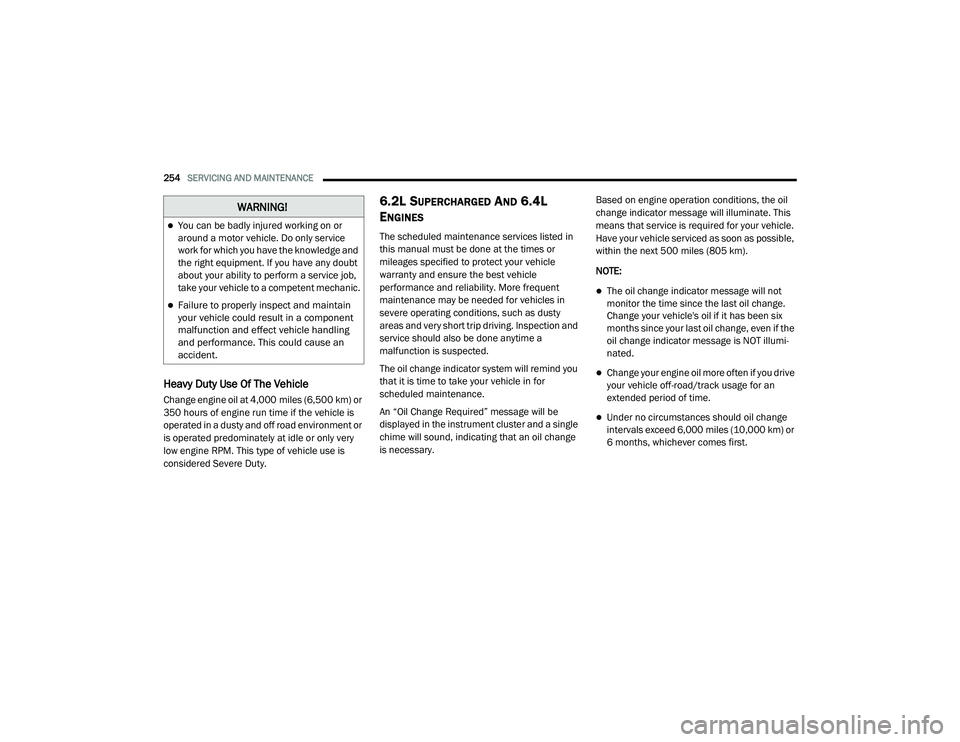
Heavy Duty Use Of The Vehicle
Change engine oil at 4,000 miles (6,500 km) or
350 hours of engine run time if the vehicle is
operated in a dusty and off road environment or
is operated predominately at idle or only very
low engine RPM. This type of vehicle use is
considered Severe Duty.
6.2L SUPERCHARGED AND 6.4L
E
NGINES
The scheduled maintenance services listed in
this manual must be done at the times or
mileages specified to protect your vehicle
warranty and ensure the best vehicle
performance and reliability. More frequent
maintenance may be needed for vehicles in
severe operating conditions, such as dusty
areas and very short trip driving. Inspection and
service should also be done anytime a
malfunction is suspected.
The oil change indicator system will remind you
that it is time to take your vehicle in for
scheduled maintenance.
An “Oil Change Required” message will be
displayed in the instrument cluster and a single
chime will sound, indicating that an oil change
is necessary. Based on engine operation conditions, the oil
change indicator message will illuminate. This
means that service is required for your vehicle.
Have your vehicle serviced as soon as possible,
within the next 500 miles (805 km).
NOTE:
The oil change indicator message will not
monitor the time since the last oil change.
Change your vehicle's oil if it has been six
months since your last oil change, even if the
oil change indicator message is NOT illumi-
nated.
Change your engine oil more often if you drive
your vehicle off-road/track usage for an
extended period of time.
Under no circumstances should oil change
intervals exceed 6,000 miles (10,000 km) or
6 months, whichever comes first.
WARNING!
You can be badly injured working on or
around a motor vehicle. Do only service
work for which you have the knowledge and
the right equipment. If you have any doubt
about your ability to perform a service job,
take your vehicle to a competent mechanic.
Failure to properly inspect and maintain
your vehicle could result in a component
malfunction and effect vehicle handling
and performance. This could cause an
accident.
20_LD_OM_EN_USC_t.book Page 254
Page 274 of 412

272SERVICING AND MAINTENANCE
DEALER SERVICE
An authorized dealer has the qualified service
personnel, special tools, and equipment to
perform all service operations in an expert
manner. Service Manuals are available which
include detailed service information for your
vehicle. Refer to these Service Manuals before
attempting any procedure yourself.
NOTE:
Intentional tampering with emissions control
systems may void your warranty and could
result in civil penalties being assessed against
you.
ENGINE OIL
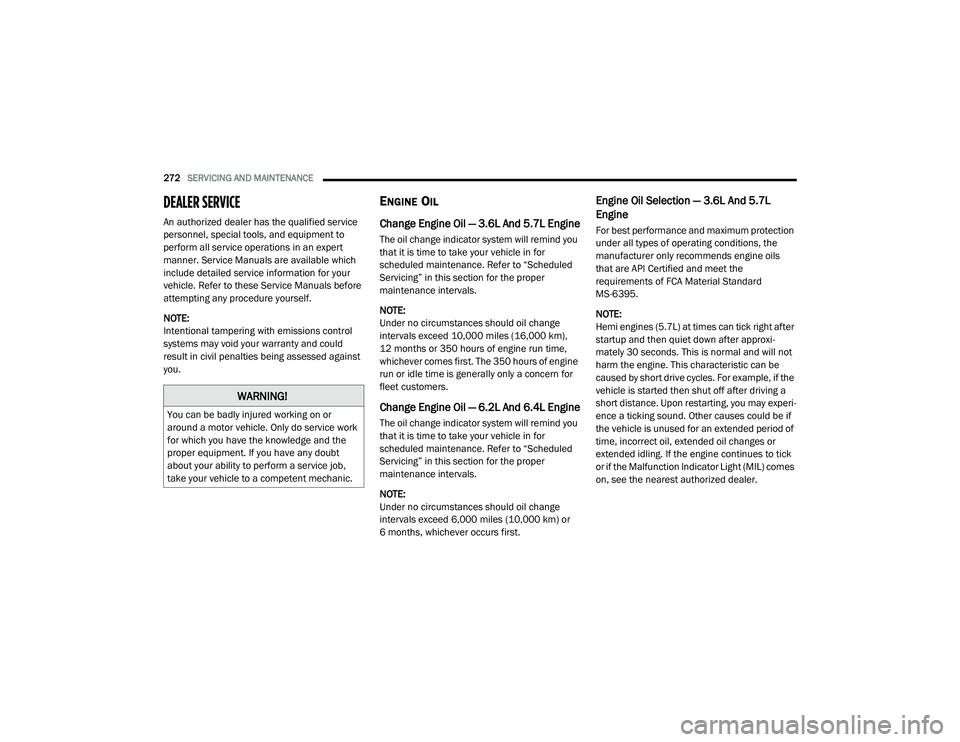
Change Engine Oil — 3.6L And 5.7L Engine
The oil change indicator system will remind you
that it is time to take your vehicle in for
scheduled maintenance. Refer to “Scheduled
Servicing” in this section for the proper
maintenance intervals.
NOTE:
Under no circumstances should oil change
intervals exceed 10,000 miles (16,000 km),
12 months or 350 hours of engine run time,
whichever comes first. The 350 hours of engine
run or idle time is generally only a concern for
fleet customers.
Change Engine Oil — 6.2L And 6.4L Engine
The oil change indicator system will remind you
that it is time to take your vehicle in for
scheduled maintenance. Refer to “Scheduled
Servicing” in this section for the proper
maintenance intervals.
NOTE:
Under no circumstances should oil change
intervals exceed 6,000 miles (10,000 km) or
6 months, whichever occurs first.
Engine Oil Selection — 3.6L And 5.7L
Engine
For best performance and maximum protection
under all types of operating conditions, the
manufacturer only recommends engine oils
that are API Certified and meet the
requirements of FCA Material Standard
MS-6395.
NOTE:
Hemi engines (5.7L) at times can tick right after
startup and then quiet down after approxi -
mately 30 seconds. This is normal and will not
harm the engine. This characteristic can be
caused by short drive cycles. For example, if the
vehicle is started then shut off after driving a
short distance. Upon restarting, you may experi -
ence a ticking sound. Other causes could be if
the vehicle is unused for an extended period of
time, incorrect oil, extended oil changes or
extended idling. If the engine continues to tick
or if the Malfunction Indicator Light (MIL) comes
on, see the nearest authorized dealer.
WARNING!
You can be badly injured working on or
around a motor vehicle. Only do service work
for which you have the knowledge and the
proper equipment. If you have any doubt
about your ability to perform a service job,
take your vehicle to a competent mechanic.
20_LD_OM_EN_USC_t.book Page 272
Page 275 of 412

SERVICING AND MAINTENANCE273
Engine Oil Selection — 6.2L And 6.4L
Engine
For best performance and maximum protection
under all types of operating conditions, the
manufacturer only recommends full synthetic
engine oils that meet the American Petroleum
Institute (API) categories of SN.
The manufacturer recommends the use of a full
synthetic SAE 0W-40 engine oil or equivalent
meeting the requirements of FCA Material
Standard MS-12633.
NOTE:
Hemi engines at times can tick right after
startup and then quiet down after approxi -
mately 30 seconds. This is normal and will not
harm the engine. This characteristic can be
caused by short drive cycles. For example, if the
vehicle is started then shut off after driving a
short distance. Upon restarting, you may experi -
ence a ticking sound. Other causes could be if
the vehicle is unused for an extended period of
time, incorrect oil, extended oil changes or
extended idling. If the engine continues to tick
or if the Malfunction Indicator Light (MIL) comes
on, see the nearest authorized dealer.
American Petroleum Institute (API) Engine
Oil Identification Symbol
This symbol means that the oil has
been certified by the American
Petroleum Institute (API). The
manufacturer only recommends API
Certified engine oils.
This symbol certifies 0W-20, 5W-20, 0W-30,
5W-30 and 10W-30 engine oils.
Engine Oil Viscosity (SAE Grade) — 3.6L
Engine
Mopar SAE 5W-20 engine oil approved to FCA
Material Standard MS-6395 such as Pennzoil,
Shell Helix Ultra or equivalent is recommended
for all operating temperatures. This engine oil
improves low temperature starting and vehicle
fuel economy.
The engine oil filler cap also shows the
recommended engine oil viscosity for your
engine. For information on engine oil filler cap
location, refer to the “Engine Compartment”
illustration in this section.
NOTE:
Mopar SAE 5W-30 engine oil approved to FCA
Material Standard MS-6395 such as Pennzoil,
Shell Helix Ultra or equivalent may be used
when SAE 5W-20 engine oil meeting MS-6395
is not available.
Lubricants which do not have both the engine
oil certification mark and the correct SAE
viscosity grade number should not be used.
CAUTION!
Do not use chemical flushes in your engine oil
as the chemicals can damage your engine.
Such damage is not covered by the New
Vehicle Limited Warranty.
CAUTION!
Do not use chemical flushes in your engine oil
as the chemicals can damage your engine.
Such damage is not covered by the New
Vehicle Limited Warranty.
7
20_LD_OM_EN_USC_t.book Page 273
Page 281 of 412

SERVICING AND MAINTENANCE279
arm with the other hand (move the wiper
blade down toward the base of the wiper
arm and away from the J hook in the end of
the wiper arm).
Removing Wiper From Wiper Arm
5. Gently lower the wiper arm onto the glass.
Installing The Front Wipers
1. Lift the wiper arm off of the glass, until the wiper arm is in the full up position.
2. Position the wiper blade under the hook on the tip of the wiper arm with the wiper
locking tab open. 3. Insert the receiver bracket on the wiper
assembly into the hook on the tip of the arm
through the opening in the wiper blade
under the locking tab.
4. Slide the wiper blade onto the arm until motion stops, then fold down the locking
tab to secure.
NOTE:
The locking tab will not snap into place until the
blade is properly positioned on the wiper arm
hook.
5. Gently lower the wiper blade onto the glass.
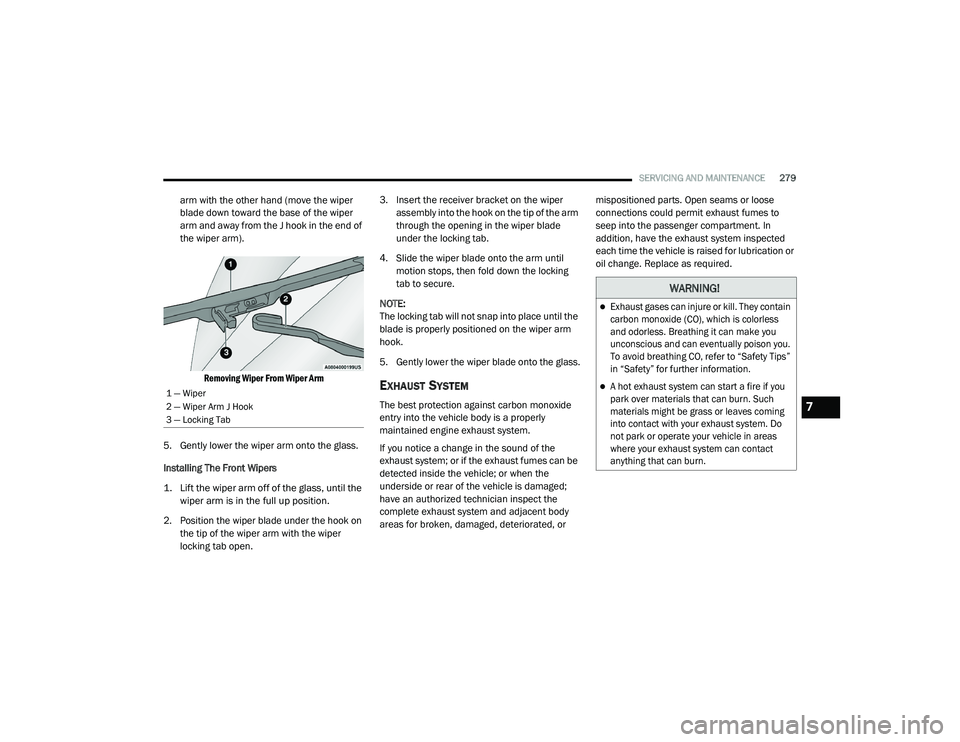
EXHAUST SYSTEM
The best protection against carbon monoxide
entry into the vehicle body is a properly
maintained engine exhaust system.
If you notice a change in the sound of the
exhaust system; or if the exhaust fumes can be
detected inside the vehicle; or when the
underside or rear of the vehicle is damaged;
have an authorized technician inspect the
complete exhaust system and adjacent body
areas for broken, damaged, deteriorated, or mispositioned parts. Open seams or loose
connections could permit exhaust fumes to
seep into the passenger compartment. In
addition, have the exhaust system inspected
each time the vehicle is raised for lubrication or
oil change. Replace as required.1 — Wiper
2 — Wiper Arm J Hook
3 — Locking Tab
WARNING!
Exhaust gases can injure or kill. They contain
carbon monoxide (CO), which is colorless
and odorless. Breathing it can make you
unconscious and can eventually poison you.
To avoid breathing CO, refer to “Safety Tips”
in “Safety” for further information.
A hot exhaust system can start a fire if you
park over materials that can burn. Such
materials might be grass or leaves coming
into contact with your exhaust system. Do
not park or operate your vehicle in areas
where your exhaust system can contact
anything that can burn.
7
20_LD_OM_EN_USC_t.book Page 279
Page 286 of 412

284SERVICING AND MAINTENANCE
(Continued)
Keep the front of the radiator clean. If your
vehicle is equipped with air conditioning,
keep the front of the condenser clean.
Do not change the thermostat for Summer or
Winter operation. If replacement is ever
necessary, install ONLY the correct type ther-
mostat. Other designs may result in unsatis -
factory engine coolant (antifreeze)
performance, poor gas mileage, and
increased emissions.
BRAKE SYSTEM
In order to ensure brake system performance,
all brake system components should be
inspected periodically. Refer to the
“Maintenance Plan” in this section for the
proper maintenance intervals.
Fluid Level Check — Brake Master Cylinder
Check the fluid level in the master cylinder
immediately if the brake system warning light
indicates system failure.
Check the fluid level in the master cylinder
when performing underhood services.
Clean the top of the master cylinder area before
removing the cap. Add fluid to bring the level up
to the top of the “FULL” mark on the side of the
master cylinder reservoir.
Overfilling of fluid is not recommended because
it may cause leaking in the system.
Add enough fluid to bring the level up to the
requirements described on the brake fluid
reservoir. With disc brakes, fluid level can be
expected to fall as the brake pads wear.
However, low fluid level may be caused by a
leak and a checkup may be needed.
Use only brake fluid that has been
recommended by the manufacturer, and has
been kept in a tightly closed container to avoid
contamination from foreign matter or moisture.
Refer to “Fluids And Lubricants” in “Technical
Specifications” for further information.
WARNING!
Riding the brakes can lead to brake failure
and possibly a collision. Driving with your foot
resting or riding on the brake pedal can result
in abnormally high brake temperatures,
excessive lining wear, and possible brake
damage. You would not have your full braking
capacity in an emergency.
WARNING!
Use only manufacturer's recommended
brake fluid. Refer to “Fluids And Lubri -
cants” in “Technical Specifications” for
further information. Using the wrong type
of brake fluid can severely damage your
brake system and/or impair its perfor -
mance. The proper type of brake fluid for
your vehicle is also identified on the orig -
inal factory installed hydraulic master
cylinder reservoir.
To avoid contamination from foreign
matter or moisture, use only new brake
fluid or fluid that has been in a tightly
closed container. Keep the master
cylinder reservoir cap secured at all times.
Brake fluid in a open container absorbs
moisture from the air resulting in a lower
boiling point. This may cause it to boil
unexpectedly during hard or prolonged
braking, resulting in sudden brake failure.
This could result in a collision.
20_LD_OM_EN_USC_t.book Page 284
Page 322 of 412

320TECHNICAL SPECIFICATIONS
CHASSIS
Component Fluid, Lubricant, or Genuine Part
Automatic Transmission Use only Mopar ZF 8&9 Speed ATF Automatic Transmission Fluid, or
equivalent. Failure to use the correct fluid may affect the function or
performance of your transmission.
Brake Master Cylinder We recommend you use Mopar DOT 3 brake fluid. If DOT 3 brake fluid is
not available, then DOT 4 is acceptable.
DOT 4 brake fluid must be changed every 24 months. This interval is time
based only, mileage intervals do not apply.
Hydraulic Power Steering Reservoir — If Equipped We recommend you use Mopar Hydraulic System Power Steering Fluid or
equivalent meeting the requirements of FCA Material Standard
MS-10838.
Rear Axle We recommend you use Mopar LSD Synthetic Gear Lubricant SAE
75W85 (API GL-5).
20_LD_OM_EN_USC_t.book Page 320
Page 324 of 412

322MULTIMEDIA
NOTE:
FCA US LLC or your dealer may contact you
directly regarding software updates.
To help further improve vehicle security and
minimize the potential risk of a security
breach, vehicle owners should:
Routinely check www.driveuconnect.com
(US Residents) or www.driveuconnect.ca
(Canadian Residents) to learn about
available Uconnect software updates.
Only connect and use trusted media
devices (e.g. personal mobile phones,
USBs, CDs).
Privacy of any wireless and wired
communications cannot be assured. Third
parties may unlawfully intercept information
and private communications without your
consent. For further information, refer to “Data
Collection & Privacy” in your Uconnect Owner’s
Manual Supplement or “Onboard Diagnostic
System (OBD II) Cybersecurity” in “Getting To
Know Your Instrument Panel”.
UCONNECT SETTINGS
The Uconnect system uses a combination of
buttons on the touchscreen and buttons on the
faceplate located on the center of the
instrument panel. These buttons allow you to
access and change the Customer
Programmable Features. Many features can
vary by vehicle.
Buttons on the faceplate are located below
and/or beside the Uconnect system in the
center of the instrument panel. In addition,
there is a Scroll/Enter control knob located on
the right side. Turn the control knob to scroll
through menus and change settings. Push the
center of the control knob one or more times to
select or change a setting.
Your Uconnect system may also have Screen
Off and Mute buttons on the faceplate.
Push the Screen Off button on the faceplate to
turn off the Uconnect screen. Push the button
again or tap the screen to turn the screen on.
Press the Back Arrow button to exit out of a
Menu or certain option on the Uconnect system.
CUSTOMER PROGRAMMABLE FEATURES
— U
CONNECT 4 SETTINGS
Uconnect 4 With 7-inch Display Buttons On The
Touchscreen And Buttons On The Faceplate
Press the Settings button on the bottom bar, or
press the Apps button, then press the
Settings button on the touchscreen to display
the menu setting screen. In this mode the
Uconnect system allows you to access all of the
available programmable features.
NOTE:
Depending on the vehicle’s options, feature
settings may vary.
1 — Uconnect Buttons On The Touchscreen
2 — Uconnect Buttons On The Faceplate
20_LD_OM_EN_USC_t.book Page 322