Page 30 of 502

Time
First read and observe the introductory information and safety warnings
Press the button or function button.
Press the Vehicle and function buttons.
Select the Time and date menu option to set the time Vehicle settings menu
To set the time (on all vehicle clocks), press and hold the button in the instrument cluster until
the word Time appears in the display Analogue instrument cluster
Release the button. The time is shown in the instrument cluster display and the hour setting is
marked.
Then press the button repeatedly until the required hour value is displayed. Press and hold the
button to scroll through quickly.
Once you have set the hour, wait until the minutes display is marked in the instrument cluster
display.
Then press the button repeatedly until the required minute value is displayed. Press and hold the
button to scroll through quickly.
Release the button to finish setting the clock.
Select the Range information profile.
Press and hold the button on the multifunction steering wheel until the Service menu is available
on the instrument cluster display Service menu
Select the Time menu.
Set the correct time with the arrow buttons or .
Lap timer
First read and observe the introductory information and safety warnings
With the appropriate equipment the lap timer can be shown on the instrument cluster display
Instrument cluster menus
The lap timer has the option of timing your own laps manually in the vehicle on a race track, to store
the times and to compare them with best times.
Page 31 of 502

-level menus can be displayed:
Lap timer
Lap (with the current lap number)
Statistics
Switching between the menus
Vehicles without multifunction steering wheel:
Press the rocker switch on the wiper lever Operating the instrument cluster
Vehicles with multifunction steering wheel:
Press the or button Operating the instrument cluster
The following list shows an example of how the menus in the instrument cluster display are
structured. The actual scope of the menus and the names of the individual menu options vary
according to the instrument cluster design and the vehicle electronics.
Menu displays and functions
Lap timer menu
StartStarts the lap timer.Since startTiming starts when the vehicle drives off. If the vehicle is already
in motion, timing will begin when the vehicle has come to a temporary standstill.StatisticsAn
overview of the laps driven until now are displayed.
Lap menu
Stop!Active timing is interrupted. This will not end the lap.ContinuePaused timing resumes.Split
time:A split time will be displayed for approximately five seconds. Active timing continues parallel to
this.New lapTiming of the current lap will then be interrupted and a new lap will begin. The time of
the completed lap will be carried over to the statistics.Abort lapThe timing is ended and disregarded.
The current lap is not entered into the statistics.EndTiming is ended. The lap is entered into the
statistics.
Statistics menu
BackIt will be reset to the previous menu.ResetAll stored statistics data will be reset.
In the Statistics menu, the lap times most recently achieved are shown. If the maximum number of
99 laps or the maximum time of 99 hours, 59 minutes and 59 seconds has been reached, a new
timing can only be started after the statistics have been reset.
WARNING
Accidents and injuries can occur if the driver is distracted.
Make lap timer settings and access statistics only when the vehicle is stationary.
Page 32 of 502
Fuel gauge
Fig. 15 Fuel gauge in the analogue instrument cluster.
Fig. 16 Fuel gauge in the Active Info Display.
First read and observe the introductoryinformation and safety warnings
Fuel tank almost empty.
The indicator lamp lights up yellow. The reserve volume, red marking, is being consumed
Fill the tank as soon as possible.
Water in the diesel fuel.
The indicator lamp lights up yellow.
Switch off the engine and seek expert assistance.
Tank cap open.
The indicator lamp lights up yellow.
Close the tank cap.
Page 34 of 502

18 Coolant temperature gauge in the Active Info Display.
First read and observe the introductory information and safety warnings
Cold area. The engine has not yet reached operating temperature. Avoid high engine revs and
heavy engine loads until the engine is warm.
Normal area.
Warning area. The temperature may also rise to the hot area when the engine is working hard,
especially at high ambient temperatures.
Coolant
The indicator lamp lights up and the central warning lamp flashes red.
The coolant level is not correct or there is a fault in the coolant system.
Do not drive on!
Stop the vehicle, switch off the engine and allow it to cool down.
Check the coolant level Coolant
Seek expert assistance if the warning lamp does not go out although the coolant level is adequate.
Service interval display
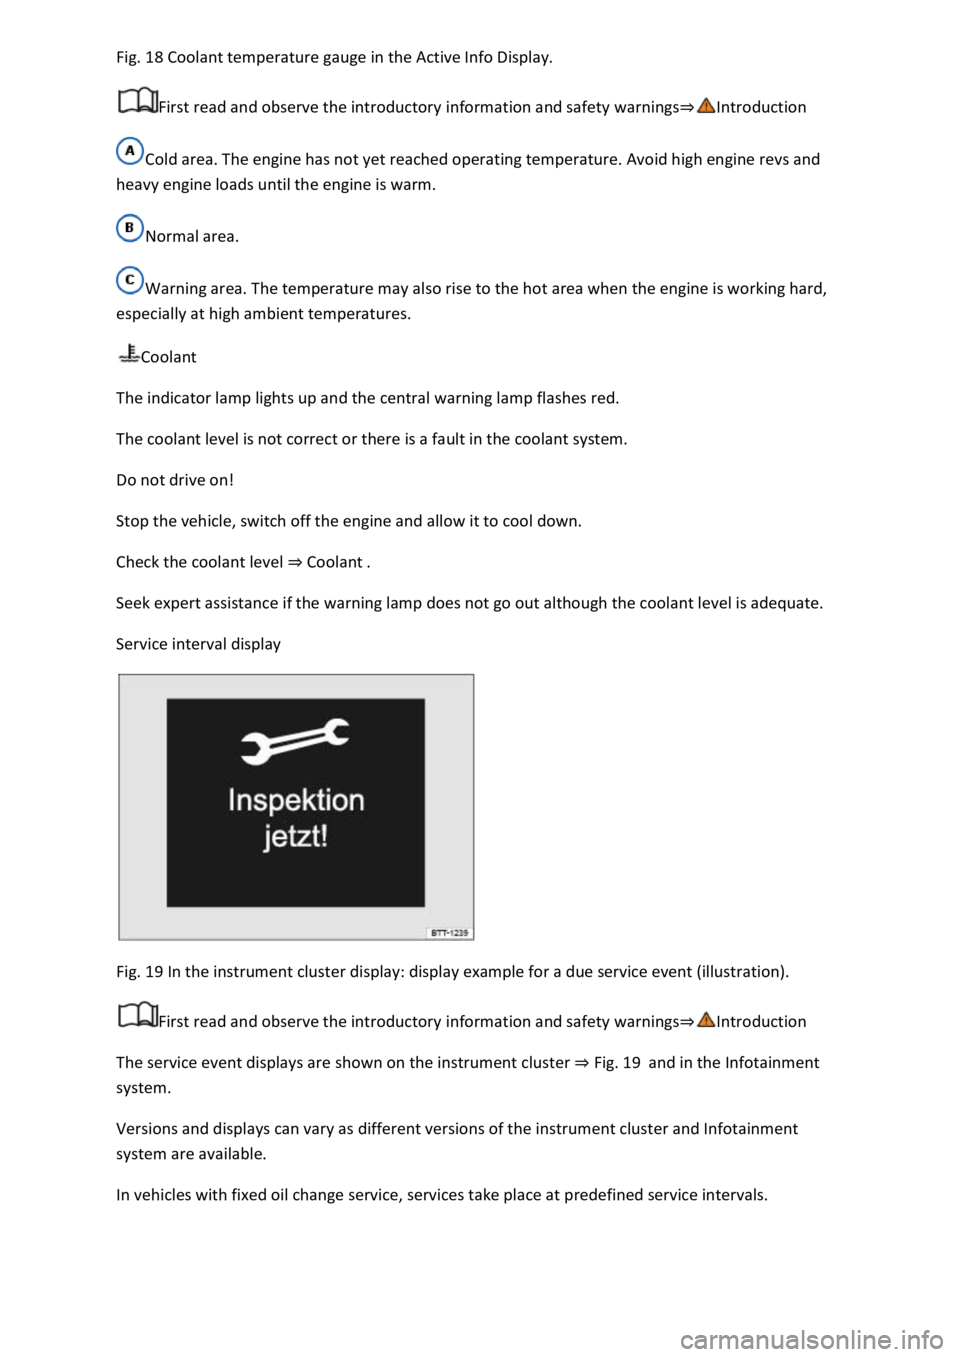
Fig. 19 In the instrument cluster display: display example for a due service event (illustration).
First read and observe the introductory information and safety warnings
The service event displays are shown on the instrument cluster Fig. 19and in the Infotainment
system.
Versions and displays can vary as different versions of the instrument cluster and Infotainment
system are available.
In vehicles with fixed oil change service, services take place at predefined service intervals.
Page 37 of 502

ng wheel
Operating using the wiper lever
WARNING
Accidents and injuries can occur if the driver is distracted.
Never operate the menus on the instrument cluster display while the vehicle is in motion.
Check the system settings after charging or replacing the 12-volt vehicle battery. System settings
may be changed or deleted if the power supply is interrupted.
Operating using the wiper lever
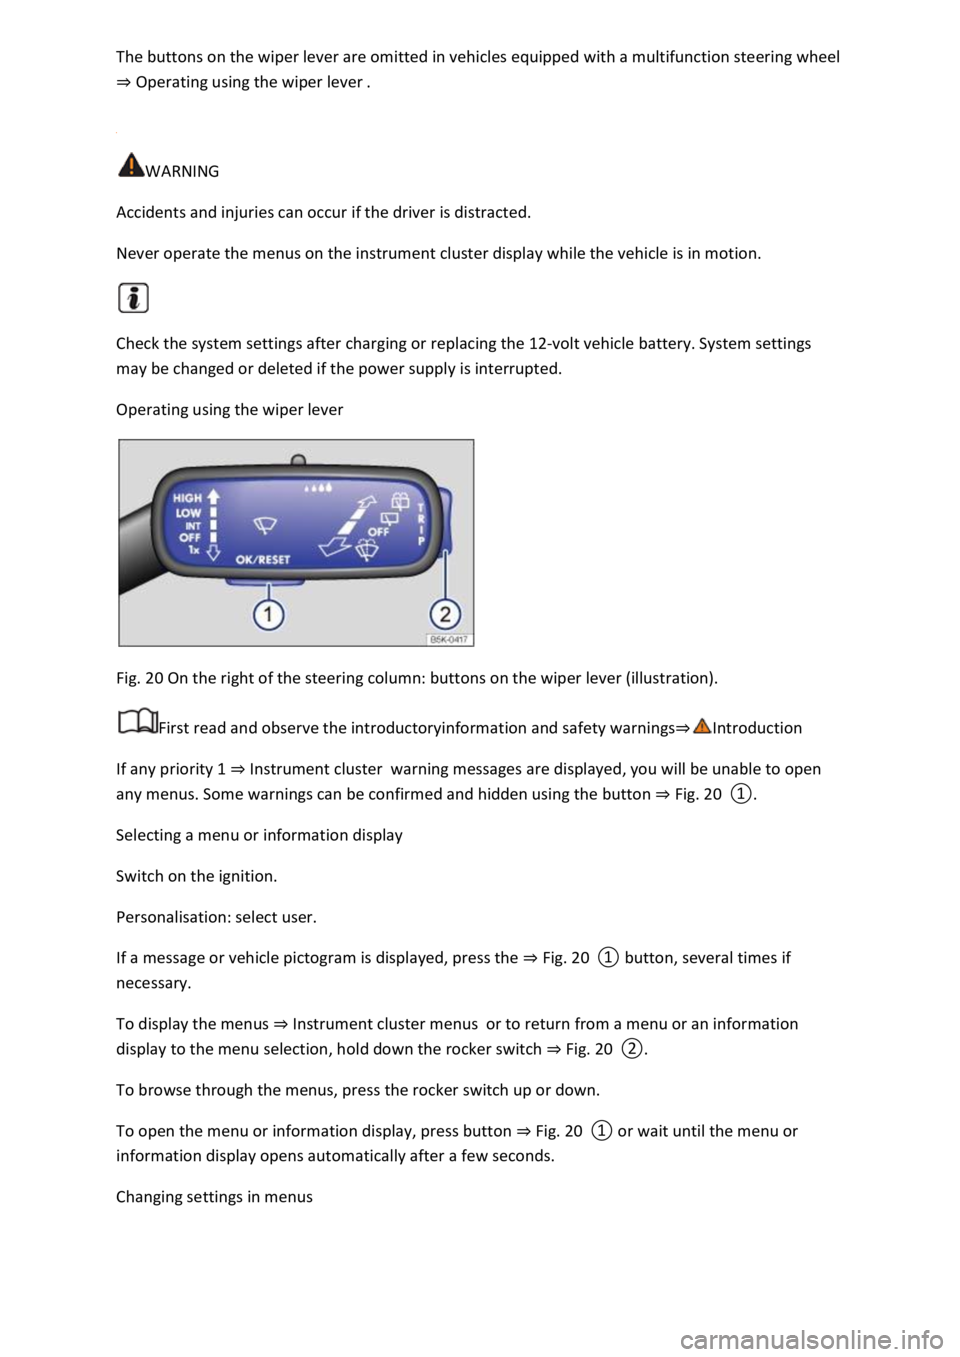
Fig. 20 On the right of the steering column: buttons on the wiper lever (illustration).
First read and observe the introductoryinformation and safety warnings
If any priority 1 Instrument clusterwarning messages are displayed, you will be unable to open
any menus. Some warnings can be confirmed and hidden using the button Fig. 20
Selecting a menu or information display
Switch on the ignition.
Personalisation: select user.
If a message or vehicle pictogram is displayed, press the Fig. 20
To display the menus Instrument cluster menusor to return from a menu or an information
display to the menu selection, hold down the rocker switch Fig. 20
To browse through the menus, press the rocker switch up or down.
To open the menu or information display, press button Fig. 20
a few seconds.
Changing settings in menus
Page 38 of 502

Fig. 20
Press the Fig. 20
system or function is active.
Returning to menu selection
In the menu, select the Back menu option to exit the menu.
If warning messages about malfunctions are displayed when the ignition is switched on, it may not
be possible to adjust some settings as described, or the information display may appear differently.
If this is the case, take the vehicle to a qualified workshop to have the malfunction rectified.
Operating using the multifunction steering wheel
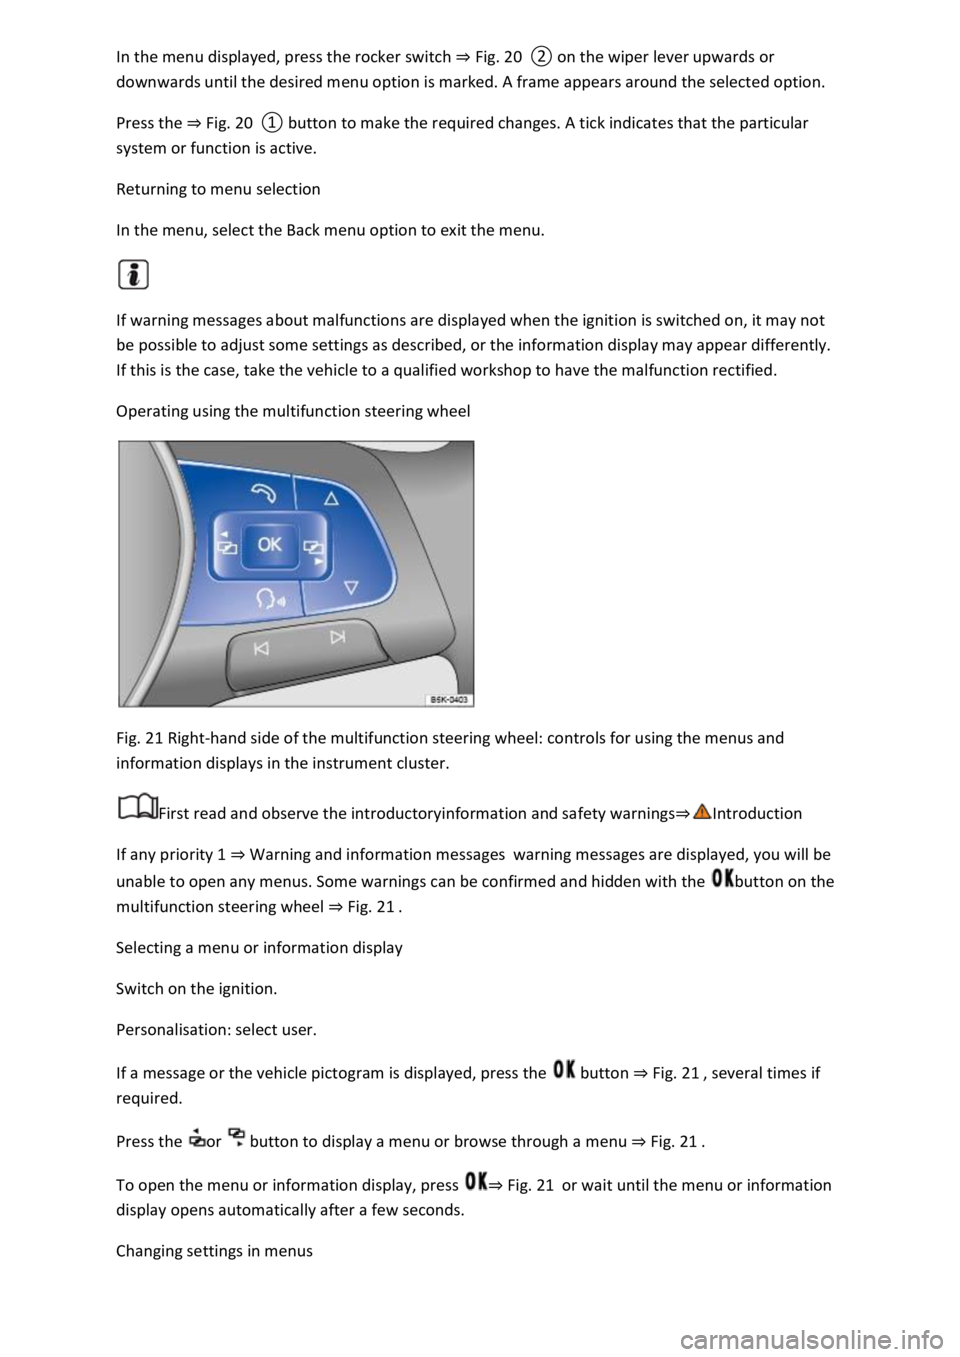
Fig. 21 Right-hand side of the multifunction steering wheel: controls for using the menus and
information displays in the instrument cluster.
First read and observe the introductoryinformation and safety warnings
If any priority 1 Warning and information messageswarning messages are displayed, you will be
unable to open any menus. Some warnings can be confirmed and hidden with the button on the
multifunction steering wheel Fig. 21
Selecting a menu or information display
Switch on the ignition.
Personalisation: select user.
If a message or the vehicle pictogram is displayed, press the button Fig. 21
required.
Press the or button to display a menu or browse through a menu Fig. 21
To open the menu or information display, press Fig. 21or wait until the menu or information
display opens automatically after a few seconds.
Changing settings in menus
Page 39 of 502

or Fig. 21until the desired menu option is
marked. A frame appears around the selected option.
Press the button Fig. 21to make the required changes. A tick indicates that the particular
system or function is active.
Returning to menu selection
Press the or button Fig. 21
If warning messages about malfunctions are displayed when the ignition is switched on, it may not
be possible to adjust some settings as described, or the information display may appear differently.
If this is the case, take the vehicle to a qualified workshop to have the malfunction rectified.
Button for driver assist systems
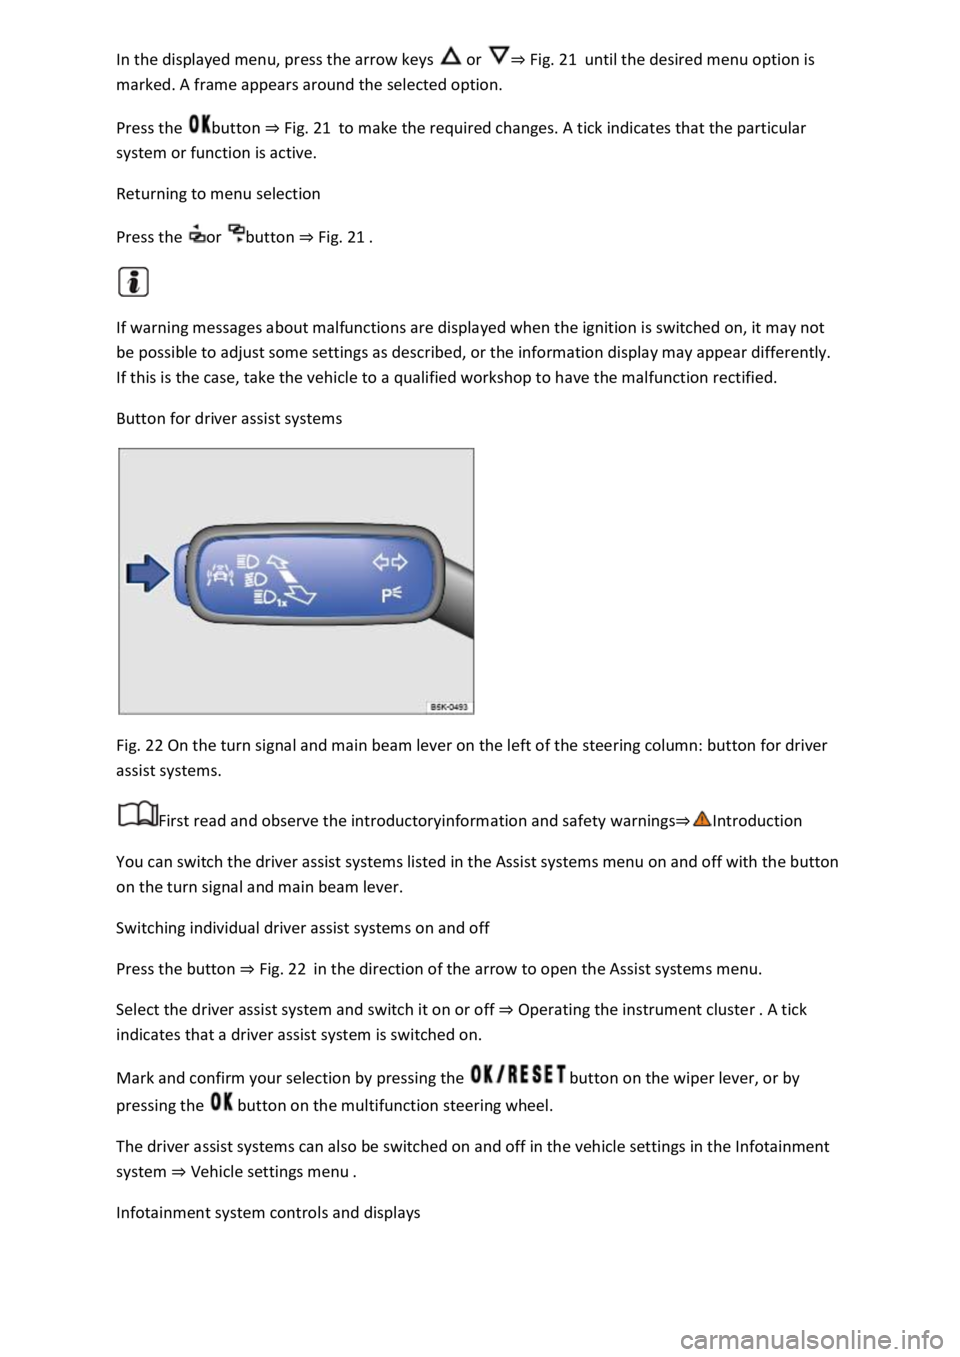
Fig. 22 On the turn signal and main beam lever on the left of the steering column: button for driver
assist systems.
First read and observe the introductoryinformation and safety warnings
You can switch the driver assist systems listed in the Assist systems menu on and off with the button
on the turn signal and main beam lever.
Switching individual driver assist systems on and off
Press the button Fig. 22in the direction of the arrow to open the Assist systems menu.
Select the driver assist system and switch it on or off Operating the instrument cluster
indicates that a driver assist system is switched on.
Mark and confirm your selection by pressing the button on the wiper lever, or by
pressing the button on the multifunction steering wheel.
The driver assist systems can also be switched on and off in the vehicle settings in the Infotainment
system Vehicle settings menu
Infotainment system controls and displays
Page 40 of 502

Introduction
This chapter contains information on the followingsubjects:
Vehicle settings menu
Performance monitor
Lap timer
Personalisat
The Infotainment system combines key vehicle systems in a central operating unit, e.g. menu
settings, radio or navigation system.
General information on operation
The following section contains relevant information on the settings that can be adjusted in the
Vehicle settings menu. Basic information on operating the Infotainment system and on warning and
safety instructions is contained in a separate manual Infotainment system,.
Systems settings and vehicle information display
After pressing the button or touching the function button followed by the Vehicle function
button, touch the corresponding function buttons to display information or make settings. The
current status of systems can be checked or system faults displayed by touching the function
button in the Vehicle status menu.
Vehicle settings (setup) Vehicl
Think Blue. Trainer. Think Blue. Trainer.
Performance monitor Performance monitor
Lap timer Lap timer
Offroad display Offroad driving situations
Auxiliary heater settings Auxiliary heater and ventilation
Active media.
Driving data.
Vehicle status.
Convenience consumers.
Radio station selection.
WARNING
Accidents and injuries can occur if the driver is distracted. Operating the Infotainment system can
distract you from the road.