Page 205 of 624

LC200_OM_OM60Q99U_(U)
2054-1. Before driving
4
Driving
WARNING
■Hitch
Trailer hitch assemblies have different weight capacities estab lished by the
hitch manufacturer. Even though the vehicle may be physically capable of
towing a higher weight, the operator must determine the maximum weight
rating of the particular hitch assembly and never exceed the ma ximum
weight rating specified for the trailer-hitch. Exceeding the ma ximum weight
rating set by the trailer-hitch manufacturer can cause an accid ent resulting
in death or serious personal injuries.
■ When towing a trailer
Toyota recommends trailers with brakes that conform to any appl icable fed-
eral and state/provincial regulations.
● If the gross trailer weight exceeds unbraked TWR, trailer brake s are
required. Toyota recommends trailers with brakes that conform t o all appli-
cable federal and state/provincial regulations.
● Never tap into your vehicle’s hydraulic system, as this will lo wer the vehi-
cle’s braking effectiveness.
● Never tow a trailer without using a safety chain securely attac hed to both
the trailer and the vehicle. If damage occurs to the coupling u nit or hitch
ball, there is danger of the trailer wandering into another lan e.
NOTICE
■When installing a trailer hitch
Use only the position recommended by your Toyota dealer. Do not install
the trailer hitch on the bumper; this may cause body damage.
■ Do not directly splice trailer lights
Do not directly splice trailer lights. Directly splicing traile r lights may damage
your vehicle’s electrical system and cause a malfunction.
Page 219 of 624
219
LC200_OM_OM60Q99U_(U)
4-2. Driving procedures
4
Driving
Turn signal lever
The turn signal lever can be used to show the following intentions of
the driver:
Right turn
Lane change to the right (push
and hold the lever partway)
The right hand signals will flash
until you release the lever.
Lane change to the left (push
and hold the lever partway)
The left hand signals will flash until
you release the lever.
Left turn
■Turn signals can be operated when
The engine switch is in IGNITION ON mode.
■ If the indicator flashes faster than usual
Check that a light bulb in the front or rear turn signal lights has not burned
out.
Operating instructions
1
2
3
4
Page 221 of 624
221
LC200_OM_OM60Q99U_(U)
4-3. Operating the lights and wipers
4
Driving
Headlight switch
Operating the switch turns on the lights as follows:
The daytime running
lights turn off.
The side marker, park-
ing, tail, license plate,
instrument panel lights,
and daytime running
lights ( P. 223) turn on.
The headlights and all
lights listed above
(except daytime running
lights) turn on.
The headlights, day-
time running lights
( P. 223) and all lights
listed above turn on
and off automatically
(when the engine
switch is in IGNITION
ON mode).
The headlights can be operate d manually or automatically.
Operating instructions
1
2
3
4
Page 222 of 624
222
LC200_OM_OM60Q99U_(U)
4-3. Operating the lights and wipers
With the headlights on, push
the lever forward to turn on the
high beams.
Pull the lever back to the center
position to turn the high beams off.
Pull the lever toward you to turn
on the high beams.
Release the lever to turn them off.
You can flash the high beams with
the headlights on or off.
Turning on the high beam headlights
1
2
Page 223 of 624

LC200_OM_OM60Q99U_(U)
2234-3. Operating the lights and wipers
4
Driving
■Daytime running light system
●The daytime running lights illuminate using the same lights as the headlights
and illuminate dimmer than the headlights.
● To make your vehicle more visible to other drivers during dayti me driving,
the daytime running lights turn on automatically when all of th e following
conditions are met. (The daytime running lights are not designe d for use at
night.)
• The engine is running
• The parking brake is released
• The headlight switch is in the or “AUTO”
* position
*: When the surroundings are bright
The daytime running lights remain on after they illuminate, even if the parking
brake is set again.
● For the U.S.A.: Daytime running lights can be turned off by ope rating the
switch.
● Compared to turning on the headlights, the daytime running ligh t system
offers greater durability and consumes less electricity, so it can help improve
fuel economy.
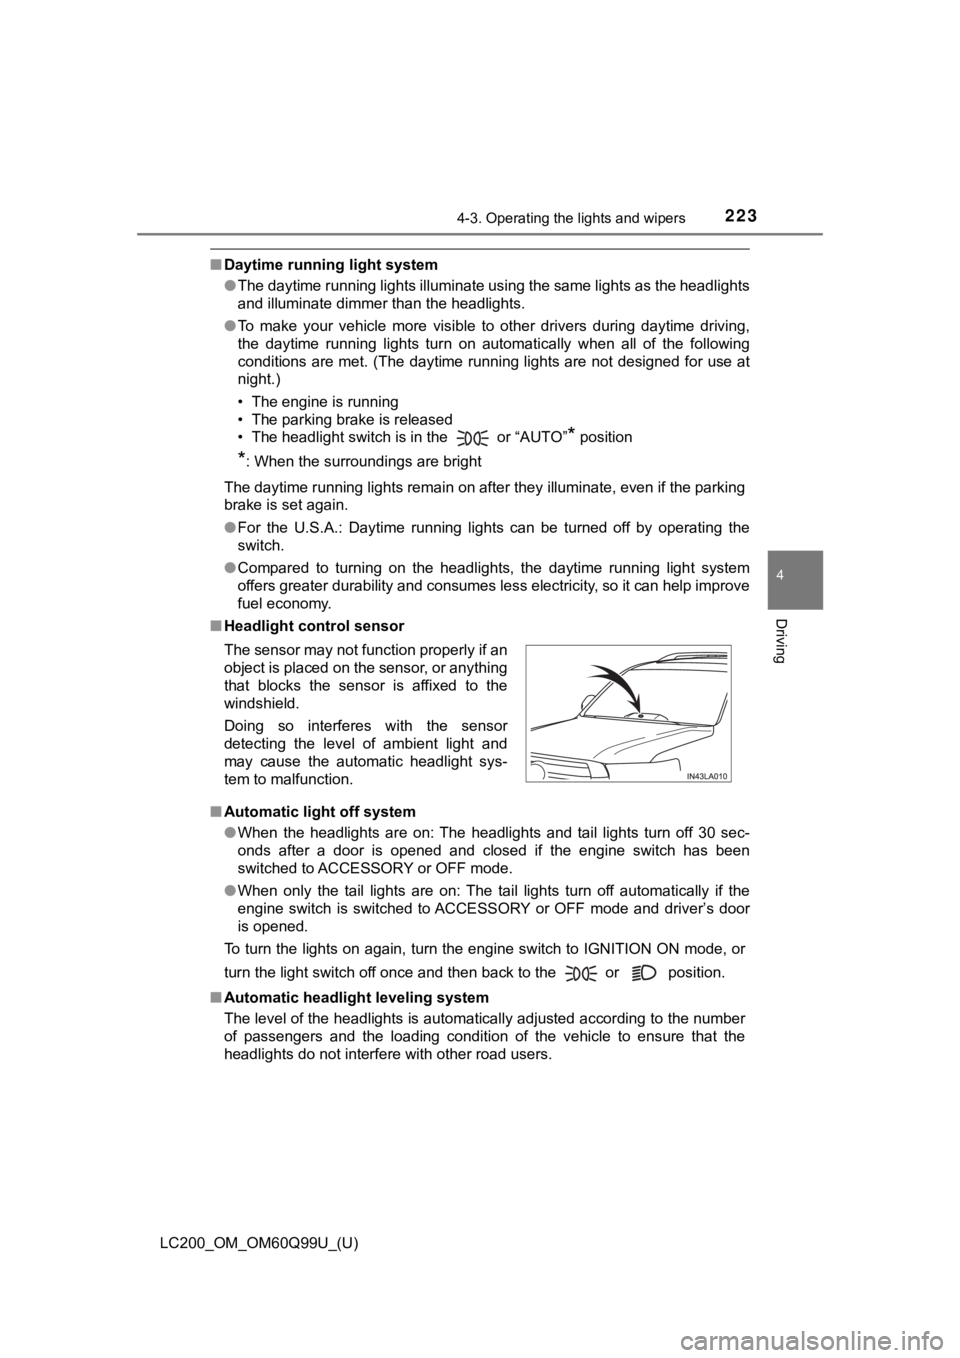
■ Headlight control sensor
■ Automatic light off system
●When the headlights are on: The headlights and tail lights turn off 30 sec-
onds after a door is opened and closed if the engine switch has been
switched to ACCESSORY or OFF mode.
● When only the tail lights are on: The tail lights turn off automatically if the
engine switch is switched to ACCESSORY or OFF mode and driver’s door
is opened.
To turn the lights on again, turn the engine switch to IGNITION ON mode, or
turn the light switch off once and then back to the or positi on.
■ Automatic headlight leveling system
The level of the headlights is automatically adjusted according to the number
of passengers and the loading condition of the vehicle to ensur e that the
headlights do not interfere with other road users. The sensor may not function properly if an
object is placed on the sensor, or anything
that blocks the sensor is affixed to the
windshield.
Doing so interferes with the sensor
detecting the level of ambient light and
may cause the automatic headlight sys-
tem to malfunction.
Page 224 of 624
224
LC200_OM_OM60Q99U_(U)
4-3. Operating the lights and wipers
■Welcome lighting
If the headlight switch is turned to and the surrounding area is dark,
unlocking the doors using the smart key system or wireless remo te control
will turn the parking lights and tail lights on automatically.
■ If the automatic headlight levelin g system warning light flashes
It may indicate a malfunction in the system. Contact your Toyota dealer.
■ Light reminder buzzer
A buzzer sounds when the engine switch is turned to ACCESSORY or OFF
mode and the driver’ door is opened while the tail lights are t urned on.
■ Customization
Settings (e.g. light sensor sensitivity) can be changed.
(Customizable features: P. 586)
NOTICE
■To prevent battery discharge
Do not leave the lights on longer than necessary when the engin e is not
running.
Page 225 of 624

225
LC200_OM_OM60Q99U_(U)
4-3. Operating the lights and wipers
4
Driving
Automatic High Beam
The Automatic High Beam uses an in-vehicle camera sensor to
assess the brightness of streetlights, the lights of vehicles
ahead etc., and automatically turns the high beam on or off as
necessary.
WARNING
■ Limitations of the Automatic High Beam
Do not rely on the Automatic High Beam. Always drive safely, ta king care to
observe your surroundings and turning the high beam on or off m anually if
necessary.
■ To prevent incorrect operation o f the Automatic High Beam syste m
Do not overload the vehicle.
NOTICE
■ Notes when using the Aut omatic High Beam system
Vehicles without PCS (Pre-Collision System):
● Do not spill liquid onto the inside rear view mirror or the cam era sensor.
● Do not apply window tinting or stickers to the camera sensor or the area of
windshield near the camera sensor.
● Do not place items on the dashboard. There is a possibility tha t the cam-
era sensor will mistake items reflected in the windshield for s treetlights,
the headlights of other vehicles, etc.
● Do not install a parking tag or any other accessories near or a round the
inside rear view mirror and the camera sensor.
● Do not modify the vehicle.
● Do not replace windshield with a non-genuine windshield.
Contact your Toyota dealer.
Vehicles with PCS (Pre-Collision System):
P. 246
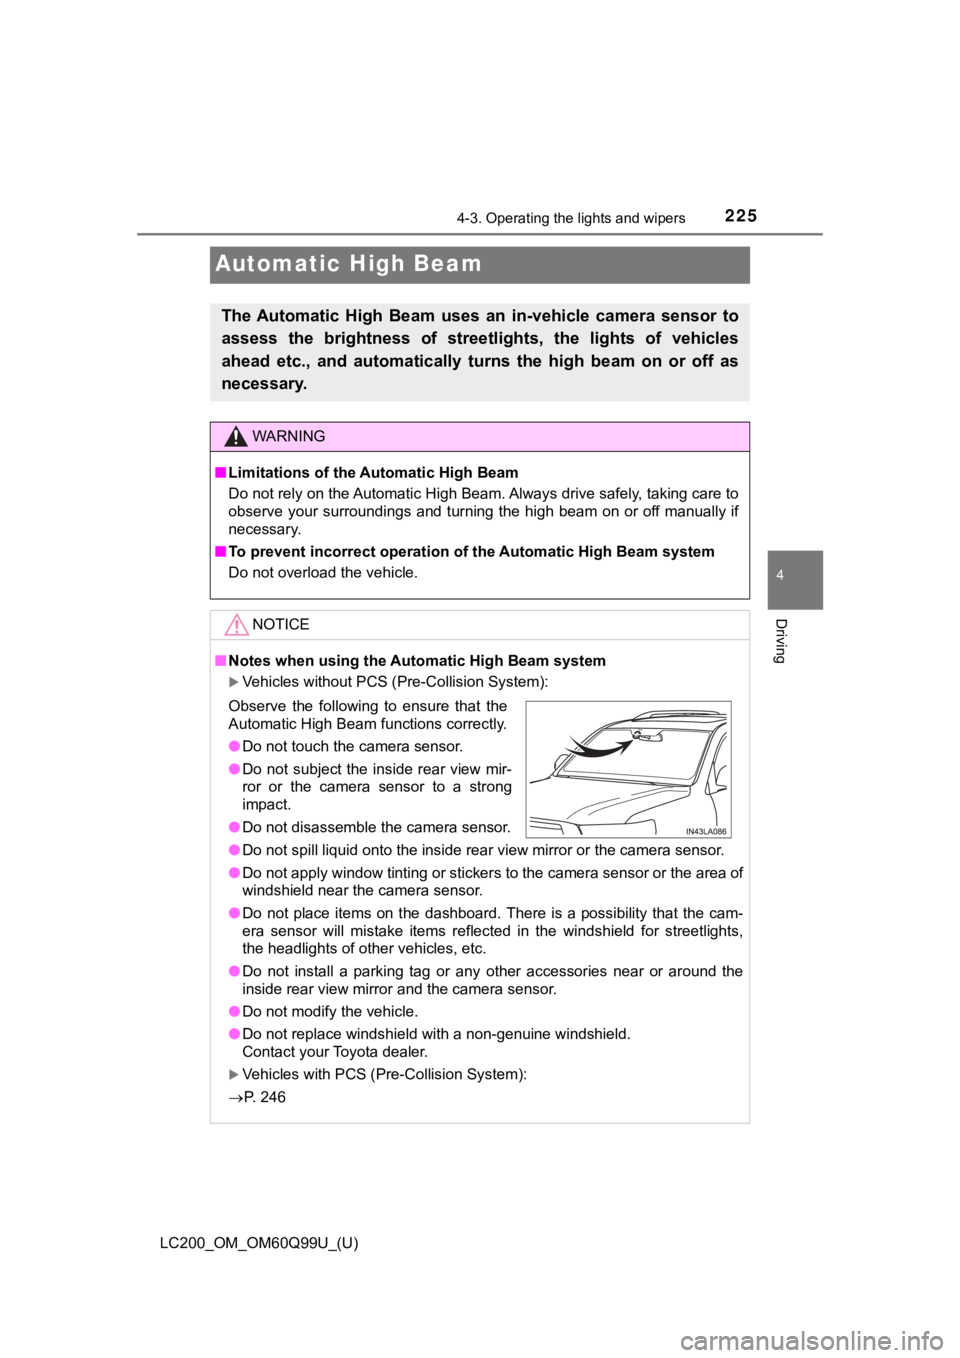
Observe the following to ensure that the
Automatic High Beam functions correctly.
●Do not touch the camera sensor.
● Do not subject the inside rear view mir-
ror or the camera sensor to a strong
impact.
● Do not disassemble the camera sensor.
Page 226 of 624
226
LC200_OM_OM60Q99U_(U)
4-3. Operating the lights and wipers
Push the lever away from you
with the headlight switch in the or position.
Press the Automatic High
Beam switch.
The Automatic High Beam indica-
tor will come on when the head-
lights are turned on automatically
to indicate that the system is
active.
■
Switching to low beam
Pull the lever to original posi-
tion.
The Automatic High Beam indi-
cator will turn off.
Push the lever away from you to
activate the Automatic High
Beam system again.
■
Switching to high beam
Press the Automatic High
Beam switch.
The Automatic High Beam indi-
cator will turn off and the high
beam indicator will turn on.
Press the switch to activate the
Automatic High Beam system
again.
Activating the Automatic High Beam system
1
2
Turning the high beam on/off manually