2019 TOYOTA CAMRY HYBRID audio
[x] Cancel search: audioPage 310 of 592

3104-5. Using the driving support systems
• If the orientation of the rear camera has been changed due to a collision
or other impact, or removal and installation
• If a towing eyelet is installed to the rear of the vehicle
• When the rear camera is obscured (dirt, snow, ice, etc. are at tached) or
scratched
• When water is flowing over the rear camera lens
• If there is a flashing light in the detection area, such as th e emergency
flashers of another vehicle
■ Situations in which the Rear Cam era Detection function may be difficult
to notice
● If buzzer may be difficult to hear if the surrounding area is noisy, the volume
of the audio system volume is high, the air conditioning system is being
used, etc.
● If the temperature in the cabin is extremely high or low, the a udio system
screen may not operate correctly.
Page 312 of 592

3124-5. Using the driving support systems
When the sensors detect an obstacle, the following displays inf orm
the driver of the position and distance to the obstacle.
■Multi-information display
Front corner sensor opera-
tion
Front center sensor opera-
tion
Rear corner sensor operation
Rear center sensor operation
Select to mute the buzzer
sounds.
■Audio system screenIntuitive parking assist
When the vehicle is moving
backward.
A simplified image is displayed
on the upper part of the screen
when an obstacle is detected.
■Muting the buzzer sound
●To mute the buzzer sound
The buzzer can be temporarily muted by pressing of the meter c on-
trol switches while an obstacle detection display is shown on t he multi-infor-
mation display.
● To cancel the mute
Mute will be automatically cancelled in the following situation s.
• When the shift position is changed
• When the vehicle speed has reached or exceeded approximately 6 mph
(10 km/h) with the shift lever in D
• When the intuitive parking assist is turned off once and turned on again
• When the power switch is turned off once and turned to ON mode again
• When a sensor is malfunctioning
Display
1
2
3
4
5
1
Page 316 of 592

3164-5. Using the driving support systems
■Sensor detection information
●The sensor’s detection areas are limited to the areas around th e vehicle’s
bumper.
● Depending on the shape of the obstacle and other factors, the d etection dis-
tance may shorten, or detection may be impossible.
● Obstacles may not be detected if they are too close to the sens or.
● There will be a short delay between obstacle detection and display. Even at
slow speeds, there is a possibility that the obstacle will come within the sen-
sor’s detection areas before the display is shown and the buzze r sounds.
● Thin posts or objects lower than the sensor may not be detected when
approached, even if they have been detected once.
● It might be difficult to hear beeps due to the volume of audio system or air
flow noise of the air conditioning system.
■ If “Parking Assist Unavailable Please Clean Parking Assist Sens or” is
displayed on the multi-information display
A sensor may be dirty or covered with snow or ice. In such case s, if it is
removed from the sensor, the system should return to normal.
Also, due to the sensor being frozen at low temperatures, a mal function dis-
play may appear or an obstacle may not be detected. If the sens or thaws out,
the system should return to normal.
■ Certification
For vehicles sold in Canada
This ISM device complies with Canadian ICES-001.
Cet appareil ISM est conforme a la norme NMB-001 du Canada.
WARNING
■ When using the intuitive parking assist
Observe the following precautions.
Failing to do so may result in the vehicle being unable to be d riven safely
and possibly cause an accident.
● Do not use the sensor at speeds in excess of 6 mph (10 km/h).
● The sensors’ detection areas and reaction times are limited. When moving
forward or reversing, check the areas surrounding the vehicle ( especially
the sides of the vehicle) for safety, and drive slowly, using t he brake to
control the vehicle’s speed.
● Do not install accessories within the sensors’ detection areas.
Page 399 of 592

3996-1. Maintenance and care
6
Maintenance and care
NOTICE
■Cleaning detergents
● Do not use the following types of detergent, as they may discol or the vehi-
cle interior or cause streaks or damage to painted surfaces:
• Areas other than the seats and steering wheel: Organic substan ces
such as benzene or gasoline, alkaline or acidic solutions, dye, and
bleach
• Seats: Alkaline or acidic solutions, such as thinner, benzene, and alco-
hol
• Steering wheel: Organic substances, such as thinner, and clean er that
contains alcohol
● Do not use polish wax or polish cleaner. The instrument panel’s or other
interior part’s painted surface may be damaged.
■ Preventing damage to leather surfaces
Observe the following precautions to avoid damage to and deterioration of
leather surfaces:
● Remove any dust or dirt from leather surfaces immediately.
● Do not expose the vehicle to direct sunlight for extended perio ds of time.
Park the vehicle in the shade, especially during summer.
● Do not place items made of vinyl, plastic, or containing wax on the uphol-
stery, as they may stick to the leather surface if the vehicle interior heats
up significantly.
■ Water on the floor
Do not wash the vehicle floor with water.
Vehicle systems such as the audio system may be damaged if wate r comes
into contact with electrical components such as the audio syste m above or
under the floor of the vehicle. Water may also cause the body to rust.
■ When cleaning the inside of the windshield
Do not allow glass cleaner to contact the lens. Also, do not to uch the lens.
( P. 250)
■ Cleaning the inside of the rear window
● Do not use glass cleaner to clean the rear window, as this may cause
damage to the rear window defogger heater wires or antenna. Use a cloth
dampened with lukewarm water to gently wipe the window clean. Wipe the
window in strokes running parallel to the heater wires or antenna.
● Be careful not to scratch or damage the heater wires or antenna .
Page 482 of 592

4827-2. Steps to take in an emergency
■When the tire pressure warning light comes on
Inspect the tires to check if a tire is punctured.
If a tire is punctured: P. 492
If none of the tires are punctured:
Turn the power switch off then turn it to ON mode. Check if the tire pres-
sure warning light comes on or blinks.
If the tire pressure wa rning light comes on
After the temperature of the tires has lowered sufficiently, ch eck the
inflation pressure of each tire and adjust them to the specifie d level.
If the warning light does not turn off even after several minut es have
elapsed, check that the inflation pressure of each tire is at t he specified
level and perform initialization. (P. 4 2 6 )
If the warning light does not tu rn off several minutes after the initialization
has been performed, have the vehi cle inspected by your Toyota dealer
immediately.
If the tire pressure warning light blinks fo r 1 minute then stays on
There may be a malfunction in the tire pressure warning system. Have
the vehicle inspected by you r Toyota dealer immediately.
■The tire pressure warning light may come on due to natural caus es
The tire pressure warning light may come on due to natural caus es such
as natural air leaks and tire inflation pressure changes caused by tem-
perature. In this case, adjusting the tire inflation pressure w ill turn off the
warning light (afte r a few minutes).
■When a tire is replace d with a spare tire
The compact spare tire is not equipped with a tire pressure war ning valve
and transmitter. If a tire goes flat, the tire pressure warning light will not
turn off even though the flat tire has been replaced with the s pare tire.
Replace the spare tire with the repaired tire and adjust the ti re inflation
pressure. The tire pressure war ning light will go off after a few minutes.
■Conditions that the tire pressure warning system may not functi on
properly
P. 4 3 2
■Electric power steering system w arning light (warning buzzer)
When the 12-volt battery charge becomes insufficient or the vol tage tempo-
rarily drops, the electric power steering system warning light may come on
and the warning buzzer may sound.
■ Warning buzzer
In some cases, the buzzer may not be heard because of noisy pla ce or an
audio sound.
1
2
Page 511 of 592

5117-2. Steps to take in an emergency
7
When trouble arises
■Starting the hybrid system when the 12-volt battery is discharg ed
The hybrid system cannot be started by push-starting.
■ To prevent 12-volt battery discharge
●Turn off the headlights and the audio system while the hybrid s ystem is off.
● Turn off any unnecessary electrical components when the vehicle is running
at a low speed for an extended period, such as in heavy traffic .
■ When the 12-volt battery is removed or discharged
● Information stored in the ECU is cleared. When the 12-volt batt ery is
depleted, have the vehicle inspected at your Toyota dealer.
● Some systems may require initialization. ( P. 555)
■ When removing the 12-vo lt battery terminals
When the 12-volt battery terminals are removed, the information stored in the
ECU is cleared. Before removing the 12-volt battery terminals, contact your
Toyota dealer.
■ Charging the 12-volt battery
The electricity stored in the 12-volt battery will discharge gr adually even when
the vehicle is not in use, due to natural discharge and the dra ining effects of
certain electrical appliances. If the vehicle is left for a lon g time, the 12-volt
battery may discharge, and the hybrid system may be unable to start. (The
12-volt battery recharges automatically while the hybrid system is operating.)
■ When recharging or replacing the 12-volt battery
●In some cases, it may not be possible to unlock the doors using the smart
key system when the 12-volt battery is discharged. Use the wire less remote
control or the mechanical key to lock or unlock the doors.
● The hybrid system may not start on the first attempt after the 12-volt battery
has recharged but will start normally after the second attempt. This is not a
malfunction.
● The power switch mode is memorized by the vehicle. When the 12- volt bat-
tery is reconnected, the system will return to the mode it was in before the
12-volt battery was discharged. Before disconnecting the 12-volt battery,
turn the power switch off.
If you are unsure what mode the power switch was in before the 12-volt bat-
tery discharged, be especially careful when reconnecting the 12 -volt battery.
Page 547 of 592

547
8
Vehicle specifications
8-2. Customization
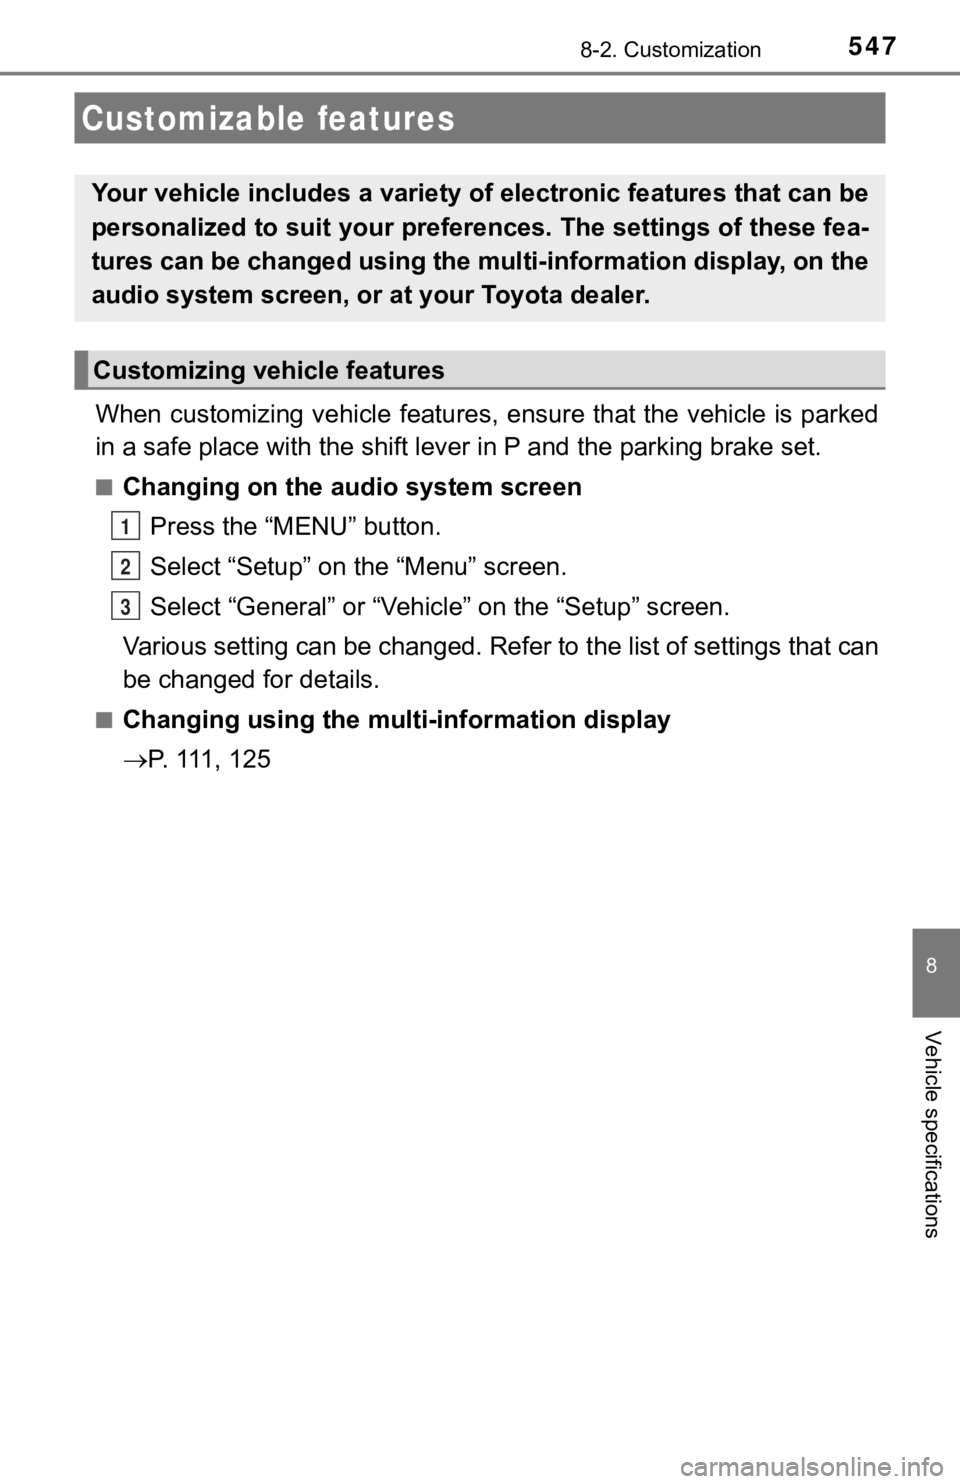
When customizing vehicle features, ensure that the vehicle is parked
in a safe place with the shift le ver in P and the parking brake set.
■Changing on the audio system screen
Press the “MENU” button.
Select “Setup” on the “Menu” screen.
Select “General” or “Vehicle” on the “Setup” screen.
Various setting can be changed. Refer to the list of settings t hat can
be changed for details.
■Changing using the mult i-information display
P. 111, 125
Customizable features
Your vehicle includes a variety of electronic features that can be
personalized to suit your preferences. The settings of these fe a-
tures can be changed using the multi-information display, on th e
audio system screen, or at your Toyota dealer.
Customizing vehicle features
1
2
3
Page 548 of 592

5488-2. Customization
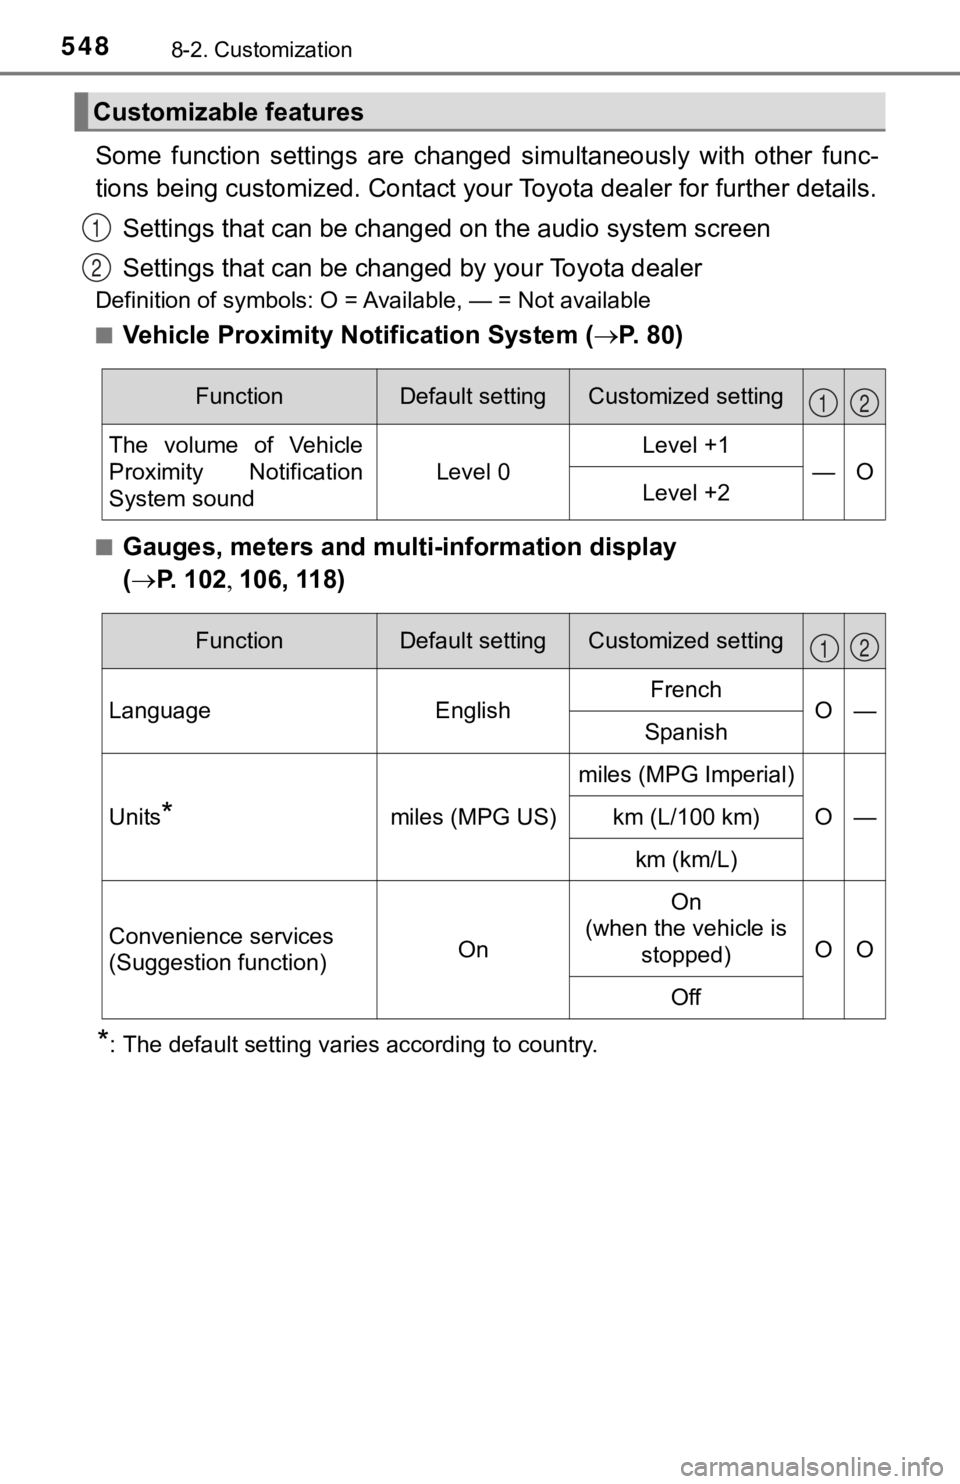
Some function settings are changed simultaneously with other func-
tions being customized. Contact your Toyota dealer for further details.
Settings that can be changed on the audio system screen
Settings that can be chan ged by your Toyota dealer
Definition of symbols: O = Available, — = Not available
■
Vehicle Proximity Notification System (P. 8 0 )
■Gauges, meters and mult i-information display
( P. 102106, 118)
*: The default setting varies according to country.
Customizable features
1
2
FunctionDefault settingCustomized setting
The volume of Vehicle
Proximity Notification
System sound
Level 0
Level +1
—OLevel +2
12
FunctionDefault settingCustomized setting
LanguageEnglishFrenchO—Spanish
Units*miles (MPG US)
miles (MPG Imperial)
O—km (L/100 km)
km (km/L)
Convenience services
(Suggestion function)On
On
(when the vehicle is stopped)
OO
Off
12