Page 4 of 207
Exterior Overview
1.Exterior lights ( Lights on page 55)
2. Door handles ( Using Exterior Door Handles on page 11)
3. Sunroof (optional) ( Sunroof on page 23)
4. Charge port ( Charging Instructions on page 149)
5. Autopilot cameras ( About Autopilot on page 82)
6. Exterior mirrors ( Mirrors on page 50)
7. Hood/Front trunk ( Front Trunk on page 18)
8. Radar sensor (hidden from view in the above image) ( About Autopilot on page 82)
9. Wheels and tires ( Wheels and Tires on page 180)
10. Rear view camera ( Rear View Camera on page 80 and About Autopilot on page 82)
11. Rear trunk/liftgate ( Rear Trunk on page 15)
12. Ultrasonic sensors ( Park Assist on page 71 and About Autopilot on page 82)
Exterior Overview
Overview3
Page 8 of 207

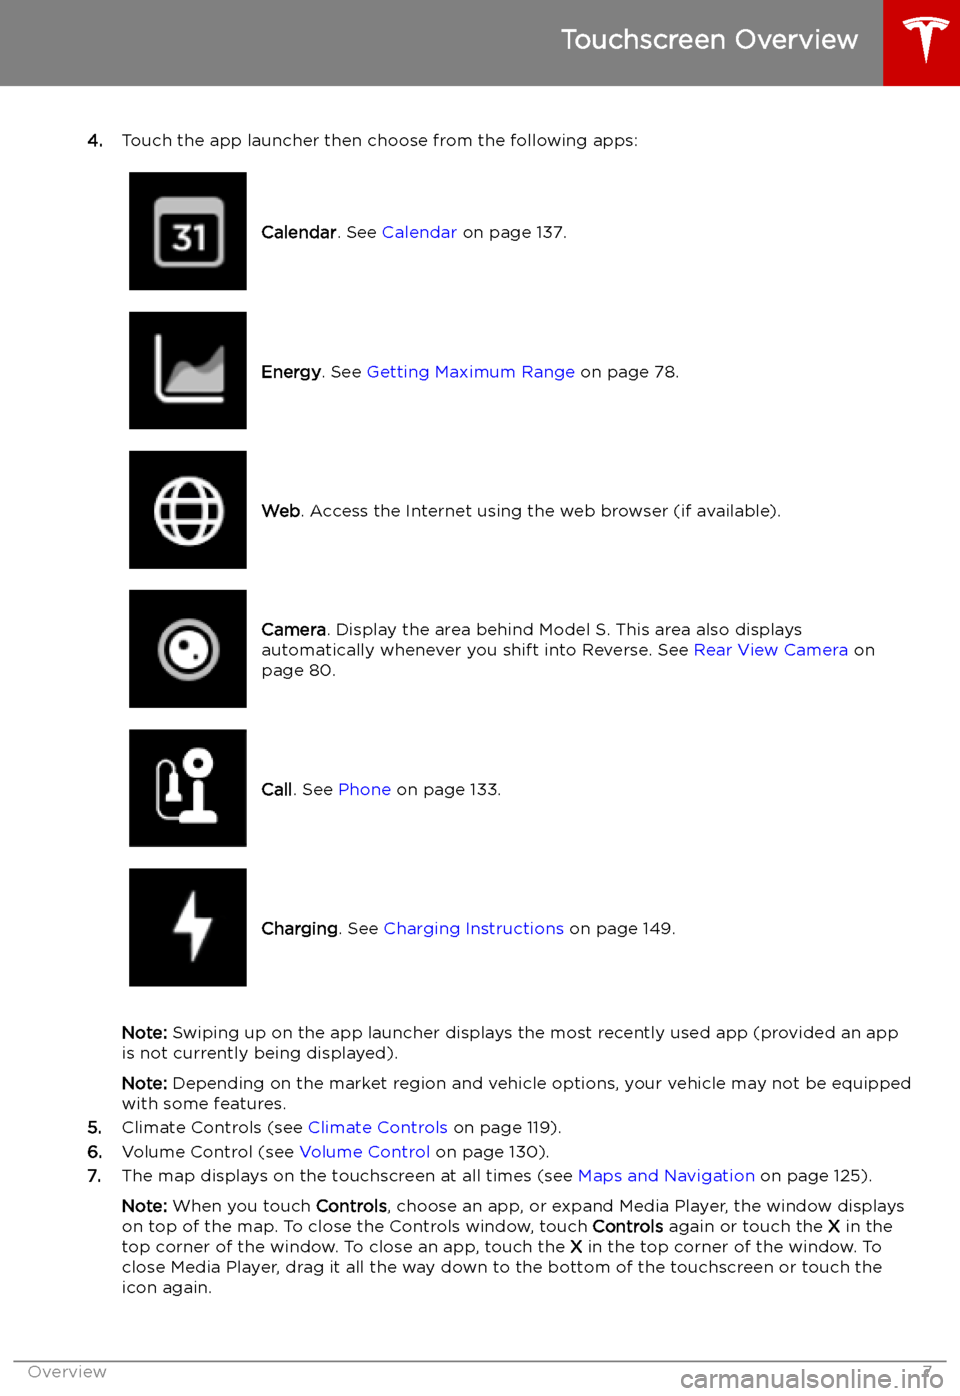
4.Touch the app launcher then choose from the following apps:
Calendar . See Calendar on page 137.Energy. See Getting Maximum Range on page 78.Web. Access the Internet using the web browser (if available).Camera . Display the area behind Model S. This area also displays
automatically whenever you shift into Reverse. See Rear View Camera on
page 80.Call . See Phone on page 133.Charging . See Charging Instructions on page 149.
Note: Swiping up on the app launcher displays the most recently used app (provided an app
is not currently being displayed).
Note: Depending on the market region and vehicle options, your vehicle may not be equipped
with some features.
5. Climate Controls (see Climate Controls on page 119).
6. Volume Control (see Volume Control on page 130).
7. The map displays on the touchscreen at all times (see Maps and Navigation on page 125).
Note: When you touch Controls, choose an app, or expand Media Player, the window displays
on top of the map. To close the Controls window, touch Controls again or touch the X in the
top corner of the window. To close an app, touch the X in the top corner of the window. To
close Media Player, drag it all the way down to the bottom of the touchscreen or touch the icon again.
Touchscreen Overview
Overview7
Page 21 of 207

Interior Storage and Electronics
Glove Box
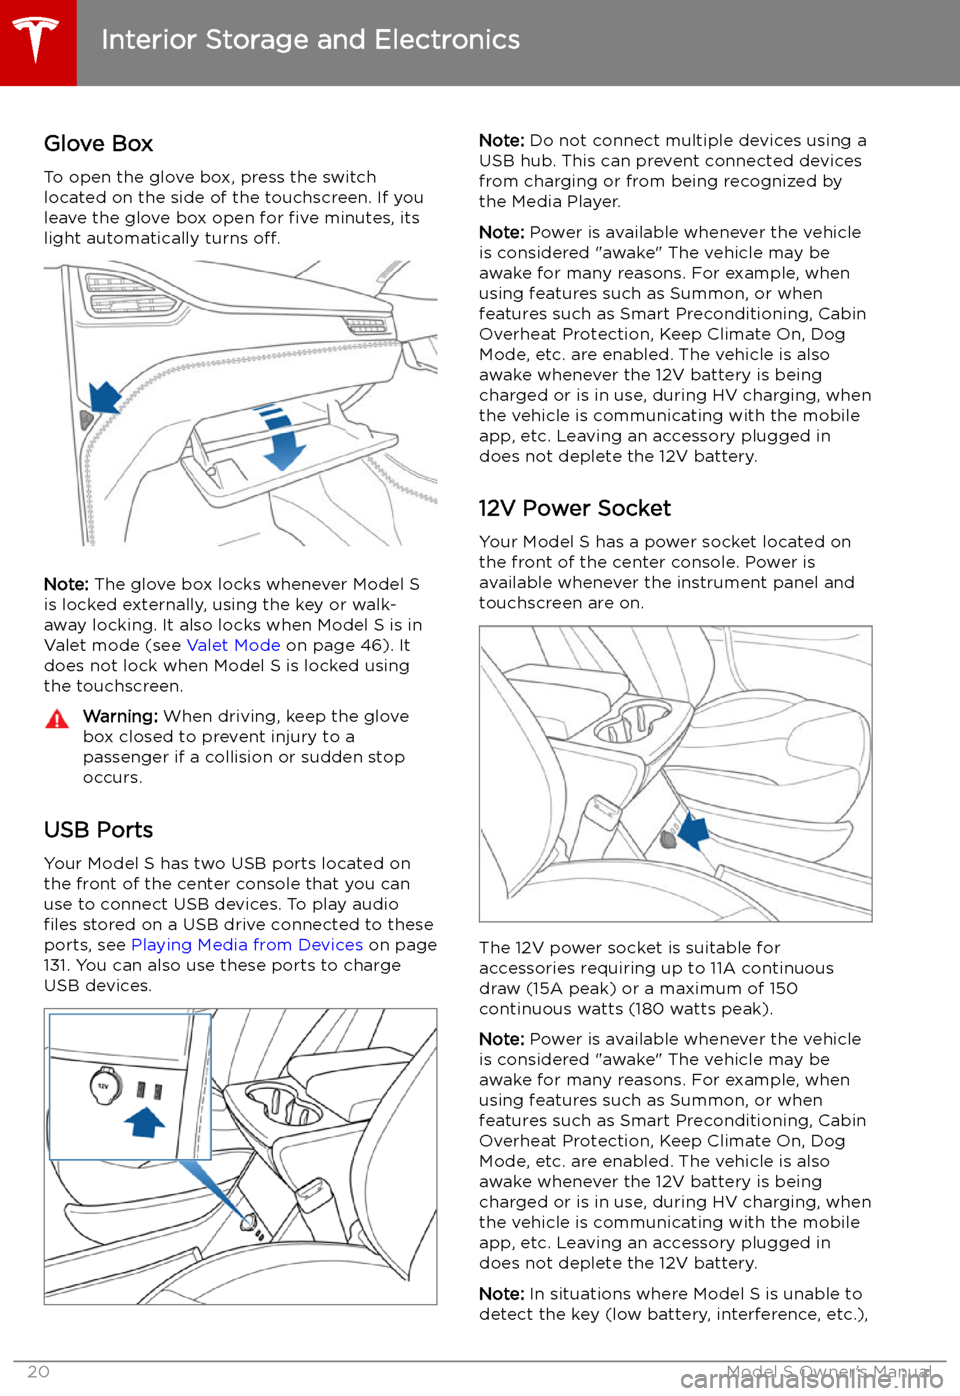
To open the glove box, press the switch located on the side of the touchscreen. If you
leave the glove box open for five minutes, its
light automatically turns off.
Note: The glove box locks whenever Model S
is locked externally, using the key or walk-
away locking. It also locks when Model S is in Valet mode (see Valet Mode on page 46). It
does not lock when Model S is locked using the touchscreen.
Warning: When driving, keep the glove
box closed to prevent injury to a
passenger if a collision or sudden stop
occurs.
USB Ports
Your Model S has two USB ports located on
the front of the center console that you can
use to connect USB devices. To play audio
files stored on a USB drive connected to these
ports, see Playing Media from Devices on page
131. You can also use these ports to charge
USB devices.
Note: Do not connect multiple devices using a
USB hub. This can prevent connected devices from charging or from being recognized by
the Media Player.
Note: Power is available whenever the vehicle
is considered "awake" The vehicle may be awake for many reasons. For example, when
using features such as Summon, or when features such as Smart Preconditioning, Cabin
Overheat Protection, Keep Climate On, Dog Mode, etc. are enabled. The vehicle is alsoawake whenever the 12V battery is beingcharged or is in use, during HV charging, when
the vehicle is communicating with the mobile
app, etc. Leaving an accessory plugged in
does not deplete the 12V battery.
12V Power Socket Your Model S has a power socket located onthe front of the center console. Power is
available whenever the instrument panel and
touchscreen are on.
The 12V power socket is suitable for
accessories requiring up to 11A continuous
draw (15A peak) or a maximum of 150
continuous watts (180 watts peak).
Note: Power is available whenever the vehicle
is considered "awake" The vehicle may be awake for many reasons. For example, when
using features such as Summon, or when features such as Smart Preconditioning, Cabin
Overheat Protection, Keep Climate On, Dog Mode, etc. are enabled. The vehicle is alsoawake whenever the 12V battery is beingcharged or is in use, during HV charging, when
the vehicle is communicating with the mobile
app, etc. Leaving an accessory plugged in
does not deplete the 12V battery.
Note: In situations where Model S is unable to
detect the key (low battery, interference, etc.),
Interior Storage and Electronics
20Model S Owner
Page 129 of 207

The location is equipped with a
Tesla Wall Connector. Touch to
display more information such as
usage restrictions and available
charge current. The charging list
also displays your proximity to
these charging stations.
Note: When the map is zoomed out
and more than one Tesla Wall
Connector is available in an area,
the pin is round and displays the
number of stations. Touch the pin
to zoom in. Then you can touch an
individual pins for detail about the
charging location.
Predicting Energy Usage
When navigating to a destination, Model S
helps you anticipate your charging needs by
calculating the amount of energy that remains
when you reach your destination. The
calculation is an estimate based on driving
style (predicted speed, etc.) and
environmental factors (elevation changes,
temperature, etc.). When navigating, the map
displays this calculation at the bottom of the
expanded turn-by-turn direction list (see
Navigating on page 126). When the turn-by-
turn direction list is compressed, touch the top of the list to expand it.
Throughout your route, Model S monitors energy usage and updates the calculation. A
popup warning displays at the bottom of the turn-by-turn direction list in these situations:
Page 146 of 207
Charging
Electric Vehicle Components
High Voltage Components
1. Front Motor (All-Wheel Drive vehicles only)
2. Air Conditioning Compressor
3. Battery Coolant Heater
4. Forward Junction Box
5. High Voltage Cabling
6. On-board Charger
7. DC-DC Converter
8. Cabin Heater
9. High Voltage Battery
10. Charge Port
11. Rear Motor
Warning:
The high voltage system has no user serviceable parts. Do not disassemble, remove
or replace high voltage components, cables or connectors. High voltage cables are typically colored orange for easy identification.Warning: Read and follow all instructions provided on the labels that are attached to Model S.
These labels are there for your safety.Warning: In the unlikely event that a fire occurs, immediately contact your local fire
emergency responders.
Electric Vehicle Components
Charging145
Page 147 of 207
Charging Equipment
Charging equipment designed specifically to
charge your Model S is available from Tesla. A Tesla Wall Connector, which installs in your
garage, is the fastest way to charge Model S at
home.
In most market regions, Model S is equipped
with a Mobile Connector and the adapter(s)
needed to plug into the most commonly used power outlets. When using the MobileConnector, first plug the Mobile Connector
into the power outlet, and then plug in Model S. For more information about your
Mobile Connector, see the Mobile Connector
Owner
Page 148 of 207
Battery Information
About the Battery
Model S has one of the most sophisticated
battery systems in the world. The most
important way to preserve the Battery is to LEAVE YOUR VEHICLE PLUGGED IN when
you are not using it. This is particularly
important if you are not planning to drive Model S for several weeks. When plugged in,
Model S wakes up when needed to
automatically maintain a charge level that
maximizes the lifetime of the Battery.
Note: When left idle and unplugged, your
vehicle periodically uses energy from the Battery for system tests and recharging the
12V battery when necessary.
There is no advantage to waiting until the
Battery
Page 150 of 207
Charging Instructions
Opening the Charge Port The charge port is located on the left side of
Model S, behind a door that is part of the rear
tail light assembly. Before charging, park
Model S to ensure that the charge cable easily reaches the charge port.
With Model S unlocked (or a recognized key is
within range) and in Park, press and release
the button on the Tesla charge cable to open the charge port door.
Note: If the charge cable is in range of the
charge port door, you can press the button on the charge cable to open the charge port door
even when Model S is locked or a recognized
key is not in range.
You can also open the charge port door using
any of these methods: