Page 137 of 207

Auto-Raising SuspensionAuto-raising suspension saves you from
manually having to raise the suspension every
time you arrive at a frequently-used location
where you have previously raised the
suspension. Whenever you raise the
suspension to HIGH or VERY HIGH , Model S
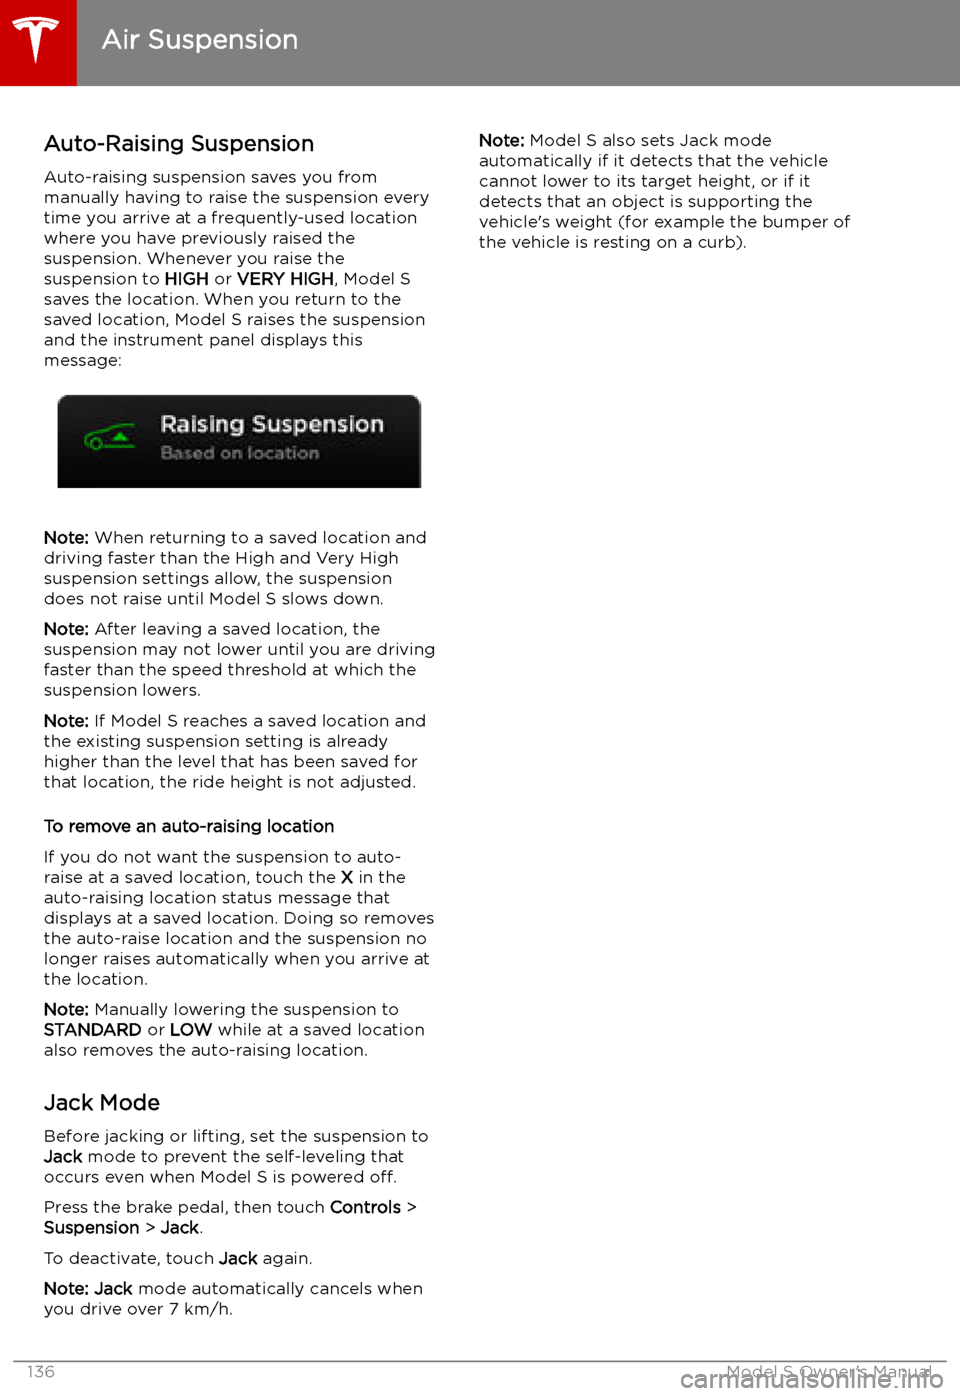
saves the location. When you return to the saved location, Model S raises the suspension
and the instrument panel displays this
message:
Note: When returning to a saved location and
driving faster than the High and Very High
suspension settings allow, the suspension
does not raise until Model S slows down.
Note: After leaving a saved location, the
suspension may not lower until you are driving
faster than the speed threshold at which the
suspension lowers.
Note: If Model S reaches a saved location and
the existing suspension setting is already
higher than the level that has been saved for
that location, the ride height is not adjusted.
To remove an auto-raising location
If you do not want the suspension to auto-
raise at a saved location, touch the X in the
auto-raising location status message that
displays at a saved location. Doing so removes
the auto-raise location and the suspension no
longer raises automatically when you arrive at
the location.
Note: Manually lowering the suspension to
STANDARD or LOW while at a saved location
also removes the auto-raising location.
Jack Mode Before jacking or lifting, set the suspension to
Jack mode to prevent the self-leveling that
occurs even when Model S is powered off.
Press the brake pedal, then touch Controls >
Suspension > Jack .
To deactivate, touch Jack again.
Note: Jack mode automatically cancels when
you drive over 7 km/h.
Note: Model S also sets Jack mode
automatically if it detects that the vehicle
cannot lower to its target height, or if it
detects that an object is supporting the
vehicle
Page 138 of 207
Calendar
Overview
The Calendar app allows you to view scheduled events from your phone
Page 139 of 207
Security Settings
About the Security System
If Model S does not detect a key nearby and a
locked door or trunk is opened, an alarm sounds and the headlights and turn signals
Page 140 of 207
prior to the event that triggered the Alert
state, provided that a properly configured USB
drive is inserted into one of the USB ports (see
Dashcam on page 81).
In the Alarm state, the security alarm
activates, the audio system generates a loud
and unexpected sound, and the message on
the touchscreen increases to maximum brightness. Sentry Mode returns from Alarm to
Standby after 30 seconds.
Location-Based Settings
You can customize Sentry Mode to
automatically enable near certain locations
when the vehicle is parked. The available
settings are:
Page 141 of 207
Page 142 of 207
Resetting the Location of the
HomeLink Device
If you experience situations in which you
sometimes drive up to your HomeLink device
and it doesn
Page 143 of 207
Connecting to Wi-Fi
Wi-Fi is available as a data connection method and is often faster than cellular data networks.
Connecting to Wi-Fi is especially useful in areas with limited or no cellular connectivity.
To ensure fast, reliable delivery of software
and map updates, Tesla recommends leaving your vehicle connected to a Wi-Fi network
whenever possible (for example, if parked in
your garage overnight).
To connect to a Wi-Fi network:
1. Touch the cellular icon (usually LTE or 3G)
on the top corner of your touchscreen.
Model S will start scanning and display the
detected Wi-Fi networks that are within
range.
2. Select the Wi-Fi network you want to use,
enter the password (if necessary), then
touch Confirm .
3. Your vehicle connects to the Wi-Fi
network and will automatically connect to it whenever the network is within range.
You can also connect to a hidden network that
isn
Page 144 of 207

Software Updates
Loading New Software
Model S updates its software wirelessly,
providing new features throughout your term of ownership. Tesla recommends that you
install software updates as soon as they are
available. The first time you enter Model S
after an update is made available, a scheduling window displays on the touchscreen. The
scheduling window displays again at the end
of your first driving session.
Note: Some software updates can take up to
three hours to complete. Model S must be in
Park while the new software is being installed.
To ensure the fastest and most reliable
delivery of software updates, leave the Wi-Fi
turned on and connected whenever possible
(see Connecting to Wi-Fi on page 142).
Note: Software updates using cellular data are
also available if your vehicle is equipped with
premium connectivity.
Warning: Do not attempt to use the
vehicle while the software is being
updated. Vehicle functions, including
some safety systems, may be limited or disabled while a software update is inprogress and you could damage the
vehicle.
When a software update is available, a yellow
clock icon appears on the touchscreen