Page 99 of 348

3. Snow or ice around the wheels or wheel housings.
4. Using tire chains on the vehicle.
5. Using wheels/tires not equipped with TPM sensors.
NOTE:Your vehicle can be equipped with either Tire
Service Kit, compact spare tire or regular size spare tire
(with or without original TPMS sensor).
1. Tire Service Kit (original tire sealant – if equipped): After fixing the punctured tire with original tire sealant, the
original situation will be restored, so system will turn off
the telltale during the normal drive.
2. Compact Spare Tire – if equipped: The compact spare wheel is not equipped with TPMS sensor. So when
mounted, during the normal drive the system will turn
on the telltale (flashing for approximately 75 sec. then
remains solid). This condition persists until a wheel
equipped with original TPMS sensor has been mounted
on the vehicle.
3. Regular size spare tire (not equipped with TPMS sen- sor): When mounted, during the normal drive the
system will turn on the telltale (flashing for approxi-
mately 75 sec. then remains solid). This condition per-
sists until a wheel equipped with original TPMS sensor has been mounted on the vehicle. Then the system will
be restored and the telltale will turn off during the
normal drive.
4. Regular size spare tire (equipped with TPMS sensor): When mounted, the telltale will turn off during the
normal drive.
5. In all the above cases please check the replacement tire inflation pressure before driving your vehicle.
6. In case of tire replacement, if the vehicle is driven for short periods of time, then the system can take a while
to be restored.
NOTE: For a correct Tire Pressure Monitoring behavior,
please wait for about 20 minutes in key-off during each tire
substitution.
General Information
This device complies with Part 15 of the FCC rules and RSS
210 of Industry Canada. Operation is subject to the follow-
ing conditions:
1. This device may not cause harmful interference.
2. This device must accept any interference received, in- cluding interference that may cause undesired opera-
tion.
5
SAFETY 97
Page 147 of 348

WARNING!(Continued)
vehicle properly parked with the engine off, fully
depress the accelerator, the brake, and the clutch
pedal (if present) to check for interference. If your
floor mat interferes with the operation of any pedal,
or is not secure to the floor, remove the floor mat
from the vehicle and place the floor mat in your
trunk.
• ONLY use the passenger ’s side floor mat on the
passenger ’s side floor area.
• ALWAYS make sure objects cannot fall or slide into
the driver ’s side floor area when the vehicle is
moving. Objects can become trapped under accelera-
tor, brake, or clutch pedals and could cause a loss of
vehicle control.
• NEVER place any objects under the floor mat (e.g.,
towels, keys, etc.). These objects could change the
position of the floor mat and may cause interference
with the accelerator, brake, or clutch pedals.
• If the vehicle carpet has been removed and re-
installed, always properly attach carpet to the floor
and check the floor mat fasteners are secure to the
vehicle carpet. Fully depress each pedal to check for
(Continued)
WARNING! (Continued)
interference with the accelerator, brake, or clutch
pedals then re-install the floor mats.
• It is recommended to only use mild soap and water
to clean your floor mats. After cleaning, always check
your floor mat has been properly installed and is
secured to your vehicle using the floor mat fasteners
by lightly pulling mat.
Periodic Safety Checks You Should Make Outside
The Vehicle
Tires
Examine tires for excessive tread wear and uneven wear
patterns. Check for stones, nails, glass, or other objects
lodged in the tread or sidewall. Inspect the tread for cuts
and cracks. Inspect sidewalls for cuts, cracks, and bulges.
Check the wheel bolts for tightness. Check the tires (includ-
ing spare) for proper cold inflation pressure.
Lights
Have someone observe the operation of brake lights and
exterior lights while you work the controls. Check turn
signal and high beam indicator lights on the instrument
panel.
5
SAFETY 145
Page 191 of 348

IN CASE OF EMERGENCY
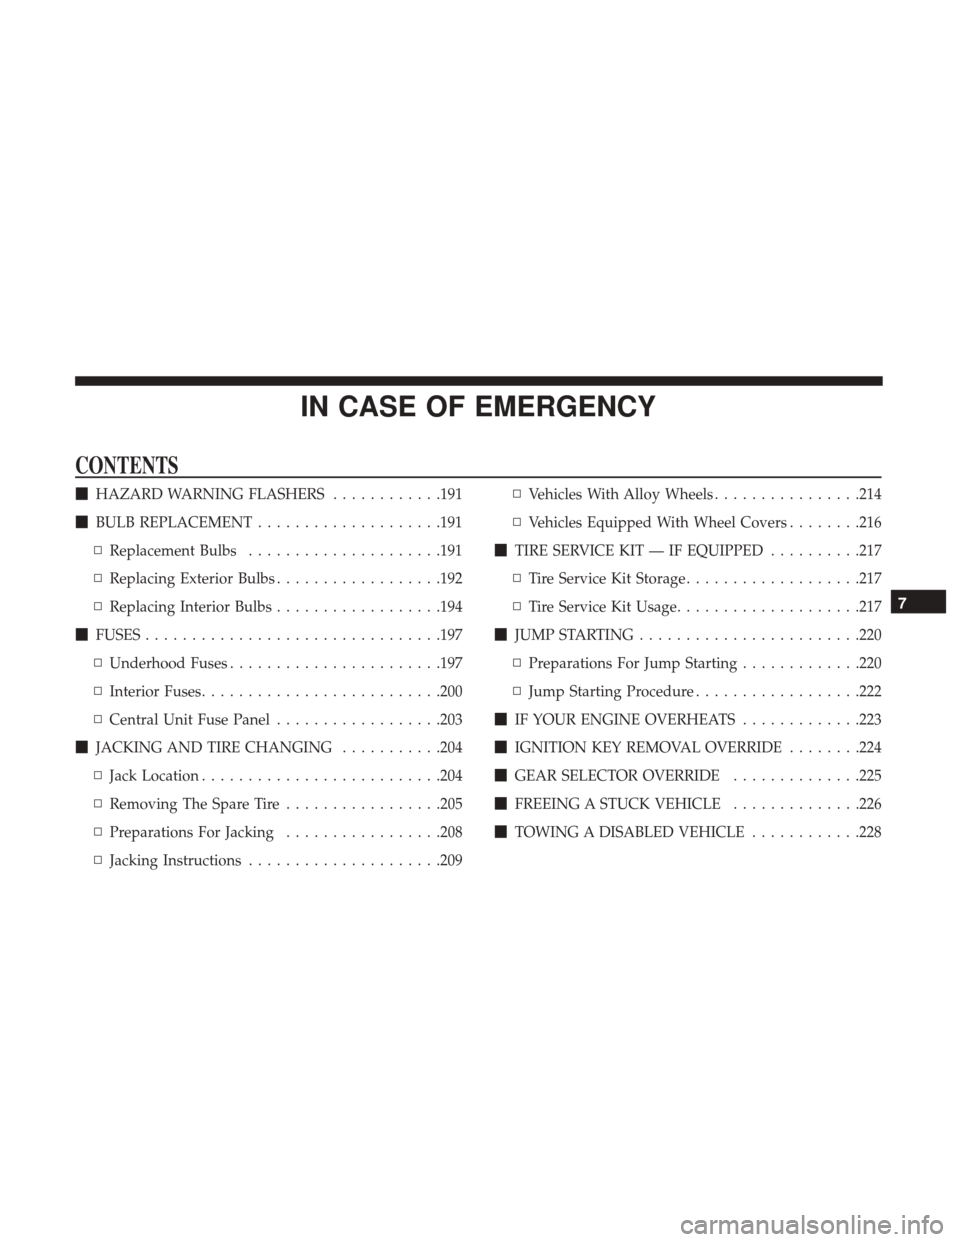
CONTENTS
�HAZARD WARNING FLASHERS ............191
� BULB REPLACEMENT ....................191
▫ Replacement Bulbs .....................191
▫ Replacing Exterior Bulbs ..................192
▫ Replacing Interior Bulbs ..................194
� FUSES ............................... .197
▫ Underhood Fuses ...................... .197
▫ Interior Fuses ......................... .200
▫ Central Unit Fuse Panel ..................203
� JACKING AND TIRE CHANGING ...........204
▫ Jack Location ......................... .204
▫ Removing The Spare Tire .................205
▫ Preparations For Jacking .................208
▫ Jacking Instructions .....................209 ▫
Vehicles With Alloy Wheels ................214
▫ Vehicles Equipped With Wheel Covers ........216
� TIRE SERVICE KIT — IF EQUIPPED ..........217
▫ Tire Service Kit Storage ...................217
▫ Tire Service Kit Usage ....................217
� JUMP STARTING ....................... .220
▫ Preparations For Jump Starting .............220
▫ Jump Starting Procedure ..................222
� IF YOUR ENGINE OVERHEATS .............223
� IGNITION KEY REMOVAL OVERRIDE ........224
� GEAR SELECTOR OVERRIDE ..............225
� FREEING A STUCK VEHICLE ..............226
� T
OWING A DISABLED VEHICLE ............228
7
Page 207 of 348
Removing The Spare Tire
1. Remove the spare tire before attempting to jack up thevehicle. Attach the wrench handle to the winch exten-
sion. 2. To access the winch mechanism open the rear doors of
the vehicle to expose the winch mechanism access cover.
Remove the access cover and install the winch extension
into the winch mechanism.
Jack Tools
1 — Wrench Handle
2 — Winch Extension
3 — Emergency Screwdriver
4 — Bolt Install Wrench
5 — Wheel Chock
6 — Jack
Winch Location
7
IN CASE OF EMERGENCY 205
Page 208 of 348
3. Rotate the wheel wrench handle counterclockwise untilthe spare tire is on the ground with enough cable slack
to allow you to pull it out from under the vehicle.
NOTE: The winch mechanism is designed for use with the
winch extension only. Use of an air wrench or other power
tools is not recommended and can damage the winch. 4. Pull the spare tire out from under the vehicle to gain
access to the spare tire retainer.
Jack Tools
1 — Winch Extension
2 — Wrench HandleSpare Tire
206 IN CASE OF EMERGENCY
Page 209 of 348
5. Remove the retainer nut prior to removing the retainerfrom the wheel. 6. Lift the spare tire with one hand to give clearance to tilt
the retainer at the end of the cable.
Retainer NutLifting Spare Tire
7
IN CASE OF EMERGENCY 207
Page 211 of 348

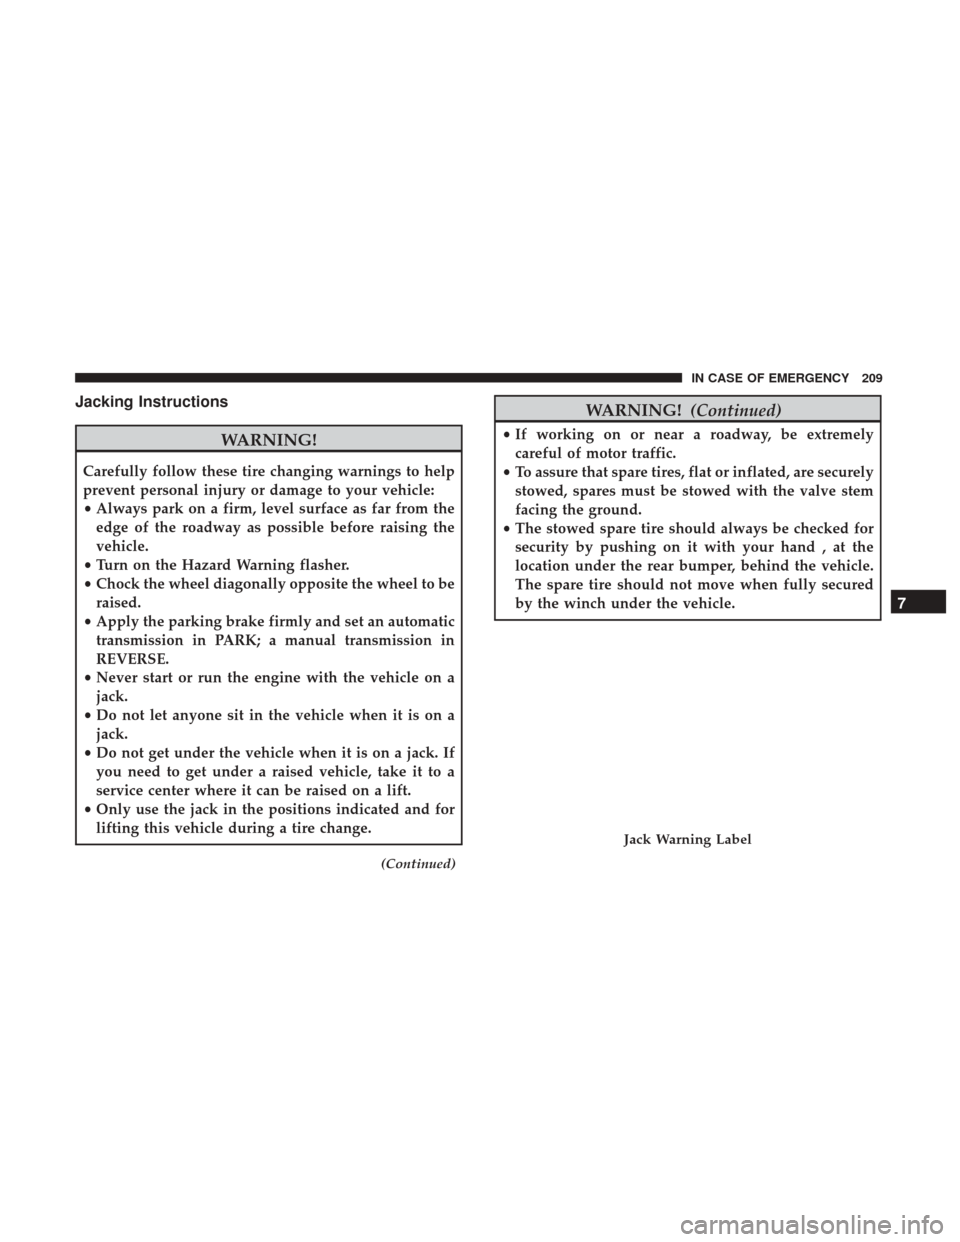
Jacking Instructions
WARNING!
Carefully follow these tire changing warnings to help
prevent personal injury or damage to your vehicle:
•Always park on a firm, level surface as far from the
edge of the roadway as possible before raising the
vehicle.
• Turn on the Hazard Warning flasher.
• Chock the wheel diagonally opposite the wheel to be
raised.
• Apply the parking brake firmly and set an automatic
transmission in PARK; a manual transmission in
REVERSE.
• Never start or run the engine with the vehicle on a
jack.
• Do not let anyone sit in the vehicle when it is on a
jack.
• Do not get under the vehicle when it is on a jack. If
you need to get under a raised vehicle, take it to a
service center where it can be raised on a lift.
• Only use the jack in the positions indicated and for
lifting this vehicle during a tire change.
(Continued)
WARNING! (Continued)
•If working on or near a roadway, be extremely
careful of motor traffic.
• To assure that spare tires, flat or inflated, are securely
stowed, spares must be stowed with the valve stem
facing the ground.
• The stowed spare tire should always be checked for
security by pushing on it with your hand , at the
location under the rear bumper, behind the vehicle.
The spare tire should not move when fully secured
by the winch under the vehicle.
Jack Warning Label
7
IN CASE OF EMERGENCY 209
Page 215 of 348
5. Remove the wheel lug bolts. For vehicles with wheelcovers, remove the cover from the wheel by hand. Do
not pry the wheel cover off. Then pull the wheel off the
hub.
6. Install the spare tire. Lightly tighten the wheel lug bolts using the bolt install wrench.
WARNING!
To avoid the risk of forcing the vehicle off the jack, do
not fully tighten the wheel bolts until the vehicle has
been lowered. Failure to follow this warning may
result in serious injury.
CAUTION!
Be sure to mount the spare tire with the valve stem
facing outward. The vehicle could be damaged if the
spare tire is mounted incorrectly.
7. Lower the vehicle by turning the jack screw to the left.
8. Refer to “Torque Specifications” in “Technical Specifica- tions” for proper wheel lug bolt torque.
9. Lower the jack to its fully-closed position.
Mounting Spare Tire
7
IN CASE OF EMERGENCY 213