2019 Ram 1500 ECO mode
[x] Cancel search: ECO modePage 61 of 698

WARNING!
Do not adjust the steering column while driving.
Adjusting the steering column while driving or driv-
ing with the steering column unlocked, could cause the
driver to lose control of the vehicle. Failure to follow
this warning may result in serious injury or death.
Heated Steering Wheel — If Equipped
The steering wheel contains a heating element that helps
warm your hands in cold weather. The heated steering
wheel has only one temperature setting. Once the heated
steering wheel has been turned on, it will stay on until the
operator turns it off. The heated steering wheel may not
turn on when it is already warm.
The heated steering wheel control button is located on the
center instrument panel below the touchscreen, and are
also located within the climate or controls screen of the
touchscreen.
•Press the heated steering wheel button
once to turn
the heating element on.
• Press the heated steering wheel buttona second time
to turn the heating element off.
NOTE: The engine must be running for the heated steering
wheel to operate.
Vehicles Equipped With Remote Start
On models that are equipped with remote start, the heated
steering wheel can be programmed to come on during a
remote start.
This feature can be programmed through the Uconnect
system. Refer to “Uconnect Settings” in “Multimedia” for
further information.
WARNING!
• Persons who are unable to feel pain to the skin
because of advanced age, chronic illness, diabetes,
spinal cord injury, medication, alcohol use, exhaus-
tion, or other physical conditions must exercise care
when using the steering wheel heater. It may cause
burns even at low temperatures, especially if used
for long periods.
• Do not place anything on the steering wheel that
insulates against heat, such as a blanket or steering
wheel covers of any type and material. This may
cause the steering wheel heater to overheat.
3
GETTING TO KNOW YOUR VEHICLE 59
Page 67 of 698

To Reset The Power Folding Mirrors:
1. Using the power folding mirror switch, move the mirrorto its normal driving (home) position.
2. Using the power folding mirror switch, move the mirror to the full retract position (this may require multiple
button pushes). This resets them to their normal posi-
tion.
NOTE:
• The power fold mirrors are designed to operate while
the vehicle is stationary or traveling at moderate speeds.
If you attempt to power fold the mirrors at high speeds
they may not fully open or close. You should slow down
to a moderate speed and complete the operation.
• When pushing the power fold button 10 or more times
in one minute the system shuts down for one minute to
protect the motors from over heating.Outside Mirrors Folding Feature
All outside mirrors are designed to be able to be manually
folded both forward and rearward to prevent damage.
CAUTION!
It is recommended to fold the mirrors into the full
rearward position to resist damage when entering a car
wash or a narrow location.
Folding Mirror
3
GETTING TO KNOW YOUR VEHICLE 65
Page 73 of 698

The Automatic High Beams can also be deactivated
through the Uconnect system. Refer to “Uconnect Settings”
in “Multimedia” for further information.
Flash-To-Pass
You can signal another vehicle with your headlights by
lightly pulling the multifunction lever toward you. This
will cause the high beam headlights to turn on, and remain
on, until the lever is released.
Automatic Headlights — If Equipped
This system automatically turns your headlights on or off
based on ambient light levels. To turn the system on, turn
the headlight switch to the extreme clockwise position
aligning the indicator with the AUTO on the headlight
switch. When the system is on, the Headlight Time Delay
feature is also on. This means your headlights will stay on
for up to 90 seconds after you turn the ignition switch OFF.
To turn the Automatic System off, turn the headlight switch
counterclockwise to the O (off) position.
NOTE:The engine must be running before the headlights
will come on in the Automatic mode.
Parking Lights And Panel Lights
To turn on the parking lights and instrument panel lights, from the O (off) position, rotate the headlight switch
clockwise to the first detent. To turn off the parking
lights, rotate the headlight switch back to the O (off)
position.
Headlights On With Wipers (Available With
Automatic Headlights Only)
When this feature is active, the headlights will turn on
approximately 10 seconds after the wipers are turned on if
the headlight switch is placed in the AUTO position. In
addition, the headlights will turn off when the wipers are
turned off, if they were turned on by this feature.
NOTE: This feature can be programmed through the
Uconnect system. Refer to “Uconnect Settings” in “Multi-
media” for further information.
3
GETTING TO KNOW YOUR VEHICLE 71
Page 76 of 698

telltale will illuminate in the instrument cluster display
when these lights are on. Pushing the switch a second time
will turn the lights off.
The cargo light and bed lights (if equipped) will turn on for
approximately 60 seconds when a key fob unlock button is
pushed, as part of the Illuminated Entry feature.
Battery Saver
To protect the life of your vehicle’s battery, load shedding
is provided for both the interior and exterior lights.If the ignition is OFF and any door is left ajar for 10 minutes
or the dimmer control is rotated all the way up to the dome
on position for 10 minutes, the interior lights will automati-
cally turn off.
NOTE:
Battery saver mode is canceled if the ignition is
ON.
If the headlights remain on while the ignition is cycled OFF,
the exterior lights will automatically turn off after eight
minutes. If the headlights are turned on and left on for
eight minutes while the ignition is OFF, the exterior lights
will automatically turn off.
INTERIOR LIGHTS
Courtesy Lights
Courtesy and dome lights are turned on when the front
doors are opened, the ambient dimmer control is rotated to
the highest detent, or the Illuminated Entry ON button is
pushed on the overhead console. Also, if your vehicle is
equipped with Remote Keyless Entry, and the unlock
button is pushed on the key fob, the courtesy and dome
lights will turn on.Bed Light Switch In Truck Bed
74 GETTING TO KNOW YOUR VEHICLE
Page 83 of 698

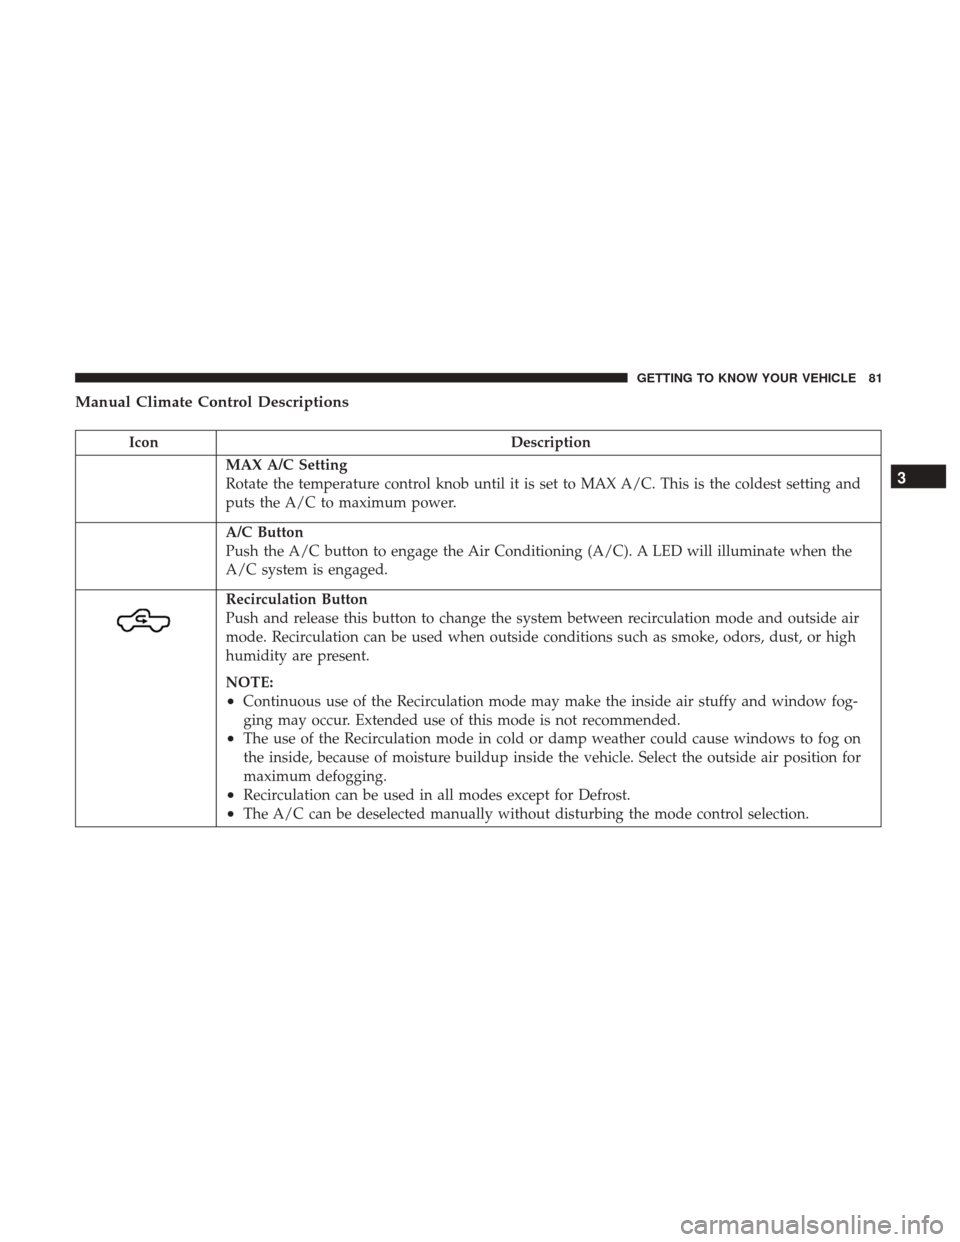
Manual Climate Control Descriptions
IconDescription
MAX A/C Setting
Rotate the temperature control knob until it is set to MAX A/C. This is the coldest setting and
puts the A/C to maximum power.
A/C Button
Push the A/C button to engage the Air Conditioning (A/C). A LED will illuminate when the
A/C system is engaged.
Recirculation Button
Push and release this button to change the system between recirculation mode and outside air
mode. Recirculation can be used when outside conditions such as smoke, odors, dust, or high
humidity are present.
NOTE:
•Continuous use of the Recirculation mode may make the inside air stuffy and window fog-
ging may occur. Extended use of this mode is not recommended.
•The use of the Recirculation mode in cold or damp weather could cause windows to fog on
the inside, because of moisture buildup inside the vehicle. Select the outside air position for
maximum defogging.
•Recirculation can be used in all modes except for Defrost.
•The A/C can be deselected manually without disturbing the mode control selection.
3
GETTING TO KNOW YOUR VEHICLE 81
Page 85 of 698

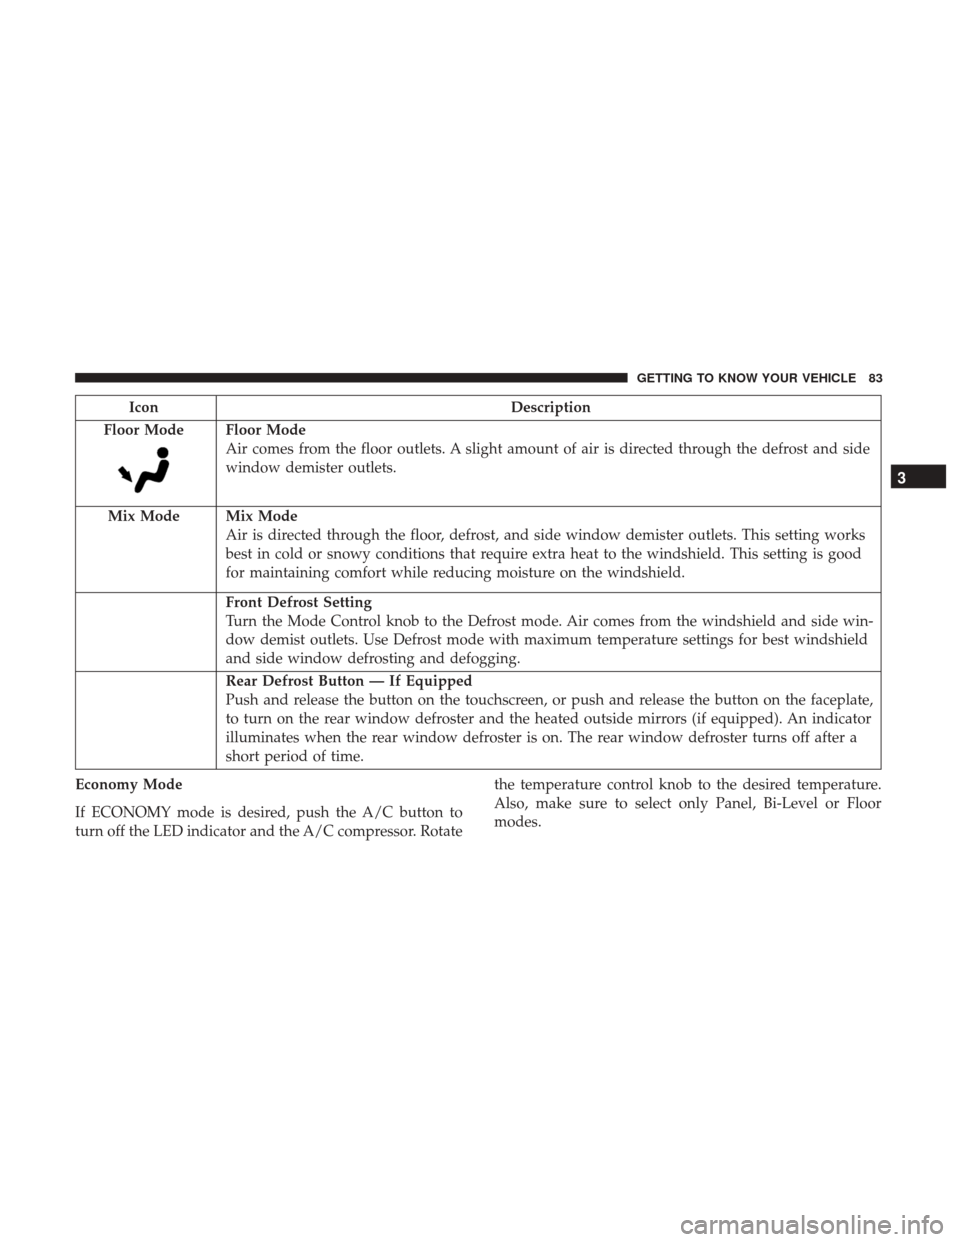
IconDescription
Floor Mode
Floor Mode
Air comes from the floor outlets. A slight amount of air is directed through the defrost and side
window demister outlets.
Mix Mode
Mix Mode
Air is directed through the floor, defrost, and side window demister outlets. This setting works
best in cold or snowy conditions that require extra heat to the windshield. This setting is good
for maintaining comfort while reducing moisture on the windshield.
Front Defrost Setting
Turn the Mode Control knob to the Defrost mode. Air comes from the windshield and side win-
dow demist outlets. Use Defrost mode with maximum temperature settings for best windshield
and side window defrosting and defogging.
Rear Defrost Button — If Equipped
Push and release the button on the touchscreen, or push and release the button on the faceplate,
to turn on the rear window defroster and the heated outside mirrors (if equipped). An indicator
illuminates when the rear window defroster is on. The rear window defroster turns off after a
short period of time.
Economy Mode
If ECONOMY mode is desired, push the A/C button to
turn off the LED indicator and the A/C compressor. Rotate the temperature control knob to the desired temperature.
Also, make sure to select only Panel, Bi-Level or Floor
modes.
3
GETTING TO KNOW YOUR VEHICLE 83
Page 94 of 698

IconDescription
Climate Control OFF Button
This button turns the Climate Control System off.
Climate Control Functions
A/C (Air Conditioning)
The Air Conditioning (A/C) button allows the operator to
manually activate or deactivate the air conditioning sys-
tem. When the air conditioning system is turned on, cool
dehumidified air will flow through the outlets into the
cabin. For improved fuel economy, press the A/C button to
turn off the air conditioning and manually adjust the
blower and airflow mode settings. Also, make sure to select
only Panel, Bi-Level, or Floor modes.
NOTE:
•
If fog or mist appears on the windshield or side glass,
select Defrost mode, and increase blower speed if needed.
• If your air conditioning performance seems lower than
expected, check the front of the A/C condenser (located
in front of the radiator), for an accumulation of dirt or
insects. Clean with a gentle water spray from the front of
the radiator and through the condenser. MAX A/C
MAX A/C sets the control for maximum cooling perfor-
mance.
Press and release to toggle between MAX A/C and the
prior settings. The button illuminates when MAX A/C is
on.
In MAX A/C, the blower level and mode position can be
adjusted to desired user settings. Pressing other settings
will cause the MAX A/C operation to switch to the selected
setting and MAX A/C to exit.
Recirculation
When outside air contains smoke, odors, or high humidity,
or if rapid cooling is desired, you may wish to recirculate
interior air by pressing the Recirculation control button.
The Recirculation indicator will illuminate when this but-
ton is selected. Press the button a second time to turn off
the Recirculation mode and allow outside air into the
vehicle.
92 GETTING TO KNOW YOUR VEHICLE
Page 96 of 698

Operating Tips
NOTE:Refer to the chart at the end of this section for
suggested control settings for various weather conditions.
Summer Operation
The engine cooling system must be protected with a
high-quality antifreeze coolant to provide proper corrosion
protection and to protect against engine overheating. OAT
coolant (conforming to MS.90032) is recommended.
Winter Operation
To ensure the best possible heater and defroster perfor-
mance, make sure the engine cooling system is functioning
properly and the proper amount, type, and concentration
of coolant is used. Use of the Air Recirculation mode
during Winter months is not recommended, because it may
cause window fogging.
Vacation/Storage
Before you store your vehicle, or keep it out of service (i.e.,
vacation) for two weeks or more, run the air conditioning
system at idle for about five minutes, in fresh air with the
blower setting on high. This will ensure adequate system
lubrication to minimize the possibility of compressor dam-
age when the system is started again.
Window Fogging
Vehicle windows tend to fog on the inside in mild, rainy,
and/or humid weather. To clear the windows, select De-
frost or Mix mode and increase the front blower speed. Do
not use the Recirculation mode without A/C for long
periods, as fogging may occur.
CAUTION!
Failure to follow these cautions can cause damage to
the heating elements:
• Use care when washing the inside of the rear win-
dow. Do not use abrasive window cleaners on the
interior surface of the window. Use a soft cloth and a
mild washing solution, wiping parallel to the heat-
ing elements. Labels can be peeled off after soaking
with warm water.
• Do not use scrapers, sharp instruments, or abrasive
window cleaners on the interior surface of the win-
dow.
• Keep all objects a safe distance from the window.
94 GETTING TO KNOW YOUR VEHICLE