2019 Peugeot 508 window
[x] Cancel search: windowPage 55 of 320

53
Reinitialising the electric
windows
Following reconnection of the battery, the
safety anti-pinch function must be reinitialised.
The safety anti-pinch function is not active
during these operations.
For each window:
-
b
ring the window down completely,
then bring it back up. It will go up by a
few centimetres each time. Repeat the
operation until the window is fully closed,
-
c
ontinue to pull the switch for at least one
second after reaching the window closed
position. In the event of contact (pinching) during
operation of the windows, you must
reverse the movement of the window.
To
do this, press the switch concerned.
When operating the passenger electric
window switches, the driver must ensure
that nothing is preventing correct closing
of the windows.
The driver must ensure that the
passengers use the electric windows
c o r r e c t l y.
Be particularly aware of children when
operating the windows.
Be aware of passengers or other persons
present when closing the windows using
the electronic key or the "Keyless Entry
and Starting" system.
Before any change of or operation on the
battery, slightly lower the four windows.
Panoramic sunroof
The panoramic sunroof consists of a movable
glass that slides over the roof and a blind that
can be opened independently. Opening the roof
automatically opens the blind.
F
T
o operate the panoramic sunroof and its
blind, use the buttons in the roof console.
A. Sunroof blind control
B. Panoramic sunroof control
The sunroof or blind can be operated when the
ignition is turned on (if the battery is charged
enough), with the engine running, in STOP
mode of Stop & Start, and up to 45
seconds
after turning off the ignition of after locking the
vehicle.
2
Access
Page 57 of 320
55
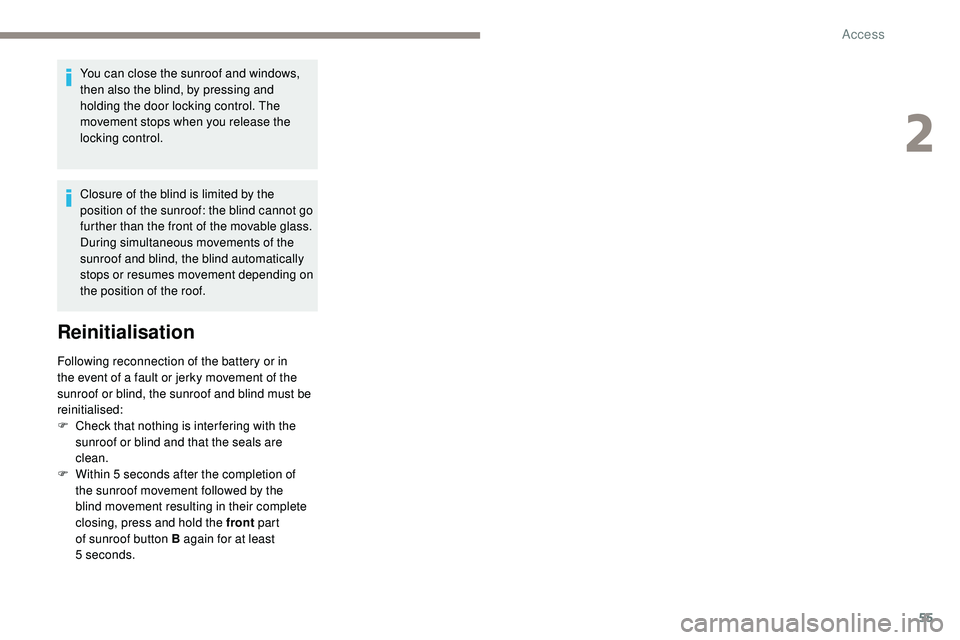
You can close the sunroof and windows,
then also the blind, by pressing and
holding the door locking control. The
movement stops when you release the
locking control.
Closure of the blind is limited by the
position of the sunroof: the blind cannot go
further than the front of the movable glass.
During simultaneous movements of the
sunroof and blind, the blind automatically
stops or resumes movement depending on
the position of the roof.
Reinitialisation
Following reconnection of the battery or in
the event of a fault or jerky movement of the
sunroof or blind, the sunroof and blind must be
reinitialised:
F
C
heck that nothing is inter fering with the
sunroof or blind and that the seals are
clean.
F
W
ithin 5 seconds after the completion of
the sunroof movement followed by the
blind movement resulting in their complete
closing, press and hold the front part
of sunroof button B again for at least
5
seconds.
2
Access
Page 67 of 320
65
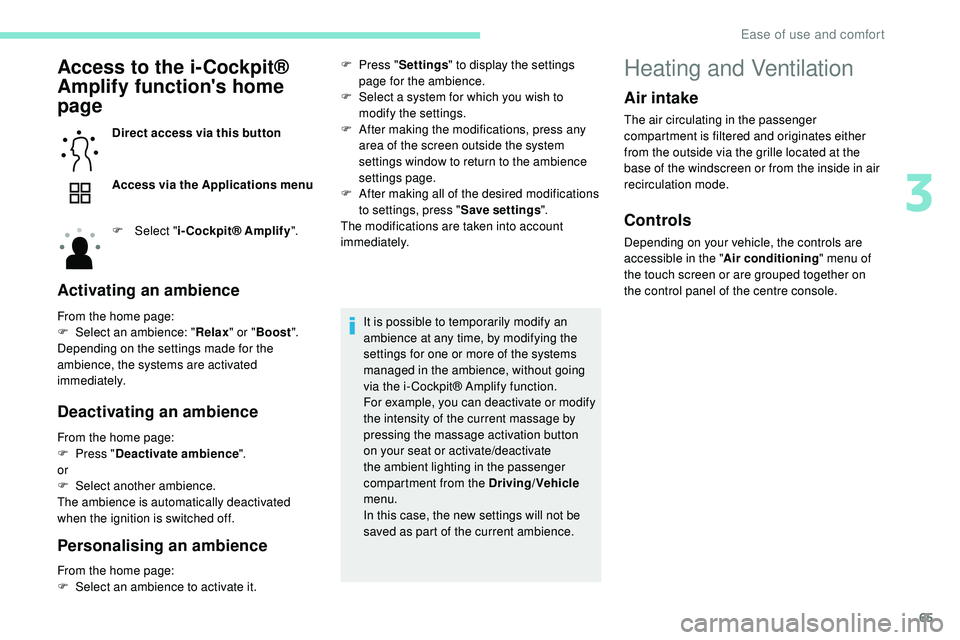
Access to the i-Cockpit®
Amplify function's home
page
Direct access via this button
Access via the Applications menu
F
Sel
ect "i-Cockpit® Amplify ".
Activating an ambience
From the home page:
F
Sel ect an ambience: " Relax" or "Boost ".
Depending on the settings made for the
ambience, the systems are activated
immediately.
Deactivating an ambience
From the home page:
F P ress " Deactivate ambience ".
or
F
Sel
ect another ambience.
The ambience is automatically deactivated
when the ignition is switched off.
Personalising an ambience
From the home page:
F S elect an ambience to activate it. It is possible to temporarily modify an
ambience at any time, by modifying the
settings for one or more of the systems
managed in the ambience, without going
via the i- Cockpit® Amplify function.
For example, you can deactivate or modify
the intensity of the current massage by
pressing the massage activation button
on your seat or activate/deactivate
the ambient lighting in the passenger
compartment from the Driving/Vehicle
menu.
In this case, the new settings will not be
saved as part of the current ambience.
F
P
ress "
Settings " to display the settings
page for the ambience.
F
S
elect a system for which you wish to
modify the settings.
F
A
fter making the modifications, press any
area of the screen outside the system
settings window to return to the ambience
settings page.
F
A
fter making all of the desired modifications
to settings, press " Save settings".
The modifications are taken into account
immediately.
Heating and Ventilation
Air intake
The air circulating in the passenger
compartment is filtered and originates either
from the outside via the grille located at the
base of the windscreen or from the inside in air
recirculation mode.
Controls
Depending on your vehicle, the controls are
accessible in the " Air conditioning" menu of
the touch screen or are grouped together on
the control panel of the centre console.
3
Ease of use and comfort
Page 68 of 320

66
Air distribution
1.Windscreen demisting/defrosting vents.
2. Front side window demisting/defrosting
vents.
3. Side adjustable air vents. 4.
Central adjustable air vents.
5. Air outlets to the front footwells.
6. Air outlets to the rear footwells.
7. Adjustable air vents.
Advice
Using the ventilation and air
conditioning system
F
T
o ensure that the air is distributed
evenly, keep the external air intake
grilles at the base of the windscreen,
the nozzles, the vents, the air outlets
and the air extractor in the boot free
from obstructions.
F
D
o not cover the sunshine sensor,
located on the dashboard; this is used
for regulation of the automatic air
conditioning system.
F
O
perate the air conditioning system for
at least 5 to 10 minutes, once or twice
a month to keep it in per fect working
o r d e r.
F
I
f the system does not produce cold air,
switch it off and contact a PEUGEOT
dealer or a qualified workshop.
When towing the maximum load on a
steep gradient in high temperatures,
switching off the air conditioning increases
the available engine power and so
improves the towing ability.
F
F
or the side vents; place the slider in the
central position, then move it sideways
towards the door.
F
F
or the central vents; place the slider in
the central position, then move it sideways
towards you.
Closing the vents
Ease of use and comfort
Page 71 of 320
69
To activate or deactivate the function, go to
the secondary page by using the "OPTIONS"
button, then press button 10 .
Manual control
You can manually adjust one or more of these
functions, while retaining automatic control of
the other functions by the system:
-
a
ir flow 2 ,
-
a
ir distribution 3 .
As soon as you modify a setting, the indicator
lamp in the " AUTO" button goes off.
F
P
ress button 5 again to reactivate the
automatic comfort programme.
Air flow adjustment
F Press one of the buttons 2 to increase or decrease the fan speed.
The air flow symbol (a fan) is filled in
progressively as the speed of the fan is
increased. This function is not designed to detect
unpleasant odours.
Recirculation is automatically activated when
the front screenwash is used or when reverse
gear is engaged.
The function does not operate if the exterior
temperature is below 5°C, to avoid the risk of
misting of the windscreen and side windows. By reducing the air flow to minimum, you are
stopping ventilation.
"
OFF " is displayed alongside the fan.
Avoid driving for too long without
ventilation – risk of condensation and
deterioration of air quality!
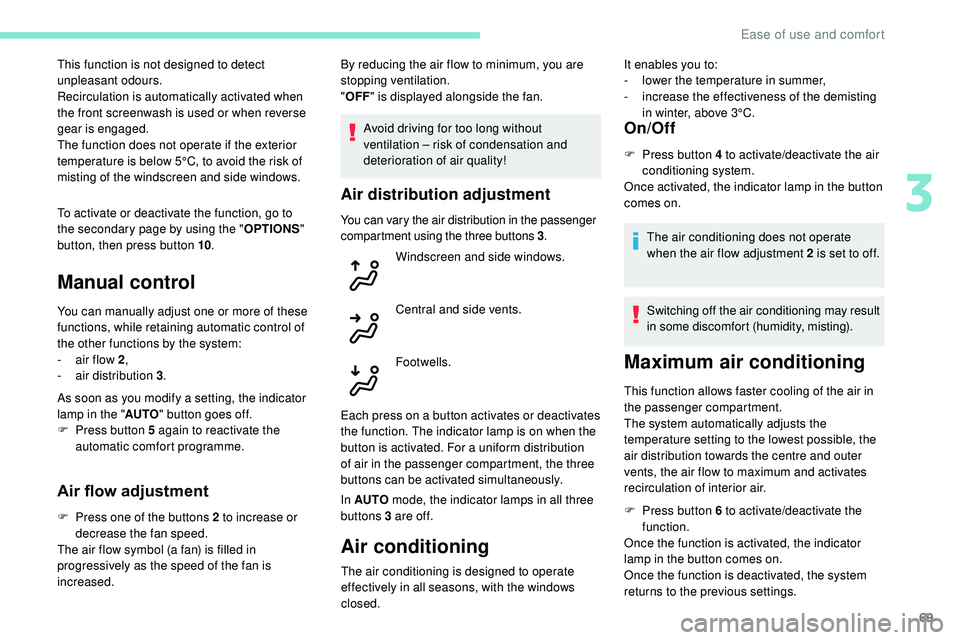
Air distribution adjustment
You can vary the air distribution in the passenger
compartment using the three buttons 3 .
Each press on a button activates or deactivates
the function. The indicator lamp is on when the
button is activated. For a uniform distribution
of air in the passenger compartment, the three
buttons can be activated simultaneously.
In AUTO mode, the indicator lamps in all three
buttons 3 are of f.
Air conditioning
On/Off
F Press button 4 to activate/deactivate the air conditioning system.
Once activated, the indicator lamp in the button
comes on.
The air conditioning does not operate
when the air flow adjustment 2 is set to off.
Switching off the air conditioning may result
in some discomfort (humidity, misting).
Windscreen and side windows.
Central and side vents.
Footwells.
Maximum air conditioning
This function allows faster cooling of the air in
the passenger compartment.
The system automatically adjusts the
temperature setting to the lowest possible, the
air distribution towards the centre and outer
vents, the air flow to maximum and activates
recirculation of interior air.
F
P
ress button 6 to activate/deactivate the
function.
Once the function is activated, the indicator
lamp in the button comes on.
Once the function is deactivated, the system
returns to the previous settings.
The air conditioning is designed to operate
effectively in all seasons, with the windows
closed. It enables you to:
-
l
ower the temperature in summer,
-
i
ncrease the effectiveness of the demisting
in winter, above 3°C.
3
Ease of use and comfort
Page 72 of 320
70
Mono-zone/Dual-zone
The passenger temperature setting can be
linked to the driver's setting (mono-zone
function).
It is available in the secondary page by
pressing the "OPTIONS" button.
F
P
ress button 8 to activate the " MONO"
function; its status is displayed as " ON".
The function is automatically deactivated if the
passenger uses their temperature adjustment
buttons (dual-zone function).
Ventilation with the ignition on
When the ignition is switched on, you can use
the ventilation system to adjust the air flow 2
and air distribution 3 settings in the passenger
compartment, for a period which depends on
the battery charge.
This function does not allow the operation of
the air conditioning system.
System switch-off
F Press button 14 .
Its indicator lamp comes on and all other
indicator lamps for the system go off.
This action deactivates all functions of the air
conditioning system.
By reducing the air flow 2 to a minimum, you
are stopping ventilation.
Temperature is no longer regulated. A slight air
flow can still be felt however, resulting from the
for ward movement of the vehicle. Avoid driving for too long with the ventilation
off or the system deactivated – risk of
misting and deterioration of the air quality!
Pressing any button reactivates the system
with the settings that were previously in use.
Recirculation of the
interior air
The intake of exterior air prevents the formation
of mist on the windscreen and the side windows.
The recirculation of the interior air isolates the
passenger compartment from exterior odours
and fumes.
This function also allows the desired
temperature in the passenger compartment to
be reached in the shortest time.
F
P
ress this button to activate/
deactivate the function.
Recirculation is automatically activated
when the front screenwash is used or
when reverse gear is engaged.
Avoid prolonged use of the recirculation of
interior air – risk of formation of mist and
deterioration of the air quality!
Front demist – defrost
Automatic visibility
programme
The automatic visibility programme allows
to demist or defrost the windscreen and side
windows as quickly as possible. F
P
ress this button to activate/
deactivate the function.
When the indicator lamp is on, the function is
activated.
The system automatically manages the air
conditioning (depending on version), air
flow and air intake, and provides optimum
distribution towards the windscreen and side
windows.
The system allows the manual modification of
air flow without causing automatic deactivation
of the automatic visibility programme.
With Stop & Start, when demisting –
defrosting has been activated, STOP
mode is not available.
When the indicator lamp is on, the function is
activated.
Ease of use and comfort
Page 94 of 320

92
Clean the windscreen regularly,
particularly the area in front of the camera.
The internal sur face of the windscreen can
also become misted around the camera.
In humid and cold weather, demist the
windscreen regularly.
Do not allow snow to accumulate on the
bonnet or roof of the vehicle as this could
conceal the detection camera.
Static cornering lighting
Activation/Deactivation
The function is activated and
deactivated in the Driving/Vehicle
menu of the touch screen.
Switching on
This system operates from a certain angle of
rotation of the steering wheel.
Switching off
The system does not operate:
- b elow a certain angle of rotation of the
steering wheel,
-
a
bove 56 mph (90 km/h),
-
w
hen reverse gear is engaged.
Night Vision
Using an infrared camera at the front of the
vehicle, the system identifies and signals the
presence of pedestrians and animals in the
driver’s field of vision, in low exterior light
conditions.
For the permanent display of the image from
the infrared camera in the instrument panel,
select the "Night Vision" display mode by
turning the knob located to the left of the
steering wheel. Once the conditions are met,
an alert is triggered when there is a risk of
collision. Night Vision is a driving aid system that
cannot, under any circumstances, replace
the personal assessment of night-time
visibility and traffic conditions.
In some conditions, the contrasts in
temperature are insufficient and the
system may not detect all dangers or,
conversely, it may give false warnings
(e.g. engines of lorries parked on the edge
of the road).
Conditions for operation
With the dipped or main beam headlamps on,
this function allows headlamps to illuminate
the inside of a bend using light-emitting diodes
(LEDs).
The speed of the vehicle must be less than 56
mph (90 km/h).
This function is only available with the "Full
LED" technology headlamps. If the "Night Vision" display mode has not been
selected, the alert is triggered in the form of a
temporary window displayed in the instrument
panel.
The function is available with the engine
running and in STOP mode of Stop & Start.
The light conditions must be very poor. The
dipped beam headlamps must be switched on
and maintained in good working order.
The temperature detection range is between
-30°C and +30°C.
The speed of the vehicle must be less than
99
mph (160 km/h).
The camera detection range is between 15
m
(for pedestrians) and 200
m, depending on
visibility conditions.
Lighting and visibility
Page 95 of 320
93
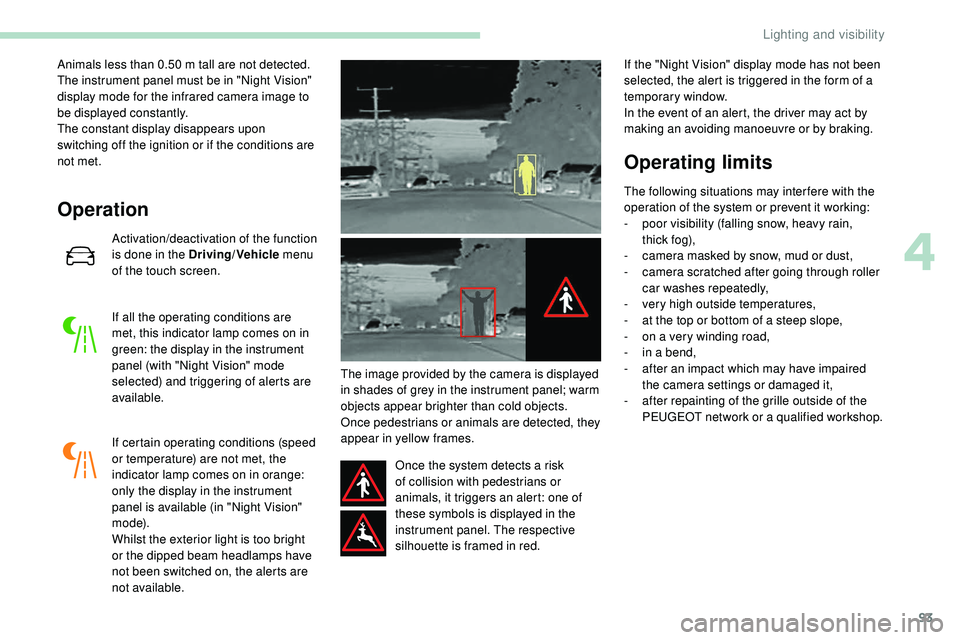
Animals less than 0.50 m tall are not detected.
T he instrument panel must be in "Night Vision"
display mode for the infrared camera image to
be displayed constantly.
The constant display disappears upon
switching off the ignition or if the conditions are
not met.
Operation
Activation/deactivation of the function
is done in the Driving/Vehicle menu
of the touch screen.
If all the operating conditions are
met, this indicator lamp comes on in
green: the display in the instrument
panel (with "Night Vision" mode
selected) and triggering of alerts are
available.
If certain operating conditions (speed
or temperature) are not met, the
indicator lamp comes on in orange:
only the display in the instrument
panel is available (in "Night Vision"
m o d e).
Whilst the exterior light is too bright
or the dipped beam headlamps have
not been switched on, the alerts are
not available. The image provided by the camera is displayed
in shades of grey in the instrument panel; warm
objects appear brighter than cold objects.
Once pedestrians or animals are detected, they
appear in yellow frames.
Once the system detects a risk
of collision with pedestrians or
animals, it triggers an alert: one of
these symbols is displayed in the
instrument panel. The respective
silhouette is framed in red. If the "Night Vision" display mode has not been
selected, the alert is triggered in the form of a
temporary window.
In the event of an alert, the driver may act by
making an avoiding manoeuvre or by braking.
Operating limits
The following situations may inter fere with the
operation of the system or prevent it working:
-
p
oor visibility (falling snow, heavy rain,
t hi c k
fo g),
-
c
amera masked by snow, mud or dust,
-
c
amera scratched after going through roller
car washes repeatedly,
-
v
ery high outside temperatures,
-
a
t the top or bottom of a steep slope,
-
o
n a very winding road,
-
i
n a bend,
-
a
fter an impact which may have impaired
the camera settings or damaged it,
-
a
fter repainting of the grille outside of the
PEUGEOT network or a qualified workshop.
4
Lighting and visibility