2019 Peugeot 508 fuel type
[x] Cancel search: fuel typePage 11 of 320

9
As a safety measure, these adjustments
must be carried out with the vehicle
stationary.
Choosing a display colour
This depends on the ambience activated by the
i- Cockpit® Amplify function.
Depending on version, it can be selected in the
setting of a profile in the Settings menu of the
touch screen.
The possible choices are:
F
"Relax ": grey,
F
"Boost ": red,
F
"Normal " (no ambience activated): blue.
For more information on the i-Cockpit®
Amplify function , refer to the corresponding
section.
Choice of display mode
To modify the display mode of the instrument
panel:
F
T
urn the knob located to the left of the
steering wheel to display and scroll through
the different modes on the right-hand side
of the instrument panel.
F
O
nce the selected display mode appears,
press on the knob to validate.
If the knob is not moved, the selected display
mode is automatically applied after a few
moments.
Each mode corresponds to the type of
information displayed in the instrument panel.
-
"
DIALS": standard display of the analogue
and digital speedometers, the rev counter,
the fuel gauge, the engine coolant
temperature indicator and the total distance
recorder.
-
"
NAVIGATION": standard display,
additionally showing the current navigation
information (map and navigation
instructions).
-
"
DRIVING": standard display, additionally
showing the current driving aid systems
information.
-
"
NIGHT VISION": standard display,
additionally showing the display of the
infrared camera image (associated with the
Night Vision function). - "
MINIMAL": minimal display with digital
speedometer and the total distance
recorder and, in the event of a warning
only, the fuel gauge and the engine coolant
temperature indicator.
-
"
PERSONAL": minimal display and
possibility of selecting optional information
to be displayed in the customisable areas
on the left and right.
To enter settings for the "PERSONAL"
display mode and select the information to
be displayed in the customisable areas of the
instrument panel:
With 8" touch screen F
Press Settings in the upper
banner of the touch screen.
F
Sel
ect "Configuration ".
F
Sel
ect "Instrument panel
personalisation ".
1
Instruments
Page 35 of 320

33
"Settings" menu
8" touch screen
The functions available through the
upper banner are detailed in the
table below.
Button Comments
Turn off the screen (black
screen).
To return to the current screen,
press the black screen or one of
the menu buttons.
Adjustment of the brightness of
the instruments and controls.
Choice and settings for three
user profiles.
Settings for the touch screen
and the digital instrument panel.
Privacy settings for personal
data and/or location.
Activation and configuration
of the settings for the Wi-Fi
(depending on availability). Settings for the touch screen and the digital
instrument panel
Button Comments
Adjustment of the display
parameters (text scrolling,
animations, etc.) and the brightness
of instruments and controls.
Choice of units:
- t
emperature (°Celsius or
°Fahrenheit),
-
d
istances and fuel
consumption (l/100 km,
mpg
or km/l).
Choice of display language on
the touch screen and digital
instrument panel.
Setting the date and time.
Choice of the type of information
displayed in the digital instrument
panel.
10" HD touch screen
The functions available through the
left-hand side banner are detailed in
the table below.
Button Comments
Selection of a colour scheme.
Audio settings (sound ambience,
distribution, level, voice volume,
ringer volume).
Turns the screen off.
Settings for the touch screen and
the digital instrument panel.
1
Instruments
Page 36 of 320

34
ButtonComments
Choice of units:
-
t
emperature (°Celsius or
°Fahrenheit),
-
d
istances and fuel
consumption (l/100 km, mpg
or km/l).
Privacy settings for personal data
and/or location.
Choice of display language on
the touch screen and digital
instrument panel.
Setting the date and time.
Option of synchronisation with
GPS.
Adjustment of the display
parameters (text scrolling,
animations, etc.) and the brightness
of instruments and controls.
Choice and settings for three
user profiles.
Choice of the type of information
displayed in the digital instrument
panel.
Settings for the touch screen and the digital
instrument panel
Date and time adjustment
With PEUGEOT
Connect
Radio
F Select the Settings menu in
the upper banner of the touch
screen.
F
Sel
ect " System configuration ".
F
Sel
ect "Date and time ".
F
Sel
ect " Date " or "Time ".
F
C
hoose the display formats.
F
C
hange the date and/or time using the
numeric keypad.
F
C
onfirm with " OK".
With PEUGEOT
Connect
Nav
Setting of the time and date is only available if
synchronisation with the GPS is deactivated.
F
Sel
ect the Settings menu in the
banner of the touch screen.
F
P
ress the " OPTIONS " button to go to the
secondary page. F
Sel
ect "
Setting the time- date".
F
Sel
ect the "
Date" or "Time " tab.
F
S
et the date and/or time using the numeric
keypad.
F
C
onfirm with "
OK".
Additional settings
You can choose:
-
T o change the time zone.
-
T
o change the display format of the date
and time (12h/24h).
-
T
o activate or deactivate the summer time
management function (+1 hour).
-
T
o activate or deactivate the
synchronisation with the GPS (UTC).
The system does not automatically manage
the change between winter and summer
time (depending on the country of sale).
Instruments
Page 62 of 320

60
Do not use the function when the seat is
not occupied.
Reduce the intensity of the heating as
soon as possible.
When the seat and passenger
compartment have reached an adequate
temperature, you can stop the function;
reducing the consumption of electrical
current reduces fuel consumption.Prolonged use is not recommended for
those with sensitive skin.
There is a risk of burns for people whose
perception of heat is impaired (illness,
taking medication, etc.).
There is a risk of overheating the system if
material with insulating properties is used,
such as cushions or seat covers.
Do not use the system:
-
i
f wearing damp clothing,
-
i
f child seats are fitted.
To avoid breaking the heating element in
the seat:
-
d
o not place heavy objects on the seat,
- d o not kneel or stand on the seat,
- d o not place sharp objects on the seat,
-
d
o not spill liquids onto the seat.
To avoid the risk of short-circuit:
-
d
o not use liquid products for cleaning
the seat,
-
n
ever use the heating function when
the seat is damp.
Multipoint massage
System with a choice of type of massage and
adjustment of its intensity.
This system operates with the engine running,
as well as in STOP mode of Stop & Start.
Activation/Settings
The massage settings are adjusted in the touch
screen. The multipoint massages are
also managed by the i-Cockpit®
Amplify
function.
For more information on the i-Cockpit®
Amplify function , refer to the corresponding
section. From the front seat:
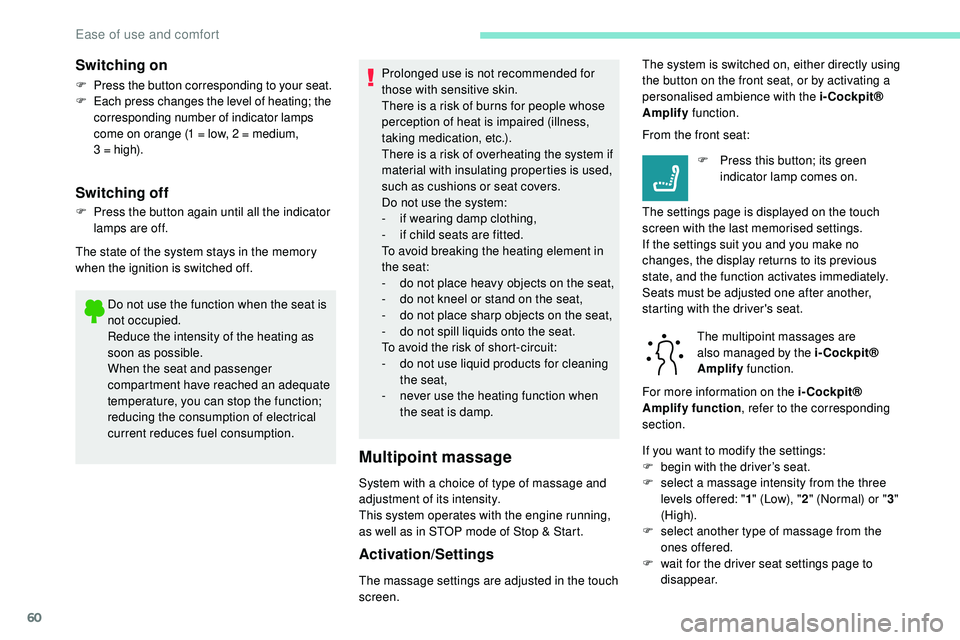
F
P
ress this button; its green
indicator lamp comes on.
The settings page is displayed on the touch
screen with the last memorised settings.
If the settings suit you and you make no
changes, the display returns to its previous
state, and the function activates immediately.
Seats must be adjusted one after another,
starting with the driver's seat.
Switching on
F Press the button corresponding to your seat.
F E ach press changes the level of heating; the
corresponding number of indicator lamps
come on orange (1 = low, 2 = medium,
3
= high).
Switching off
F Press the button again until all the indicator lamps are off.
The state of the system stays in the memory
when the ignition is switched off. The system is switched on, either directly using
the button on the front seat, or by activating a
personalised ambience with the i-Cockpit®
Amplify
function.
If you want to modify the settings:
F
b
egin with the driver’s seat.
F
s
elect a massage intensity from the three
levels offered: " 1" (Low), " 2" (Normal) or " 3"
(High).
F
s
elect another type of massage from the
ones offered.
F
w
ait for the driver seat settings page to
disappear.
Ease of use and comfort
Page 199 of 320

197
Compatibility of fuels
Fuel used for petrol engines
The petrol engines are compatible with biofuels
that conform to current and future European
standards and which can be obtained from
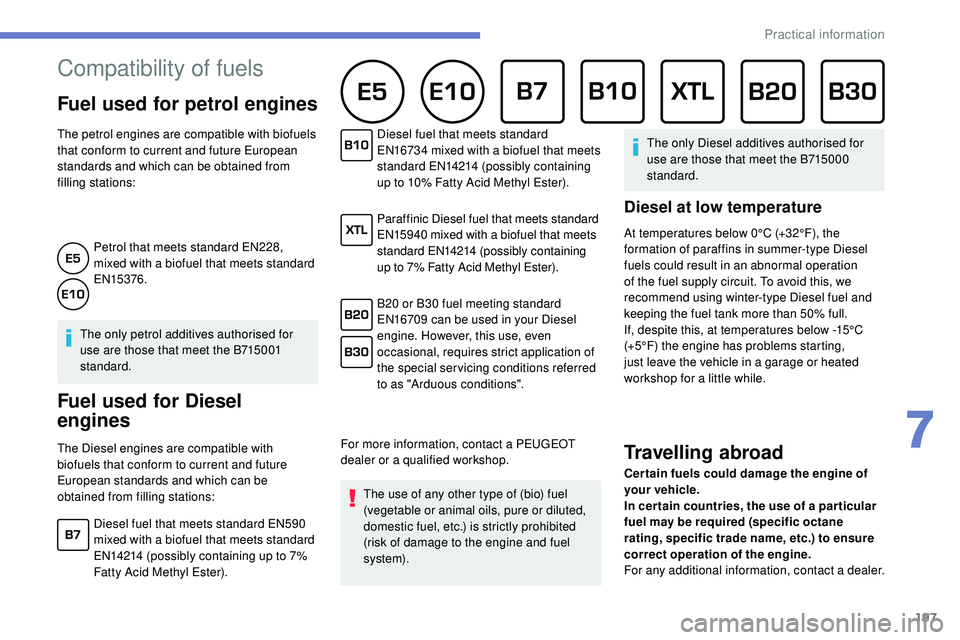
filling stations:Petrol that meets standard EN228,
mixed with a biofuel that meets standard
EN15376.
The only petrol additives authorised for
use are those that meet the B715001
standard.
Fuel used for Diesel
engines
The Diesel engines are compatible with
biofuels that conform to current and future
European standards and which can be
obtained from filling stations: Diesel fuel that meets standard
EN16734 mixed with a biofuel that meets
standard EN14214 (possibly containing
up to 10% Fatty Acid Methyl Ester).
Paraffinic Diesel fuel that meets standard
EN15940 mixed with a biofuel that meets
standard EN14214 (possibly containing
up to 7% Fatty Acid Methyl Ester).
B20 or B30 fuel meeting standard
EN16709 can be used in your Diesel
engine. However, this use, even
occasional, requires strict application of
the special servicing conditions referred
to as "Arduous conditions".
For more information, contact a PEUGEOT
dealer or a qualified workshop. The use of any other type of (bio) fuel
(vegetable or animal oils, pure or diluted,
domestic fuel, etc.) is strictly prohibited
(risk of damage to the engine and fuel
syste m). The only Diesel additives authorised for
use are those that meet the B715000
standard.
Diesel at low temperature
At temperatures below 0°C (+32°F), the
formation of paraffins in summer-type Diesel
fuels could result in an abnormal operation
of the fuel supply circuit. To avoid this, we
recommend using winter-type Diesel fuel and
keeping the fuel tank more than 50% full.
If, despite this, at temperatures below -15°C
(+5°F) the engine has problems starting,
just leave the vehicle in a garage or heated
workshop for a little while.
Travelling abroad
Cer tain fuels could damage the engine of
your vehicle.
In cer tain countries, the use of a par ticular
fuel may be required (specific octane
rating, specific trade name, etc.) to ensure
correct operation of the engine.
For any additional information, contact a dealer.
Diesel fuel that meets standard EN590
mixed with a biofuel that meets standard
EN14214 (possibly containing up to 7%
Fatty Acid Methyl Ester).
7
Practical information
Page 200 of 320

198
Refuelling
Fuel tank capacity: approximately 62 litres
(Petrol) or 55 litres (Diesel).
Reser ve level: 6 litres.
Low fuel level
When the low fluid level is reached in
the tank, this warning lamp comes on
in the instrument panel, accompanied
by a message and an audible signal.
When it first comes on, about
6 litres of fuel is left in the tank.
If your vehicle is fitted with Stop & Start,
never refuel with the engine in STOP
mode; you must switch off the ignition.
Refilling
A self-adhesive label on the inner face of the
filler flap reminds you of the type of fuel to use,
depending on your engine.
Additions of fuel must be of at least 5 litres,
in order to be registered by the fuel gauge.
Opening the filler flap may create a noise
caused by an inrush of air. This is entirely
normal and results from the sealing of the fuel
system.
To refuel in complete safety:
F
Y
ou must switch off the engine.
F
W
ith the vehicle unlocked, press the rear
edge of the flap to open it (the filler cap is a
part of it). F
I nsert the nozzle so as to push in the metal
non-return flap.
F
M
ake sure that the nozzle is pushed in as
far as possible before starting to refuel (risk
of blowback).
F
H
old it in this position throughout the filling
operation.
F
P
ush the filler flap to close it.
Until sufficient fuel is added, this warning lamp
appears every time the ignition is switched on,
accompanied by the display of a message and
an audible signal. When driving, this message
and audible signal are repeated with increasing
frequency as the fuel level drops towards " 0".
Refuel as soon as possible to avoid running out
of fuel.
For more information on Running out of fuel
(Diesel) , refer to the corresponding section. If you are filling your tank to the top, do not
continue after the 3
rd cut- off of the nozzle;
this could cause malfunctions.
Your vehicle is fitted with a catalytic converter,
a device which helps to reduce the level of
harmful emissions in the exhaust gases.
For petrol engines, you must use unleaded
fuel.
The filler neck is narrower, allowing only
unleaded petrol nozzles to be introduced.
If you have put in the wrong fuel for
your vehicle, you must have the fuel
tank drained and filled with the correct
fuel before star ting the engine.
F
T
ake care to select the pump that delivers
the correct type of fuel for your vehicle.
Practical information
Page 201 of 320

199
Misfuel prevention (Diesel)
(Depending on the country of sale.)
Mechanical device which prevents filling the
tank of a Diesel vehicle with petrol. It avoids
the risk of engine damage that can result from
filling with the wrong fuel.
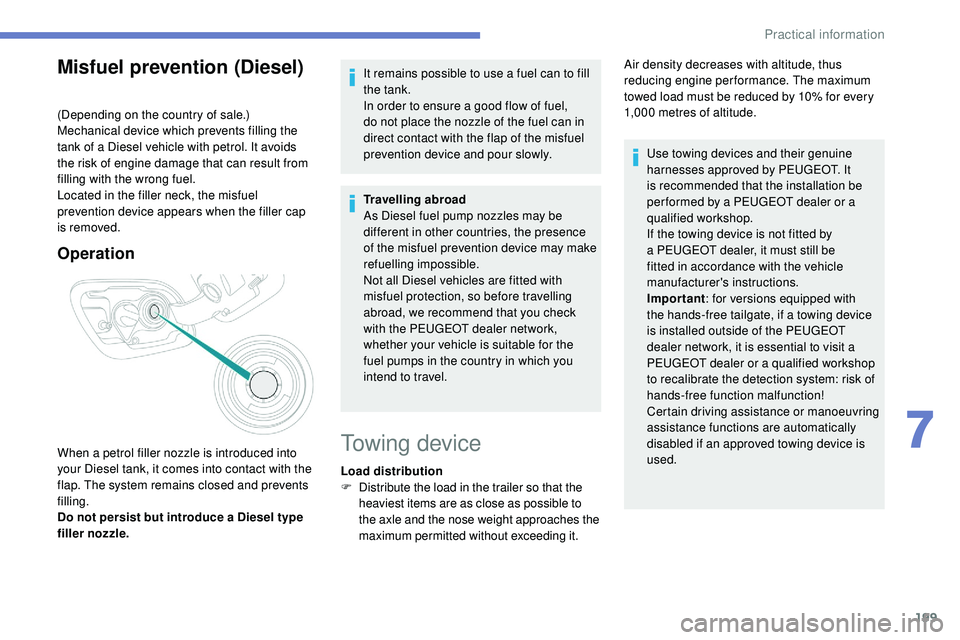
Located in the filler neck, the misfuel
prevention device appears when the filler cap
is removed.
Operation
When a petrol filler nozzle is introduced into
your Diesel tank, it comes into contact with the
flap. The system remains closed and prevents
filling.
Do not persist but introduce a Diesel type
filler nozzle.It remains possible to use a fuel can to fill
the tank.
In order to ensure a good flow of fuel,
do not place the nozzle of the fuel can in
direct contact with the flap of the misfuel
prevention device and pour slowly.
Travelling abroad
As Diesel fuel pump nozzles may be
different in other countries, the presence
of the misfuel prevention device may make
refuelling impossible.
Not all Diesel vehicles are fitted with
misfuel protection, so before travelling
abroad, we recommend that you check
with the PEUGEOT dealer network,
whether your vehicle is suitable for the
fuel pumps in the country in which you
intend to travel.Towing device
Load distribution
F D
istribute the load in the trailer so that the
heaviest items are as close as possible to
the axle and the nose weight approaches the
maximum permitted without exceeding it. Use towing devices and their genuine
harnesses approved by PEUGEOT. It
is recommended that the installation be
per formed by a PEUGEOT dealer or a
qualified workshop.
If the towing device is not fitted by
a PEUGEOT dealer, it must still be
fitted in accordance with the vehicle
manufacturer's instructions.
Important
: for versions equipped with
the hands-free tailgate, if a towing device
is installed outside of the PEUGEOT
dealer network, it is essential to visit a
PEUGEOT dealer or a qualified workshop
to recalibrate the detection system: risk of
hands-free function malfunction!
Certain driving assistance or manoeuvring
assistance functions are automatically
disabled if an approved towing device is
used.
Air density decreases with altitude, thus
reducing engine performance. The maximum
towed load must be reduced by 10% for every
1,000 metres of altitude.
7
Practical information