2019 NISSAN ROGUE SPORT ECO mode
[x] Cancel search: ECO modePage 114 of 500
2-34Instruments and controls
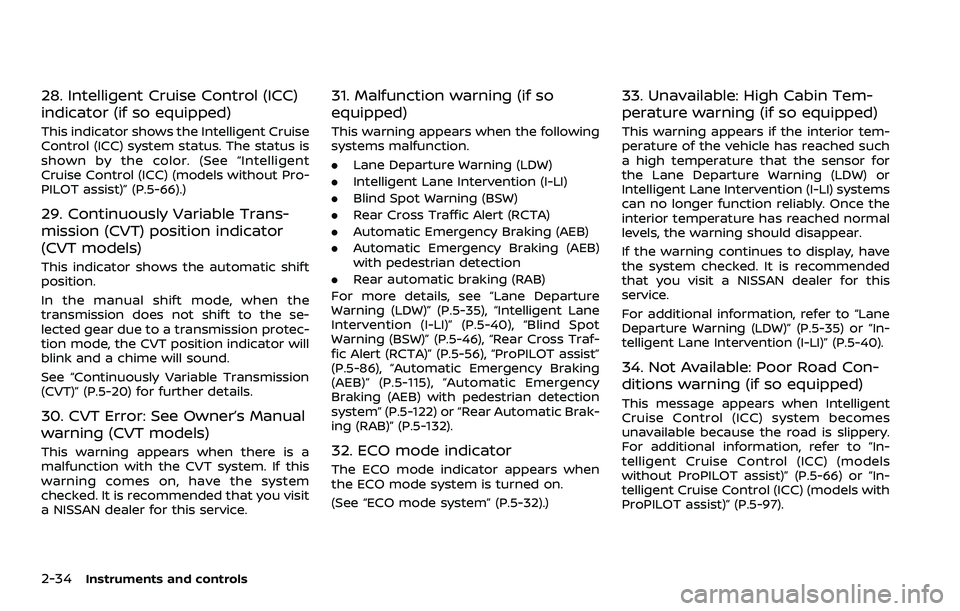
28. Intelligent Cruise Control (ICC)
indicator (if so equipped)
This indicator shows the Intelligent Cruise
Control (ICC) system status. The status is
shown by the color. (See “Intelligent
Cruise Control (ICC) (models without Pro-
PILOT assist)” (P.5-66).)
29. Continuously Variable Trans-
mission (CVT) position indicator
(CVT models)
This indicator shows the automatic shift
position.
In the manual shift mode, when the
transmission does not shift to the se-
lected gear due to a transmission protec-
tion mode, the CVT position indicator will
blink and a chime will sound.
See “Continuously Variable Transmission
(CVT)” (P.5-20) for further details.
30. CVT Error: See Owner’s Manual
warning (CVT models)
This warning appears when there is a
malfunction with the CVT system. If this
warning comes on, have the system
checked. It is recommended that you visit
a NISSAN dealer for this service.
31. Malfunction warning (if so
equipped)
This warning appears when the following
systems malfunction.
.Lane Departure Warning (LDW)
. Intelligent Lane Intervention (I-LI)
. Blind Spot Warning (BSW)
. Rear Cross Traffic Alert (RCTA)
. Automatic Emergency Braking (AEB)
. Automatic Emergency Braking (AEB)
with pedestrian detection
. Rear automatic braking (RAB)
For more details, see “Lane Departure
Warning (LDW)” (P.5-35), “Intelligent Lane
Intervention (I-LI)” (P.5-40), “Blind Spot
Warning (BSW)” (P.5-46), “Rear Cross Traf-
fic Alert (RCTA)” (P.5-56), “ProPILOT assist”
(P.5-86), “Automatic Emergency Braking
(AEB)” (P.5-115), “Automatic Emergency
Braking (AEB) with pedestrian detection
system” (P.5-122) or “Rear Automatic Brak-
ing (RAB)” (P.5-132).
32. ECO mode indicator
The ECO mode indicator appears when
the ECO mode system is turned on.
(See “ECO mode system” (P.5-32).)
33. Unavailable: High Cabin Tem-
perature warning (if so equipped)
This warning appears if the interior tem-
perature of the vehicle has reached such
a high temperature that the sensor for
the Lane Departure Warning (LDW) or
Intelligent Lane Intervention (I-LI) systems
can no longer function reliably. Once the
interior temperature has reached normal
levels, the warning should disappear.
If the warning continues to display, have
the system checked. It is recommended
that you visit a NISSAN dealer for this
service.
For additional information, refer to “Lane
Departure Warning (LDW)” (P.5-35) or “In-
telligent Lane Intervention (I-LI)” (P.5-40).
34. Not Available: Poor Road Con-
ditions warning (if so equipped)
This message appears when Intelligent
Cruise Control (ICC) system becomes
unavailable because the road is slippery.
For additional information, refer to “In-
telligent Cruise Control (ICC) (models
without ProPILOT assist)” (P.5-66) or “In-
telligent Cruise Control (ICC) (models with
ProPILOT assist)” (P.5-97).
Page 115 of 500
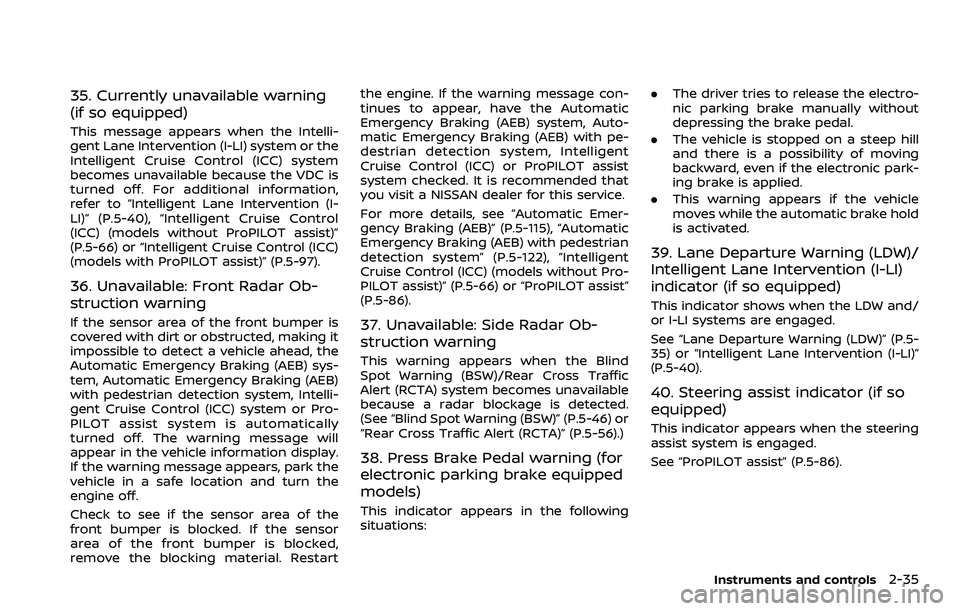
35. Currently unavailable warning
(if so equipped)
This message appears when the Intelli-
gent Lane Intervention (I-LI) system or the
Intelligent Cruise Control (ICC) system
becomes unavailable because the VDC is
turned off. For additional information,
refer to “Intelligent Lane Intervention (I-
LI)” (P.5-40), “Intelligent Cruise Control
(ICC) (models without ProPILOT assist)”
(P.5-66) or “Intelligent Cruise Control (ICC)
(models with ProPILOT assist)” (P.5-97).
36. Unavailable: Front Radar Ob-
struction warning
If the sensor area of the front bumper is
covered with dirt or obstructed, making it
impossible to detect a vehicle ahead, the
Automatic Emergency Braking (AEB) sys-
tem, Automatic Emergency Braking (AEB)
with pedestrian detection system, Intelli-
gent Cruise Control (ICC) system or Pro-
PILOT assist system is automatically
turned off. The warning message will
appear in the vehicle information display.
If the warning message appears, park the
vehicle in a safe location and turn the
engine off.
Check to see if the sensor area of the
front bumper is blocked. If the sensor
area of the front bumper is blocked,
remove the blocking material. Restartthe engine. If the warning message con-
tinues to appear, have the Automatic
Emergency Braking (AEB) system, Auto-
matic Emergency Braking (AEB) with pe-
destrian detection system, Intelligent
Cruise Control (ICC) or ProPILOT assist
system checked. It is recommended that
you visit a NISSAN dealer for this service.
For more details, see “Automatic Emer-
gency Braking (AEB)” (P.5-115), “Automatic
Emergency Braking (AEB) with pedestrian
detection system” (P.5-122), “Intelligent
Cruise Control (ICC) (models without Pro-
PILOT assist)” (P.5-66) or “ProPILOT assist”
(P.5-86).37. Unavailable: Side Radar Ob-
struction warning
This warning appears when the Blind
Spot Warning (BSW)/Rear Cross Traffic
Alert (RCTA) system becomes unavailable
because a radar blockage is detected.
(See “Blind Spot Warning (BSW)” (P.5-46) or
“Rear Cross Traffic Alert (RCTA)” (P.5-56).)
38. Press Brake Pedal warning (for
electronic parking brake equipped
models)
This indicator appears in the following
situations:
.
The driver tries to release the electro-
nic parking brake manually without
depressing the brake pedal.
. The vehicle is stopped on a steep hill
and there is a possibility of moving
backward, even if the electronic park-
ing brake is applied.
. This warning appears if the vehicle
moves while the automatic brake hold
is activated.
39. Lane Departure Warning (LDW)/
Intelligent Lane Intervention (I-LI)
indicator (if so equipped)
This indicator shows when the LDW and/
or I-LI systems are engaged.
See “Lane Departure Warning (LDW)” (P.5-
35) or “Intelligent Lane Intervention (I-LI)”
(P.5-40).
40. Steering assist indicator (if so
equipped)
This indicator appears when the steering
assist system is engaged.
See “ProPILOT assist” (P.5-86).
Instruments and controls2-35
Page 119 of 500
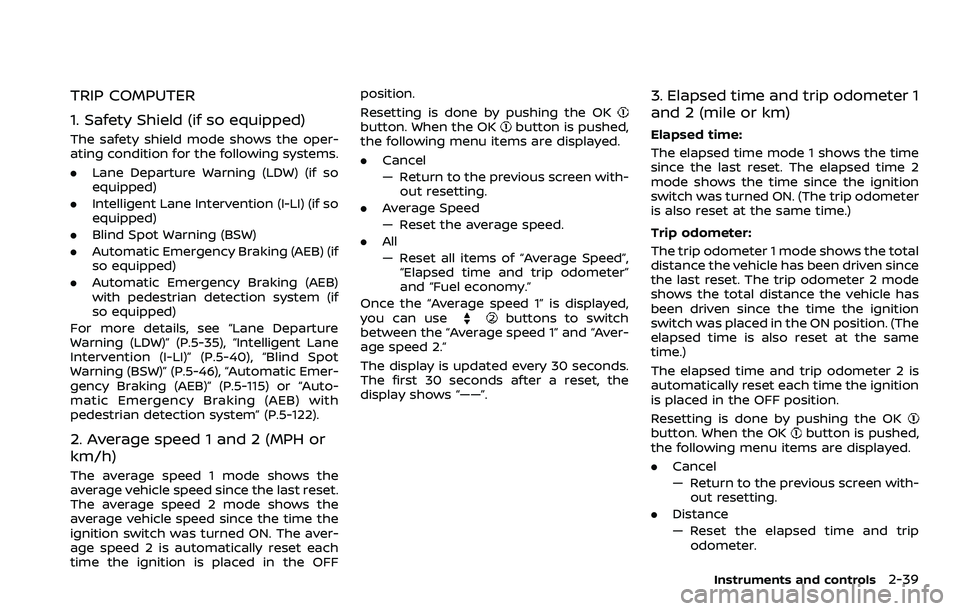
TRIP COMPUTER
1. Safety Shield (if so equipped)
The safety shield mode shows the oper-
ating condition for the following systems.
.Lane Departure Warning (LDW) (if so
equipped)
. Intelligent Lane Intervention (I-LI) (if so
equipped)
. Blind Spot Warning (BSW)
. Automatic Emergency Braking (AEB) (if
so equipped)
. Automatic Emergency Braking (AEB)
with pedestrian detection system (if
so equipped)
For more details, see “Lane Departure
Warning (LDW)” (P.5-35), “Intelligent Lane
Intervention (I-LI)” (P.5-40), “Blind Spot
Warning (BSW)” (P.5-46), “Automatic Emer-
gency Braking (AEB)” (P.5-115) or “Auto-
matic Emergency Braking (AEB) with
pedestrian detection system” (P.5-122).
2. Average speed 1 and 2 (MPH or
km/h)
The average speed 1 mode shows the
average vehicle speed since the last reset.
The average speed 2 mode shows the
average vehicle speed since the time the
ignition switch was turned ON. The aver-
age speed 2 is automatically reset each
time the ignition is placed in the OFF position.
Resetting is done by pushing the OK
button. When the OKbutton is pushed,
the following menu items are displayed.
. Cancel
— Return to the previous screen with-
out resetting.
. Average Speed
— Reset the average speed.
. All
— Reset all items of “Average Speed”,
“Elapsed time and trip odometer”
and “Fuel economy.”
Once the “Average speed 1” is displayed,
you can use
buttons to switch
between the “Average speed 1” and “Aver-
age speed 2.”
The display is updated every 30 seconds.
The first 30 seconds after a reset, the
display shows “——”.
3. Elapsed time and trip odometer 1
and 2 (mile or km)
Elapsed time:
The elapsed time mode 1 shows the time
since the last reset. The elapsed time 2
mode shows the time since the ignition
switch was turned ON. (The trip odometer
is also reset at the same time.)
Trip odometer:
The trip odometer 1 mode shows the total
distance the vehicle has been driven since
the last reset. The trip odometer 2 mode
shows the total distance the vehicle has
been driven since the time the ignition
switch was placed in the ON position. (The
elapsed time is also reset at the same
time.)
The elapsed time and trip odometer 2 is
automatically reset each time the ignition
is placed in the OFF position.
Resetting is done by pushing the OK
button. When the OKbutton is pushed,
the following menu items are displayed.
. Cancel
— Return to the previous screen with-
out resetting.
. Distance
— Reset the elapsed time and trip
odometer.
Instruments and controls2-39
Page 120 of 500
2-40Instruments and controls
.All
— Reset all items of “Average Speed”,
“Elapsed time and trip odometer”
and “Fuel economy.”
Once the “Elapsed time and trip odometer
1” is displayed, you can use
buttons
to switch between the “Elapsed time and
trip odometer 1” and “Elapsed time and
trip odometer 2.”
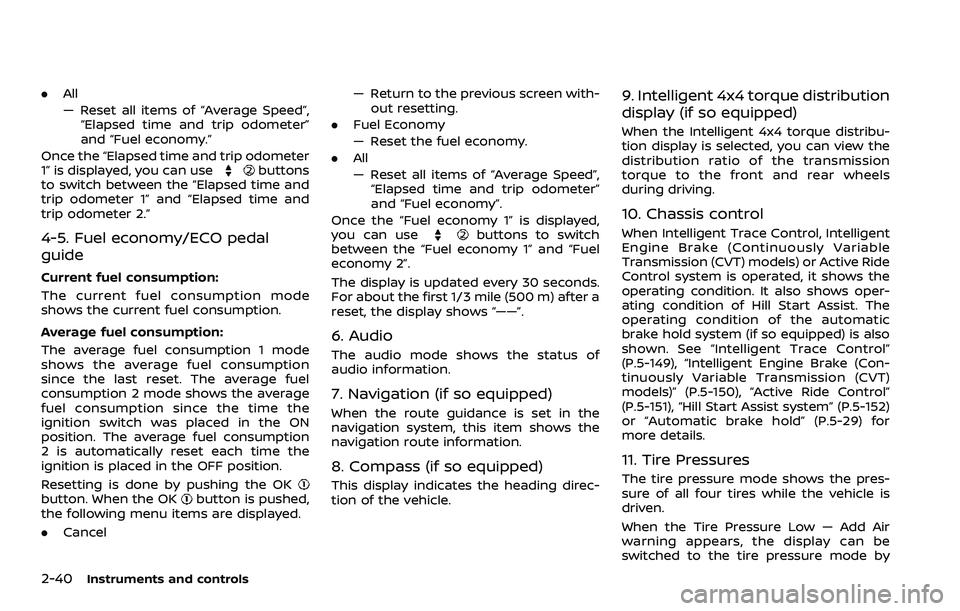
4-5. Fuel economy/ECO pedal
guide
Current fuel consumption:
The current fuel consumption mode
shows the current fuel consumption.
Average fuel consumption:
The average fuel consumption 1 mode
shows the average fuel consumption
since the last reset. The average fuel
consumption 2 mode shows the average
fuel consumption since the time the
ignition switch was placed in the ON
position. The average fuel consumption
2 is automatically reset each time the
ignition is placed in the OFF position.
Resetting is done by pushing the OK
button. When the OKbutton is pushed,
the following menu items are displayed.
. Cancel — Return to the previous screen with-
out resetting.
. Fuel Economy
— Reset the fuel economy.
. All
— Reset all items of “Average Speed”,
“Elapsed time and trip odometer”
and “Fuel economy”.
Once the “Fuel economy 1” is displayed,
you can use
buttons to switch
between the “Fuel economy 1” and “Fuel
economy 2”.
The display is updated every 30 seconds.
For about the first 1/3 mile (500 m) after a
reset, the display shows “——”.
6. Audio
The audio mode shows the status of
audio information.
7. Navigation (if so equipped)
When the route guidance is set in the
navigation system, this item shows the
navigation route information.
8. Compass (if so equipped)
This display indicates the heading direc-
tion of the vehicle.
9. Intelligent 4x4 torque distribution
display (if so equipped)
When the Intelligent 4x4 torque distribu-
tion display is selected, you can view the
distribution ratio of the transmission
torque to the front and rear wheels
during driving.
10. Chassis control
When Intelligent Trace Control, Intelligent
Engine Brake (Continuously Variable
Transmission (CVT) models) or Active Ride
Control system is operated, it shows the
operating condition. It also shows oper-
ating condition of Hill Start Assist. The
operating condition of the automatic
brake hold system (if so equipped) is also
shown. See “Intelligent Trace Control”
(P.5-149), “Intelligent Engine Brake (Con-
tinuously Variable Transmission (CVT)
models)” (P.5-150), “Active Ride Control”
(P.5-151), “Hill Start Assist system” (P.5-152)
or “Automatic brake hold” (P.5-29) for
more details.
11. Tire Pressures
The tire pressure mode shows the pres-
sure of all four tires while the vehicle is
driven.
When the Tire Pressure Low — Add Air
warning appears, the display can be
switched to the tire pressure mode by
Page 139 of 500
.When the driver puts the vehicle in the
P (Park) position, a message appears
in the vehicle information display for
the driver to “Dismiss Message” or
“Disable Alert” if desired.
. With the system enabled, when the
driver exits the vehicle, an audible alert
(horn sound) will occur unless a rear
door is opened and closed within a
short time to deactivate the alert.
. If the doors are locked before the alert
is deactivated by opening a rear door,
the horn will sound.
. If the system is activated but the
liftgate is opened before opening a
rear door, the horn will be delayed
until after the liftgate is closed.
. If the audible horn alert occurs, a
message will also appear in the vehi-
cle information display that states,
“Check Back Seat for all articles”. For
additional information, see “44. Check
Back Seat For all articles” (P.2-36).
WARNING
.If the driver selects “Disable
Alert”, no audible alert will be
provided regardless of rear door
open/close status. .
There may be times when there is
an object or passenger in the rear
seat(s) but the audible alert does
not sound. For example, this may
occur if the engine is turned off
and then on again in a short
period of time during a trip, or if
rear seat passengers enter or exit
the vehicle during a trip.
. The system does not directly
detect objects or passengers in
the rear seat(s). Instead, it can
detect when a rear door is
opened and closed, indicating
that there may be something in
the rear seat(s).
NOTE:
There may be times when the horn
sounds but there are no objects or
passengers in the rear seat(s).
For additional information, see “43. Rear
Door Alert is activated” (P.2-36).
JVS0185X
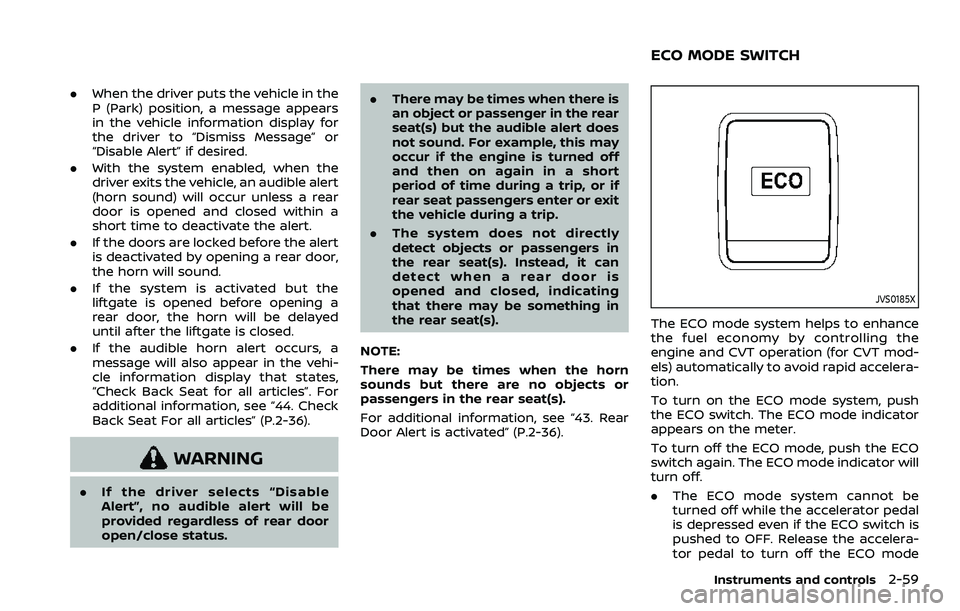
The ECO mode system helps to enhance
the fuel economy by controlling the
engine and CVT operation (for CVT mod-
els) automatically to avoid rapid accelera-
tion.
To turn on the ECO mode system, push
the ECO switch. The ECO mode indicator
appears on the meter.
To turn off the ECO mode, push the ECO
switch again. The ECO mode indicator will
turn off.
. The ECO mode system cannot be
turned off while the accelerator pedal
is depressed even if the ECO switch is
pushed to OFF. Release the accelera-
tor pedal to turn off the ECO mode
Instruments and controls2-59
ECO MODE SWITCH
Page 140 of 500
2-60Instruments and controls
system.
. The ECO mode system will turn off
automatically if a malfunction occurs
in the system.
. Turn off the ECO mode system when
acceleration is required such as when:
— driving with a heavy load of pas-
sengers or cargo in the vehicle
— driving on a steep uphill slope
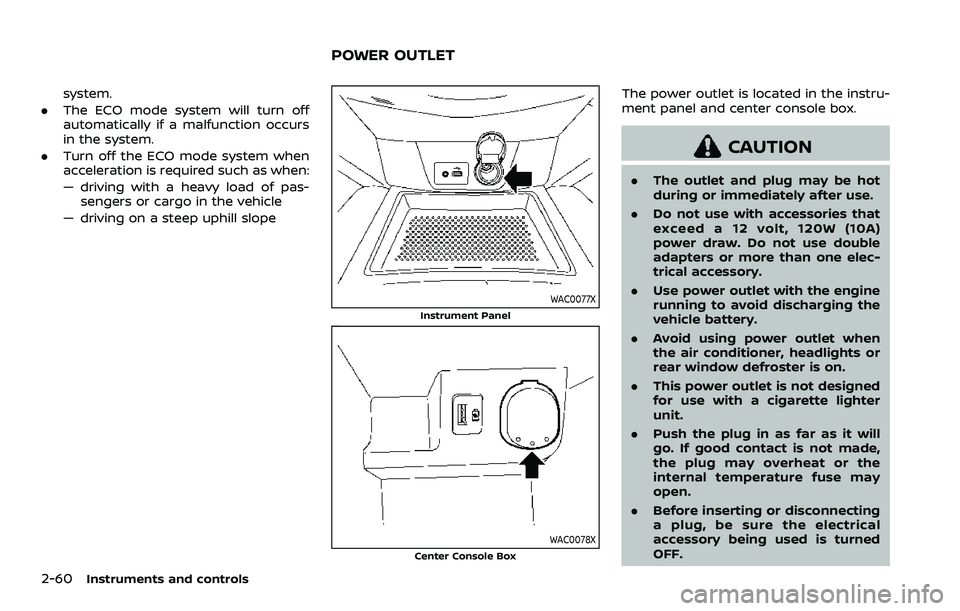
WAC0077X
Instrument Panel
WAC0078XCenter Console Box
The power outlet is located in the instru-
ment panel and center console box.
CAUTION
. The outlet and plug may be hot
during or immediately after use.
. Do not use with accessories that
exceed a 12 volt, 120W (10A)
power draw. Do not use double
adapters or more than one elec-
trical accessory.
. Use power outlet with the engine
running to avoid discharging the
vehicle battery.
. Avoid using power outlet when
the air conditioner, headlights or
rear window defroster is on.
. This power outlet is not designed
for use with a cigarette lighter
unit.
. Push the plug in as far as it will
go. If good contact is not made,
the plug may overheat or the
internal temperature fuse may
open.
. Before inserting or disconnecting
a plug, be sure the electrical
accessory being used is turned
OFF.
POWER OUTLET
Page 154 of 500
2-74Instruments and controls
JVI0627X
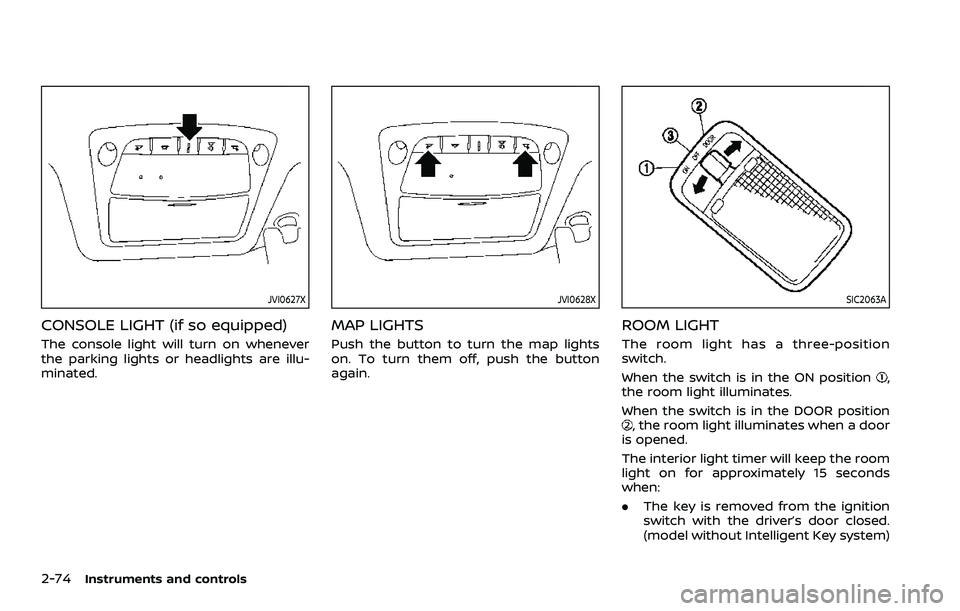
CONSOLE LIGHT (if so equipped)
The console light will turn on whenever
the parking lights or headlights are illu-
minated.
JVI0628X
MAP LIGHTS
Push the button to turn the map lights
on. To turn them off, push the button
again.
SIC2063A
ROOM LIGHT
The room light has a three-position
switch.
When the switch is in the ON position
,
the room light illuminates.
When the switch is in the DOOR position
, the room light illuminates when a door
is opened.
The interior light timer will keep the room
light on for approximately 15 seconds
when:
. The key is removed from the ignition
switch with the driver’s door closed.
(model without Intelligent Key system)
Page 155 of 500
.The ignition switch is placed in the
OFF position. (model with Intelligent
Key system)
The interior light timer will be cancelled
when:
. The driver’s door is locked.
. The ignition switch is placed in the ON
position.
When the switch is in the OFF position
,
the room light does not illuminate, re-
gardless of any condition.
SIC3869
VANITY MIRROR LIGHT (if so
equipped)
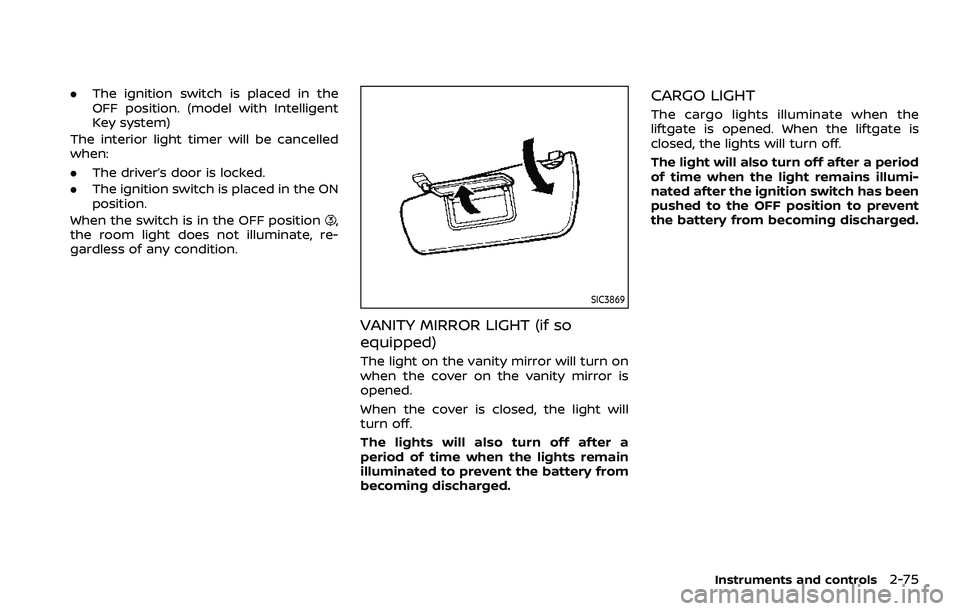
The light on the vanity mirror will turn on
when the cover on the vanity mirror is
opened.
When the cover is closed, the light will
turn off.
The lights will also turn off after a
period of time when the lights remain
illuminated to prevent the battery from
becoming discharged.
CARGO LIGHT
The cargo lights illuminate when the
liftgate is opened. When the liftgate is
closed, the lights will turn off.
The light will also turn off after a period
of time when the light remains illumi-
nated after the ignition switch has been
pushed to the OFF position to prevent
the battery from becoming discharged.
Instruments and controls2-75