2019 NISSAN ROGUE SPORT ECO mode
[x] Cancel search: ECO modePage 253 of 500
4. Insert the mechanical key and pushdown the shift lock release.
5. Push the shift lever button and move the shift lever to the N (Neutral)
position while holding down the shift
lock release.
Place the ignition switch in the ON posi-
tion. The vehicle may be moved to the
desired location.
Replace the removed shift lock release
cover after the operation.
If the shift lever cannot be moved out of
the P (Park) position, have the CVT system
checked as soon as possible. It is recom-
mended you visit a NISSAN dealer for this
service.
WARNING
If the shift lever cannot be moved
from the P (Park) position while the
engine is running and the brake
pedal is depressed, the stop lights
may not work. Malfunctioning stop
lights could cause an accident injur-
ing yourself and others.
MANUAL TRANSMISSION (MT)
WARNING
. Do not downshift abruptly on
slippery roads. This may cause a
loss of control.
. Do not over-rev the engine when
shifting to a lower gear. This may
cause a loss of control or engine
damage.
. When the high fluid temperature
protection mode or fail-safe op-
eration occurs, vehicle speed may
be gradually reduced. The re-
duced speed may be lower than
other traffic, which could increase
the chance of a collision. Be
especially careful when driving. If
necessary, pull to the side of the
road at a safe place and allow the
transmission to return to normal
operation, or have it repaired if
necessary.
CAUTION
.Do not rest your foot on the
clutch pedal while driving. This
may damage the clutch.
. Fully depress the clutch pedal
before shifting to help prevent
transmission damage.
. Stop your vehicle completely be-
fore shifting into R (Reverse).
. When the vehicle is stopped for a
period of time, for example at a
stop light, shift to N (Neutral) and
release the clutch pedal with the
foot brake applied.
Starting and driving5-25
Page 255 of 500
WARNING
.Never drive the vehicle with the
parking brake applied. The brake
will overheat and fail to operate
and will lead to an accident.
. Never release the parking brake
from outside the vehicle. If the
vehicle moves, it will be impossi-
ble to push the foot brake pedal
and will lead to an accident.
. Never use the shift lever in place
of the parking brake. When park-
ing, be sure the parking brake is
fully applied.
. To help avoid risk of injury or
death through unintended opera-
tion of the vehicle and/or its
systems, do not leave children,
people who require the assis-
tance of others or pets unat-
tended in your vehicle.
Additionally, the temperature in-
side a closed vehicle on a warm
day can quickly become high
enough to cause a significant risk
of injury or death to people and
pets.
SPA2331
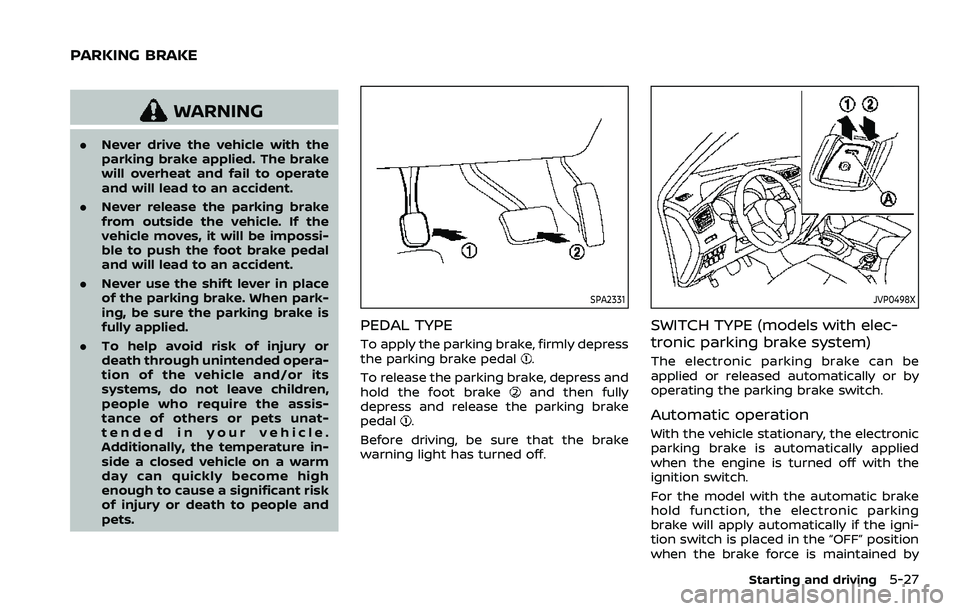
PEDAL TYPE
To apply the parking brake, firmly depress
the parking brake pedal.
To release the parking brake, depress and
hold the foot brake
and then fully
depress and release the parking brake
pedal
.
Before driving, be sure that the brake
warning light has turned off.
JVP0498X
SWITCH TYPE (models with elec-
tronic parking brake system)
The electronic parking brake can be
applied or released automatically or by
operating the parking brake switch.
Automatic operation
With the vehicle stationary, the electronic
parking brake is automatically applied
when the engine is turned off with the
ignition switch.
For the model with the automatic brake
hold function, the electronic parking
brake will apply automatically if the igni-
tion switch is placed in the “OFF” position
when the brake force is maintained by
Starting and driving5-27
PARKING BRAKE
Page 260 of 500
5-32Starting and driving
applied and the brake force of the
automatic brake hold will be re-
leased:
—The braking force is applied by
the automatic brake hold function
for 3 minutes or longer.
— The driver’s seat belt is unfas-
tened.
— The ignition switch is placed in
the OFF position.
— If a malfunction occurs in the
automatic brake hold function.
. When the vehicle stops, but the
brake force is not automatically
applied, depress the brake pedal
firmly until the automatic brake hold
indicator light (green) illuminates.
Automatic brake hold function dis-
play
The automatic brake hold function status
can be checked in the “Chassis Control”
mode in the vehicle information display.
For additional information, see “Trip com-
puter” (P.2-39).
JVS0185X
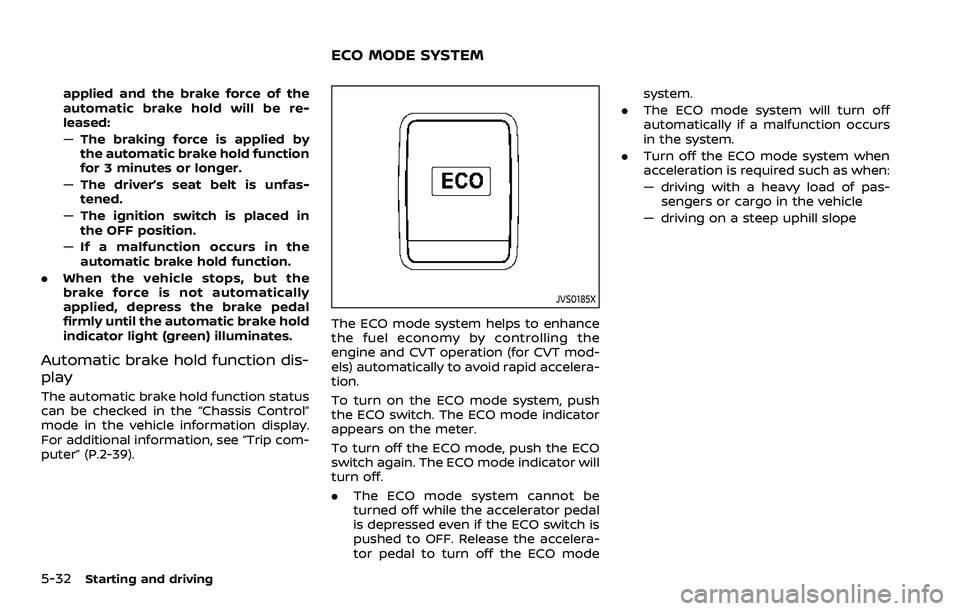
The ECO mode system helps to enhance
the fuel economy by controlling the
engine and CVT operation (for CVT mod-
els) automatically to avoid rapid accelera-
tion.
To turn on the ECO mode system, push
the ECO switch. The ECO mode indicator
appears on the meter.
To turn off the ECO mode, push the ECO
switch again. The ECO mode indicator will
turn off.
.The ECO mode system cannot be
turned off while the accelerator pedal
is depressed even if the ECO switch is
pushed to OFF. Release the accelera-
tor pedal to turn off the ECO mode system.
. The ECO mode system will turn off
automatically if a malfunction occurs
in the system.
. Turn off the ECO mode system when
acceleration is required such as when:
— driving with a heavy load of pas-
sengers or cargo in the vehicle
— driving on a steep uphill slope
ECO MODE SYSTEM
Page 261 of 500
WAF0142X
ECO PEDAL GUIDE FUNCTION
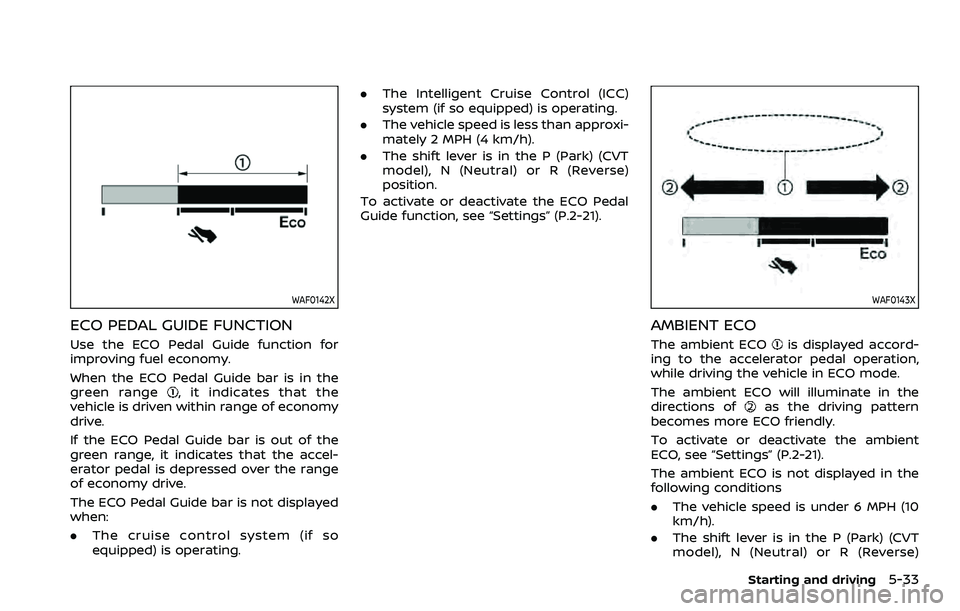
Use the ECO Pedal Guide function for
improving fuel economy.
When the ECO Pedal Guide bar is in the
green range
, it indicates that the
vehicle is driven within range of economy
drive.
If the ECO Pedal Guide bar is out of the
green range, it indicates that the accel-
erator pedal is depressed over the range
of economy drive.
The ECO Pedal Guide bar is not displayed
when:
. The cruise control system (if so
equipped) is operating. .
The Intelligent Cruise Control (ICC)
system (if so equipped) is operating.
. The vehicle speed is less than approxi-
mately 2 MPH (4 km/h).
. The shift lever is in the P (Park) (CVT
model), N (Neutral) or R (Reverse)
position.
To activate or deactivate the ECO Pedal
Guide function, see “Settings” (P.2-21).
WAF0143X
AMBIENT ECO
The ambient ECOis displayed accord-
ing to the accelerator pedal operation,
while driving the vehicle in ECO mode.
The ambient ECO will illuminate in the
directions of
as the driving pattern
becomes more ECO friendly.
To activate or deactivate the ambient
ECO, see “Settings” (P.2-21).
The ambient ECO is not displayed in the
following conditions
. The vehicle speed is under 6 MPH (10
km/h).
. The shift lever is in the P (Park) (CVT
model), N (Neutral) or R (Reverse)
Starting and driving5-33
Page 273 of 500
off.
Action to take:
When the above conditions no longer
exist, turn off the I-LI system. Push the
dynamic driver assistance switch (models
without ProPILOT assist) or the ProPILOT
assist switch (models with ProPILOT as-
sist) again to turn the I-LI system back on.
Temporary disabled status at high tem-
perature:
If the vehicle is parked in direct sunlight
under high temperature conditions (over
approximately 104°F (40°C)) and then the
I-LI system is turned on, the I-LI system
may be deactivated automatically and
the following message will appear on
the vehicle information display: “Unavail-
able: High Cabin Temperature.” When the
interior temperature is reduced, the sys-
tem will resume operating automatically.
SYSTEM MALFUNCTION
If the I-LI system malfunctions, it will
cancel automatically. The I-LI indicator
(orange) will illuminate and the “Malfunc-
tion” warning message will appear in the
display.
If the I-LI indicator (orange) illuminates in
the display, pull off the road to a safe
location. Turn the engine off and restart
the engine. If the I-LI indicator (orange)
continues to illuminate, have the I-LI system checked. It is recommended that
you visit a NISSAN dealer for this service.
JVS1079X
SYSTEM MAINTENANCE
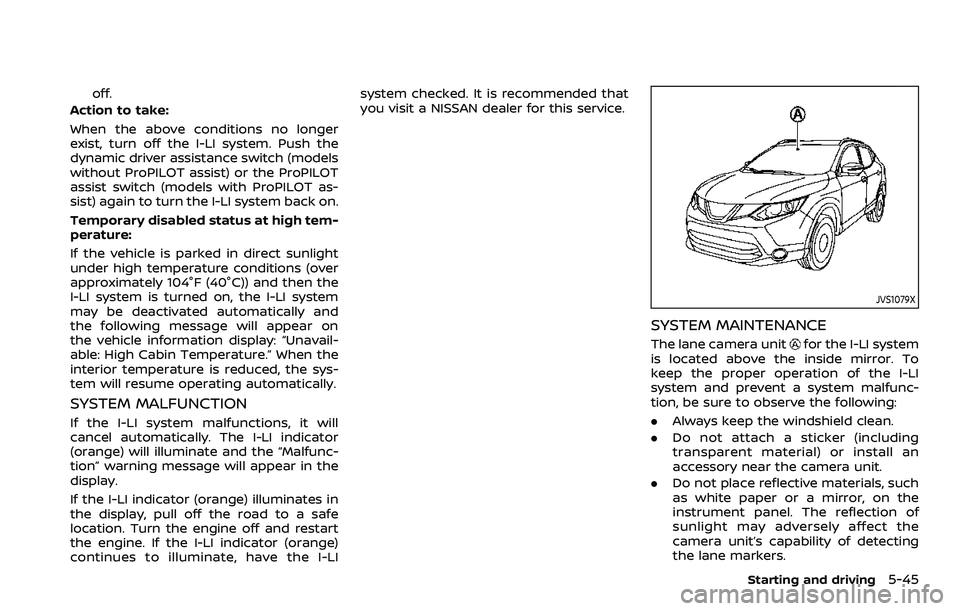
The lane camera unitfor the I-LI system
is located above the inside mirror. To
keep the proper operation of the I-LI
system and prevent a system malfunc-
tion, be sure to observe the following:
. Always keep the windshield clean.
. Do not attach a sticker (including
transparent material) or install an
accessory near the camera unit.
. Do not place reflective materials, such
as white paper or a mirror, on the
instrument panel. The reflection of
sunlight may adversely affect the
camera unit’s capability of detecting
the lane markers.
Starting and driving5-45
Page 293 of 500
— When it is not possible to keepthe vehicle at a constant
speed
— When driving in heavy traffic
— When driving in traffic that varies speed
— When driving in windy areas
— When driving on winding or hilly roads
— When driving on slippery (rain, snow, ice, etc.) roads
CAUTION
On Manual Transmission (MT) model,
do not shift to the N (Neutral) posi-
tion without depressing the clutch
pedal when the cruise control is
operated. Should this occur, depress
the clutch pedal and turn the Cruise
ON/OFF switch off immediately. Fail-
ure to do so may cause engine
damage.
PRECAUTIONS ON CRUISE CON-
TROL
. If the cruise control system malfunc-
tions, it will cancel automatically. The
CRUISE indicator in the vehicle infor-
mation display will then blink to warn
the driver.
. If the CRUISE indicator blinks, turn the
Cruise ON/OFF switch off and have
the system checked. It is recom-
mended that you visit a NISSAN dealer
for this service.
. The CRUISE indicator may blink when
the Cruise ON/OFF switch is turned
ON while pushing the RES/+, SET/-, or
CANCEL switch. To properly set the
cruise control system, perform the
following procedures.
CRUISE CONTROL OPERATIONS
The cruise control allows driving at
speeds above 25 MPH (40 km/h) without
keeping your foot on the accelerator
pedal.
The cruise control will automatically be
canceled if the vehicle slows down more
than approximately 8 MPH (13 km/h)
below the set speed.
Moving the shift lever to the N (Neutral)
position will cancel the cruise control.
Turning on cruise control
Push the Cruise ON/OFF switch. The
CRUISE indicator in the vehicle informa-
tion display will appear.
Setting cruising speed
1. Accelerate to the desired speed.
2. Push the SET/- switch and release it.
3. Take your foot off the accelerator
pedal.
The vehicle will maintain the set speed.
Passing another vehicle:
Depress the accelerator pedal to accel-
erate. After releasing the accelerator
pedal, the vehicle will return to the pre-
viously set speed.
The vehicle may not maintain the set
speed when going up or down steep hills.
In such cases, drive without the cruise
control.
Resetting to slower speed:
Use any one of the following methods to
reset to a slower speed.
. Lightly tap the foot brake pedal. When
the vehicle reaches the desired speed,
push and release the SET/- switch.
. Push and hold the SET/- switch. When
the vehicle reaches the desired speed,
release the SET- switch.
Starting and driving5-65
Page 296 of 500
5-68Starting and driving
Always confirm the setting in the ICC
system display.
For the vehicle-to-vehicle distance con-
trol mode, see “Vehicle-to-vehicle dis-
tance control mode” (P.5-68).
For the conventional (fixed speed) cruise
control mode, see “Conventional (fixed
speed) cruise control mode” (P.5-82).
WAF0145X
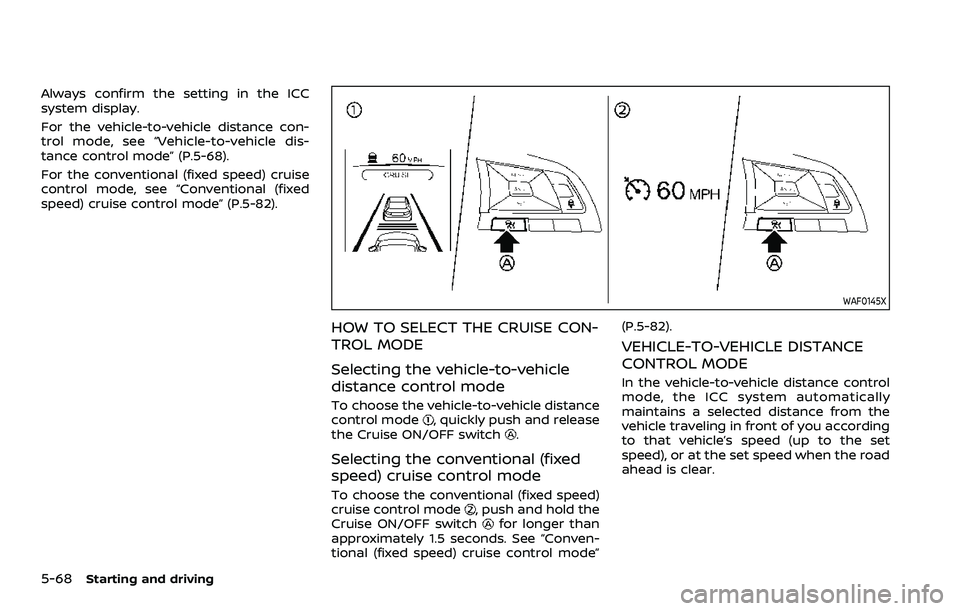
HOW TO SELECT THE CRUISE CON-
TROL MODE
Selecting the vehicle-to-vehicle
distance control mode
To choose the vehicle-to-vehicle distance
control mode, quickly push and release
the Cruise ON/OFF switch.
Selecting the conventional (fixed
speed) cruise control mode
To choose the conventional (fixed speed)
cruise control mode, push and hold the
Cruise ON/OFF switchfor longer than
approximately 1.5 seconds. See “Conven-
tional (fixed speed) cruise control mode” (P.5-82).
VEHICLE-TO-VEHICLE DISTANCE
CONTROL MODE
In the vehicle-to-vehicle distance control
mode, the ICC system automatically
maintains a selected distance from the
vehicle traveling in front of you according
to that vehicle’s speed (up to the set
speed), or at the set speed when the road
ahead is clear.
Page 297 of 500
JVS1041X
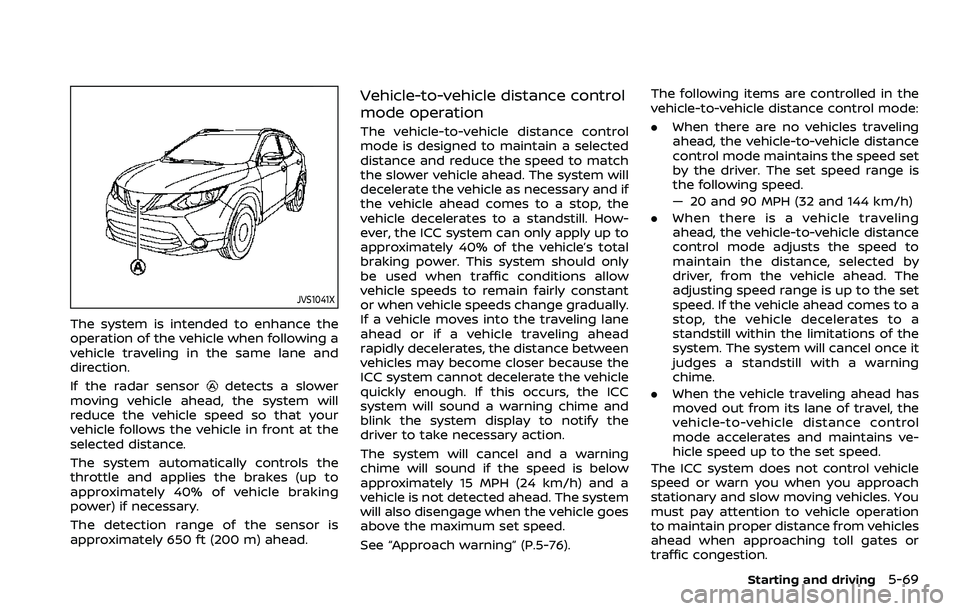
The system is intended to enhance the
operation of the vehicle when following a
vehicle traveling in the same lane and
direction.
If the radar sensor
detects a slower
moving vehicle ahead, the system will
reduce the vehicle speed so that your
vehicle follows the vehicle in front at the
selected distance.
The system automatically controls the
throttle and applies the brakes (up to
approximately 40% of vehicle braking
power) if necessary.
The detection range of the sensor is
approximately 650 ft (200 m) ahead.
Vehicle-to-vehicle distance control
mode operation
The vehicle-to-vehicle distance control
mode is designed to maintain a selected
distance and reduce the speed to match
the slower vehicle ahead. The system will
decelerate the vehicle as necessary and if
the vehicle ahead comes to a stop, the
vehicle decelerates to a standstill. How-
ever, the ICC system can only apply up to
approximately 40% of the vehicle’s total
braking power. This system should only
be used when traffic conditions allow
vehicle speeds to remain fairly constant
or when vehicle speeds change gradually.
If a vehicle moves into the traveling lane
ahead or if a vehicle traveling ahead
rapidly decelerates, the distance between
vehicles may become closer because the
ICC system cannot decelerate the vehicle
quickly enough. If this occurs, the ICC
system will sound a warning chime and
blink the system display to notify the
driver to take necessary action.
The system will cancel and a warning
chime will sound if the speed is below
approximately 15 MPH (24 km/h) and a
vehicle is not detected ahead. The system
will also disengage when the vehicle goes
above the maximum set speed.
See “Approach warning” (P.5-76). The following items are controlled in the
vehicle-to-vehicle distance control mode:
.
When there are no vehicles traveling
ahead, the vehicle-to-vehicle distance
control mode maintains the speed set
by the driver. The set speed range is
the following speed.
— 20 and 90 MPH (32 and 144 km/h)
. When there is a vehicle traveling
ahead, the vehicle-to-vehicle distance
control mode adjusts the speed to
maintain the distance, selected by
driver, from the vehicle ahead. The
adjusting speed range is up to the set
speed. If the vehicle ahead comes to a
stop, the vehicle decelerates to a
standstill within the limitations of the
system. The system will cancel once it
judges a standstill with a warning
chime.
. When the vehicle traveling ahead has
moved out from its lane of travel, the
vehicle-to-vehicle distance control
mode accelerates and maintains ve-
hicle speed up to the set speed.
The ICC system does not control vehicle
speed or warn you when you approach
stationary and slow moving vehicles. You
must pay attention to vehicle operation
to maintain proper distance from vehicles
ahead when approaching toll gates or
traffic congestion.
Starting and driving5-69