2019 NISSAN LEAF ECO mode
[x] Cancel search: ECO modePage 344 of 610

BLUETOOTH® STREAMING AUDIO
If you have a compatible Bluetooth® audio
device that is capable of playing audio files,
the device can be connected to the vehi-
cle’s audio system so that the audio files on
the device play through the vehicle’s
speakers. For additional information, refer
to “FM/AM/SAT radio with Compact Disc
(CD) player” in this section.
NOTE:
For additional information regarding
Bluetooth® Streaming Audio, refer to
the cellular phone owner’s manual.
Connecting Bluetooth® audio
To connect your Bluetooth® audio device
to the vehicle, follow the procedure below:
1. Press the ENTER/SETTING button.
2. Select “Bluetooth”.
3. Select “Add Phone”. This same screencan be accessed to remove, replace or
select a different Bluetooth® device. 4.
The system acknowledges the com-
mand and asks you to initiate connecting
from the phone handset. The connecting
procedure of the cellular phone varies ac-
cording to each cellular phone model. For
additional information, refer to the cellular
phone’s owner’s manual. You can also
visit www.nissanusa.com/bluetooth or
www.nissan.ca/bluetooth for instructions
on connecting NISSAN-recommended
cellular phones.
Audio main operation:
To switch to the Bluetooth® audio mode,
press the MEDIA button repeatedly until the
Bluetooth® audio mode is displayed on the
screen. Use the vehicle audio controls or
the Bluetooth® device’s controls to play,
pause, skip or reverse tracks.
AUX DEVICE PLAYER OPERATION
The AUX input jack is located beneath the
heater and air conditioner controls. The
AUX input jack accepts any standard ana-
log audio input such as from a portable
cassette tape/CD player, MP3 player or lap-
top computer.
NISSAN strongly recommends using a ste-
reo mini plug when connecting your music
device to the audio system. Music may not
play properly when monaural cable is used.
To switch the AUX mode, press the MEDIA
button until the AUX mode is selected,
while the power switch is in the “ON” or
“ACC” position.
Monitor, climate, audio, phone and voice recognition systems4-65
Page 347 of 610
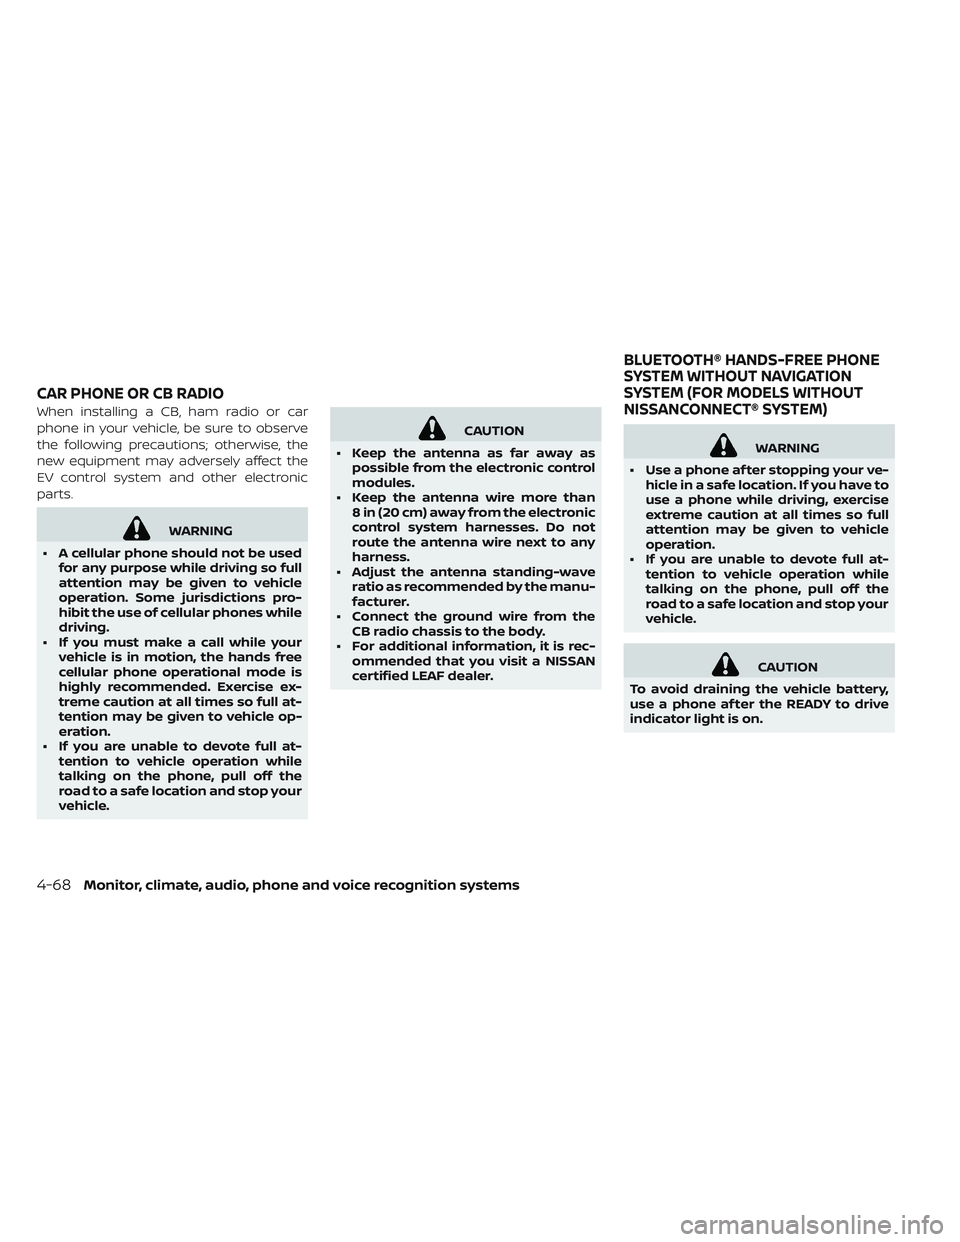
When installing a CB, ham radio or car
phone in your vehicle, be sure to observe
the following precautions; otherwise, the
new equipment may adversely affect the
EV control system and other electronic
parts.
WARNING
• A cellular phone should not be used for any purpose while driving so full
attention may be given to vehicle
operation. Some jurisdictions pro-
hibit the use of cellular phones while
driving.
• If you must make a call while your vehicle is in motion, the hands free
cellular phone operational mode is
highly recommended. Exercise ex-
treme caution at all times so full at-
tention may be given to vehicle op-
eration.
• If you are unable to devote full at- tention to vehicle operation while
talking on the phone, pull off the
road to a safe location and stop your
vehicle.
CAUTION
• Keep the antenna as far away as possible from the electronic control
modules.
• Keep the antenna wire more than 8 in (20 cm) away from the electronic
control system harnesses. Do not
route the antenna wire next to any
harness.
• Adjust the antenna standing-wave ratio as recommended by the manu-
facturer.
• Connect the ground wire from the CB radio chassis to the body.
• For additional information, it is rec- ommended that you visit a NISSAN
certified LEAF dealer.
WARNING
• Use a phone af ter stopping your ve- hicle in a safe location. If you have to
use a phone while driving, exercise
extreme caution at all times so full
attention may be given to vehicle
operation.
• If you are unable to devote full at- tention to vehicle operation while
talking on the phone, pull off the
road to a safe location and stop your
vehicle.
CAUTION
To avoid draining the vehicle battery,
use a phone af ter the READY to drive
indicator light is on.
CAR PHONE OR CB RADIO BLUETOOTH® HANDS-FREE PHONE
SYSTEM WITHOUT NAVIGATION
SYSTEM (FOR MODELS WITHOUT
NISSANCONNECT® SYSTEM)
4-68Monitor, climate, audio, phone and voice recognition systems
Page 357 of 610
• Delete Phone or DeviceSelect to delete a phone from the dis-
played list. The system will ask to confirm
before deleting the phone.
• Replace Phone Select to replace a phone from the dis-
played list. When a selection is made, the
system will ask to confirm before pro-
ceeding. The recorded phonebook for
the phone being deleted will be saved as
long as the new phone’s phonebook is
the same as the old phone’s phonebook.
• Select Phone or Device Select to connect to a previously con-
nected phone from the displayed list.
• Phonebook Download Select to turn on or off the automatic
download of a connected phone’s
phonebook.
• Show Incoming Calls Select “Driver Only” to have incoming call
information displayed only in the vehicle
information display. Select “Both” to have
incoming call information displayed in
both the vehicle information display and
the center display screen. • Text Message (if so equipped)
Select to turn text message feature in
vehicle on or off.
• New Text Sound (if so equipped) Select to adjust the volume of the sound
that plays when a new text is received by
a phone connected to the Bluetooth®
Hands-Free Phone System. The setting
all the way to the lef t indicates that the
new text sound will be muted.
• Show Incoming Text (if so equipped) Select “Driver Only” to have incoming
text messages displayed only in the ve-
hicle information display. Select “Both” to
have incoming text messages displayed
in both the vehicle information display
and the center display screen. Select
“None” to have no display of incoming
text messages.
• Auto Reply (if so equipped) Select to turn on or off the Auto Reply
function. When enabled, the vehicle will
automatically send a predefined text
message to the sender when a text
message is received while driving. • Auto Reply Message
Select to choose the message that is
sent when the Auto Reply function is en-
abled.
• Vehicle Signature On/Off Select to choose whether or not the ve-
hicle signature is added to outgoing text
messages from the vehicle. This mes-
sage cannot be changed or customized.
MANUAL CONTROL
While using the Voice Recognition system,
it is possible to select menu options by
using the steering wheel controls instead
of speaking voice commands. This can be
especially helpful if the noise of driving
makes it difficult for Voice Recognition sys-
tem to accurately interpret commands.
The manual control mode does not allow
dialing a phone number by digits. The user
may select an entry from the Phonebook
or Recent Calls lists. To re-activate Voice
Recognition, exit the manual control mode
by pressing and holding the PHONE/END
button. At that time, pressing the
PHONE/SEND
button will start the
Hands Free Phone System.
4-78Monitor, climate, audio, phone and voice recognition systems
Page 360 of 610
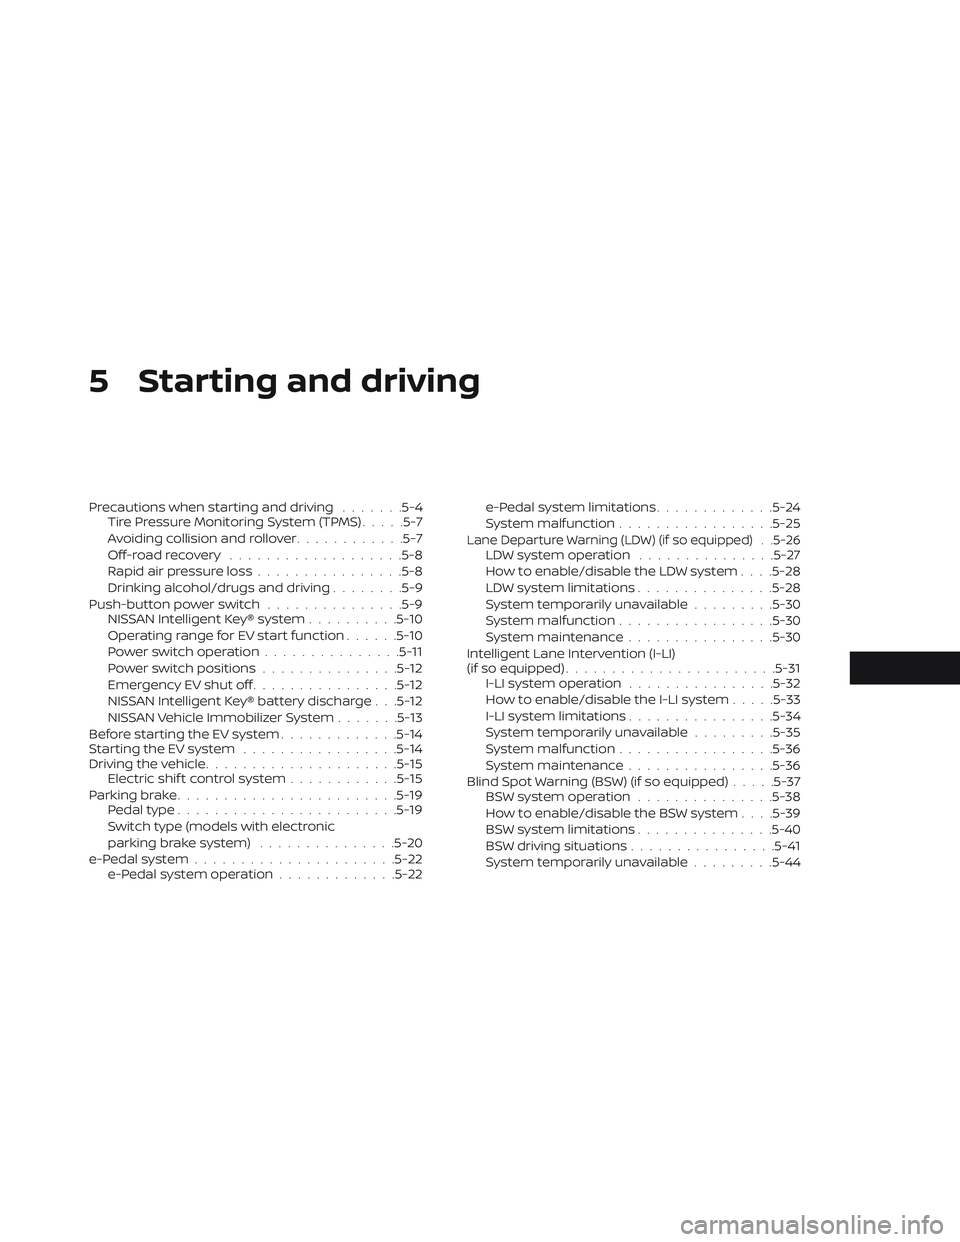
5 Starting and driving
Precautions when starting and driving.......5-4
Tire Pressure Monitoring System (TPMS) .....5-7
Avoiding collision and rollover ............5-7
Off-roadrecovery ...................5-8
Rapid air pressure loss ................5-8
Drinking alcohol/drugs and driving ........5-9
Push-button power switch ...............5-9
NISSAN Intelligent Key® system ..........5-10
Operating range for EV start function ......5-10
Power switch operation ...............5-11
Power switch positions ...............5-12
Emergency EV shut off ................5-12
NISSAN Intelligent Key® battery discharge . . .5-12
NISSAN Vehicle Immobilizer System .......5-13
Before starting the EV system .............5-14
Starting the EV system .................5-14
Driving the vehicle .................... .5-15
Electric shif t control system ............5-15
Parking brake ........................5-19
Pedal type ........................5-19
Switch type (models with electronic
parking brake system) ...............5-20
e-Pedal system ......................5-22
e-Pedal system operation .............5-22 e-Pedal system limitations
.............5-24
System malfunction ................ .5-25
Lane Departure Warning (LDW) (if so equipped) . .5-26LDW system operation ...............5-27
How to enable/disable the LDW system . . . .5-28
LDW system limitations ...............5-28
System temporarily unavailable .........5-30
System malfunction ................ .5-30
System maintenance ................5-30
Intelligent Lane Intervention (I-LI)
(if so equipped) .......................5-31
I-LI system operation ................5-32
How to enable/disable the I-LI system .....5-33
I-LI system limitations ................5-34
System temporarily unavailable .........5-35
System malfunction ................ .5-36
System maintenance ................5-36
Blind Spot Warning (BSW) (if so equipped) .....5-37
BSW system operation ...............5-38
How to enable/disable the BSW system . . . .5-39
BSW system limitations ...............5-40
BSW driving situations ................5-41
System temporarily unavailable .........5-44
Page 362 of 610

Turning the AEB with Pedestrian Detection
system on/off.................... .5-122
AEB with Pedestrian Detection system
limitations .......................5-123
System temporarily unavailable .........5-125
System malfunction ................5-126
System maintenance ................5-126
Intelligent Forward Collision Warning (I-FCW)
(if so equipped) ......................5-128
I-FCW System operation ..............5-129
Turning the I-FCW system on/off ........5-131
I-FCW system limitations .............5-132
System temporarily unavailable .........5-136
System malfunction ................ .5-137
System maintenance ................5-137
Intelligent Driver Alertness (I-DA)
(if so equipped) ......................5-139
I-DA system operation ...............5-139
How to enable/disable the I-DA system . . .5-140
I-DA system limitations ..............5-140
ECO Mode .........................5-142
Increasing power economy .............5-142 ECO drive report
.................... .5-143
Parking/parking on hills ................5-144
Power steering system ................5-146
Brake system .......................5-146
Brake precautions ................. .5-146
Anti-lock Braking System (ABS) .........5-148
Brake Assist ......................5-149
Vehicle Dynamic Control (VDC) system ......5-150
Chassis control ......................5-152
Intelligent Trace Control (I-TC) ..........5-152
Active Ride Control (ARC) .............5-153
Hill start assist system ................ .5-153
Cold weather driving ................. .5-154
Freeing a frozen door lock ............5-155
Antifreeze .......................5-155
12-volt battery ................... .5-155
Dr aining
of coolant water .............5-155
Tire equipment ................... .5-155
Special winter equipment .............5-155
Driving on snow or ice ...............5-156
Freeing a frozen charge port lid .........5-156
Parking brake .................... .5-156
Page 366 of 610
TPMS with Easy-Fill Tire Alert
When tire pressure is low, the low tire pres-
sure warning light illuminates.
This vehicle provides visual and audible
signals to help you inflate the tires to the
recommended COLD tire pressure.
Vehicle set-up:
1. Park the vehicle in a safe and level place.
2. Apply the parking brake and push the P(Park) position switch on the shif t lever.
3. Place the power switch in the ON posi- tion. Do not place in the READY to drive
mode.
Operation:
1. Add air to the tire.
2. Af ter a few seconds, the hazard indica- tors will start flashing.
3. When the designated pressure is reached, the horn beeps once and the
hazard indicators stop flashing.
4. Perform the above steps for each tire.
• If the tire is over-inflated more than ap- proximately 4 psi (30 kPa), the horn beeps
and the hazard indicators flash three
times. To correct the pressure, push the core of the valve stem on the tire briefly to
release pressure. When the pressure
reaches the designated pressure, the
horn beeps once.
• If the hazard indicator does not flash within approximately 15 seconds af ter
starting to inflate the tire, it indicates that
the Easy-Fill Tire Alert is not operating.
• The TPMS will not activate the Easy-Fill Tire Alert under the following conditions: – If there is interference from an externaldevice or transmitter.
– The air pressure from the inflation de- vice is not sufficient to inflate the tire,
such as those using a power socket.
– If electrical equipment is being used in or near the vehicle.
– There is a malfunction in the TPMS.
– There is a malfunction in the horn or hazard indicators.
– If the Easy-Fill Tire Alert does not oper- ate due to TPMS interference, move the
vehicle about 3 f t (1 m) backward or
forward and try again.
If the Easy-Fill Tire Alert is not working, use a
tire pressure gauge.
AVOIDING COLLISION AND
ROLLOVER
WARNING
Failure to operate this vehicle in a safe
and prudent manner may result in loss
of control or an accident.
Be alert and drive defensively at all times.
Obey all traffic regulations. Avoid excessive
speed, high speed cornering, or sudden
steering maneuvers because these driving
practices could cause you to lose control of
your vehicle. As with any vehicle, a loss of
control could result in a collision with
other vehicles or objects or cause the ve-
hicle to rollover, particularly if the loss of
control causes the vehicle to slide side-
ways. Be attentive at all times, and avoid
driving when tired. Never drive when under
the influence of alcohol or drugs (including
prescription or over-the-counter drugs
which may cause drowsiness). Always
wear your seat belt as outlined in “Seat
belts” in the “Safety — Seats, seat belts and
supplemental restraint system” section of
this manual, and also instruct your passen-
gerstodoso.
Starting and driving5-7
Page 371 of 610
POWER SWITCH POSITIONS
LOCK (Normal parking position)
The power switch can only be locked in this
position.
The power switch will be unlocked when it
is pushed to the ACC position while the
driver is carrying the Intelligent Key.
ACC (Accessories)
This position activates electrical accesso-
ries, such as the radio, when the EV system
is off.
ON
This position turns on the EV system and
electrical accessories.
READY (Normal operating
position)
This position turns on the EV system and
electrical accessories and the vehicle can
be driven.
OFF
This position turns off the EV system.The power switch cannot be placed in the
LOCK position until the vehicle is in the P
(Park) position.
CAUTION
Do not leave the vehicle with the power
switch in the ACC position for an ex-
tended period of time. This can dis-
charge the 12-volt battery.
NOTE:
Ifthe power switch is pushed quickly or is
pushed twice quickly, the switch may not
function even if a chime sound is heard.
Push the switch again more slowly.
EMERGENCY EV SHUT OFF
To shut off the EV system in an emergency
situation while driving, perform the follow-
ing procedure:
• Rapidly push the power switch three con- secutive times in less than 1.5 seconds, or
• Push and hold the power switch for more than 2 seconds.
NISSAN INTELLIGENT KEY®
BATTERY DISCHARGE
If the Intelligent Key battery is discharged
or environmental conditions interfere with
the Intelligent Key operation, start the EV
system in the READY to drive mode accord-
ing to the following procedure:
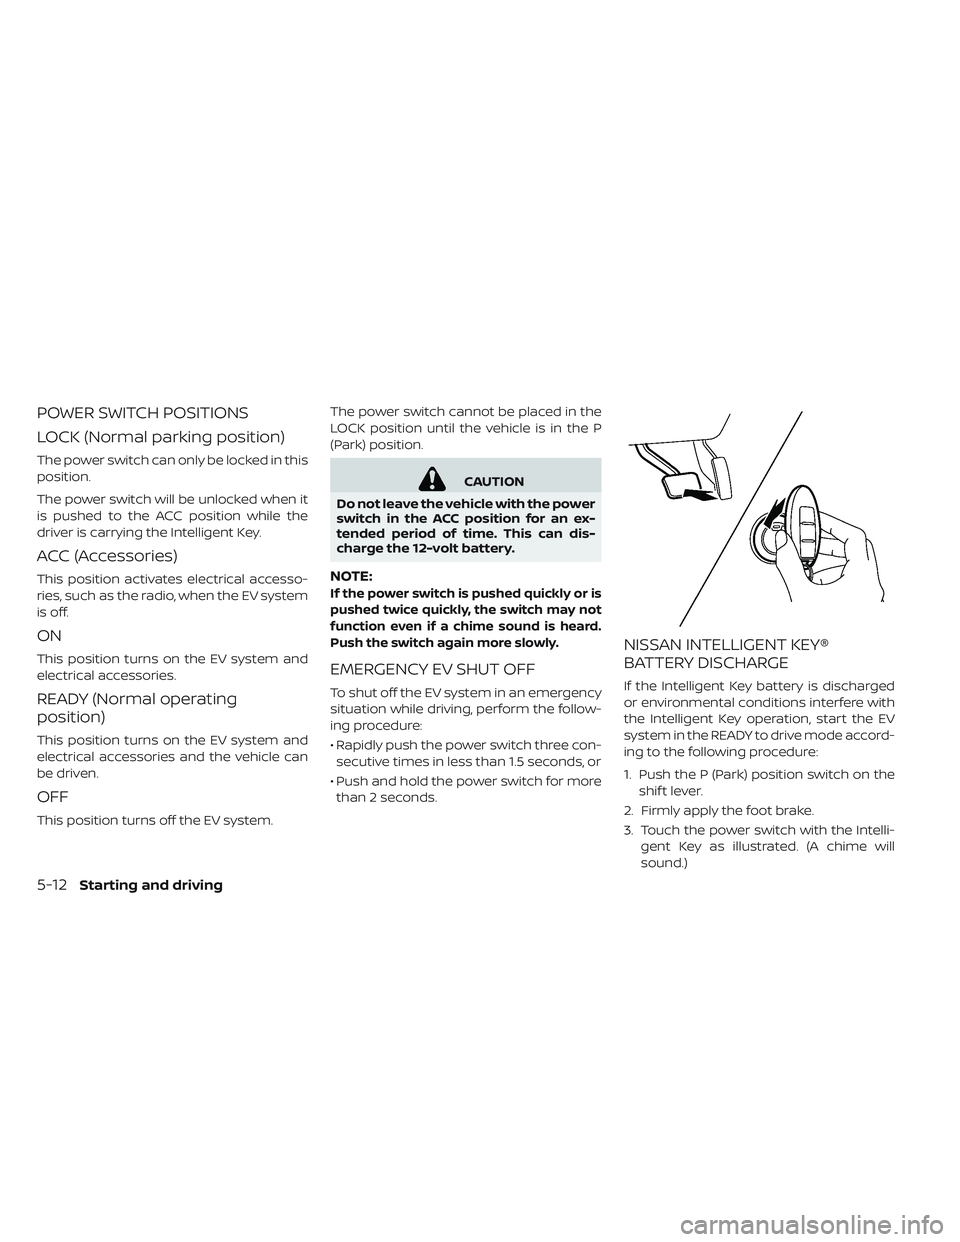
1. Push the P (Park) position switch on the shif t lever.
2. Firmly apply the foot brake.
3. Touch the power switch with the Intelli- gent Key as illustrated. (A chime will
sound.)
5-12Starting and driving
Page 372 of 610

4. Push the power switch while depressingthe brake pedal within 10 seconds af ter
the chime sounds. The power switch
position changes to the READY to drive
mode.
Af ter step 3 is performed, if the power
switch is pushed without depressing the
brake pedal, the power switch position will
change to ACC.
NOTE:
• When the power switch is pushed to the
ACC or ON position or READY to drive
mode by the above procedure, the EV
system operation for discharged Intelli-
gent Key system indicator appears on
the vehicle information display even if
the Intelligent Key is inside the vehicle.
This is not a malfunction. To stop the
warning indicator from blinking, touch
the power switch with the Intelligent
Key again. •
If the Intelligent Key battery discharge
indicator appears on the vehicle infor-
mation display, replace the battery as
soon as possible. For additional infor-
mation, refer to “NISSAN Intelligent Key®
battery replacement” in the “Mainte-
nance and do-it-yourself ” section of
this manual.
NISSAN VEHICLE IMMOBILIZER
SYSTEM
The NISSAN Vehicle Immobilizer System
will not allow the power switch to be placed
in the READY to drive position without the
use of the registered key.
If the power switch fails to place the vehicle
into the READY to drive position using the
registered key, it may be due to interfer-
ence caused by another registered key, an
automated toll road device or automated
payment device on the key ring. Restart the
EV system using the following procedure:
1. Leave the power switch in the ON posi-
tion for approximately 5 seconds.
2. Place the power switch in the OFF posi- tion and wait approximately 10 seconds. 3. Repeat steps 1 and 2 again.
4. Place the power switch in the READY to
drive position while holding the device
(which may have caused the interfer-
ence) separate from the registered key.
If this procedure allows the power
switch to be placed in the READY to drive
mode, NISSAN recommends placing the
registered key on a separate key ring to
avoid interference from other devices.
Starting and driving5-13