2019 NISSAN FRONTIER PRO-4X display
[x] Cancel search: displayPage 262 of 516

CAUTION
∙ Do not force the USB device into theUSB port. Inserting the USB device
tilted or up-side-down into the port
may damage the port. Make sure that
the USB device is connected correctly
into the USB port.
∙ Do not grab the USB port cover (if so equipped) when pulling the USB de-
vice out of the port. This could dam-
age the port and the cover.
∙ Do not leave the USB cable in a place where it can be pulled unintentionally.
Pulling the cable may damage the
port.
For additional information, refer to your de-
vice manufacturer’s owner information re-
garding the proper use and care of the
device.
To connect an iPod® to the vehicle so that
the iPod® can be controlled with the audio
system controls and display screen, use
the USB connection port located on the
center console below the heater and air
conditioner controls. Connect the iPod®-
specific end of the cable to the iPod® and
the USB end of the cable to the USB con-
nection port on the vehicle. If your iPod® supports charging via a USB connection, its
battery will be charged while connected to
the vehicle with the ignition switch in the
ON position.
While connected to the vehicle, the iPod®
can only be operated by the vehicle audio
controls.
To disconnect the iPod® from the vehicle,
remove the USB end of the cable from the
USB connection port on the vehicle, then
remove the cable from the iPod®.
* iPod® is a trademark of Apple Inc., regis-
tered in the U.S. and other countries.
Compatibility
The following models are compatible:
∙ iPod® Classic 5th generation (firmware version 1.3.0 or later)
∙ iPod® Classic 6th generation (firmware version 2.0.1 or later)
∙ iPod® Classic 7th generation (firmware version 2.0.4 or later)
∙ iPod® Touch 2nd generation (firmware version 4.2.1 or later)*
∙ iPod® Touch 3rd generation (firmware version 5.1 or later) ∙ iPod® Touch 4th generation (firmware
version 5.1 or later)
∙ iPod® nano - 1st generation (firmware version 1.3.1 or later)
∙ iPod® nano - 2nd generation (firmware version 1.1.3 or later)
∙ iPod® nano - 3rd generation (firmware version 1.1.3 or later)
∙ iPod® nano - 4th generation (firmware version 1.0.4 or later)
∙ iPod® nano - 5th generation (firmware version 1.0.2 or later)
∙ iPod® nano - 6th generation (firmware version 1.1 or later)
∙ iPhone® 3G (firmware version 4.2.1 or later)
∙ iPhone® 3GS (firmware version 5.1 or later)
∙ iPhone® 4 (firmware version 5.1 or later)
∙ iPhone® 4S (firmware version 5.1 or later)
* Some features of this iPod® may not be
fully functional.
Make sure that your iPod® firmware is up-
dated to the version indicated above.
4-64Monitor, climate, audio, phone and voice recognition systems
Page 265 of 516

CAUTION
∙ Do not force the USB device into theUSB port. Inserting the USB device
tilted or up-side-down into the port
may damage the port. Make sure that
the USB device is connected correctly
into the USB port.
∙ Do not grab the USB port cover (if so equipped) when pulling the USB de-
vice out of the port. This could dam-
age the port and the cover.
∙ Do not leave the USB cable in a place where it can be pulled unintentionally.
Pulling the cable may damage the
port.
For additional information, refer to your de-
vice manufacturer’s owner information re-
garding the proper use and care of the
device.
To connect an iPod® to the vehicle so that
the iPod® can be controlled with the audio
system controls and display screen, use
the USB port located on the instrument
panel. Connect the iPod®-specific end of
the cable to the iPod® and the USB end of
the cable to the USB port on the vehicle. If
your iPod® supports charging via a USB
connection, its battery will be charged while connected to the vehicle with the ig-
nition switch in the ACC or ON position.
While connected to the vehicle, the iPod®
can only be operated by the vehicle audio
controls.
To disconnect the iPod® from the vehicle,
remove the USB end of the cable from the
USB port on the vehicle, then remove the
cable from the iPod®.
* iPod® is a trademark of Apple Inc., regis-
tered in the U.S. and other countries.
Compatibility
The following models are compatible:
∙ iPod® Classic 5th generation (firmware version 1.3.0 or later)
∙ iPod® Classic 6th generation (firmware version 2.0.1 or later)
∙ iPod® Classic 7th generation (firmware version 2.0.4 or later)
∙ iPod® Touch 2nd generation (firmware version 4.2.1 or later)*
∙ iPod® Touch 3rd generation (firmware version 5.1 or later)
∙ iPod® Touch 4th generation (firmware version 5.1 or later) ∙ iPod® nano - 1st generation (firmware
version 1.3.1 or later)
∙ iPod® nano - 2nd generation (firmware version 1.1.3 or later)
∙ iPod® nano - 3rd generation (firmware version 1.1.3 or later)
∙ iPod® nano - 4th generation (firmware version 1.0.4 or later)
∙ iPod® nano - 5th generation (firmware version 1.0.2 or later)
∙ iPod® nano - 6th generation (firmware version 1.1 or later)
∙ iPhone® 3G (firmware version 4.2.1 or later)
∙ iPhone® 3GS (firmware version 5.1 or later)
∙ iPhone® 4 (firmware version 5.1 or later)
∙ iPhone® 4S (firmware version 5.1 or later)
* Some features of this iPod® may not be
fully functional.
Make sure that your iPod® firmware is up-
dated to the version indicated above.
Monitor, climate, audio, phone and voice recognition systems4-67
Page 347 of 516

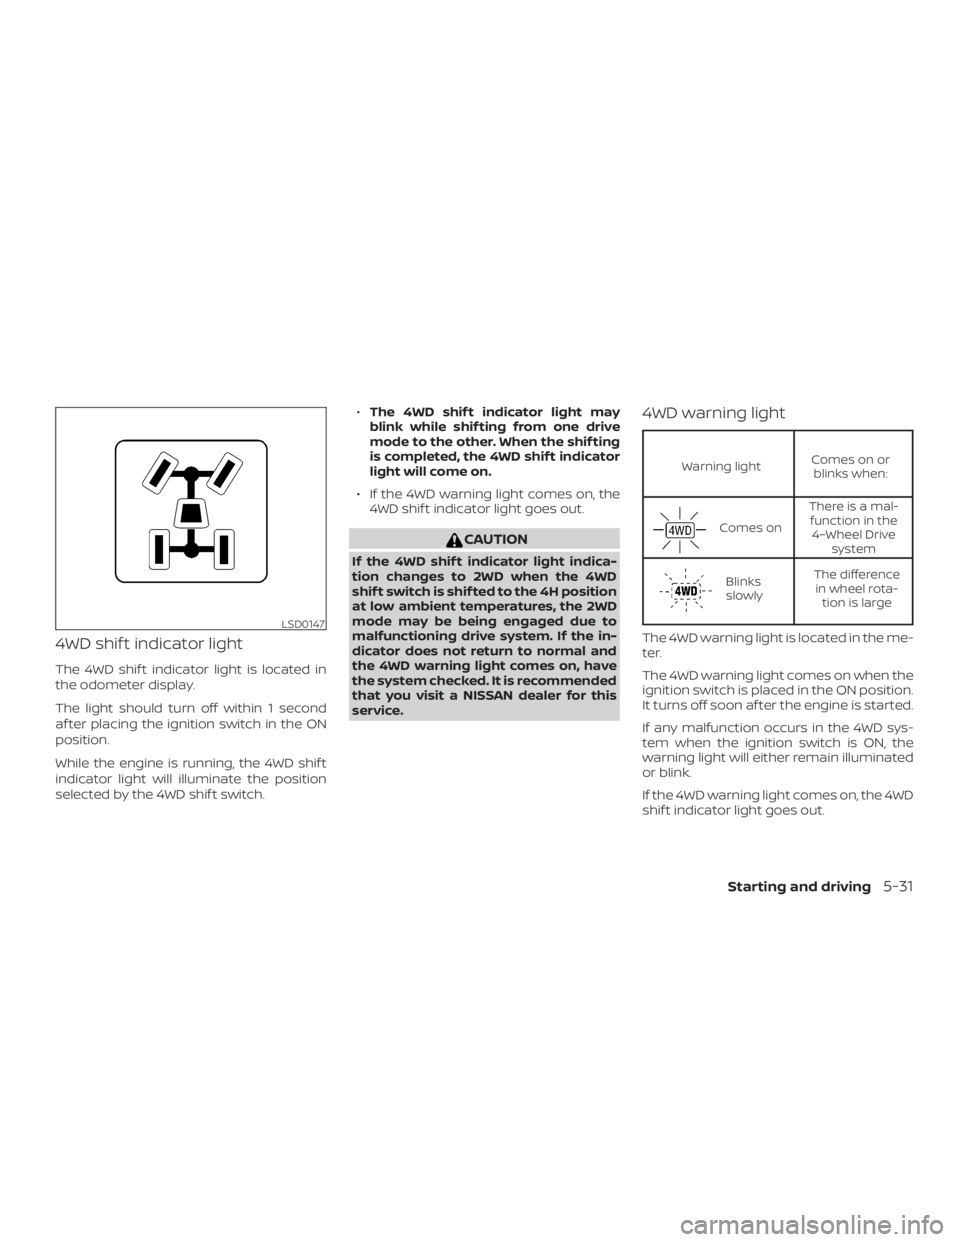
4WD shif t indicator light
The 4WD shif t indicator light is located in
the odometer display.
The light should turn off within 1 second
af ter placing the ignition switch in the ON
position.
While the engine is running, the 4WD shif t
indicator light will illuminate the position
selected by the 4WD shif t switch.∙
The 4WD shif t indicator light may
blink while shif ting from one drive
mode to the other. When the shif ting
is completed, the 4WD shif t indicator
light will come on.
∙ If the 4WD warning light comes on, the 4WD shif t indicator light goes out.
Page 365 of 516

For King Cab® model, lif t up the rear jump
seat and remove net to remove the first aid
kit. For additional information, refer to
“Jump Seat” in the “Safety — Seats, seat
belts and supplemental restraint system”
section of this manual.For Crew Cab model, lif t up the rear bench
seat and remove the net to remove the first
aid kit. For additional information, refer to
“Folding the rear bench seat up” in the
“Safety — Seats, seat belts and supplemen-
tal restraint system” section of this manual.
TIRE PRESSURE MONITORING
SYSTEM (TPMS)
This vehicle is equipped with TPMS. It moni-
tors tire pressure of all tires except the
spare. When the low tire pressure warning
light is lit, and the CHECK TIRE PRES (pres-
sure) warning message is displayed in the
odometer, one or more of your tires is sig-
nificantly under-inflated. If the vehicle is be-
ing driven with low tire pressure, the TPMS
will activate and warn you of it by the low
tire pressure warning light. This system will
activate only when the vehicle is driven at
speeds above 16 mph (25 km/h). For addi-
tional information, refer to “Warning lights,
indicator lights and audible reminders” in
the “Instruments and Controls” section,
and “Tire Pressure Monitoring System
(TPMS)” in the “Starting and driving” section
of this manual.
Page 423 of 516

If you have a flat tire, refer to “Flat tire” in
the “In case of emergency ” section of
this manual.
TIRE PRESSURE
Tire Pressure Monitoring System
(TPMS)
This vehicle is equipped with TPMS. It
monitors tire pressure of all tires ex-
cept the spare. When the low tire
pressure warning light is lit and the
CHECK TIRE PRES (pressure) warning
message is displayed in the odom-
eter, one or more of your tires is sig-
nificantly under-inflated.
TPMS will activate only when the ve-
hicle is driven at speeds above
16 mph (25 km/h). Also, this system
may not detect a sudden drop in tire
pressure (for example, a flat tire while
driving).
For additional information, refer to
“Low tire pressure warning light” in
the “Instruments and controls” sec-
tion, “Tire Pressure Monitoring Sys-
tem (TPMS)” in the “Starting and driv-ing” section, and “Flat tire” in the “In
case of emergency” section of this
manual.
Tire inflation pressure
Check the tire pressures (including
the spare) of ten and always prior to
long distance trips. The recom-
mended tire pressure specifications
are shown on the F.M.V.S.S./C.M.V.S.S.
certification label or the Tire and
Loading Information label under the
“Cold Tire Pressure” heading. The Tire
and Loading Information label is af-
fixed to the driver side center pillar.
Tire pressures should be checked
regularly because:
∙ Most tires naturally lose air over time.
∙ Tires can lose air suddenly when driven over potholes or other ob-
jects or if the vehicle strikes a
curb while parking. The tire pressures should be
checked when the tires are cold. The
tires are considered COLD af ter the
vehicle has been parked for 3 or
more hours, or driven less than 1 mile
(1.6 km) at moderate speeds.
Incorrect tire pressure, including
under inflation, may adversely af-
fect tire life and vehicle handling.
Page 502 of 516

Brakes......................8-22
Brake system..................5-35
Break-in schedule ...............5-24
Brightness/contrast button ......4-9,4-15
Brightness control Instrument panel .............2-32
Bulb check/instrument panel ........2-15
Bulb replacement ...............8-30
C
Capacities and recommended fuel/
lubricants....................10-2
Cargolampswitch..............2-33
Cargo
(See vehicle loading information) .....10-19
Car phone or CB radio ............4-83
CDcareandcleaning.............4-74
CD player (See audio system) ........4-56
Childrestraints........1-25, 1-26, 1-28, 1-30 LATCH (Lower Anchors and Tethers for
CHildren)System..............1-30
Precautions on child
restraints.........1-28, 1-40, 1-56, 1-68
Top tether strap anchor point
locations...................1-33
Child restraint with top tether strap . . . .1-33
Child safety rear door lock ..........3-6
Chimes, audible reminders .........2-24
Cleaningexteriorandinterior......7-2,7-4
Clock set/adjustment ..........4-7,4-13
Clock setting (models with Navigation
System) .....................4-13
Clutch Clutchfluid.................8-14 Clutch interlock (clutch start) switch . . .2-38
C.M.V.S.S. certification label
.........10-16
Cold weather driving .............5-43
Compact disc (CD) player ..........4-56
Compass .....................2-11
Compass and outside temperature
display......................2-10
Compass display ................2-11
Connect phone ................4-76
Console box ..................2-45
Control panel buttons ..........4-4,4-10
Back button .................4-13
Brightness/contrast button ....4-9,4-15
Enterbutton..............4-4,4-10
Settingbutton.............4-7,4-13
Withnavigationsystem.......4-10,4-11
Controls Audio controls (steering wheel) .....4-74
Heater and air conditioner
controls................4-23,4-35
Coolant Capacities and recommended
fuel/lubricants...............10-2
Changing engine coolant .........8-6
Checking engine coolant level ......8-6
Engine coolant temperature gauge . .2-6
Corrosionprotection..............7-8
Cruisecontrol .................5-22
Cupholders ..................2-46
Curtain side-impact and rollover air
bag........................1-87
D
Daytime Running Lights (DRL) system . . .2-31 Defroster switch
Rear window and outside mirror
defrosterswitch..............2-28
Rearwindowdefrosterswitch.....2-28
Dimensions and weights ..........10-14
Dimmer switch for instrument panel . . .2-32
Display controls
(see control panel buttons) .......4-4,4-10
Door locks ....................3-3
Door open warning light ...........2-17
Drivebelt.....................8-17
Driving Coldweatherdriving...........5-43
Driving with automatic
transmission ................5-14
Driving with manual transmission . . .5-19
Precautions when starting and
driving .....................5-2
Driving the vehicle ...............5-14
E
Economy - fuel .................5-25
Electronic locking rear differential (E-Lock)
system......................5-33
Electronic locking rear differential (E-Lock)
systemswitch.................2-37
Emission control information label ....10-17
Emission control system warranty . . . .10-44
Engine Before starting the engine ........5-13
Capacities and recommended
fuel/lubricants...............10-2
Changing engine
coolant.........8-6
Changing engine oil ............8-8
11-2