Page 142 of 516

Push the lever up�4to have one sweep
operation (MIST) of the wiper.
Pull the lever toward you
�5to operate the
washer. The wiper will also operate several
times.
WARNING
In freezing temperatures the washer
solution may freeze on the windshield
and obscure your vision which may lead
to an accident. Warm the windshield
with the defroster before you wash the
windshield.
CAUTION
∙ Do not operate the washer continu- ously for more than 30 seconds.
∙ Do not operate the washer if the res- ervoir tank is empty. To defrost the rear window glass (if so
equipped), place the ignition switch in the
ON or START position and push the rear
window defroster switch on. The rear win-
dow defroster indicator light on the switch
comes on. Push the switch again to turn
the defroster off.
To defrost the outside mirrors (if so
equipped), place the ignition switch in the
ON or START position and push the outside
mirror defroster switch on. The outside
mirror defroster indicator light on the
switch comes on. Push the switch again to
turn the defroster off. The rear window/outside mirror defroster
(if so equipped) automatically turns off af-
ter approximately 15 minutes.
CAUTION
When cleaning the inner side of the rear
window, be careful not to scratch or
damage the rear window defroster.
Type A (if so equipped)
LIC1419
Type B (if so equipped)
LIC3279
REAR WINDOW OR OUTSIDE MIRROR
DEFROSTER SWITCH (if so equipped)
2-28Instruments and controls
Page 163 of 516

Always evenly distribute the cargo on the
tubular roof rack.The maximum total
load is 125 lbs. (56 kg) evenly distributed.
Be careful that your vehicle does not ex-
ceed the Gross Vehicle Weight Rating
(GVWR) or the Gross Axle Weight Ratings
(GAWR front and rear). The GVWR and GAWR
are located on the F.M.V.S.S. label (located
on the driver’s side door jamb pillar). For
additional information, refer to “Vehicle
loading information” in the “Technical and
consumer information” section of this
manual.
The front crossbar can be adjusted or re-
moved. Use the TORX® driver provided in
the tool kit to loosen both crossbar adjust-
ing screws.
To adjust:
1. Loosen the adjusting screws with the TORX® driver
�1by turning counter-
clockwise
�A.
2. When the clamp is loosened, move the crossbar so the cargo can be posi-
tioned on the crossbar
�B.
3. Tighten the crossbar adjusting screws with the TORX® driver by turning clock-
wise.
4. Secure the cargo with rope. 5. Always check the tightness of the
crossbar adjusting screws.
To remove: 1. Loosen the adjusting screws with the TORX® driver
�1by turning counter-
clockwise
�A.
2. Rotate the clamps
�C.
3. Remove the crossbar.
4. Reverse to install.
5. Always check the tightness of the crossbar adjusting screws.
If you hear wind noise coming from the roof
rack while driving, adjust the roof rack
crossbar to the neutral position.
MANUAL WINDOWS (if so
equipped)
The side windows can be opened or closed
by turning the hand crank on each door.
POWER WINDOWS (if so equipped)
WARNING
∙ Make sure that all passengers have their hands, etc., inside the vehicle
while it is in motion and before closing
the windows. Use the window lock
switch to prevent unexpected use of
the power windows.
LIC3352
WINDOWS
Instruments and controls2-49
Page 164 of 516

∙ To help avoid risk of injury or deaththrough unintended operation of the
vehicle and/or its systems, including
entrapment in windows or inadver-
tent door lock activation, do not leave
children, people who require the as-
sistance of others or pets unattended
in your vehicle. Additionally, the tem-
perature inside a closed vehicle on a
warm day can quickly become high
enough to cause a significant risk of
injury or death to people and pets.
The power windows operate when the ig-
nition switch is placed in the ON position or
for a period of time af ter the ignition switch
is placed in the ACC or OFF position. If the
driver’s or passenger’s door is opened dur-
ing this period of time, the power to the
windows is canceled.
1. Window lock button
2. Power door lock switch
3. Front passenger side window switch
4. Right rear passenger window
switch (Crew Cab models only)
5. Lef t rear passenger window switch
(Crew Cab models only)
6. Driver’s side automatic switch
Driver’s side power window
switch
The driver’s side control panel is equipped
with switches to open or close the front
and rear passenger windows.
To open a window, push the switch and
hold it down. To close a window, pull the
switch and hold it up. To stop the opening
or closing function at any time, simply re-
lease the switch.
LIC1329
2-50Instruments and controls
Page 165 of 516
Front passenger’s power window
switch
The passenger’s window switch operates
only the corresponding passenger’s win-
dow. To open the window, push the switch
and hold it down
�1. To close the window,
pull the switch up
�2.
Rear power window switch (Crew
Cab models only)
The rear power window switches open or
close only the corresponding passenger
window. To open the window, push the
switch and hold it down
�1. To close the
window, push the switch up
�2.
Locking passengers’ windows
When the window lock switch is depressed,
only the driver’s side window can be
opened or closed. Push it again to cancel
the window lock function.
Automatic operation
To fully open a window equipped with au-
tomatic operation, push the window
switch down to the second detent and re-
lease it; it need not be held. The window
automatically opens all the way. To stop
the window, lif t the switch up while the win-
dow is opening.
WIC0260LIC2663LIC0410
Instruments and controls2-51
Page 166 of 516

REAR SLIDING WINDOW (if so
equipped)
WARNING
∙ You must ensure all occupants andobjects are free of the rear window
area prior to and during operation.
Failure to do so may result in injury
and/or damage to the rear window
system.
∙ The rear window is not designed to carry long items through it. ∙ Do not place objects through the
opened rear window. Do not use the
rear window as a cargo area pass-
through. This may result in damage to
the rear window system or personal
injury.
Squeeze the handles of the lever
�1, then
slide the window open
�2.
POWER MOONROOF
The moonroof will only operate when the
ignition switch is in the ON position. The
power moonroof is operational for about
45 seconds, even if the ignition switch is
placed in the ACC or OFF position. If the
driver’s door or the front passenger’s door
is opened during this period of about
45 seconds, power to the moonroof is can-
celed.
Sliding the moonroof
To fully open the moonroof, push the
switch toward DOWN/OPEN
�1.
LIC3488WIC0882
MOONROOF (if so equipped)
2-52Instruments and controls
Page 177 of 516

When the doors are locked using one of the
following methods, the doors cannot be
opened using the inside or outside door
handles. The doors must be unlocked to
open the doors.
WARNING
∙ Always have the doors locked whiledriving. Along with the use of seat
belts, this provides greater safety in
the event of an accident by helping to
prevent persons from being thrown
from the vehicle. This also helps keep
children and others from unintention-
ally opening the doors, and will help
keep out intruders.
∙ Before opening any door, always look for and avoid oncoming traffic. ∙ To help avoid risk of injury or death
through unintended operation of the
vehicle and/or its systems, including
entrapment in windows or inadver-
tent door lock activation, do not leave
children, people who require the as-
sistance of others or pets unattended
in your vehicle. Additionally, the tem-
perature inside a closed vehicle on a
warm day can quickly become high
enough to cause a significant risk of
injury or death to people and pets.
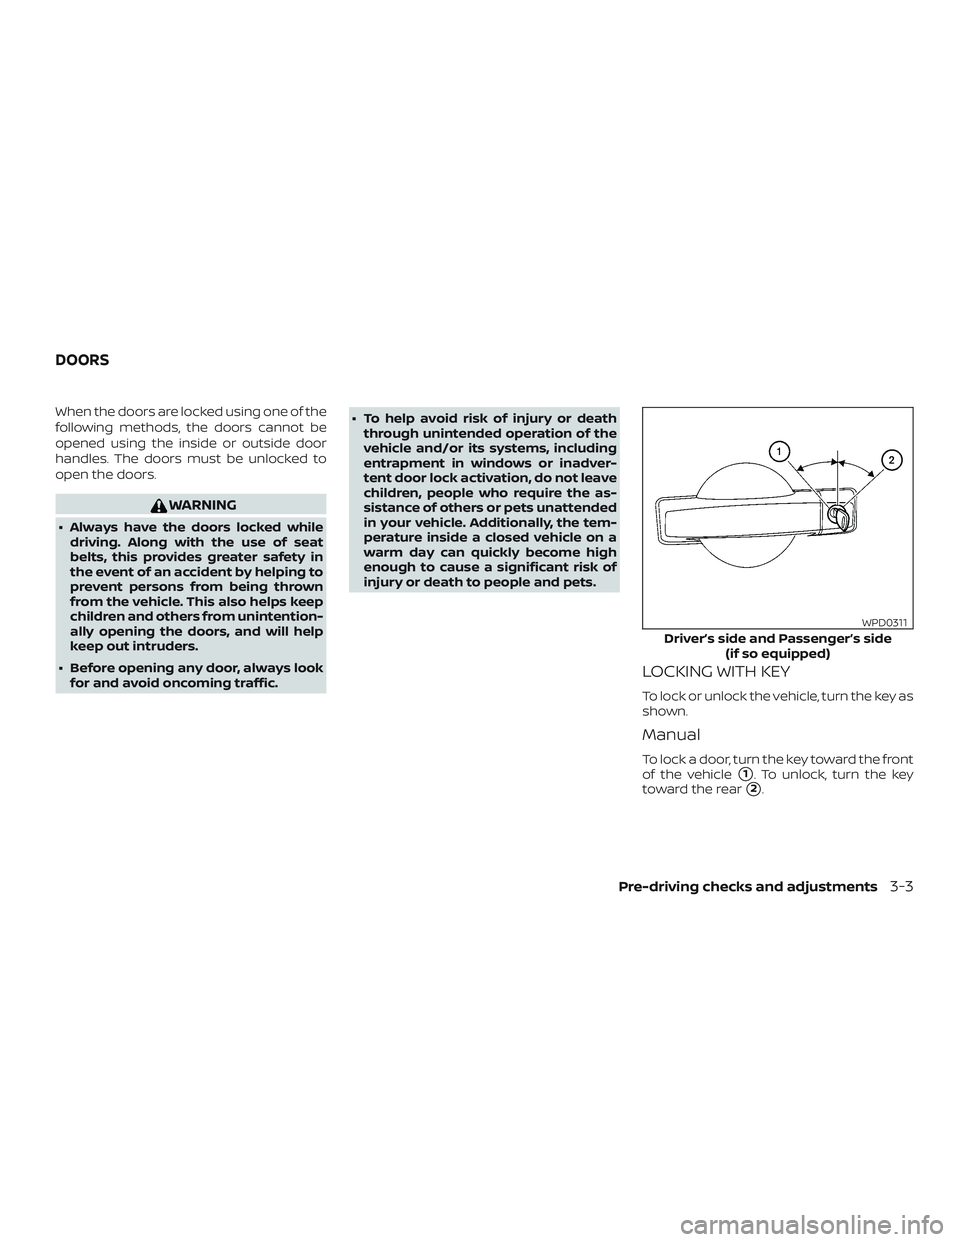
LOCKING WITH KEY
To lock or unlock the vehicle, turn the key as
shown.
Manual
To lock a door, turn the key toward the front
of the vehicle
�1. To unlock, turn the key
toward the rear
�2.
Driver’s side and Passenger’s side (if so equipped)
WPD0311
DOORS
Pre-driving checks and adjustments3-3
Page 181 of 516

As many as five key fobs can be used with
one vehicle. For information concerning
the purchase and use of additional key
fobs, it is recommended that you visit a
NISSAN dealer.
The key fob will not function when:∙ The battery is discharged.
∙ The distance between the vehicle and the key fob is over 33 f t (10 m).
The panic alarm will not activate when
the key is in the ignition switch.
CAUTION
Listed below are conditions or occur-
rences which will damage the key fob:
∙ Do not allow the key fob, which con- tains electrical components, to come
into contact with water or salt water.
This could affect the system function.
∙ Do not drop the key fob.
∙ Do not strike the key fob sharply against another object.
∙ Do not change or modif y the key fob.
∙ Wetting may damage the key fob. If the key fob gets wet, immediately
wipe until it is completely dry. ∙ Do not place the key fob for an ex-
tended period in an area where tem-
peratures exceed 140°F (60°C)
∙ Do not attach the key fob with a key holder that contains a magnet.
∙ Do not place the key fob near equip- ment that produces a magnetic field,
such as a TV, audio equipment and
personal computers.
If a key fob is lost or stolen, NISSAN rec-
ommends erasing the ID code of that
key fob. This will prevent the key fob
from unauthorized use to unlock the
vehicle. For information regarding the
erasing procedure, it is recommended
that you visit a NISSAN dealer.HOW TO USE REMOTE KEYLESS
ENTRY SYSTEM
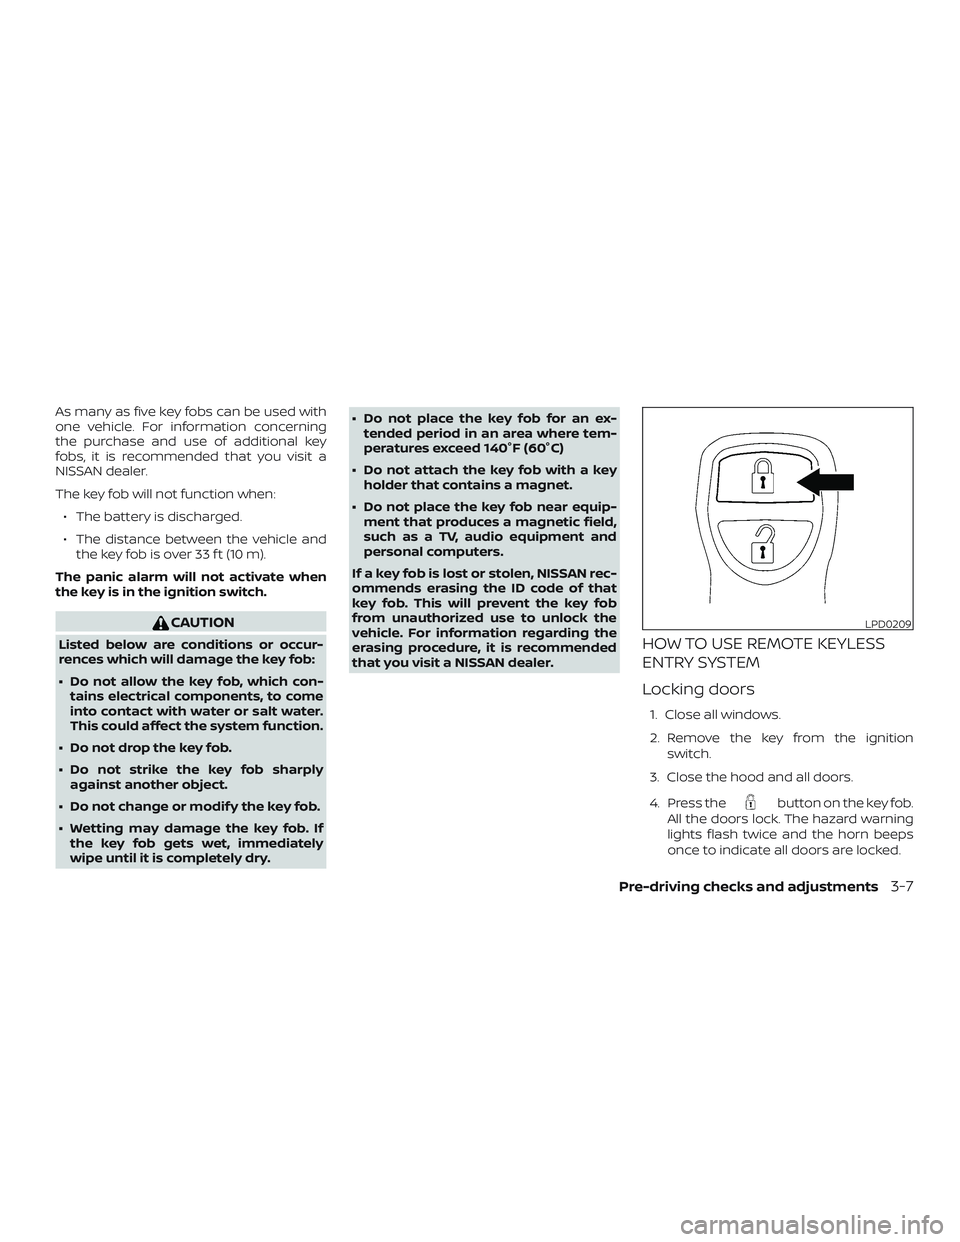
Locking doors
1. Close all windows.
2. Remove the key from the ignition switch.
3. Close the hood and all doors.
4. Press the
button on the key fob.
All the doors lock. The hazard warning
lights flash twice and the horn beeps
once to indicate all doors are locked.
LPD0209
Pre-driving checks and adjustments3-7
Page 183 of 516
Opening automatic windows (if so
equipped)
The key fob allows you to open windows
equipped with automatic operation.∙ To open the windows, press the
button on the key fob for longer than
3 seconds af ter all doors are unlocked.
The door windows will open while pressing
the
button on the key fob.
The door windows cannot be closed by
using the key fob.
Using the panic alarm
If you are near your vehicle and feel threat-
ened, you may activate the panic alarm to
call attention by pressing and holding
the
button on the key fob for longer
than 0.5 seconds.
The panic alarm and headlights will stay on
for a period of time. The panic alarm stops when:
∙ It has run for a period of time.
∙ Any button is pressed on the key fob.
Using the interior lights
Press thebutton on the key fob once
to turn on the interior lights.
For additional information, refer to “Interior
lights” in the “Instruments and controls”
section in this manual.
LPD2497
Pre-driving checks and adjustments3-9