2019 NISSAN ARMADA light
[x] Cancel search: lightPage 110 of 536

2-16Instruments and controls
accident and could result in ser-
ious personal injury. Check the
tire pressure for all four tires.
Adjust the tire pressure to the
recommended COLD tire pressure
shown on the Tire and Loading
Information label to turn the low
tire pressure warning light OFF. If
the light still illuminates while
driving after adjusting the tire
pressure, a tire may be flat or
the TPMS may be malfunctioning.
If you have a flat tire, replace it
with a spare tire as soon as
possible. If no tire is flat and all
tires are properly inflated, it is
recommended you consult a
NISSAN dealer.
. Since the spare tire is not
equipped with the TPMS, when a
spare tire is mounted or a wheel
is replaced, the TPMS will not
function and the low tire pressure
warning light will flash for ap-
proximately 1 minute. The light
will remain on after 1 minute.
Have your tires replaced and/or
TPMS system reset as soon as
possible. It is recommended you
visit a NISSAN dealer for these
services. .
Replacing tires with those not
originally specified by NISSAN
could affect the proper operation
of the TPMS.
CAUTION
.The TPMS is not a substitute for
the regular tire pressure check.
Be sure to check the tire pressure
regularly.
. If the vehicle is being driven at
speeds of less than 16 MPH (25
km/h), the TPMS may not operate
correctly.
. Be sure to install the specified
size of tires to the four wheels
correctly.
Master warning light
When the ignition switch is in the ON
position, the master warning light illumi-
nates if any of the following are displayed
on the vehicle information display:
.No key warning
. Low fuel warning
. Low washer fluid warning .
Parking brake release warning
. Door/liftgate open warning
. Front radar obstruction warning
. Headlight warning
. Loose fuel cap warning
. Check tire pressure warning
. Intelligent Back-up Intervention (I-BI)
not available warning (if so equipped)
. Intelligent Back-up Intervention (I-BI)
malfunction warning (if so equipped)
. Automatic Emergency Braking (AEB)
system warning
. Extended storage fuse warning (if so
equipped)
See “Vehicle information display” (P.2-20).
Seat belt warning light and
chime
The light and chime remind you to fasten
seat belts. The light illuminates whenever
the ignition switch is placed in the ON
position, and will remain illuminated until
the driver’s seat belt is fastened. At the
same time, the chime will sound for about
6 seconds unless the driver’s seat belt is
securely fastened.
The seat belt warning light for the front
passenger will illuminate if the seat belt is
not fastened when the front passenger’s
seat is occupied. For approximately 5
Page 111 of 536
seconds after the ignition switch is placed
in the ON position, the system does not
activate the warning light for the front
passenger.
See “Seat belts” (P.1-20) for precautions on
seat belt usage.
Supplemental air bag warning
light
After placing the ignition switch in the ON
position, the supplemental air bag warn-
ing light will illuminate. The supplemental
air bag warning light will turn off after
about 7 seconds if the air bag and/or
pretensioner systems are operational.
If any of the following conditions occur,
the air bag and/or pretensioner systems
needs servicing.
. The supplemental air bag warning
light remains on after approximately
7 seconds.
. The supplemental air bag warning
light flashes intermittently.
. The supplemental air bag warning
light does not come on at all.
It is recommended you visit a NISSAN
dealer for these services.
Unless checked and repaired, the supple-
mental restraint system (air bag system)
and/or the pretensioners may not func- tion properly.
For additional information, see “Supple-
mental restraint system” (P.1-55).
WARNING
If the supplemental air bag warning
light is on, it could mean that the
front air bag, side air bag, curtain air
bag systems and/or pretensioner
systems will not operate in an acci-
dent. To help avoid injury to yourself
or others, have your vehicle checked.
It is recommended you visit a NISSAN
dealer for this service.
Vehicle Dynamic Control (VDC)
warning light
When the ignition switch is in the ON
position, the Vehicle Dynamic Control
(VDC) warning light illuminates and then
turns off.
The light will blink when the VDC system
or the traction control system is operat-
ing, thus alerting the driver that the
vehicle is nearing its traction limits. The
road surface may be slippery.
When the VDC warning light illuminates
when the VDC system is turned on, this light alerts the driver to the fact that the
VDC system’s fail-safe mode is operating,
for example the VDC or hill start assist
system may not be functioning properly.
Have the system checked. It is recom-
mended you visit a NISSAN dealer for this
service. If a malfunction occurs in the
system, the VDC system function will be
canceled but the vehicle is still driveable.
For additional information, see “Vehicle
Dynamic Control (VDC) system” (P.5-138).
INDICATOR LIGHTS
Automatic Transmission (AT)
position indicator light
When the ignition switch is placed in the
ON position, the indicator shows the shift
lever position.
In the manual shift mode, when the
transmission does not shift to the se-
lected gear due to a transmission protec-
tion mode, the AT position indicator light
will blink and a buzzer will sound.
See “Automatic transmission” (P.5-18) for
further details.
Instruments and controls2-17
Page 112 of 536
2-18Instruments and controls
Intelligent Blind Spot Inter-
vention (I-BSI) ON indicator light
(green; if so equipped)
The light comes on in green when the
Intelligent Blind Spot Intervention (I-BSI)
system is turned on. The light turns off
when the system is turned off.
NOTE:
This light is common with the BSW/I-BSI
system warning light (orange). (See
“Blind Spot Warning (BSW)/Intelligent
Blind Spot Intervention (I-BSI) system
warning light” (P.2-12).)
For more details, see “Intelligent Blind
Spot Intervention (I-BSI)” (P.5-43).
Check suspension indicator
light
When the ignition switch is placed in the
ON position, the light comes on for 2
seconds.
Exterior light indicator
This indicator illuminates when the head-
light switch is turned to the AUTO,orposition and the front parking lights,
instrument panel lights, rear combination
lights, license plate lights or headlights
are on. The indicator turns off when these lights are turned off.
Front fog light indicator light
(if so equipped)
The front fog light indicator light illumi-
nates when the front fog lights are on.
(See “Fog light switch” (P.2-42).)
Front passenger air bag sta-
tus light
The front passenger air bag status light
() located on the instrument panel will
be lit and the passenger front air bag will
be OFF depending on how the front
passenger seat is being used.
For front passenger air bag status light
operation, see “NISSAN Advanced Air Bag
System (front seats)” (P.1-61).
High beam indicator light
This light comes on when the headlight
high beam is on and goes out when the
low beam is selected.
Intelligent Lane Intervention (I-
LI) ON indicator light (green; if so
equipped)
The light comes on in green when the
Intelligent Lane Intervention (I-LI) system
is turned on. The light turns off when the
system is turned off.
NOTE:
This light is common with the Lane
Departure Warning (LDW) indicator light
(orange). (See “Lane Departure Warning
(LDW) indicator light” (P.2-14).)
For more details, see “Lane Departure
Warning (LDW)/Intelligent Lane Interven-
tion (I-LI)” (P.5-23).
Malfunction Indicator Light
(MIL)
If the malfunction indicator light comes
on steady or blinks while the engine is
running, it may indicate a potential emis-
sion control malfunction.
The malfunction indicator light may also
come on steady if the fuel-filler cap is
loose or missing, or if the vehicle runs out
of fuel. Check to make sure the fuel-filler
cap is installed and closed tightly, and
that the vehicle has at least 3 US gallons
(14 liters) of fuel in the fuel tank.
Page 113 of 536
After a few driving trips, thelight
should turn off if no other potential
emission control system malfunction ex-
ists.
If this indicator light remains on for 20
seconds and then blinks for 10 seconds
when the engine is not running, it indi-
cates that the vehicle is not ready for an
emission control system inspection/
maintenance test. (See “Readiness for
Inspection/Maintenance (I/M) test” (P.10-
32).)
Operation:
The malfunction indicator light will come
on in one of two ways:
. Malfunction indicator light on steady
— An emission control system mal-
function has been detected. Check
the fuel-filler cap if the LOOSE FUEL
CAP warning appears in the vehicle
information display. If the fuel-filler
cap is loose or missing, tighten or
install the cap and continue to drive
the vehicle. The
light should turn
off after a few driving trips. If the
light does not turn off after a few
driving trips, have the vehicle in-
spected. It is recommended you visit
a NISSAN dealer for this service. You
do not need to have your vehicle
towed to the dealer. .
Malfunction indicator light blinking —
An engine misfire has been detected
which may damage the emission
control system.
To reduce or avoid emission control
system damage:
1) Do not drive at speeds above 45
MPH (72 km/h).
2) Avoid hard acceleration or decel- eration.
3) Avoid steep uphill grades.
4) If possible, reduce the amount of cargo being hauled or towed.
The malfunction indicator light may
stop blinking and remain on.
Have the vehicle inspected. It is re-
commended you visit a NISSAN dealer
for this service. You do not need to
have your vehicle towed to the dealer.
CAUTION
Continued vehicle operation without
having the emission control system
checked and repaired as necessary
could lead to poor driveability, re-
duced fuel economy, and possible
damage to the emission control sys-
tem.
Security indicator light
The light blinks when the ignition switch
is in the ACC, OFF and LOCK position. This
function indicates the security system
equipped on the vehicle is operational.
If the security system is malfunctioning,
this light will remain on while the ignition
switch is in the ON position. For additional
information, see “Security systems” (P.2-
30).
SNOW mode indicator light
When selecting SNOW mode while the
engine is running, this light will illuminate.
(See “SNOW mode” (P.5-132).)
TOW mode indicator light
This light will illuminate when the TOW
MODE is selected while the engine is
running. (See “TOW mode” (P.5-131).)
Turn signal/hazard indicator
lights
The light flashes when the turn signal
switch lever or hazard switch is turned on.
Instruments and controls2-19
Page 114 of 536
2-20Instruments and controls
Vehicle Dynamic Control (VDC)
off indicator light
When the ignition switch is in the ON
position, the Vehicle Dynamic Control
(VDC) off indicator light illuminates and
then turns off.
The light comes on when the VDC off
switch is pushed to OFF. This indicates
that the VDC system is not operating.
When the 4L position is selected with the
Four-Wheel Drive (4WD) shift switch, the
VDC system is disabled and the VDC off
indicator light illuminates. (4WD models)
For additional information, see “Vehicle
Dynamic Control (VDC) system” (P.5-138).
AUDIBLE REMINDERS
Key reminder chime
A chime will sound if the driver side door
is opened while the ignition switch is
placed in the ACC position. Make sure
the ignition switch is placed in the OFF
position, and take the Intelligent Key with
you when leaving the vehicle.
Light reminder chime
A chime will sound when the driver side
door is opened with the light switch in the
orposition and the ignition
switch in the ACC, OFF or LOCK position.
Turn the light switch off when you leave
the vehicle.
Parking brake reminder chime
The chime will sound if the vehicle is
driven at more than 4 MPH (7 km/h) with
the parking brake applied. Stop the vehi-
cle and release the parking brake.
Brake pad wear warning
The disc brake pads have audible wear
warnings. When a brake pad requires
replacement, it will make a high pitched
scraping sound when the vehicle is in
motion. This scraping sound will first
occur only when the brake pedal is
depressed. After more wear of the brake
pad, the sound will always be heard even
if the brake pedal is not depressed. Have
the brakes checked as soon as possible if
the warning sound is heard.
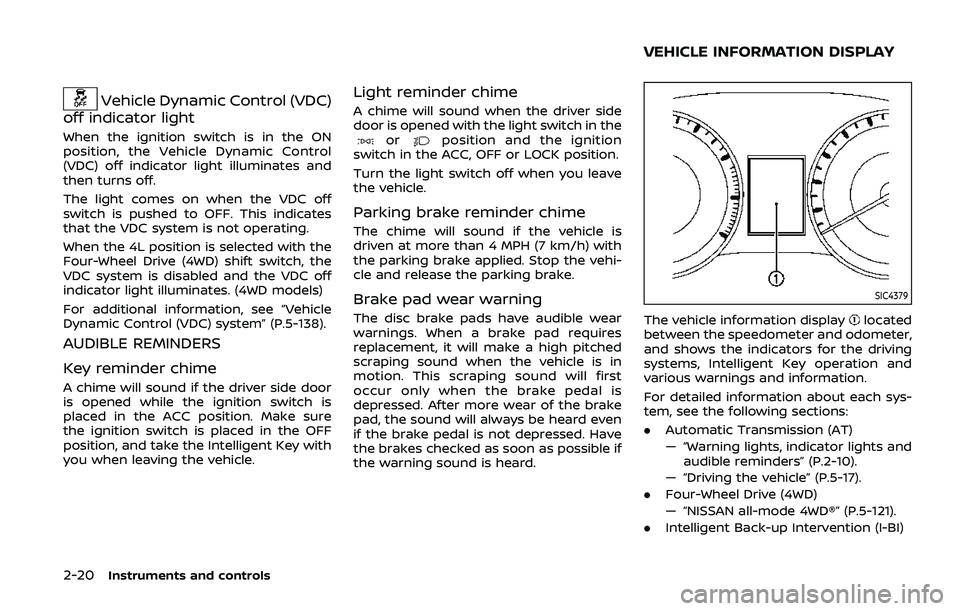
SIC4379
The vehicle information displaylocated
between the speedometer and odometer,
and shows the indicators for the driving
systems, Intelligent Key operation and
various warnings and information.
For detailed information about each sys-
tem, see the following sections:
. Automatic Transmission (AT)
— “Warning lights, indicator lights and
audible reminders” (P.2-10).
— “Driving the vehicle” (P.5-17).
. Four-Wheel Drive (4WD)
— “NISSAN all-mode 4WD®” (P.5-121).
. Intelligent Back-up Intervention (I-BI)
VEHICLE INFORMATION DISPLAY
Page 118 of 536
2-24Instruments and controls
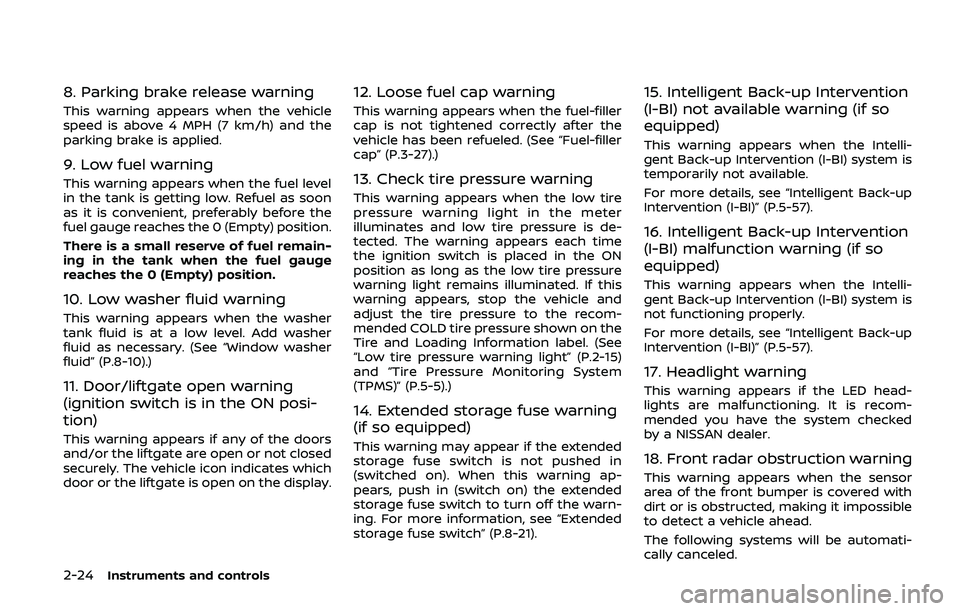
8. Parking brake release warning
This warning appears when the vehicle
speed is above 4 MPH (7 km/h) and the
parking brake is applied.
9. Low fuel warning
This warning appears when the fuel level
in the tank is getting low. Refuel as soon
as it is convenient, preferably before the
fuel gauge reaches the 0 (Empty) position.
There is a small reserve of fuel remain-
ing in the tank when the fuel gauge
reaches the 0 (Empty) position.
10. Low washer fluid warning
This warning appears when the washer
tank fluid is at a low level. Add washer
fluid as necessary. (See “Window washer
fluid” (P.8-10).)
11. Door/liftgate open warning
(ignition switch is in the ON posi-
tion)
This warning appears if any of the doors
and/or the liftgate are open or not closed
securely. The vehicle icon indicates which
door or the liftgate is open on the display.
12. Loose fuel cap warning
This warning appears when the fuel-filler
cap is not tightened correctly after the
vehicle has been refueled. (See “Fuel-filler
cap” (P.3-27).)
13. Check tire pressure warning
This warning appears when the low tire
pressure warning light in the meter
illuminates and low tire pressure is de-
tected. The warning appears each time
the ignition switch is placed in the ON
position as long as the low tire pressure
warning light remains illuminated. If this
warning appears, stop the vehicle and
adjust the tire pressure to the recom-
mended COLD tire pressure shown on the
Tire and Loading Information label. (See
“Low tire pressure warning light” (P.2-15)
and “Tire Pressure Monitoring System
(TPMS)” (P.5-5).)
14. Extended storage fuse warning
(if so equipped)
This warning may appear if the extended
storage fuse switch is not pushed in
(switched on). When this warning ap-
pears, push in (switch on) the extended
storage fuse switch to turn off the warn-
ing. For more information, see “Extended
storage fuse switch” (P.8-21).
15. Intelligent Back-up Intervention
(I-BI) not available warning (if so
equipped)
This warning appears when the Intelli-
gent Back-up Intervention (I-BI) system is
temporarily not available.
For more details, see “Intelligent Back-up
Intervention (I-BI)” (P.5-57).
16. Intelligent Back-up Intervention
(I-BI) malfunction warning (if so
equipped)
This warning appears when the Intelli-
gent Back-up Intervention (I-BI) system is
not functioning properly.
For more details, see “Intelligent Back-up
Intervention (I-BI)” (P.5-57).
17. Headlight warning
This warning appears if the LED head-
lights are malfunctioning. It is recom-
mended you have the system checked
by a NISSAN dealer.
18. Front radar obstruction warning
This warning appears when the sensor
area of the front bumper is covered with
dirt or is obstructed, making it impossible
to detect a vehicle ahead.
The following systems will be automati-
cally canceled.
Page 124 of 536
2-30Instruments and controls
.UNIT
Select this submenu to choose the
unit.
. EFFECTS
Select this submenu to turn on and off
the needle sweep function when
starting the engine.
7. Warning check
SKIP:
Push the
switchto move to the
warning check mode.
Push the
switchto select other
menus.
DETAIL:
This item is available only when a warning
is displayed.
Select this menu to see the details of
warnings.SIC2133
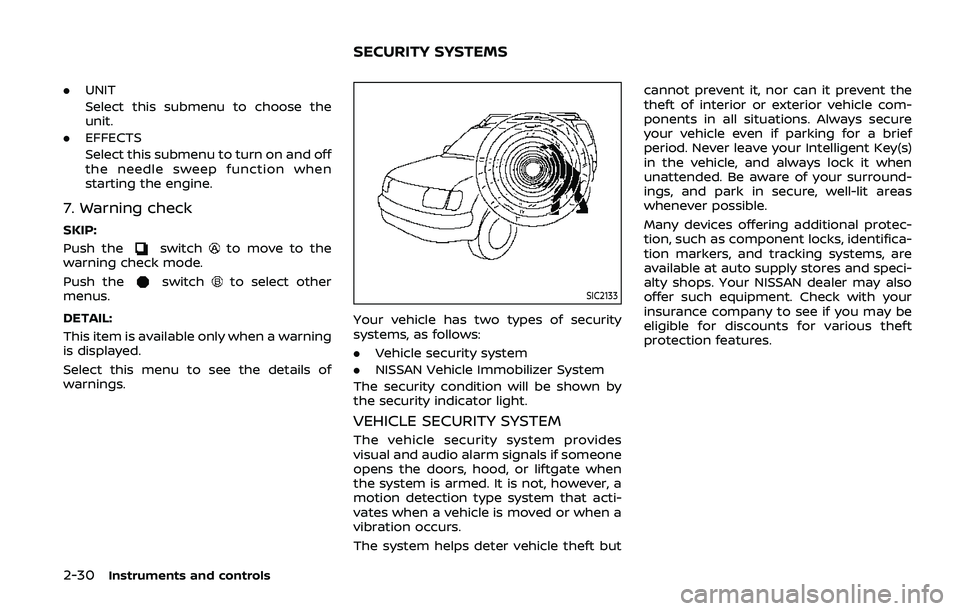
Your vehicle has two types of security
systems, as follows:
. Vehicle security system
. NISSAN Vehicle Immobilizer System
The security condition will be shown by
the security indicator light.
VEHICLE SECURITY SYSTEM
The vehicle security system provides
visual and audio alarm signals if someone
opens the doors, hood, or liftgate when
the system is armed. It is not, however, a
motion detection type system that acti-
vates when a vehicle is moved or when a
vibration occurs.
The system helps deter vehicle theft but cannot prevent it, nor can it prevent the
theft of interior or exterior vehicle com-
ponents in all situations. Always secure
your vehicle even if parking for a brief
period. Never leave your Intelligent Key(s)
in the vehicle, and always lock it when
unattended. Be aware of your surround-
ings, and park in secure, well-lit areas
whenever possible.
Many devices offering additional protec-
tion, such as component locks, identifica-
tion markers, and tracking systems, are
available at auto supply stores and speci-
alty shops. Your NISSAN dealer may also
offer such equipment. Check with your
insurance company to see if you may be
eligible for discounts for various theft
protection features.
SECURITY SYSTEMS
Page 125 of 536
SIC2045
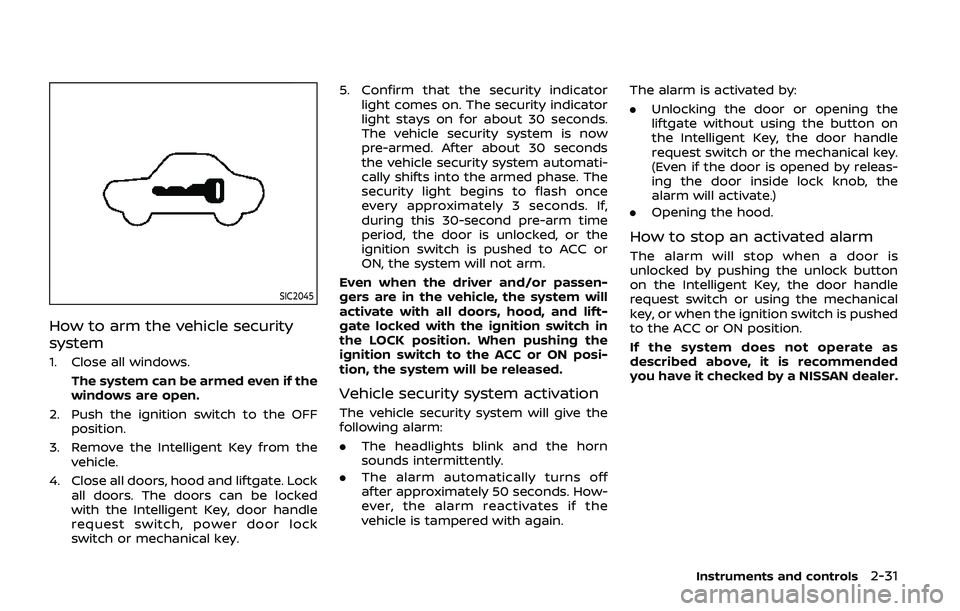
How to arm the vehicle security
system
1. Close all windows.The system can be armed even if the
windows are open.
2. Push the ignition switch to the OFF position.
3. Remove the Intelligent Key from the vehicle.
4. Close all doors, hood and liftgate. Lock all doors. The doors can be locked
with the Intelligent Key, door handle
request switch, power door lock
switch or mechanical key. 5. Confirm that the security indicator
light comes on. The security indicator
light stays on for about 30 seconds.
The vehicle security system is now
pre-armed. After about 30 seconds
the vehicle security system automati-
cally shifts into the armed phase. The
security light begins to flash once
every approximately 3 seconds. If,
during this 30-second pre-arm time
period, the door is unlocked, or the
ignition switch is pushed to ACC or
ON, the system will not arm.
Even when the driver and/or passen-
gers are in the vehicle, the system will
activate with all doors, hood, and lift-
gate locked with the ignition switch in
the LOCK position. When pushing the
ignition switch to the ACC or ON posi-
tion, the system will be released.
Vehicle security system activation
The vehicle security system will give the
following alarm:
. The headlights blink and the horn
sounds intermittently.
. The alarm automatically turns off
after approximately 50 seconds. How-
ever, the alarm reactivates if the
vehicle is tampered with again. The alarm is activated by:
.
Unlocking the door or opening the
liftgate without using the button on
the Intelligent Key, the door handle
request switch or the mechanical key.
(Even if the door is opened by releas-
ing the door inside lock knob, the
alarm will activate.)
. Opening the hood.
How to stop an activated alarm
The alarm will stop when a door is
unlocked by pushing the unlock button
on the Intelligent Key, the door handle
request switch or using the mechanical
key, or when the ignition switch is pushed
to the ACC or ON position.
If the system does not operate as
described above, it is recommended
you have it checked by a NISSAN dealer.
Instruments and controls2-31