2019 MERCEDES-BENZ SLC clock
[x] Cancel search: clockPage 244 of 306
GWARNING
If engine oil comes into contact with hot
components in the engine compartment, it
may ignite. There is a risk of fire and injury.
Make sure that engine oil is not spilled next
to the filler neck. Let the engine cool down
and thoroughly clean the engine oil off the
components before starting the engine.
HEnvironmental note
When adding oil, take care not to spill any. If
oil enters the soil or waterways, it is harmful
to the environment.
!Use only engine oils and oil filters that areapproved for vehicles with a service system.A list of the engine oils and oil filters thathave been tested and approved in accord-ance with Mercedes-Benz Specifications forService Products is available at any author-ized Mercedes-Benz Center.
The following cause engine failure or dam-age to the exhaust system:
RUse of engine oils and oil filters that havenot been expressly approved for the ser-vice system
RReplacement of engine oil and oil filterafter the replacement interval specifiedby the service system has expired
RUse of engine oil additives
!Do not add too much oil. If the oil level isabove the "max" mark on the dipstick, toomuch oil has been added. This can lead todamage to the engine or the catalytic con-verter. Have excess oil siphoned off.
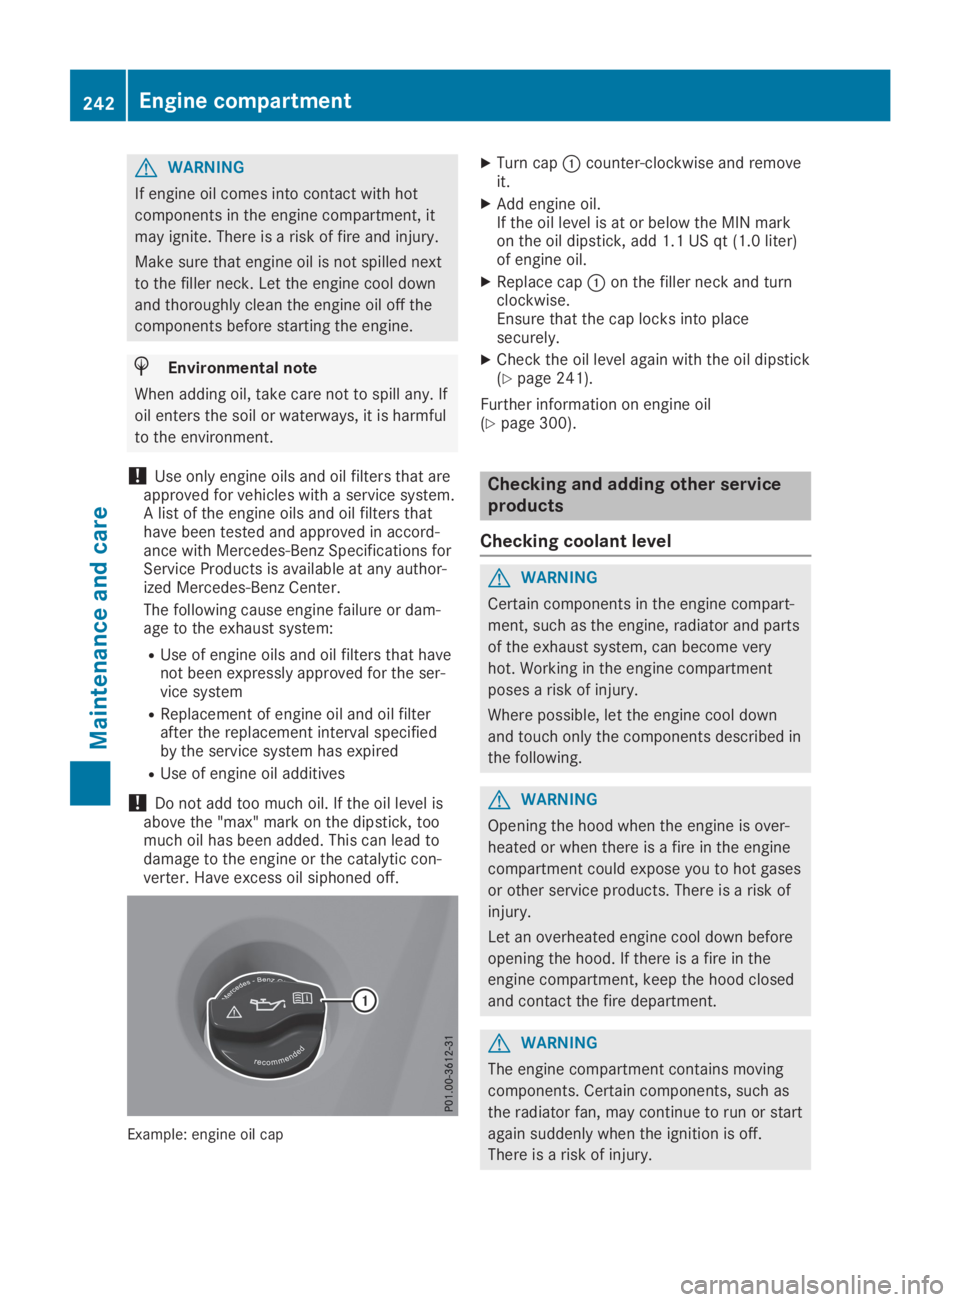
Example: engine oil cap
XTurn cap�Ccounter-clockwise and removeit.
XAdd engine oil.If the oil level is at or below the MIN markon the oil dipstick, add 1.1 US qt (1.0 liter)of engine oil.
XReplace cap�Con the filler neck and turnclockwise.Ensure that the cap locks into placesecurely.
XCheck the oil level again with the oil dipstick(Ypage 241).
Further information on engine oil(Ypage 300).
Checking and adding other service
products
Checking coolant level
GWARNING
Certain components in the engine compart-
ment, such as the engine, radiator and parts
of the exhaust system, can become very
hot. Working in the engine compartment
poses a risk of injury.
Where possible, let the engine cool down
and touch only the components described in
the following.
GWARNING
Opening the hood when the engine is over-
heated or when there is a fire in the engine
compartment could expose you to hot gases
or other service products. There is a risk of
injury.
Let an overheated engine cool down before
opening the hood. If there is a fire in the
engine compartment, keep the hood closed
and contact the fire department.
GWARNING
The engine compartment contains moving
components. Certain components, such as
the radiator fan, may continue to run or start
again suddenly when the ignition is off.
There is a risk of injury.
242Engine compartment
Maintenance and care
Page 261 of 306
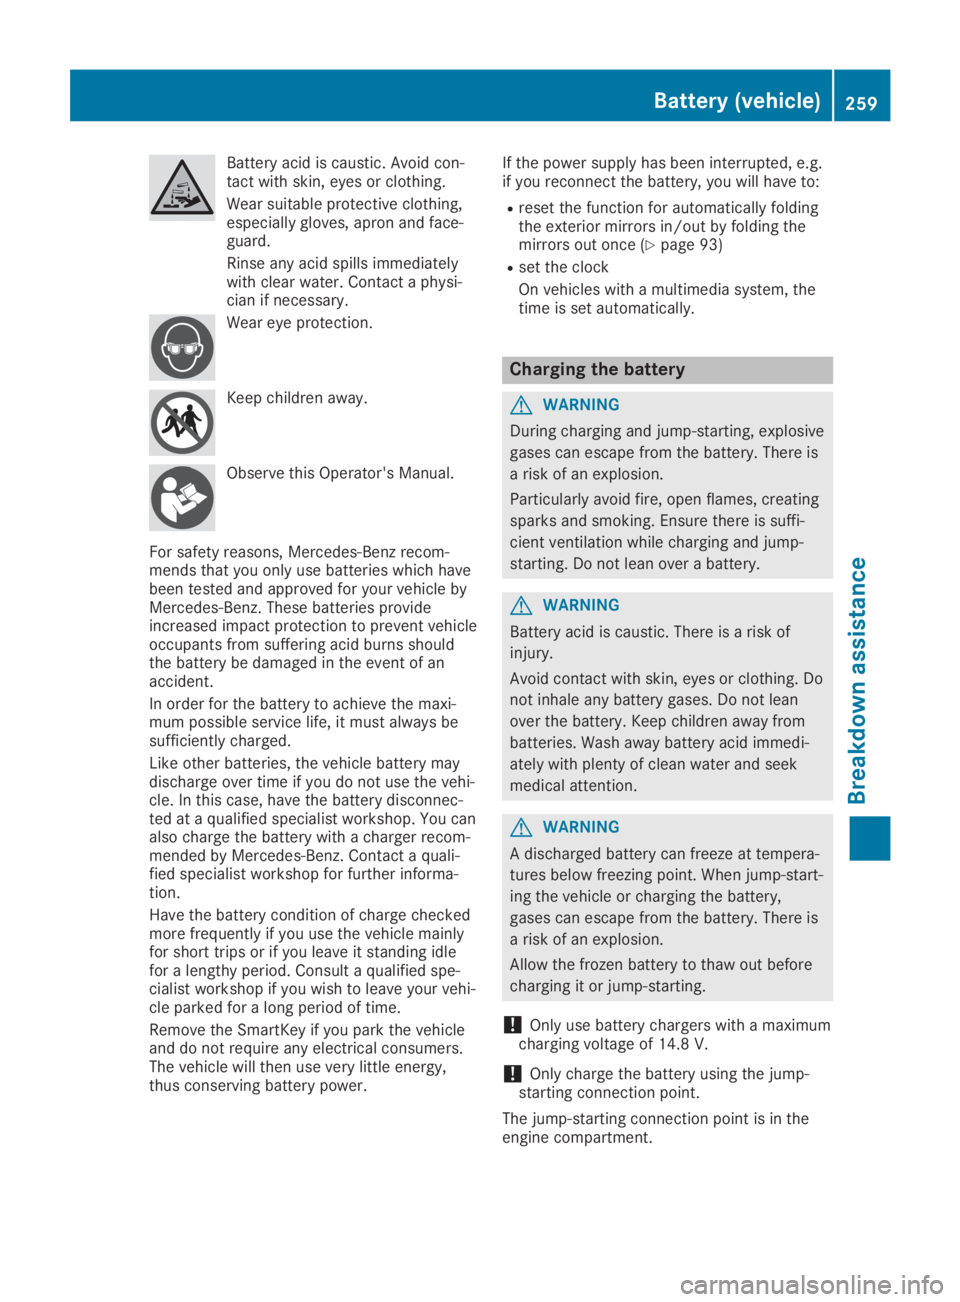
Battery acid is caustic. Avoid con-tact with skin, eyes or clothing.
Wear suitable protective clothing,especially gloves, apron and face-guard.
Rinse any acid spills immediatelywith clear water. Contact a physi-cian if necessary.
Wear eye protection.
Keep children away.
Observe this Operator's Manual.
For safety reasons, Mercedes-Benz recom-mends that you only use batteries which havebeen tested and approved for your vehicle byMercedes-Benz. These batteries provideincreased impact protection to prevent vehicleoccupants from suffering acid burns shouldthe battery be damaged in the event of anaccident.
In order for the battery to achieve the maxi-mum possible service life, it must always besufficiently charged.
Like other batteries, the vehicle battery maydischarge over time if you do not use the vehi-cle. In this case, have the battery disconnec-ted at a qualified specialist workshop. You canalso charge the battery with a charger recom-mended by Mercedes-Benz. Contact a quali-fied specialist workshop for further informa-tion.
Have the battery condition of charge checkedmore frequently if you use the vehicle mainlyfor short trips or if you leave it standing idlefor a lengthy period. Consult a qualified spe-cialist workshop if you wish to leave your vehi-cle parked for a long period of time.
Remove the SmartKey if you park the vehicleand do not require any electrical consumers.The vehicle will then use very little energy,thus conserving battery power.
If the power supply has been interrupted, e.g.if you reconnect the battery, you will have to:
Rreset the function for automatically foldingthe exterior mirrors in/out by folding themirrors out once (Ypage 93)
Rset the clock
On vehicles with a multimedia system, thetime is set automatically.
Charging the battery
GWARNING
During charging and jump-starting, explosive
gases can escape from the battery. There is
a risk of an explosion.
Particularly avoid fire, open flames, creating
sparks and smoking. Ensure there is suffi-
cient ventilation while charging and jump-
starting. Do not lean over a battery.
GWARNING
Battery acid is caustic. There is a risk of
injury.
Avoid contact with skin, eyes or clothing. Do
not inhale any battery gases. Do not lean
over the battery. Keep children away from
batteries. Wash away battery acid immedi-
ately with plenty of clean water and seek
medical attention.
GWARNING
A discharged battery can freeze at tempera-
tures below freezing point. When jump-start-
ing the vehicle or charging the battery,
gases can escape from the battery. There is
a risk of an explosion.
Allow the frozen battery to thaw out before
charging it or jump-starting.
!Only use battery chargers with a maximumcharging voltage of 14.8V.
!Onlycharge the battery using the jump-starting connection point.
The jump-starting connection point is in theengine compartment.
Battery (vehicle)259
Breakdown assistance
Z
Page 266 of 306
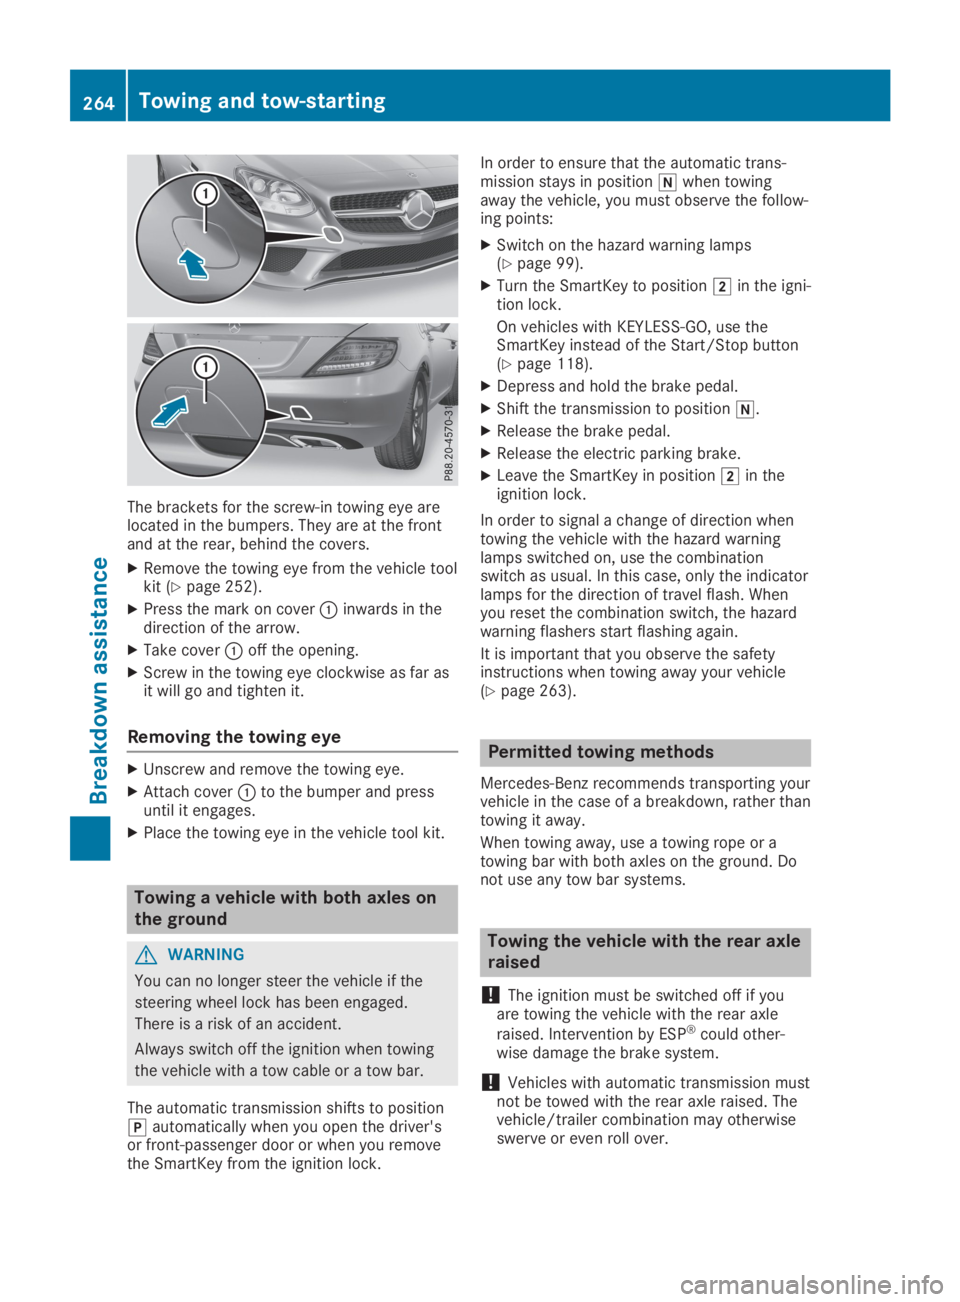
The brackets for the screw-in towing eye arelocated in the bumpers. They are at the frontand at the rear, behind the covers.
XRemove the towing eye from the vehicle toolkit (Ypage 252).
XPress the mark on cover�Cinwards in thedirection of the arrow.
XTake cover�Coff the opening.
XScrew in the towing eye clockwise as far asit will go and tighten it.
Removing the towing eye
XUnscrew and remove the towing eye.
XAttach cover�Cto the bumper and pressuntil it engages.
XPlace the towing eye in the vehicle tool kit.
Towing a vehicle with both axles on
the ground
GWARNING
You can no longer steer the vehicle if the
steering wheel lock has been engaged.
There is a risk of an accident.
Always switch off the ignition when towing
the vehicle with a tow cable or a tow bar.
The automatic transmission shifts to position�]automatically when you open the driver'sor front-passenger door or when you removethe SmartKey from the ignition lock.
In order to ensure that the automatic trans-mission stays in position�\\when towingaway the vehicle, you must observe the follow-ing points:
XSwitch on the hazard warning lamps(Ypage 99).
XTurn the SmartKey to position�Hin the igni-tion lock.
On vehicles with KEYLESS-GO, use theSmartKey instead of the Start/Stop button(Ypage 118).
XDepress and hold the brake pedal.
XShift the transmission to position�\\.
XRelease the brake pedal.
XRelease the electric parking brake.
XLeave the SmartKey in position�Hin theignition lock.
In order to signal a change of direction whentowing the vehicle with the hazard warninglamps switched on, use the combinationswitch as usual. In this case, only the indicatorlamps for the direction of travel flash. Whenyou reset the combination switch, the hazardwarning flashers start flashing again.
It is important that you observe the safetyinstructions when towing away your vehicle(Ypage 263).
Permitted towing methods
Mercedes-Benz recommends transporting yourvehicle in the case of a breakdown, rather thantowing it away.
When towing away, use a towing rope or atowing bar with both axles on the ground. Donot use any tow bar systems.
Towing the vehicle with the rear axle
raised
!The ignition must be switched off if youare towing the vehicle with the rear axle
raised. Intervention by ESP®could other-wise damage the brake system.
!Vehicles with automatic transmission mustnot be towed with the rear axle raised. Thevehicle/trailer combination may otherwiseswerve or even roll over.
264Towing and tow-starting
Breakdown assistance
Page 294 of 306
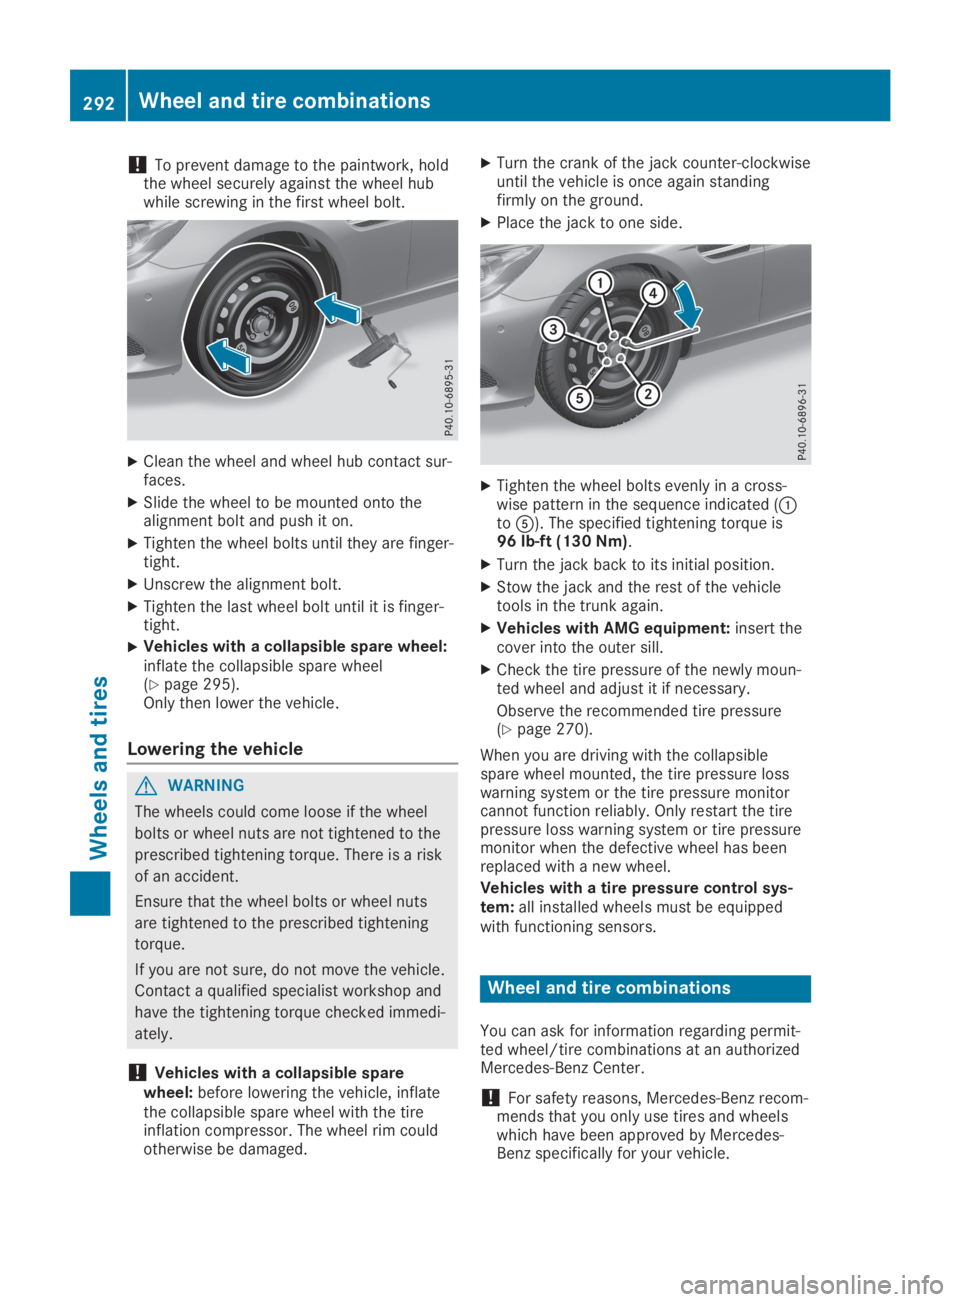
!To prevent damage to the paintwork, holdthe wheel securely against the wheel hubwhile screwing in the first wheel bolt.
XClean the wheel and wheel hub contact sur-faces.
XSlide the wheel to be mounted onto thealignment bolt and push it on.
XTighten the wheel bolts until they are finger-tight.
XUnscrew the alignment bolt.
XTighten the last wheel bolt until it is finger-tight.
XVehicles with a collapsible spare wheel:inflate the collapsible spare wheel(Ypage 295).Only then lower the vehicle.
Lowering the vehicle
GWARNING
The wheels could come loose if the wheel
bolts or wheel nuts are not tightened to the
prescribed tightening torque. There is a risk
of an accident.
Ensure that the wheel bolts or wheel nuts
are tightened to the prescribed tightening
torque.
If you are not sure, do not move the vehicle.
Contact a qualified specialist workshop and
have the tightening torque checked immedi-
ately.
!Vehicles with a collapsible sparewheel:before lowering the vehicle, inflatethe collapsible spare wheel with the tireinflation compressor. The wheel rim couldotherwise be damaged.
XTurn the crank of the jack counter-clockwiseuntil the vehicle is once again standingfirmly on the ground.
XPlace the jack to one side.
XTighten the wheel bolts evenly in a cross-wise pattern in the sequence indicated (�Cto�
Page 296 of 306
When using an emergency spare wheel orspare wheel of a different size, you must notexceed the maximum speed of 50 mph(80 km/h).
Snow chains must not be mounted on emer-gency spare wheels.
General notes
You can ask for information regarding permit-ted emergency spare wheels at an authorizedMercedes-Benz Center.
You should regularly check the pressure of theemergency spare wheel, particularly prior tolong trips, and correct the pressure as neces-sary (Ypage 270). The value on the wheel isvalid.
An emergency spare wheel may also be moun-ted against the direction of rotation. Observethe time restriction on use as well as thespeed limitation specified on the emergencyspare wheel.
Replace the tires after six years at the latest,regardless of wear. This also applies to theemergency spare wheel.
When you are driving with the collapsiblespare wheel mounted, the tire pressure losswarning system or the tire pressure monitorcannot function reliably. Only restart the tirepressure loss warning system or tire pressuremonitor when the defective wheel has beenreplaced with a new wheel.
Vehicles with tire pressure monitor:aftermounting an emergency spare wheel, the sys-tem may still display the tire pressure of theremoved wheel for a few minutes. The valuedisplayed for the mounted emergency sparewheel is not the same as the current tire pres-sure of the emergency spare wheel.
Removing the emergency spare
wheel
Vehicles with a collapsible spare
wheel
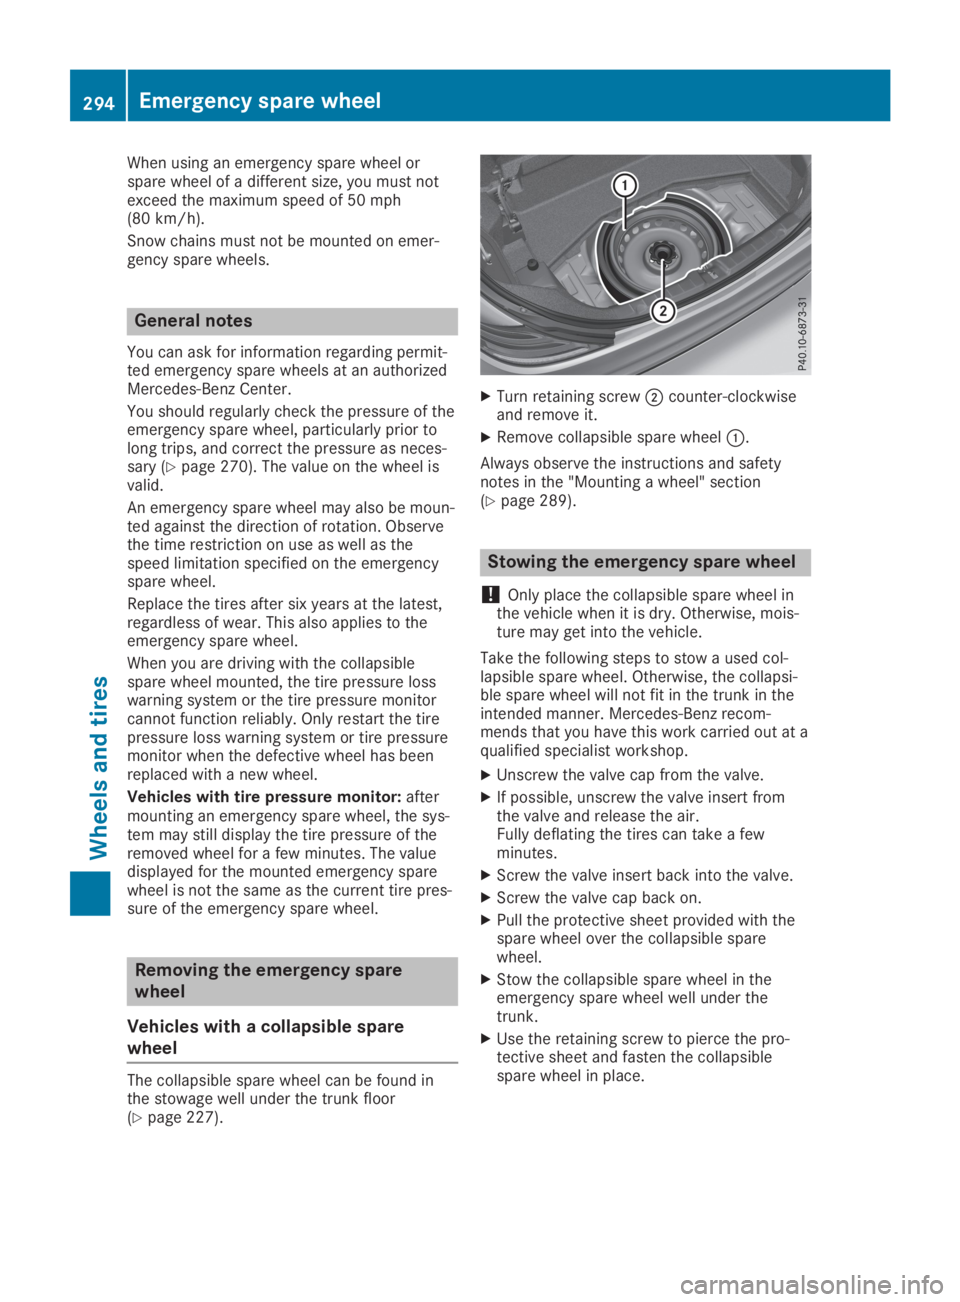
The collapsible spare wheel can be found inthe stowage well under the trunk floor(Ypage 227).
XTurn retaining screw�Dcounter-clockwiseand remove it.
XRemove collapsible spare wheel�C.
Always observe the instructions and safetynotes in the "Mounting a wheel" section(Ypage 289).
Stowing the emergency spare wheel
!Only place the collapsible spare wheel inthe vehicle when it is dry. Otherwise, mois-ture may get into the vehicle.
Take the following steps to stow a used col-lapsible spare wheel. Otherwise, the collapsi-ble spare wheel will not fit in the trunk in theintended manner. Mercedes-Benz recom-mends that you have this work carried out at aqualified specialist workshop.
XUnscrew the valve cap from the valve.
XIf possible, unscrew the valve insert fromthe valve and release the air.Fully deflating the tires can take a fewminutes.
XScrew the valve insert back into the valve.
XScrew the valve cap back on.
XPull the protective sheet provided with thespare wheel over the collapsible sparewheel.
XStow the collapsible spare wheel in theemergency spare wheel well under thetrunk.
XUse the retaining screw to pierce the pro-tective sheet and fasten the collapsiblespare wheel in place.
294Emergency spare wheel
Wheels and tires