2019 MERCEDES-BENZ GLS SUV air condition
[x] Cancel search: air conditionPage 327 of 398
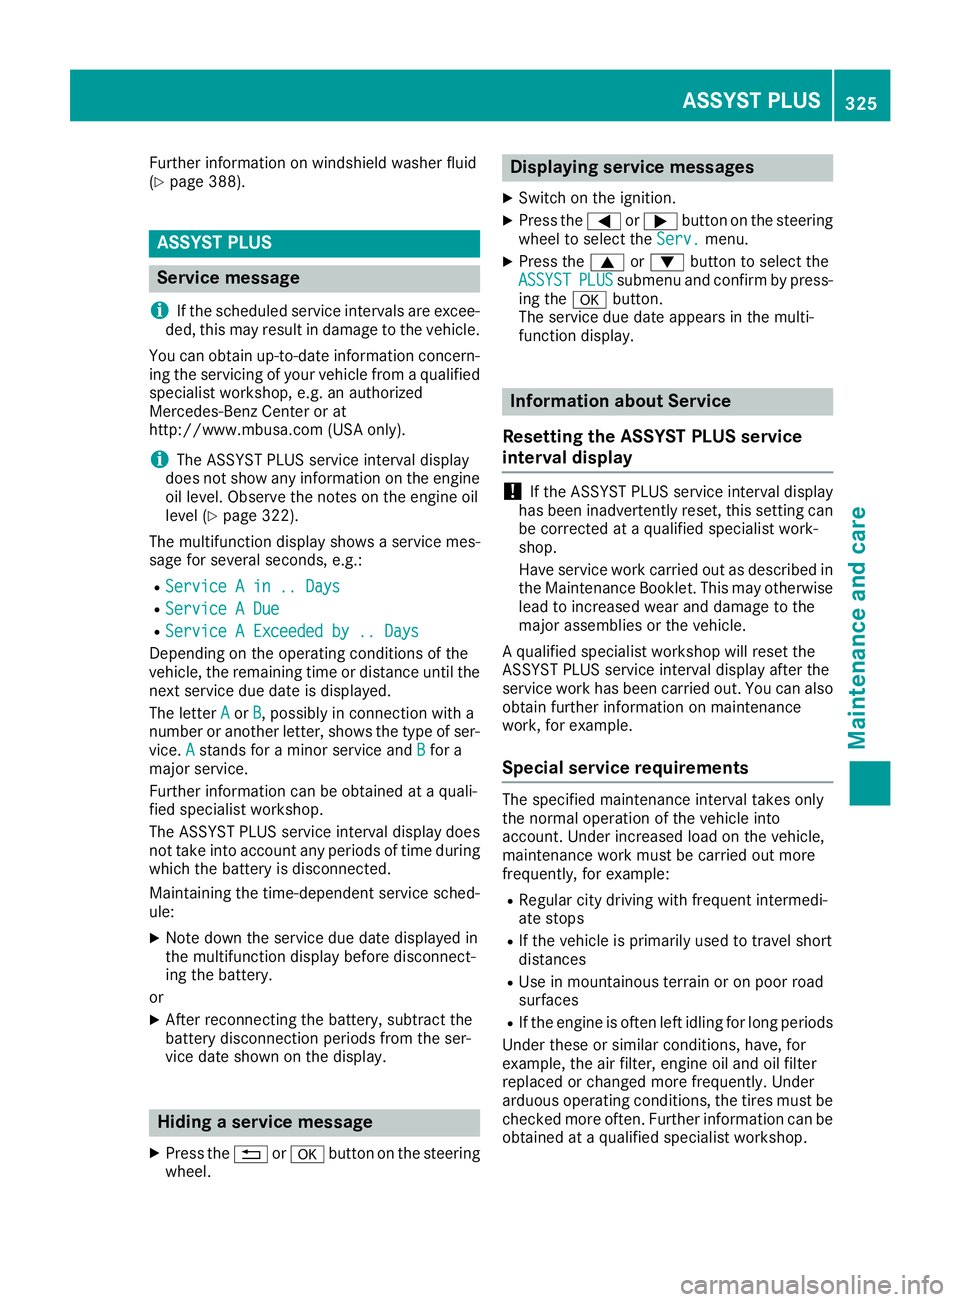
Further information on windshield washer fluid
(Y page 388). ASSYST PLUS
Service message
i If the scheduled service intervals are excee-
ded, this may result in damage to the vehicle.
You can obtain up-to-date information concern-
ing the servicing of your vehicle from a qualified specialist workshop, e.g. an authorized
Mercedes-Benz Center or at
http://www.mbusa.com (USA only).
i The ASSYST PLUS service interval display
does not show any information on the engine
oil level. Observe the notes on the engine oil
level (Y page 322).
The multifunction display shows a service mes-
sage for several seconds, e.g.:
R Service A in .. Days Service A in .. Days
R Service A Due
Service A Due
R Service A Exceeded by .. Days
Service A Exceeded by .. Days
Depending on the operating conditions of the
vehicle, the remaining time or distance until the next service due date is displayed.
The letter A
A or B B, possibly in connection with a
number or another letter, shows the type of ser-
vice. A
A stands for a minor service and B
Bfor a
major service.
Further information can be obtained at a quali-
fied specialist workshop.
The ASSYST PLUS service interval display does
not take into account any periods of time during
which the battery is disconnected.
Maintaining the time-dependent service sched-
ule:
X Note down the service due date displayed in
the multifunction display before disconnect-
ing the battery.
or
X After reconnecting the battery, subtract the
battery disconnection periods from the ser-
vice date shown on the display. Hiding a service message
X Press the 0038or0076 button on the steering
wheel. Displaying service messages
X Switch on the ignition.
X Press the 0059or0065 button on the steering
wheel to select the Serv. Serv.menu.
X Press the 0063or0064 button to select the
ASSYST
ASSYST PLUS
PLUSsubmenu and confirm by press-
ing the 0076button.
The service due date appears in the multi-
function display. Information about Service
Resetting the ASSYST PLUS service
interval display !
If the ASSYST PLUS service interval display
has been inadvertently reset, this setting can
be corrected at a qualified specialist work-
shop.
Have service work carried out as described in the Maintenance Booklet. This may otherwise
lead to increased wear and damage to the
major assemblies or the vehicle.
A qualified specialist workshop will reset the
ASSYST PLUS service interval display after the
service work has been carried out. You can also obtain further information on maintenance
work, for example.
Special service requirements The specified maintenance interval takes only
the normal operation of the vehicle into
account. Under increased load on the vehicle,
maintenance work must be carried out more
frequently, for example:
R Regular city driving with frequent intermedi-
ate stops
R If the vehicle is primarily used to travel short
distances
R Use in mountainous terrain or on poor road
surfaces
R If the engine is often left idling for long periods
Under these or similar conditions, have, for
example, the air filter, engine oil and oil filter
replaced or changed more frequently. Under
arduous operating conditions, the tires must be checked more often. Further information can be
obtained at a qualified specialist workshop. ASSYST PLUS
325Maintenance and care Z
Page 330 of 398
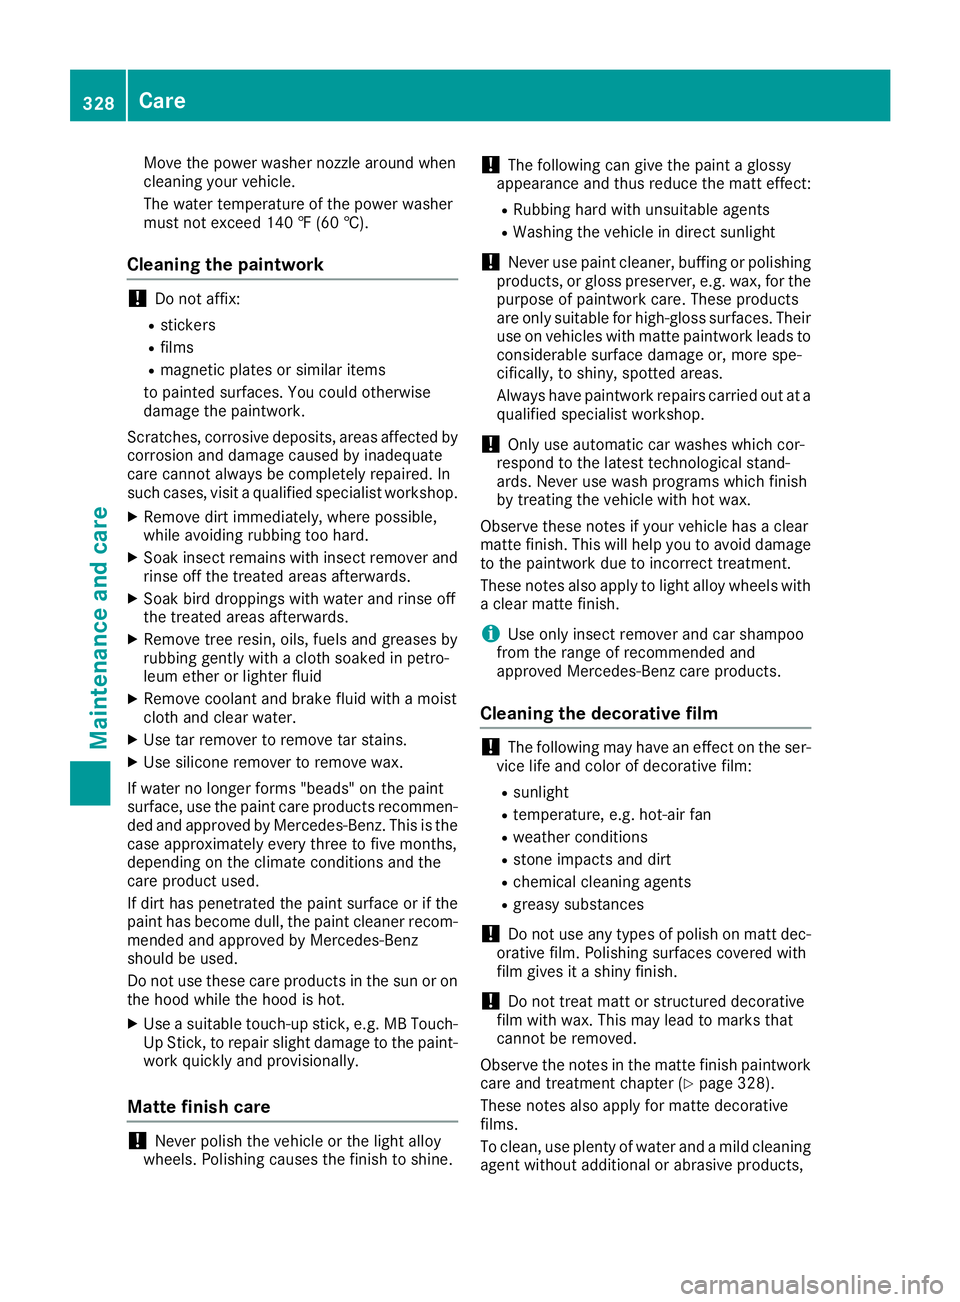
Move the power washer nozzle around when
cleaning your vehicle.
The water temperature of the power washer
must not exceed 140 ‡ (60 †).
Cleaning the paintwork !
Do not affix:
R stickers
R films
R magnetic plates or similar items
to painted surfaces. You could otherwise
damage the paintwork.
Scratches, corrosive deposits, areas affected by
corrosion and damage caused by inadequate
care cannot always be completely repaired. In
such cases, visit a qualified specialist workshop.
X Remove dirt immediately, where possible,
while avoiding rubbing too hard.
X Soak insect remains with insect remover and
rinse off the treated areas afterwards.
X Soak bird droppings with water and rinse off
the treated areas afterwards.
X Remove tree resin, oils, fuels and greases by
rubbing gently with a cloth soaked in petro-
leum ether or lighter fluid
X Remove coolant and brake fluid with a moist
cloth and clear water.
X Use tar remover to remove tar stains.
X Use silicone remover to remove wax.
If water no longer forms "beads" on the paint
surface, use the paint care products recommen- ded and approved by Mercedes-Benz. This is the
case approximately every three to five months,
depending on the climate conditions and the
care product used.
If dirt has penetrated the paint surface or if the
paint has become dull, the paint cleaner recom-
mended and approved by Mercedes-Benz
should be used.
Do not use these care products in the sun or on the hood while the hood is hot.
X Use a suitable touch-up stick, e.g. MB Touch-
Up Stick, to repair slight damage to the paint- work quickly and provisionally.
Matte finish care !
Never polish the vehicle or the light alloy
wheels. Polishing causes the finish to shine. !
The following can give the paint a glossy
appearance and thus reduce the matt effect:
R Rubbing hard with unsuitable agents
R Washing the vehicle in direct sunlight
! Never use paint cleaner, buffing or polishing
products, or gloss preserver, e.g. wax, for the purpose of paintwork care. These products
are only suitable for high-gloss surfaces. Their
use on vehicles with matte paintwork leads to
considerable surface damage or, more spe-
cifically, to shiny, spotted areas.
Always have paintwork repairs carried out at a
qualified specialist workshop.
! Only use automatic car washes which cor-
respond to the latest technological stand-
ards. Never use wash programs which finish
by treating the vehicle with hot wax.
Observe these notes if your vehicle has a clear
matte finish. This will help you to avoid damage
to the paintwork due to incorrect treatment.
These notes also apply to light alloy wheels with
a clear matte finish.
i Use only insect remover and car shampoo
from the range of recommended and
approved Mercedes-Benz care products.
Cleaning the decorative film !
The following may have an effect on the ser-
vice life and color of decorative film:
R sunlight
R temperature, e.g. hot-air fan
R weather conditions
R stone impacts and dirt
R chemical cleaning agents
R greasy substances
! Do not use any types of polish on matt dec-
orative film. Polishing surfaces covered with
film gives it a shiny finish.
! Do not treat matt or structured decorative
film with wax. This may lead to marks that
cannot be removed.
Observe the notes in the matte finish paintwork
care and treatment chapter (Y page 328).
These notes also apply for matte decorative
films.
To clean, use plenty of water and a mild cleaning
agent without additional or abrasive products, 328
CareMaintenance and care
Page 338 of 398
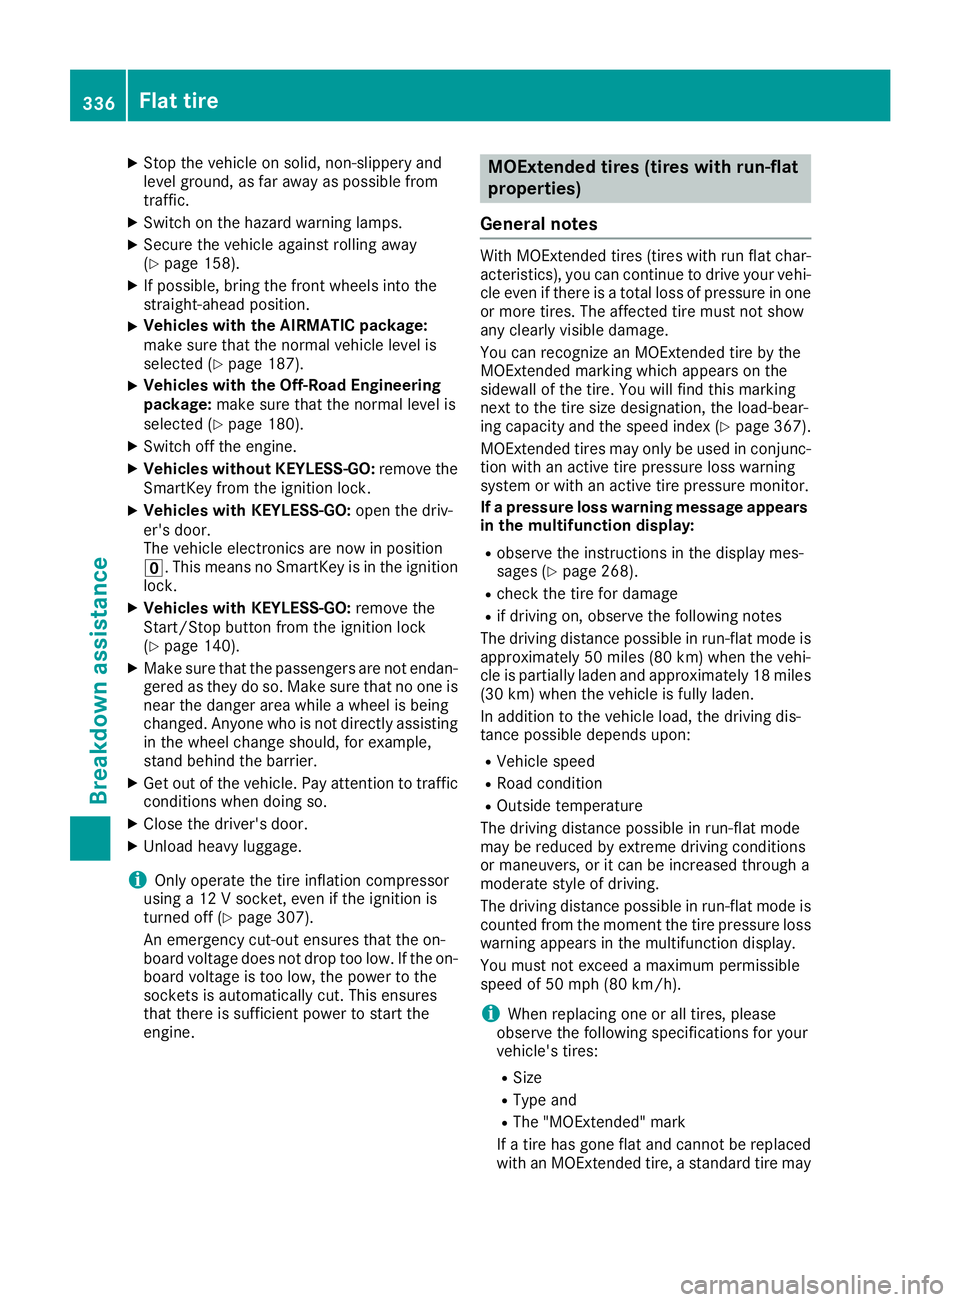
X
Stop the vehicle on solid, non-slippery and
level ground, as far away as possible from
traffic.
X Switch on the hazard warning lamps.
X Secure the vehicle against rolling away
(Y page 158).
X If possible, bring the front wheels into the
straight-ahead position.
X Vehicles with the AIRMATIC package:
make sure that the normal vehicle level is
selected (Y page 187).
X Vehicles with the Off-Road Engineering
package:
make sure that the normal level is
selected (Y page 180).
X Switch off the engine.
X Vehicles without KEYLESS-GO: remove the
SmartKey from the ignition lock.
X Vehicles with KEYLESS-GO: open the driv-
er's door.
The vehicle electronics are now in position
0092. This means no SmartKey is in the ignition
lock.
X Vehicles with KEYLESS-GO: remove the
Start/Stop button from the ignition lock
(Y page 140).
X Make sure that the passengers are not endan-
gered as they do so. Make sure that no one is
near the danger area while a wheel is being
changed. Anyone who is not directly assisting in the wheel change should, for example,
stand behind the barrier.
X Get out of the vehicle. Pay attention to traffic
conditions when doing so.
X Close the driver's door.
X Unload heavy luggage.
i Only operate the tire inflation compressor
using a 12 V socket, even if the ignition is
turned off (Y page 307).
An emergency cut-out ensures that the on-
board voltage does not drop too low. If the on-
board voltage is too low, the power to the
sockets is automatically cut. This ensures
that there is sufficient power to start the
engine. MOExtended tires (tires with run-flat
properties)
General notes With MOExtended tires (tires with run flat char-
acteristics), you can continue to drive your vehi- cle even if there is a total loss of pressure in one
or more tires. The affected tire must not show
any clearly visible damage.
You can recognize an MOExtended tire by the
MOExtended marking which appears on the
sidewall of the tire. You will find this marking
next to the tire size designation, the load-bear-
ing capacity and the speed index (Y page 367).
MOExtended tires may only be used in conjunc-
tion with an active tire pressure loss warning
system or with an active tire pressure monitor.
If a pressure loss warning message appears in the multifunction display:
R observe the instructions in the display mes-
sages (Y page 268).
R check the tire for damage
R if driving on, observe the following notes
The driving distance possible in run-flat mode is approximately 50 miles (80 km) when the vehi-
cle is partially laden and approximately 18 miles
(30 km) when the vehicle is fully laden.
In addition to the vehicle load, the driving dis-
tance possible depends upon:
R Vehicle speed
R Road condition
R Outside temperature
The driving distance possible in run-flat mode
may be reduced by extreme driving conditions
or maneuvers, or it can be increased through a
moderate style of driving.
The driving distance possible in run-flat mode is counted from the moment the tire pressure loss warning appears in the multifunction display.
You must not exceed a maximum permissible
speed of 50 mph (80 km/h).
i When replacing one or all tires, please
observe the following specifications for your
vehicle's tires:
R Size
R Type and
R The "MOExtended" mark
If a tire has gone flat and cannot be replaced with an MOExtended tire, a standard tire may 336
Flat tireBreakdown assistance
Page 357 of 398
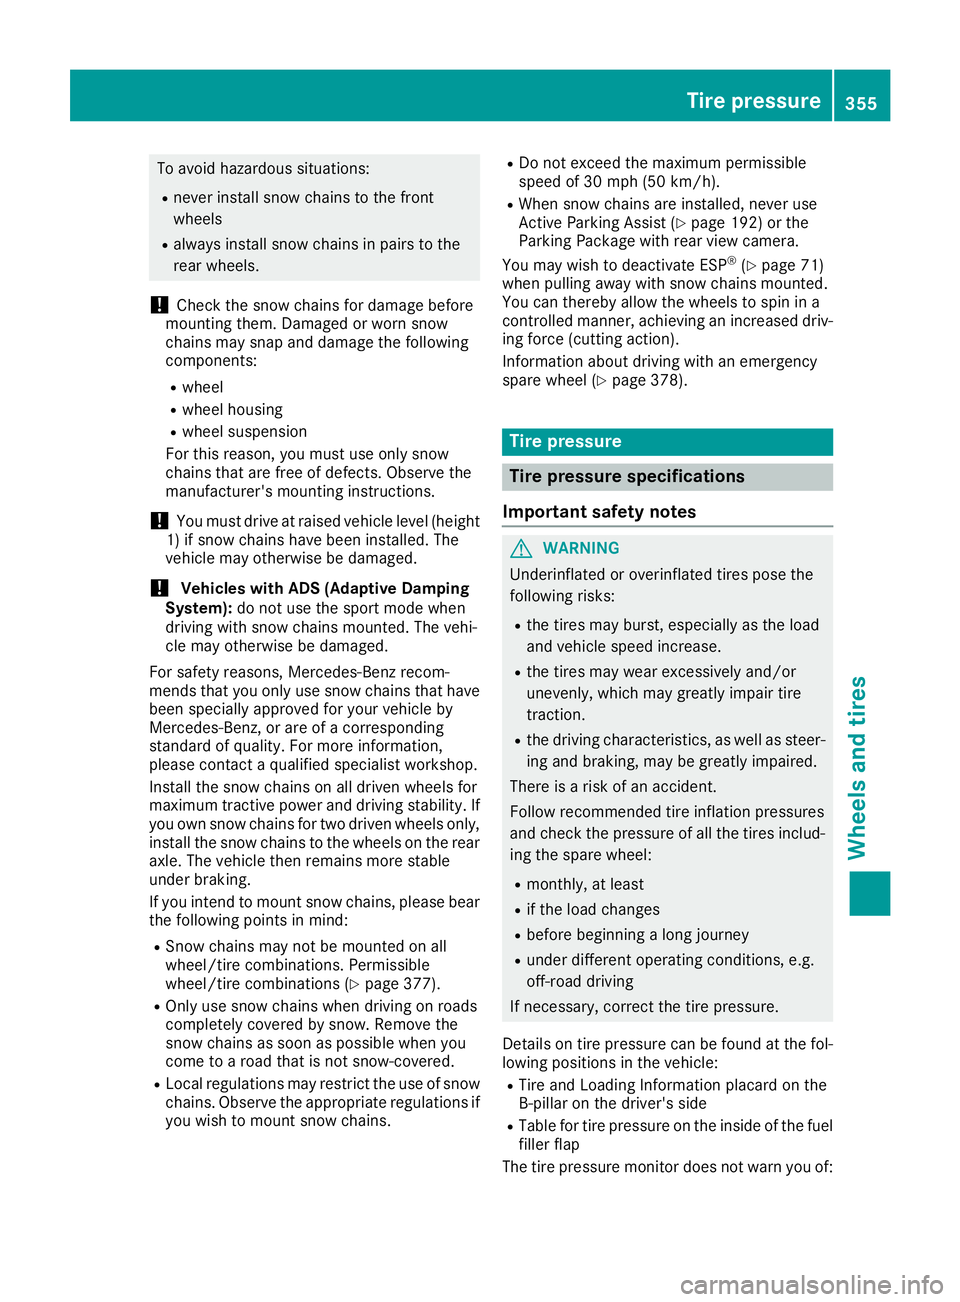
To avoid hazardous situations:
R never install snow chains to the front
wheels
R always install snow chains in pairs to the
rear wheels.
! Check the snow chains for damage before
mounting them. Damaged or worn snow
chains may snap and damage the following
components:
R wheel
R wheel housing
R wheel suspension
For this reason, you must use only snow
chains that are free of defects. Observe the
manufacturer's mounting instructions.
! You must drive at raised vehicle level (height
1) if snow chains have been installed. The
vehicle may otherwise be damaged.
! Vehicles with ADS (Adaptive Damping
System): do not use the sport mode when
driving with snow chains mounted. The vehi-
cle may otherwise be damaged.
For safety reasons, Mercedes-Benz recom-
mends that you only use snow chains that have been specially approved for your vehicle by
Mercedes-Benz, or are of a corresponding
standard of quality. For more information,
please contact a qualified specialist workshop.
Install the snow chains on all driven wheels for
maximum tractive power and driving stability. If
you own snow chains for two driven wheels only, install the snow chains to the wheels on the rear
axle. The vehicle then remains more stable
under braking.
If you intend to mount snow chains, please bear
the following points in mind:
R Snow chains may not be mounted on all
wheel/tire combinations. Permissible
wheel/tire combinations (Y page 377).
R Only use snow chains when driving on roads
completely covered by snow. Remove the
snow chains as soon as possible when you
come to a road that is not snow-covered.
R Local regulations may restrict the use of snow
chains. Observe the appropriate regulations if
you wish to mount snow chains. R
Do not exceed the maximum permissible
speed of 30 mph (50 km/h).
R When snow chains are installed, never use
Active Parking Assist (Y page 192) or the
Parking Package with rear view camera.
You may wish to deactivate ESP ®
(Y page 71)
when pulling away with snow chains mounted.
You can thereby allow the wheels to spin in a
controlled manner, achieving an increased driv-
ing force (cutting action).
Information about driving with an emergency
spare wheel (Y page 378). Tire pressure
Tire pressure specifications
Important safety notes G
WARNING
Underinflated or overinflated tires pose the
following risks:
R the tires may burst, especially as the load
and vehicle speed increase.
R the tires may wear excessively and/or
unevenly, which may greatly impair tire
traction.
R the driving characteristics, as well as steer-
ing and braking, may be greatly impaired.
There is a risk of an accident.
Follow recommended tire inflation pressures
and check the pressure of all the tires includ-
ing the spare wheel:
R monthly, at least
R if the load changes
R before beginning a long journey
R under different operating conditions, e.g.
off-road driving
If necessary, correct the tire pressure.
Details on tire pressure can be found at the fol-
lowing positions in the vehicle:
R Tire and Loading Information placard on the
B-pillar on the driver's side
R Table for tire pressure on the inside of the fuel
filler flap
The tire pressure monitor does not warn you of: Tire pressure
355Wheels and tires Z
Page 359 of 398
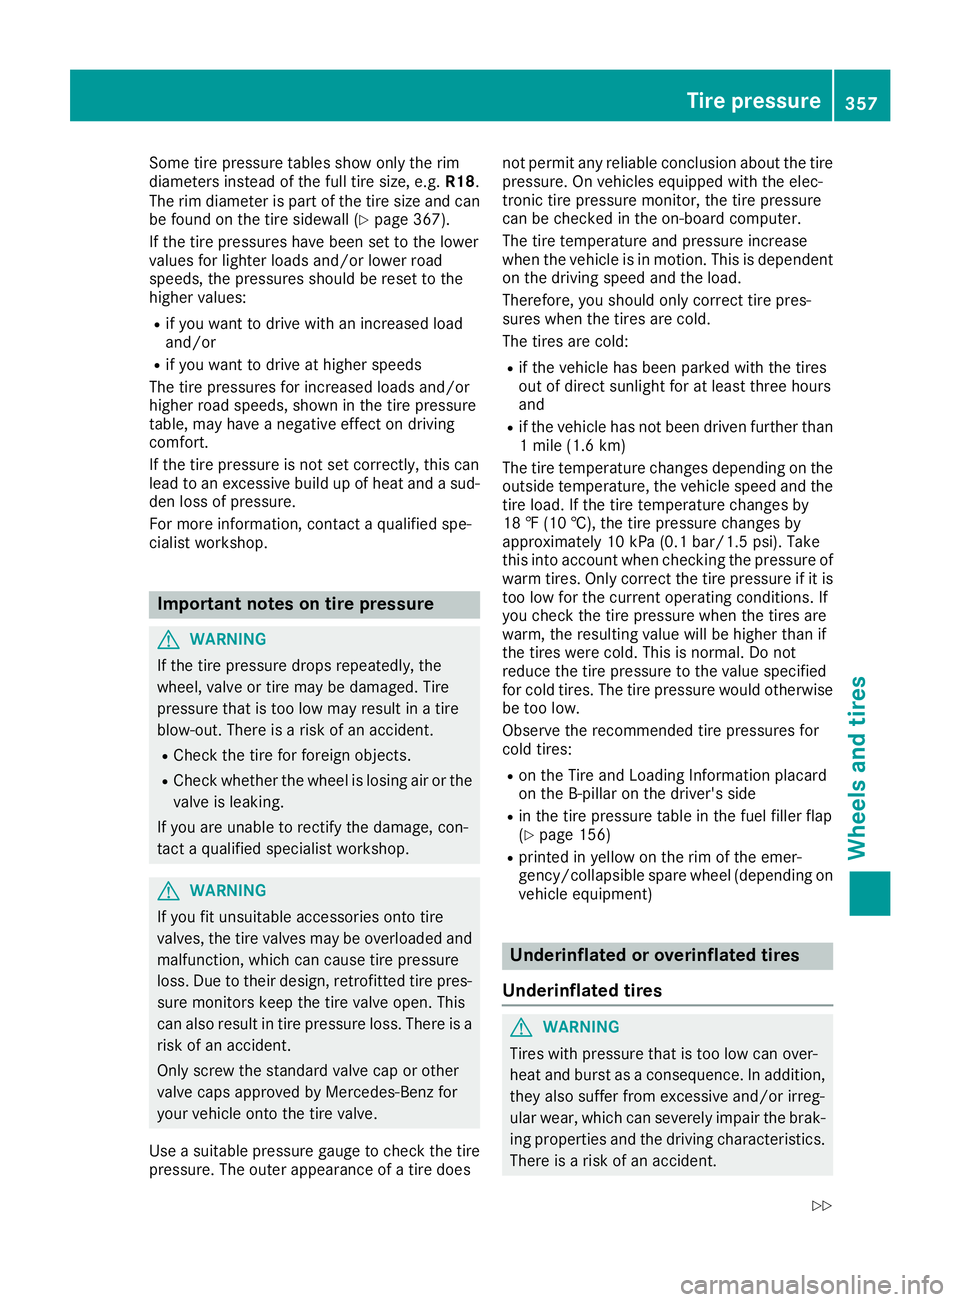
Some tire pressure tables show only the rim
diameters instead of the full tire size, e.g. R18.
The rim diameter is part of the tire size and can
be found on the tire sidewall (Y page 367).
If the tire pressures have been set to the lower
values for lighter loads and/or lower road
speeds, the pressures should be reset to the
higher values:
R if you want to drive with an increased load
and/or
R if you want to drive at higher speeds
The tire pressures for increased loads and/or
higher road speeds, shown in the tire pressure
table, may have a negative effect on driving
comfort.
If the tire pressure is not set correctly, this can
lead to an excessive build up of heat and a sud- den loss of pressure.
For more information, contact a qualified spe-
cialist workshop. Important notes on tire pressure
G
WARNING
If the tire pressure drops repeatedly, the
wheel, valve or tire may be damaged. Tire
pressure that is too low may result in a tire
blow-out. There is a risk of an accident. R Check the tire for foreign objects.
R Check whether the wheel is losing air or the
valve is leaking.
If you are unable to rectify the damage, con-
tact a qualified specialist workshop. G
WARNING
If you fit unsuitable accessories onto tire
valves, the tire valves may be overloaded and malfunction, which can cause tire pressure
loss. Due to their design, retrofitted tire pres- sure monitors keep the tire valve open. This
can also result in tire pressure loss. There is a
risk of an accident.
Only screw the standard valve cap or other
valve caps approved by Mercedes-Benz for
your vehicle onto the tire valve.
Use a suitable pressure gauge to check the tire
pressure. The outer appearance of a tire does not permit any reliable conclusion about the tire
pressure. On vehicles equipped with the elec-
tronic tire pressure monitor, the tire pressure
can be checked in the on-board computer.
The tire temperature and pressure increase
when the vehicle is in motion. This is dependent
on the driving speed and the load.
Therefore, you should only correct tire pres-
sures when the tires are cold.
The tires are cold:
R if the vehicle has been parked with the tires
out of direct sunlight for at least three hours
and
R if the vehicle has not been driven further than
1 mile (1.6 km)
The tire temperature changes depending on the
outside temperature, the vehicle speed and the
tire load. If the tire temperature changes by
18 ‡ (10 †), the tire pressure changes by
approximately 10 kPa (0.1 bar/1.5 psi). Take
this into account when checking the pressure of
warm tires. Only correct the tire pressure if it is too low for the current operating conditions. If
you check the tire pressure when the tires are
warm, the resulting value will be higher than if
the tires were cold. This is normal. Do not
reduce the tire pressure to the value specified
for cold tires. The tire pressure would otherwise
be too low.
Observe the recommended tire pressures for
cold tires:
R on the Tire and Loading Information placard
on the B-pillar on the driver's side
R in the tire pressure table in the fuel filler flap
(Y page 156)
R printed in yellow on the rim of the emer-
gency/collapsible spare wheel (depending on
vehicle equipment) Underinflated or overinflated tires
Underinflated tires G
WARNING
Tires with pressure that is too low can over-
heat and burst as a consequence. In addition, they also suffer from excessive and/or irreg-
ular wear, which can severely impair the brak-ing properties and the driving characteristics.There is a risk of an accident. Tire pressure
357Wheels and tires
Z
Page 364 of 398
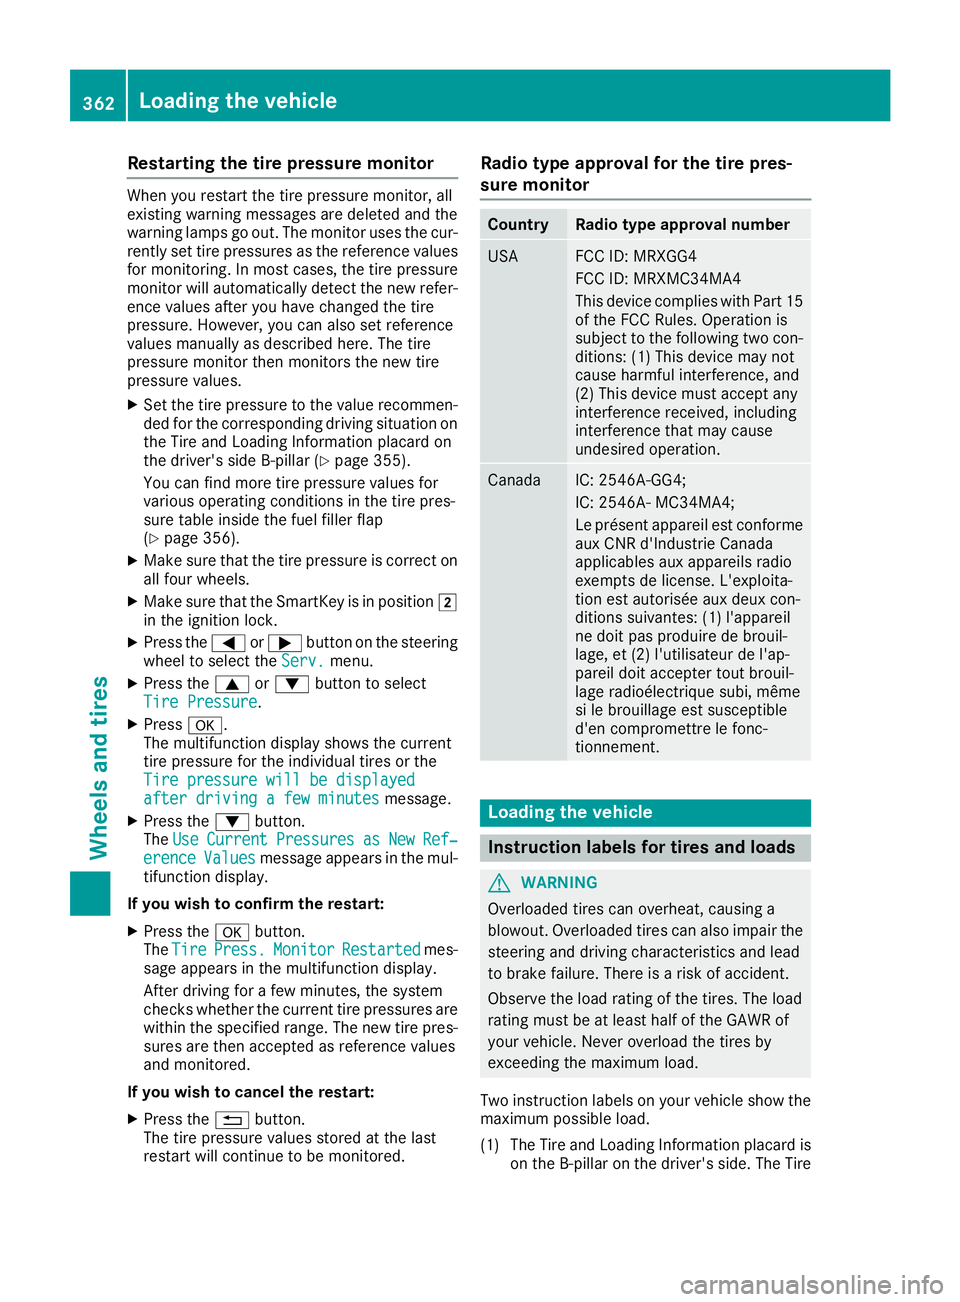
Restarting the tire pressure monitor
When you restart the tire pressure monitor, all
existing warning messages are deleted and the
warning lamps go out. The monitor uses the cur-
rently set tire pressures as the reference values
for monitoring. In most cases, the tire pressure
monitor will automatically detect the new refer- ence values after you have changed the tire
pressure. However, you can also set reference
values manually as described here. The tire
pressure monitor then monitors the new tire
pressure values.
X Set the tire pressure to the value recommen-
ded for the corresponding driving situation on the Tire and Loading Information placard on
the driver's side B-pillar (Y page 355).
You can find more tire pressure values for
various operating conditions in the tire pres-
sure table inside the fuel filler flap
(Y page 356).
X Make sure that the tire pressure is correct on
all four wheels.
X Make sure that the SmartKey is in position 0048
in the ignition lock.
X Press the 0059or0065 button on the steering
wheel to select the Serv.
Serv. menu.
X Press the 0063or0064 button to select
Tire Pressure Tire Pressure .
X Press 0076.
The multifunction display shows the current
tire pressure for the individual tires or the
Tire pressure will be displayed
Tire pressure will be displayed
after driving a few minutes
after driving a few minutes message.
X Press the 0064button.
The Use
Use Current
Current Pressures
Pressures as
asNew
New Ref‐
Ref‐
erence
erence Values
Valuesmessage appears in the mul-
tifunction display.
If you wish to confirm the restart:
X Press the 0076button.
The Tire
Tire Press.
Press. Monitor
Monitor Restarted
Restarted mes-
sage appears in the multifunction display.
After driving for a few minutes, the system
checks whether the current tire pressures are
within the specified range. The new tire pres- sures are then accepted as reference values
and monitored.
If you wish to cancel the restart: X Press the 0038button.
The tire pressure values stored at the last
restart will continue to be monitored. Radio type approval for the tire pres-
sure monitor Country Radio type approval number
USA FCC ID: MRXGG4
FCC ID: MRXMC34MA4
This device complies with Part 15
of the FCC Rules. Operation is
subject to the following two con- ditions: (1) This device may not
cause harmful interference, and
(2) This device must accept any
interference received, including
interference that may cause
undesired operation. Canada IC: 2546A-GG4;
IC: 2546A- MC34MA4;
Le présent appareil est conforme
aux CNR d'Industrie Canada
applicables aux appareils radio
exempts de license. L'exploita-
tion est autorisée aux deux con-
ditions suivantes: (1) l'appareil
ne doit pas produire de brouil-
lage, et (2) l'utilisateur de l'ap-
pareil doit accepter tout brouil-
lage radioélectrique subi, même
si le brouillage est susceptible
d'en compromettre le fonc-
tionnement. Loading the vehicle
Instruction labels for tires and loads
G
WARNING
Overloaded tires can overheat, causing a
blowout. Overloaded tires can also impair the steering and driving characteristics and lead
to brake failure. There is a risk of accident.
Observe the load rating of the tires. The load
rating must be at least half of the GAWR of
your vehicle. Never overload the tires by
exceeding the maximum load.
Two instruction labels on your vehicle show the maximum possible load.
(1) The Tire and Loading Information placard is on the B-pillar on the driver's side. The Tire 362
Loading the vehicleWheels and tires
Page 373 of 398
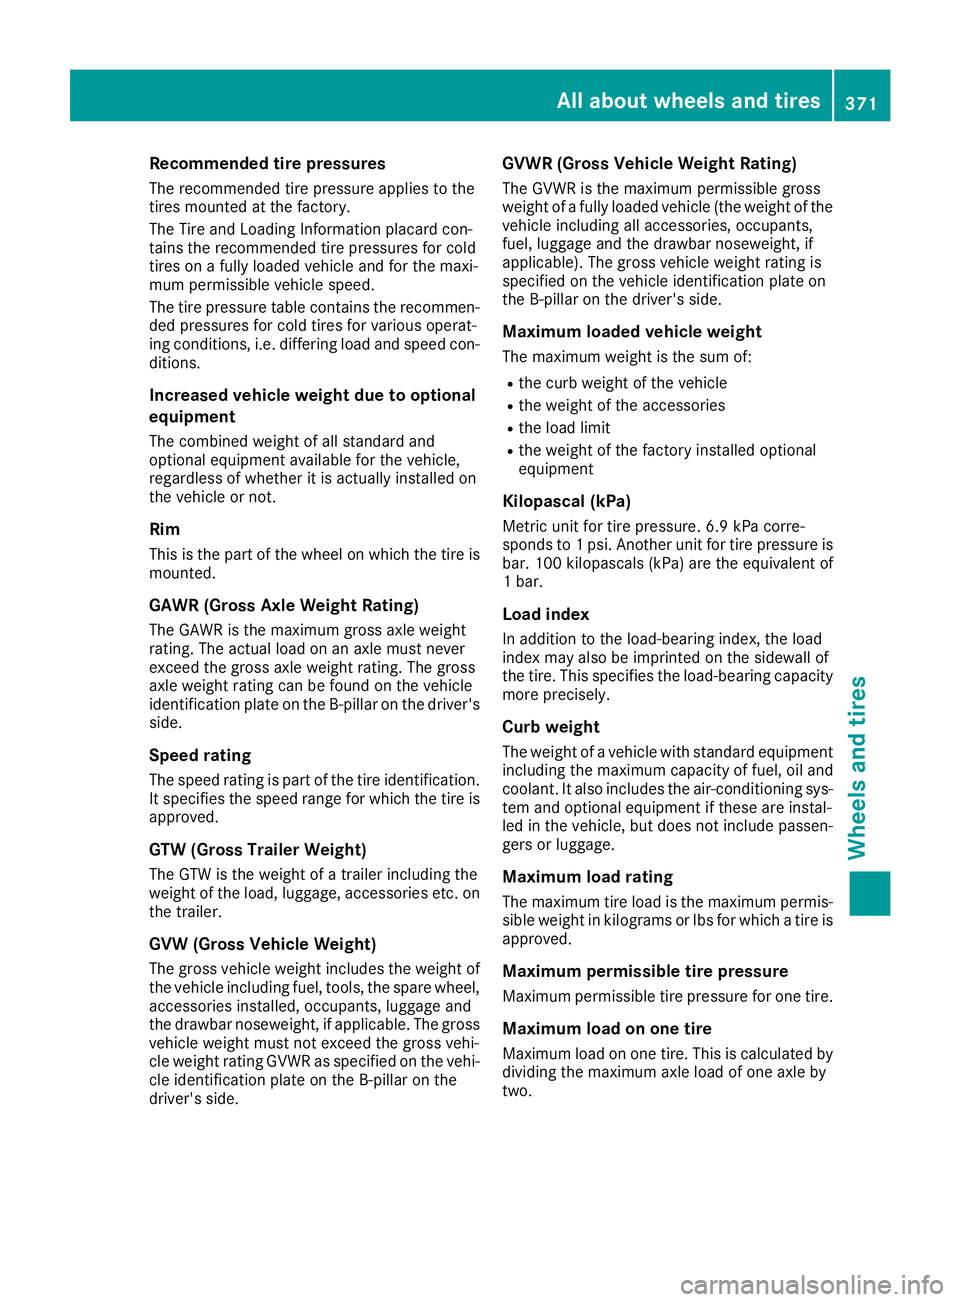
Recommended tire pressures
The recommended tire pressure applies to the
tires mounted at the factory.
The Tire and Loading Information placard con-
tains the recommended tire pressures for cold
tires on a fully loaded vehicle and for the maxi-
mum permissible vehicle speed.
The tire pressure table contains the recommen- ded pressures for cold tires for various operat-
ing conditions, i.e. differing load and speed con- ditions.
Increased vehicle weight due to optional
equipment The combined weight of all standard and
optional equipment available for the vehicle,
regardless of whether it is actually installed on
the vehicle or not.
Rim This is the part of the wheel on which the tire is
mounted.
GAWR (Gross Axle Weight Rating)
The GAWR is the maximum gross axle weight
rating. The actual load on an axle must never
exceed the gross axle weight rating. The gross
axle weight rating can be found on the vehicle
identification plate on the B-pillar on the driver's side.
Speed rating
The speed rating is part of the tire identification. It specifies the speed range for which the tire isapproved.
GTW (Gross Trailer Weight)
The GTW is the weight of a trailer including the
weight of the load, luggage, accessories etc. on the trailer.
GVW (Gross Vehicle Weight) The gross vehicle weight includes the weight of
the vehicle including fuel, tools, the spare wheel, accessories installed, occupants, luggage and
the drawbar noseweight, if applicable. The gross vehicle weight must not exceed the gross vehi-
cle weight rating GVWR as specified on the vehi-
cle identification plate on the B-pillar on the
driver's side. GVWR (Gross Vehicle Weight Rating)
The GVWR is the maximum permissible gross
weight of a fully loaded vehicle (the weight of the
vehicle including all accessories, occupants,
fuel, luggage and the drawbar noseweight, if
applicable). The gross vehicle weight rating is
specified on the vehicle identification plate on
the B-pillar on the driver's side.
Maximum loaded vehicle weight
The maximum weight is the sum of:
R the curb weight of the vehicle
R the weight of the accessories
R the load limit
R the weight of the factory installed optional
equipment
Kilopascal (kPa) Metric unit for tire pressure. 6.9 kPa corre-
sponds to 1 psi. Another unit for tire pressure is
bar. 100 kilopascals (kPa) are the equivalent of
1 bar.
Load index
In addition to the load-bearing index, the load
index may also be imprinted on the sidewall of
the tire. This specifies the load-bearing capacity more precisely.
Curb weight
The weight of a vehicle with standard equipment
including the maximum capacity of fuel, oil and
coolant. It also includes the air-conditioning sys- tem and optional equipment if these are instal-
led in the vehicle, but does not include passen-
gers or luggage.
Maximum load rating
The maximum tire load is the maximum permis- sible weight in kilograms or lbs for which a tire is
approved.
Maximum permissible tire pressure
Maximum permissible tire pressure for one tire.
Maximum load on one tire
Maximum load on one tire. This is calculated by
dividing the maximum axle load of one axle by
two. All about wheels and tires
371Wheels and tires Z
Page 375 of 398
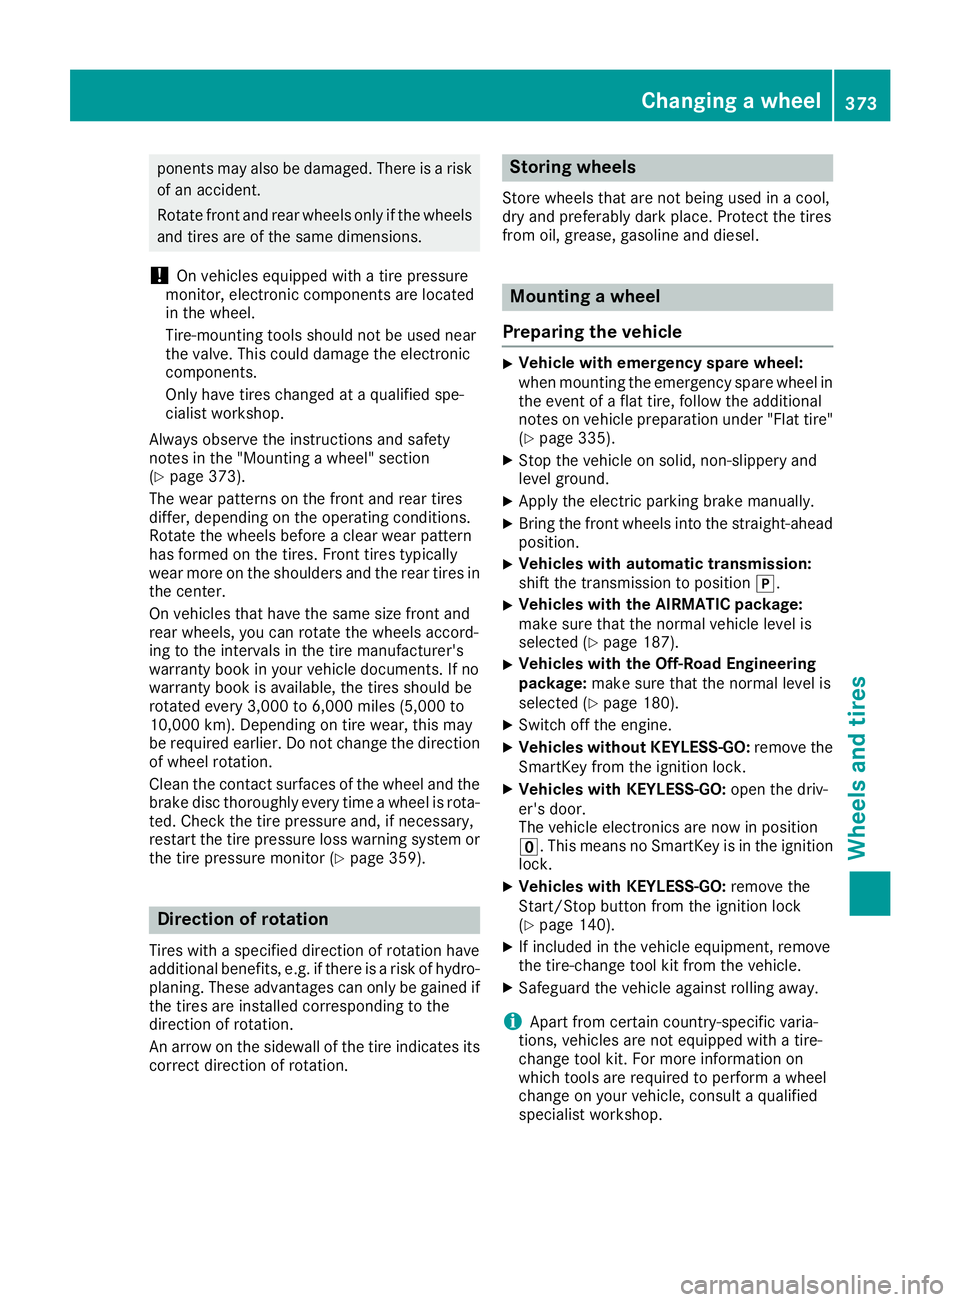
ponents may also be damaged. There is a risk
of an accident.
Rotate front and rear wheels only if the wheels
and tires are of the same dimensions.
! On vehicles equipped with a tire pressure
monitor, electronic components are located
in the wheel.
Tire-mounting tools should not be used near
the valve. This could damage the electronic
components.
Only have tires changed at a qualified spe-
cialist workshop.
Always observe the instructions and safety
notes in the "Mounting a wheel" section
(Y page 373).
The wear patterns on the front and rear tires
differ, depending on the operating conditions.
Rotate the wheels before a clear wear pattern
has formed on the tires. Front tires typically
wear more on the shoulders and the rear tires in
the center.
On vehicles that have the same size front and
rear wheels, you can rotate the wheels accord-
ing to the intervals in the tire manufacturer's
warranty book in your vehicle documents. If no
warranty book is available, the tires should be
rotated every 3,000 to 6,000 miles (5,000 to
10,000 km). Depending on tire wear, this may
be required earlier. Do not change the direction
of wheel rotation.
Clean the contact surfaces of the wheel and the brake disc thoroughly every time a wheel is rota-
ted. Check the tire pressure and, if necessary,
restart the tire pressure loss warning system or
the tire pressure monitor (Y page 359).Direction of rotation
Tires with a specified direction of rotation have
additional benefits, e.g. if there is a risk of hydro-
planing. These advantages can only be gained if the tires are installed corresponding to the
direction of rotation.
An arrow on the sidewall of the tire indicates its
correct direction of rotation. Storing wheels
Store wheels that are not being used in a cool,
dry and preferably dark place. Protect the tires
from oil, grease, gasoline and diesel. Mounting a wheel
Preparing the vehicle X
Vehicle with emergency spare wheel:
when mounting the emergency spare wheel in
the event of a flat tire, follow the additional
notes on vehicle preparation under "Flat tire" (Y page 335).
X Stop the vehicle on solid, non-slippery and
level ground.
X Apply the electric parking brake manually.
X Bring the front wheels into the straight-ahead
position.
X Vehicles with automatic transmission:
shift the transmission to position
005D.
X Vehicles with the AIRMATIC package:
make sure that the normal vehicle level is
selected (Y page 187).
X Vehicles with the Off-Road Engineering
package:
make sure that the normal level is
selected (Y page 180).
X Switch off the engine.
X Vehicles without KEYLESS-GO: remove the
SmartKey from the ignition lock.
X Vehicles with KEYLESS-GO: open the driv-
er's door.
The vehicle electronics are now in position
0092. This means no SmartKey is in the ignition lock.
X Vehicles with KEYLESS-GO: remove the
Start/Stop button from the ignition lock
(Y page 140).
X If included in the vehicle equipment, remove
the tire-change tool kit from the vehicle.
X Safeguard the vehicle against rolling away.
i Apart from certain country-specific varia-
tions, vehicles are not equipped with a tire-
change tool kit. For more information on
which tools are required to perform a wheel
change on your vehicle, consult a qualified
specialist workshop. Changing a wheel
373Wheels and tires Z