2019 MERCEDES-BENZ GLE change time
[x] Cancel search: change timePage 290 of 398
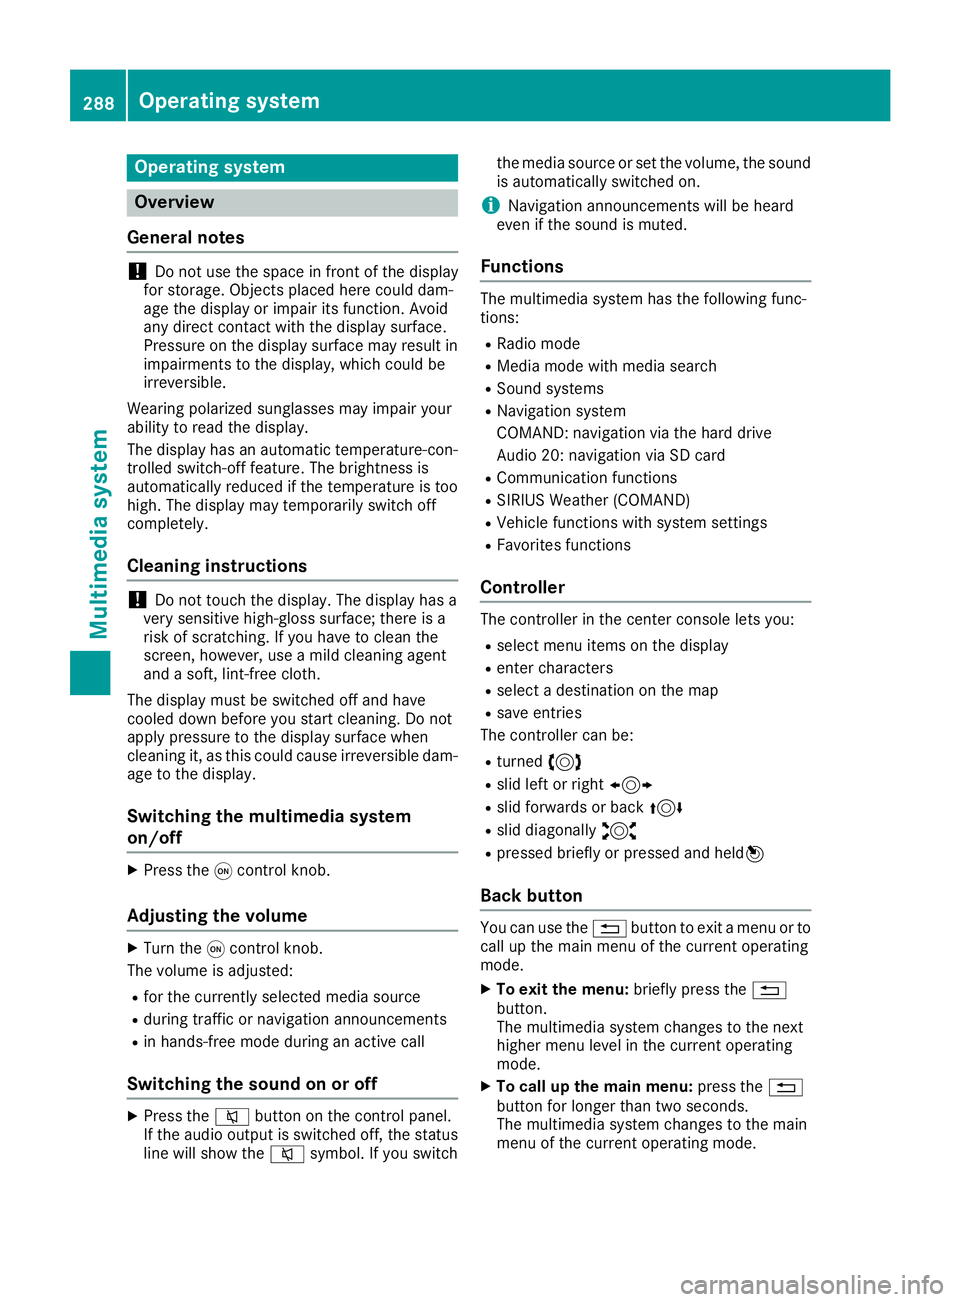
Operating system
Overview
General notes !
Do not use the space in front of the display
for storage. Objects placed here could dam-
age the display or impair its function. Avoid
any direct contact with the display surface.
Pressure on the display surface may result in
impairments to the display, which could be
irreversible.
Wearing polarized sunglasses may impair your
ability to read the display.
The display has an automatic temperature-con- trolled switch-off feature. The brightness is
automatically reduced if the temperature is too
high. The display may temporarily switch off
completely.
Cleaning instructions !
Do not touch the display. The display has a
very sensitive high-gloss surface; there is a
risk of scratching. If you have to clean the
screen, however, use a mild cleaning agent
and a soft, lint-free cloth.
The display must be switched off and have
cooled down before you start cleaning. Do not
apply pressure to the display surface when
cleaning it, as this could cause irreversible dam-
age to the display.
Switching the multimedia system
on/off X
Press the 0043control knob.
Adjusting the volume X
Turn the 0043control knob.
The volume is adjusted:
R for the currently selected media source
R during traffic or navigation announcements
R in hands-free mode during an active call
Switching the sound on or off X
Press the 0063button on the control panel.
If the audio output is switched off, the status
line will show the 0063symbol. If you switch the media source or set the volume, the sound
is automatically switched on.
i Navigation announcements will be heard
even if the sound is muted.
Functions The multimedia system has the following func-
tions:
R Radio mode
R Media mode with media search
R Sound systems
R Navigation system
COMAND: navigation via the hard drive
Audio 20: navigation via SD card
R Communication functions
R SIRIUS Weather (COMAND)
R Vehicle functions with system settings
R Favorites functions
Controller The controller in the center console lets you:
R select menu items on the display
R enter characters
R select a destination on the map
R save entries
The controller can be:
R turned 3
R slid left or right 1
R slid forwards or back 4
R slid diagonally 2
R pressed briefly or pressed and held 7
Back button You can use the
0038button to exit a menu or to
call up the main menu of the current operating
mode.
X To exit the menu: briefly press the0038
button.
The multimedia system changes to the next
higher menu level in the current operating
mode.
X To call up the main menu: press the0038
button for longer than two seconds.
The multimedia system changes to the main
menu of the current operating mode. 288
Operating systemMultimedia system
Page 293 of 398
Connecting a mobile phone
(COMAND)
Requirements For telephony via the Bluetooth
®
interface, you
require a Bluetooth ®
-capable mobile phone. The
mobile phone must support Hands-Free Profile
1.0 or above.
Multimedia system:
X Select Vehicle
Vehicle007BSystem Set‐ System Set‐
tings tings007B Activate Bluetooth
Activate Bluetooth .
X Activate Bluetooth ®
0073.
Mobile phone:
X Activate Bluetooth ®
and, if necessary, Blue-
tooth ®
visibility for other devices (see the
manufacturer's operating instructions).
The Bluetooth ®
device names for all of one man-
ufacturer's products might be identical. To
make it possible to clearly identify your mobile
phone, change the device name (see the man-
ufacturer's operating instructions).
If the mobile phone supports the PBAP (Phone
Book Access Profile) and MAP (Message
Access Profile) Bluetooth ®
profiles, the follow-
ing information will be transmitted after you
connect:
R Phone book
R Call lists
R Text messages and e-mail
i Further information on suitable mobile
phones can be found at: http://
www.mercedes-benz.com/connect
i In the USA, you can get in touch with the
Mercedes-Benz Customer Assistance Center
on 1-800-FOR-MERCedes (1-800-367-6372 ).
In Canada, you can get in touch with the Cus-
tomer Relations Center on 1-800-387-0100.
Searching for and authorizing (connect-
ing) a mobile phone Before using your mobile phone with the multi-
media system for the first time, you will need to
search for the phone and then authorize (con-
nect) it. Depending on the mobile phone, author- ization either takes place by means of Secure
Simple Pairing or by entering a passkey. The
multimedia system automatically makes the procedure that is relevant for your mobile phone
available. The mobile phone is always connec-
ted automatically after authorization. Further
information on using a mobile phone with the
multimedia system (see the Digital Operator's
Manual).
If the multimedia system does not detect your
mobile phone, this may be due to particular
security settings on your mobile phone (see the manufacturer's operating instructions).
Only one mobile phone can be connected to the
multimedia system at any one time.
Searching for a mobile phone
Multimedia system:
X Select Tel/ Tel/00A7007BConn. Conn.
Device
Device007BSearch for Phones Search for Phones007BStart Start
Search
Search.
The available mobile phones are displayed.
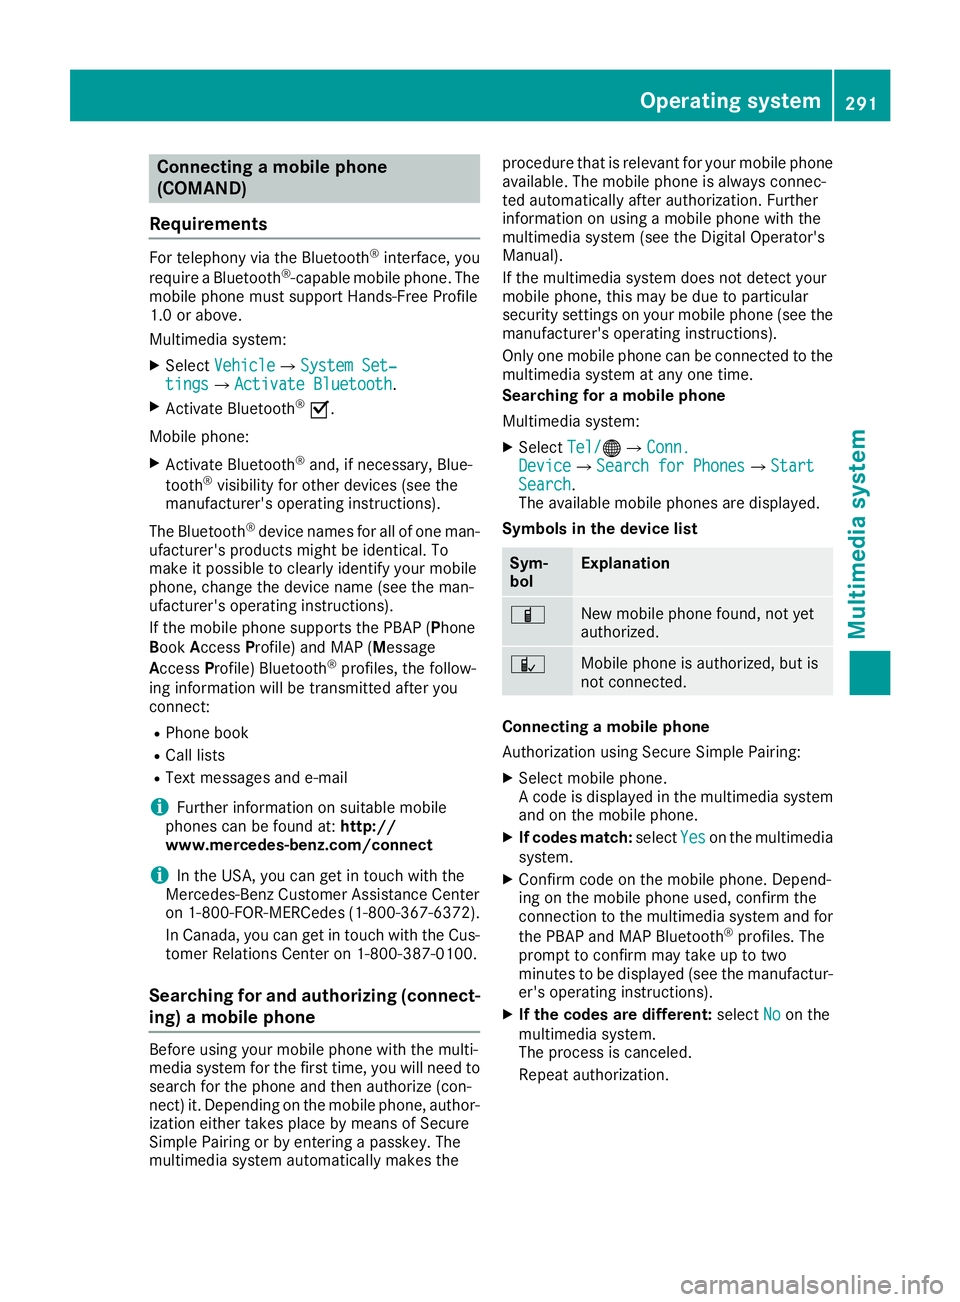
Symbols in the device list Sym-
bol Explanation
00D3
New mobile phone found, not yet
authorized.
00DC
Mobile phone is authorized, but is
not connected.
Connecting a mobile phone
Authorization using Secure Simple Pairing:
X Select mobile phone.
A code is displayed in the multimedia system
and on the mobile phone.
X If codes match: selectYes Yeson the multimedia
system.
X Confirm code on the mobile phone. Depend-
ing on the mobile phone used, confirm the
connection to the multimedia system and for
the PBAP and MAP Bluetooth ®
profiles. The
prompt to confirm may take up to two
minutes to be displayed (see the manufactur-
er's operating instructions).
X If the codes are different: selectNo Noon the
multimedia system.
The process is canceled.
Repeat authorization. Operating system
291Multimedia system Z
Page 294 of 398
Authorization by entering a passkey (passcode):
X Select the Bluetooth ®
name of the mobile
phone.
The input menu for the passkey is displayed.
X Choose a one to sixteen-digit number combi-
nation as a passkey.
X Enter the passkey on the multimedia system.
X Press 0054to confirm.
X Enter and confirm the passkey on the mobile
phone. Depending on the mobile phone used,
confirm the connection to the multimedia sys-
tem and for the PBAP and MAP Bluetooth ®
profiles. The prompt to confirm may take up
to two minutes to be displayed (see the man- ufacturer's operating instructions). Connecting a mobile phone (Audio 20)
Requirements For telephony via the Bluetooth
®
interface, you
require at least one Bluetooth ®
-capable mobile
phone depending on use of one-telephone
mode ortwo-telephone mode. The mobile
phone must support Hands-Free Profile 1.0 or
above.
In two-telephone mode you can use all the
functions of the multimedia system with the
main telephone. With the additional tele-
phone , you can receive incoming calls.
Multimedia system:
X Select Vehicle
Vehicle007BSystem Set‐ System Set‐
tings tings007B Activate Bluetooth
Activate Bluetooth .
X Activate Bluetooth ®
0073.
Mobile phone:
X Activate Bluetooth ®
and, if necessary, Blue-
tooth ®
visibility for other devices (see the
manufacturer's operating instructions).
The Bluetooth ®
device names for all of one man-
ufacturer's products might be identical. To
make it possible to clearly identify your mobile
phone, change the device name (see the man-
ufacturer's operating instructions). If the mobile phone supports the PBAP (P
hone
Book Access Profile) and MAP (Message
Access Profile) Bluetooth ®
profiles, the follow-
ing information is transmitted after you connect
the main telephone:
R Phone book
R Call lists
R Text messages and e-mail
i Further information on suitable mobile
phones can be found at: http://
www.mercedes-benz.com/connect
i In the USA, you can get in touch with the
Mercedes-Benz Customer Assistance Center
on 1-800-FOR-MERCedes (1-800-367-6372).
In Canada, you can get in touch with the Cus-
tomer Relations Center on 1-800-387-010 0.
Searching for and authorizing (connect- ing) a mobile phone Before using your mobile phone with the multi-
media system for the first time, you will need to
search for the phone and then authorize (con-
nect) it. Depending on the mobile phone, author- ization either takes place by means of Secure
Simple Pairing or by entering a passkey. The
multimedia system automatically makes the
procedure that is relevant for your mobile phone
available. The mobile phone is always connec-
ted automatically after authorization. Further
information on using a mobile phone with the
multimedia system (see the Digital Operator's
Manual).
If the multimedia system does not detect your
mobile phone, this may be due to particular
security settings on your mobile phone (see the manufacturer's operating instructions).
Searching for a mobile phone
Multimedia system:
X Select Tel/ Tel/00A7007BConn. Device Conn. Device007BCon‐ Con‐
nect New Device
nect New Device.
X Select Connect via Vehicle
Connect via Vehicle.
X Select mobile phone.
Connecting a mobile phone X One-telephone mode: selectConnect as
Connect as
New Main Phone
New Main Phone.
X Two-telephone mode: selectConnect as
Connect as
Additional Phone
Additional Phone when a mobile phone is
already connected. 292
Operating systemMultimedia system
Page 295 of 398
X
Authorization using Secure Simple Pair-
ing:
A code is displayed in the multimedia system
and on the mobile phone.
X Confirm code on the mobile phone. Depend-
ing on the mobile phone used, confirm the
connection to the multimedia system and for
the PBAP and MAP Bluetooth ®
profiles. The
prompt to confirm may take up to two
minutes to be displayed (see the manufactur-
er's operating instructions).
X If the codes are different: select No
No on the
multimedia system.
The process is canceled.
Repeat authorization.
or X Authorization by entering a passkey
(passcode):
enter any one- to sixteen-digit
number sequence which you have chosen
yourself into the passkey input menu.
X Press 0054to confirm.
X Enter and confirm the passkey on the mobile
phone. Depending on the mobile phone used,
confirm the connection to the multimedia sys-
tem and for the PBAP and MAP Bluetooth ®
profiles. The prompt to confirm may take up
to two minutes to be displayed (see the man- ufacturer's operating instructions).
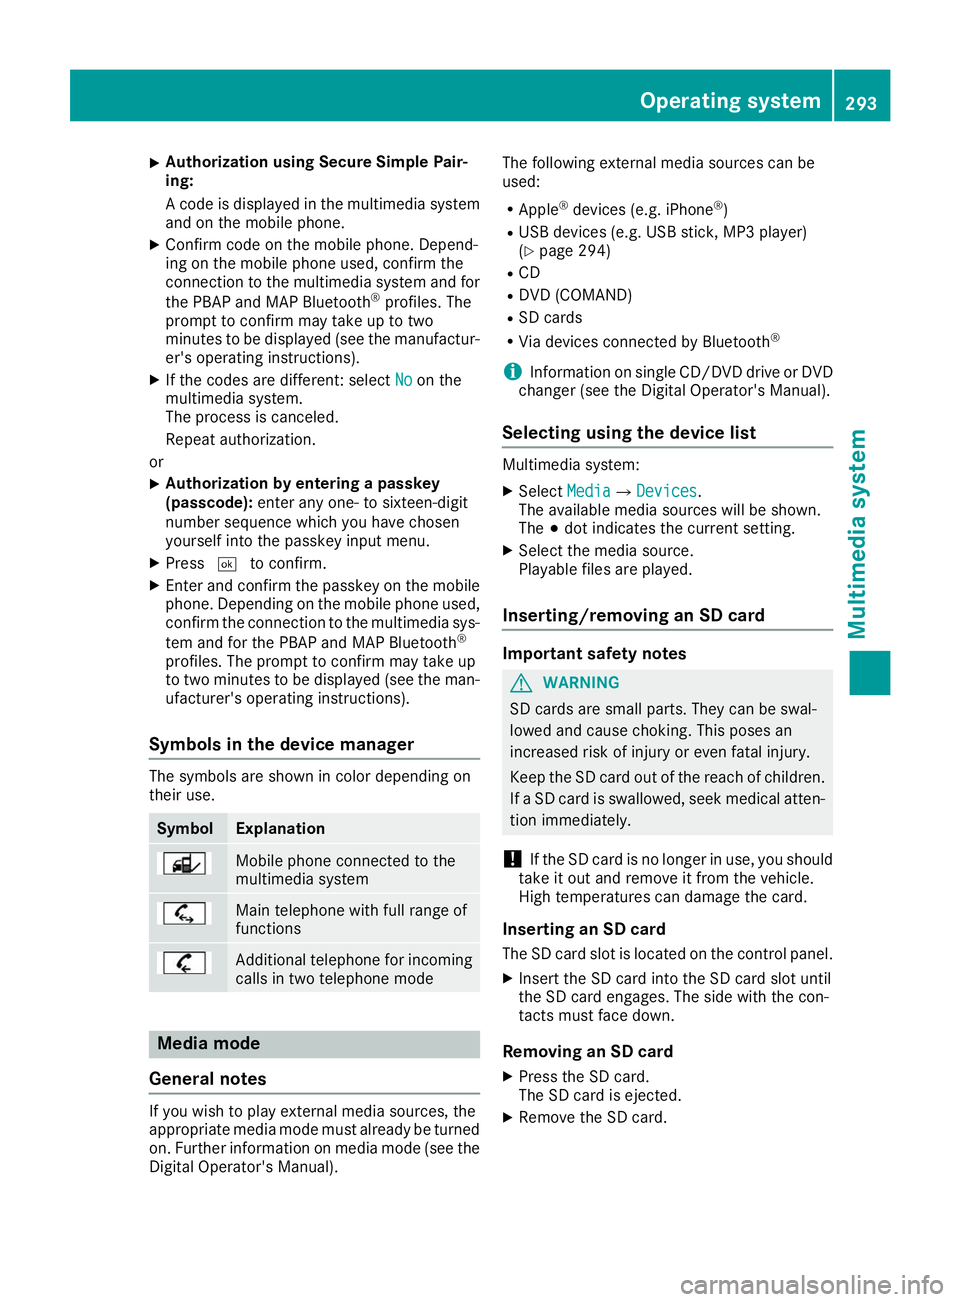
Symbols in the device manager The symbols are shown in color depending on
their use. Symbol Explanation
Mobile phone connected to the
multimedia system
Main telephone with full range of
functions
Additional telephone for incoming
calls in two telephone mode Media mode
General notes If you wish to play external media sources, the
appropriate media mode must already be turned
on. Further information on media mode (see the Digital Operator's Manual). The following external media sources can be
used:
R Apple ®
devices (e.g. iPhone ®
)
R USB devices (e.g. USB stick, MP3 player)
(Y page 294)
R CD
R DVD (COMAND)
R SD cards
R Via devices connected by Bluetooth ®
i Information on single CD/DVD drive or DVD
changer (see the Digital Operator's Manual).
Selecting using the device list Multimedia system:
X Select Media
Media007B Devices Devices.
The available media sources will be shown.
The 003Bdot indicates the current setting.
X Select the media source.
Playable files are played.
Inserting/removing an SD card Important safety notes
G
WARNING
SD cards are small parts. They can be swal-
lowed and cause choking. This poses an
increased risk of injury or even fatal injury.
Keep the SD card out of the reach of children. If a SD card is swallowed, seek medical atten-
tion immediately.
! If the SD card is no longer in use, you should
take it out and remove it from the vehicle.
High temperatures can damage the card.
Inserting an SD card
The SD card slot is located on the control panel. X Insert the SD card into the SD card slot until
the SD card engages. The side with the con-
tacts must face down.
Removing an SD card X Press the SD card.
The SD card is ejected.
X Remove the SD card. Operating system
293Multimedia system Z
Page 314 of 398
The indicator lamp in Roadside Assistance
button 0043flashes while the call is active. The
Connecting Call
Connecting Call message appears in the
multifunction display. The audio output is
muted.
If a connection can be established, the Call
Call
Connected
Connected message appears in the multifunc-
tion display.
If a mobile phone network and GPS reception
are available, the system transfers data to the
Mercedes-Benz Customer Assistance Center,
for example:
R Current location of the vehicle
R Vehicle identification number
The multimedia system display indicates that a
call is active. During the call, you can change to
the navigation menu by pressing the NAVI but-
ton on the multimedia system, for example.
Voice output is not available in this case.
A voice connection is established between the
Mercedes-Benz Customer Assistance Center
and the vehicle occupants.
From the remote malfunction diagnosis, the
Mercedes-Benz Customer Assistance Center
can ascertain the nature of the problem
(Y page 315).
The Mercedes-Benz Customer Assistance Cen-
ter either sends a qualified Mercedes-Benz tech-
nician or makes arrangements for your vehicle
to be transported to the nearest Mercedes-Benz
Service Center.
You may be charged for services such as repair work and/or towing.
You can find more information in the separate
mbrace manual.
The system has not been able to initiate a Road- side Assistance call, if:
R the 0052 indicator lamp for the Roadside
Assistance call button is flashing continu-
ously.
R no voice connection to the Mercedes-Benz
Customer Assistance Center was estab-
lished.
This can occur if the relevant mobile phone net-
work is not available, for example.
The Call Failed
Call Failed message appears in the mul-
tifunction display. X
To end a call: press the0076button on the
multifunction steering wheel.
or X Press the corresponding multimedia system
button for ending a phone call.
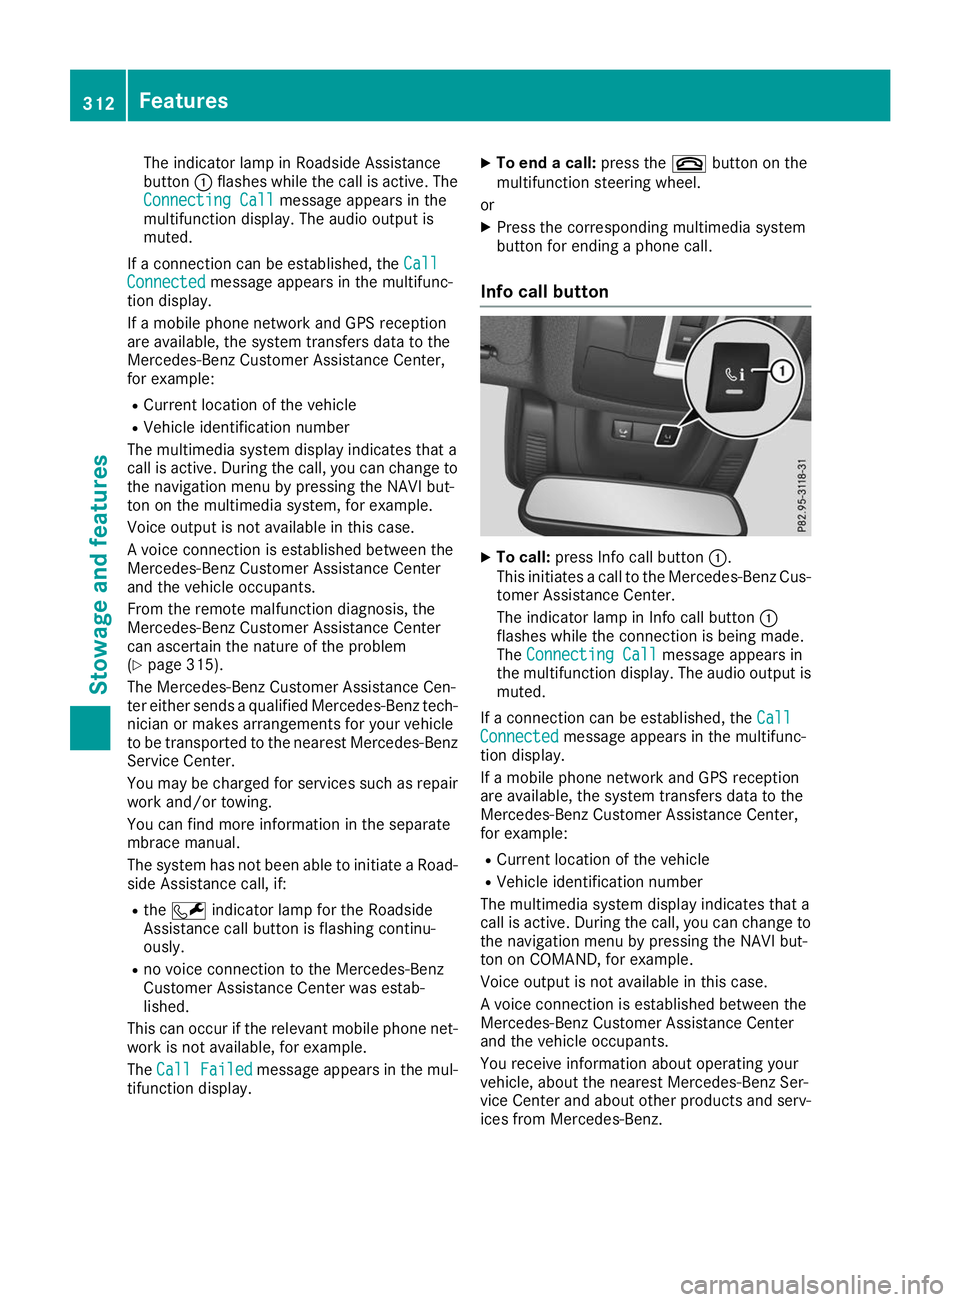
Info call button X
To call: press Info call button 0043.
This initiates a call to the Mercedes-Benz Cus-
tomer Assistance Center.
The indicator lamp in Info call button 0043
flashes while the connection is being made.
The Connecting Call Connecting Call message appears in
the multifunction display. The audio output is muted.
If a connection can be established, the Call
Call
Connected
Connected message appears in the multifunc-
tion display.
If a mobile phone network and GPS reception
are available, the system transfers data to the
Mercedes-Benz Customer Assistance Center,
for example:
R Current location of the vehicle
R Vehicle identification number
The multimedia system display indicates that a
call is active. During the call, you can change to
the navigation menu by pressing the NAVI but-
ton on COMAND, for example.
Voice output is not available in this case.
A voice connection is established between the
Mercedes-Benz Customer Assistance Center
and the vehicle occupants.
You receive information about operating your
vehicle, about the nearest Mercedes-Benz Ser-
vice Center and about other products and serv- ices from Mercedes-Benz. 312
FeaturesStowage and features
Page 328 of 398
A qualified specialist workshop will reset the
ASSYST PLUS service interval display after the
service work has been carried out. You can also obtain further information on maintenance
work, for example.
Special service requirements The specified maintenance interval takes only
the normal operation of the vehicle into
account. Under increased load on the vehicle,
maintenance work must be carried out more
frequently, for example:
R Regular city driving with frequent intermedi-
ate stops
R If the vehicle is primarily used to travel short
distances
R Use in mountainous terrain or on poor road
surfaces
R If the engine is often left idling for long periods
Under these or similar conditions, have, for
example, the air filter, engine oil and oil filter
replaced or changed more frequently. Under
arduous operating conditions, the tires must be
checked more often. Further information can be
obtained at a qualified specialist workshop.
Driving abroad An extensive Mercedes-Benz Service network is
also available in other countries. You can obtain further information from any authorized
Mercedes-Benz Center. Care
General notes
H
Environmental note
Dispose of empty packaging and cleaning
cloths in an environmentally responsible man-
ner.
! When cleaning your car, do not use:
R dry, coarse or hard cloths
R abrasive cleaning agents
R solvents
R cleaning agents containing solvents
Do not scrub.
Do not touch the surfaces and films with hard objects, e.g. rings or ice scrapers. Otherwise, you may scratch or damage the surfaces and
films.
! Do not park your vehicle for a long period of
time directly after cleaning, particularly after
cleaning the wheel rim with wheel cleaner.
Wheel cleaner can lead to the increased cor-
rosion of the brake discs and pads. Therefore,
drive for a few minutes after cleaning. By
heating up the brakes, the brake discs and
pads dry. The vehicle can then be parked for a
long period of time.
Regular care of your vehicle is a condition for
retaining the quality in the long term.
Use care products and cleaning agents recom-
mended and approved by Mercedes-Benz. Washing the vehicle and cleaning the
paintwork
Automatic car wash G
WARNING
Braking efficiency is reduced after washing
the vehicle. There is a risk of an accident.
After the vehicle has been washed, brake
carefully while paying attention to the traffic
conditions until full braking power is restored.
! Before driving into an automatic car wash,
make sure that it is suitable for the dimen-
sions of the vehicle. In particular, make sure
that:
R there is enough ground clearance between
the vehicle underbody and the guide rails of the automatic car wash.
R the clearance width of the automatic car
wash is sufficient, particularly the width of
the guide rails.
R you enter the automatic car wash straight
and in the center of the guide rails in order
to avoid damaging the tires or wheel rims.
Fold in the exterior mirrors before the vehicle
is washed. The exterior mirrors could other-
wise be damaged.
! When Active Distance Assist DISTRONIC or
the HOLD function is activated, the vehicle
brakes automatically in certain situations. 326
CareMaintenance and care
Page 339 of 398
be used as a temporary measure. Make sure
that you use the proper size and type (sum-
mer or winter tire).
i Vehicles equipped with MOExtended tires
are not equipped with a TIREFIT kit at the fac- tory. It is therefore recommended that you
additionally equip your vehicle with a TIREFIT
kit if you mount tires that do not feature run- flat properties, e.g. winter tires. A TIREFIT kit
may be obtained from a qualified specialist
workshop.
Important safety notes G
WARNING
When driving in emergency mode, the driving characteristics deteriorate, e.g. when corner-
ing, accelerating quickly and when braking.
There is a risk of an accident.
Do not exceed the stated maximum speed.
Avoid abrupt steering and driving maneuvers,
and driving over obstacles (curbs, potholes,
off-road). This applies in particular to a laden
vehicle.
Stop driving in emergency mode if:
R you hear banging noises.
R the vehicle starts to shake.
R you see smoke and smell rubber.
R ESP ®
is intervening constantly.
R there are tears in the sidewalls of the tire.
After driving in emergency mode, have the
wheel rims checked at a qualified specialist
workshop with regard to their further use. The defective tire must be replaced in every case. TIREFIT kit
Important safety notes TIREFIT is a tire sealant.
You can use TIREFIT to seal punctures of up to
0.16 in (4 mm), particularly those in the tire
tread. You can use TIREFIT at outside tempera-
tures down to 00F84 ‡ (00F820 †). G
WARNING
In the following situations, the tire sealant is
unable to provide sufficient breakdown assis- tance, as it is unable to seal the tire properly:
R there are cuts or punctures in the tire larger
than those mentioned above.
R the wheel rim is damaged.
R you have driven at very low tire pressures or
on a flat tire.
There is a risk of an accident.
Do not drive the vehicle. Contact a qualified
specialist workshop. G
WARNING
The tire sealant is harmful and causes irrita-
tion. It must not come into contact with your
skin, eyes or clothing or be swallowed. Do not inhale TIREFIT fumes. Keep tire sealant away
from children. There is a risk of injury.
If you come into contact with the tire sealant,
observe the following:
R Rinse off the tire sealant from your skin
immediately with water.
R If the tire sealant comes into contact with
your eyes, immediately rinse them thor-
oughly with clean water.
R If tire sealant is swallowed, immediately
rinse your mouth out thoroughly and drink
plenty of water. Do not induce vomiting,
and seek medical attention immediately.
R Immediately change out of clothing which
has come into contact with tire sealant.
R If an allergic reaction occurs, seek medical
attention immediately.
! Do not operate the tire inflation compressor
for longer than eight minutes at a time without a break. It may otherwise overheat.
The tire inflation compressor can be operatedagain once it has cooled down.
Comply with the manufacturer’s safety instruc-
tions on the sticker on the tire inflation com-
pressor. Flat tire
337Breakdown assistance Z
Page 360 of 398
a corresponding warning message will appear in
the multifunction display.
You can recognize the tire pressure loss warning
by the Run Flat Indicator Active Press Run Flat Indicator Active Press
'OK' to Restart
'OK' to Restart message which appears in
the Service
Service menu of the multifunction display.
Information on the message display can be
found in the "Restarting the tire pressure loss
warning system" section (Y page 358).
Important safety notes The tire pressure warning system does not warn
you of an incorrectly set tire pressure. Observe
the notes on the recommended tire pressure
(Y page 354).
The tire pressure loss warning does not replace
the need to regularly check the tire pressure. An even loss of pressure on several tires at the
same time cannot be detected by the tire pres-
sure loss warning system.
The tire pressure monitor is not able to warn you of a sudden loss of pressure, e.g. if the tire is
penetrated by a foreign object. In the event of a
sudden loss of pressure, bring the vehicle to a
halt by braking carefully. Avoid abrupt steering
movements.
The function of the tire pressure loss warning
system is limited or delayed if:
R snow chains are mounted on your vehicle's
tires.
R road conditions are wintry.
R you are driving on sand or gravel.
R you adopt a very sporty driving style (corner-
ing at high speeds or driving with high rates of
acceleration).
R you are driving with a heavy load (in the vehi-
cle or on the roof).
Restarting the tire pressure loss warn-
ing system Restart the tire pressure loss warning system if
you have:
R changed the tire pressure
R changed the wheels or tires
R mounted new wheels or tires
X Before restarting, make sure that the tire
pressures are set properly on all four tires for
the respective operating conditions.
The recommended tire pressure can be found on the Tire and Loading Information placard on the B-pillar. Additionally, a tire pressure
table is attached to the fuel filler flap. The tire
pressure loss warning system can only give
reliable warnings if you have set the correct
tire pressure. If an incorrect tire pressure is
set, these incorrect values will be monitored.
X Also observe the notes in the section on tire
pressures (Y page 354).
X Make sure that the SmartKey is in position 0048
in the ignition lock (Y page 135).
X Press the 0059or0065 button on the steering
wheel to select the Service
Service menu.
X Press the 0063or0064 button to select
Tire Pressure Tire Pressure.
X Press the 0076button.
The Run Flat Indicator Active Press
Run Flat Indicator Active Press
'OK' to Restart
'OK' to Restart message appears in the
multifunction display.
If you wish to confirm the restart:
X Press the 0076button.
The Tire Pressure Now OK?
Tire Pressure Now OK? message
appears in the multifunction display.
X Press the 0063or0064 button to select Yes
Yes.
X Press the 0076button.
The Run Flat Indicator Restarted
Run Flat Indicator Restarted mes-
sage appears in the multifunction display.
After a teach-in period, the tire pressure loss
warning system will monitor the set tire pres-
sures of all four tires.
If you wish to cancel the restart: X Press the 0038button.
or
X When the Tire
TirePressure
Pressure Now
NowOK?
OK?message
appears, press the 0063or0064 button to
select Cancel
Cancel .
X Press the 0076button.
The tire pressure values stored at the last
restart will continue to be monitored. Tire pressure monitor
General notes If a tire pressure monitor is installed, the vehi-
cle's wheels have sensors that monitor the tire
pressures in all four tires. The tire pressure mon-
itor warns you if the pressure drops in one or
more of the tires. The tire pressure monitor only functions if the corresponding sensors are
installed in all wheels. 358
Tire pressureWheels and tires