2019 MERCEDES-BENZ GLE COUPE key
[x] Cancel search: keyPage 377 of 697
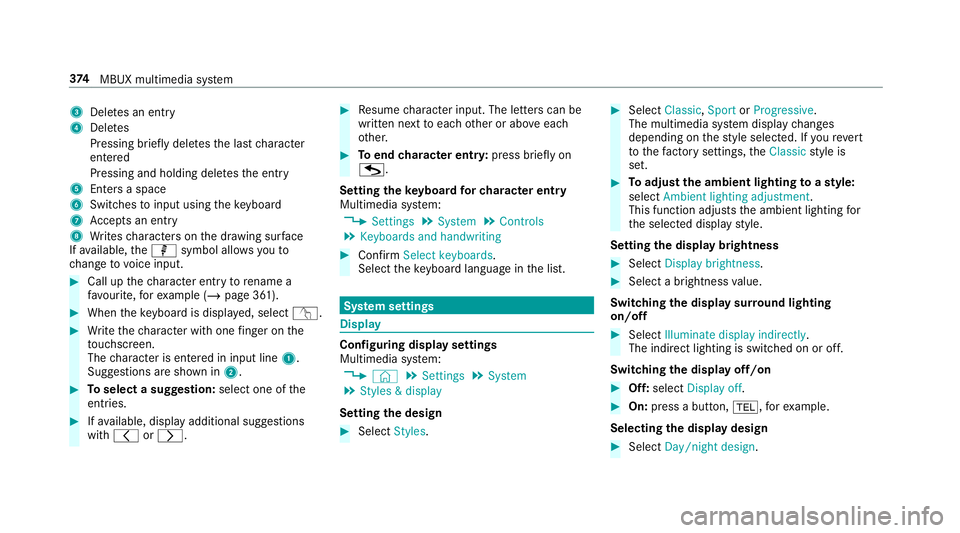
3
Deletes an entry
4 Deletes
Pressing brief lydele testh e last character
entered
Pressing and holding dele testh e entry
5 Enters a space
6 Switches toinput using theke yboard
7 Accepts an entry
8 Writes characters on the dr awing sur face
If av ailable, thep symbol allo wsyouto
ch ange tovoice input. #
Call up thech aracter ent ryto rename a
fa vo urite, forex ample (/ page 361). #
When theke yboard is displa yed, select v. #
Write thech aracter with one finger on the
to uchsc reen.
The character is entered in input line 1.
Suggestions are shown in 2.#
Toselect a suggestion: select one ofthe
entri es. #
Ifav ailable, display additional suggestions
with q orr. #
Resume character input. The letters can be
written next toeach other or abo veeach
ot her. #
Toend character entr y:press briefly on
G.
Setting theke yboard forch aracter entry
Multimedia sy stem:
4 Settings 5
System 5
Controls
5 Keyboards and handwriting #
Confirm Select keyboards.
Select theke yboard language in the list. Sy
stem settings Display
Configuring display settings
Multimedia sy
stem:
4 © 5
Settings 5
System
5 Styles & display
Setting the design #
Select Styles. #
Select Classic ,Sport orProgressive .
The multimedia sy stem display changes
depending on thest yle selected. If youre ve rt
to thefa ctory settings, theClassic style is
set. #
Toadjust the ambient lighting toastyl e:
select Ambient lighting adjustment.
This function adjusts the ambient lighting for
th e selected display style.
Setting the display brightness #
Select Display brightness . #
Select a brightness value.
Switching the display sur round lighting
on/off #
Select Illuminate display indirectly .
The indirect lighting is switched on or off.
Switching the display off/on #
Off: select Display off . #
On: press a button, %,forex ample.
Selecting the display design #
Select Day/night design .374
MBUX multimedia sy stem
Page 380 of 697
Yo
u can use Blue tooth®
to connect your mobile
phone tothe multimedia sy stem and use thefo l‐
lowing functions, forex ample:
R Hands-free sy stem with access tothefo llow‐
ing options:
- con tacts (/ page 438)
- call lists (/ page442)
R Inte rn et connection (/ page 466)
R Listening tomusic via Blue tooth ®
audio
(/ page 479)
R Trans ferring business cards (vCards) into the
ve hicle
Blue tooth ®
is a regis tere d trademark of Blue‐
to oth Special Interest Group (SIG) Inc.
% Internet connection via Blue tooth®
is not
av ailable in all countries.
Ac tivating/deactivating Blue tooth ®
Multimedia sy stem:
4 © 5
Settings 5
System
5 Wi-Fi & Bluetooth #
Switch Bluetooth on or off. Wi
-Fi Wi
-Fi connection overview
Yo u can use Wi-Fi toestablish a connection with
a Wi -Fi network and toaccess the Internet or
ot her network devices.
The following connection options are available:
R Wi-Fi connection
The Wi-Fi connection toaWi -Fi-capable
device, e.g. the cus tomer's mobile phone or
a ta blet PC is es tablished.
R Multimedia sy stem as a Wi-Fi hotspot
Using this function, a tablet PC or no tebook
can be connec ted, forex ample. The connec‐
te d device can use the data tariff of theve hi‐
cle. A maximum of thre e devices can be con‐
nected with the hotspot at the same time.
% The use of theve hicle data tariff by extern al
devices is not available in all countries.
To estab lish a connection, you can use thefo l‐
lowing me thods:
R WPS PIN The connection
toa secure Wi-Fi network is
made via a PIN.
R WPS PBC
The connection toa secure Wi-Fi network is
made bypressing a button (push button).
R Security key
The connection toa secure Wi-Fi network is
made via a secu rity key.
Setting up Wi-Fi
Requ irements:
R Toset up theWi -Fi connection of the mul‐
timedia sy stem with new devices: there is
no communication module ins talled.
R The device tobe connec ted supports one of
th eth re e means of connection described. MBUX multimedia sy
stem 377
Page 381 of 697
Multimedia sy
stem:
4 © 5
Settings 5
System
5 Wi-Fi & Bluetooth
Ac tivating/deactivating Wi-Fi #
Select Wi-Fi.
If Wi -Fi is switched on, you can connect the
multimedia sy stem with extern al hotspots. If
Wi -Fi is deacti vated, communication via Wi-Fi
to all devices is inter rupte d. This also means
th at a connection tothe communication
module cann otbe es tablished. Then some
functions such as dynamic route guidance
with Live Traf fic Information are not availa‐
ble.
Connecting the multimedia sy stem with a
new device via Wi-Fi
This function is available if a communication
module is not ins talled.
The type of connection es tablished must be
selected on the multimedia sy stem and on the
device tobe connec ted.
% The connection procedure may dif fer
depending on the device. Follow the instruc‐ tions
that are shown in the displa y.Fu rther
information (see the manufacturer's operat‐
ing instructions). #
Select Internet settings . #
Select Connect via Wi-Fi. #
Select Add hotspot.
Connecting using a security key #
Select the options rofthe desired Wi-Fi
networ k. #
Select Connect using security key . #
Have the security key displa yed on the device
to be connec ted (see the manufacturer's
operating instructions). #
Ente rth is security key on the multimedia sys‐
te m. #
Confirm the entry with¡.
% All devices support a security key as a
means of connection.
Connecting using a WPS PIN #
Select the options rofthe desired Wi-Fi
networ k. #
Select Connect using WPS PIN input .
The multimedia sy stem generates an eight-
digit PIN. #
Enter this PIN on the device tobe connec ted. #
Confirm the entry.
Connecting using a but ton #
Select the options rofthe desired Wi-Fi
networ k. #
Select Connect via WPS PBC . #
Select "Connect via WPS PBC" in the options
on the device tobe connec ted (see the man‐
ufacturer's operating instructions). #
Press the WPS button on the device tobe
connec ted. #
Select Continue inthe multimedia sy stem.
Ac tivating automatic connection #
Select Connect via Wi-Fi . #
Select the options rofthe desired Wi-Fi
networ k. #
Activate Permanent Internet connection .378
MBUX multimedia sy stem
Page 382 of 697
Connecting with a known
Wi-Fi #
Select Connect via Wi-Fi . #
Select a Wi-Fi networ k.
The connection is es tablished again.
Setting up a Wi-Fi hotspot
Multimedia sy stem:
4 © 5
Settings 5
System
5 Wi-Fi & Bluetooth
Configuring the multimedia sy stem as a Wi-
Fi hotspot
The type of connection es tablished depends on
th e device tobe connec ted. The function must
be suppor tedby the multimedia sy stem and by
th e device tobe connec ted. The type of connec‐
tion es tablished must be selected on the multi‐
media sy stem and on the device tobe connec‐
te d. #
Select Vehicle hotspot. #
Select Connect device to vehicle hotspot .
Connecting using WPS PIN generation #
Select Connect using WPS PIN generation. #
Ente rth e PIN shown in the media display on
th e device tobe connec ted and con firm.
Connecting using WPS PIN entry #
Select Connect using WPS PIN input. #
Enterth e PIN that is shown on theex tern al
device's display on the multimedia sy stem.
Connecting using a button #
Select Connect via WPS PBC. #
Press the push button on the device tobe
connec ted (see the manufacturer's operating
instructions). #
Select Continue.
Connecting using a security key #
Select Connect device to vehicle hotspot .
A secu rity key is displa yed. #
Select theve hicle from the device tobe con‐
nec ted. The vehicle is displa yed with theMB
Hotspot XXXXX network name. #
Ente rth e security key which is shown in the
media display on the device tobe connec ted. #
Confirm the entry. Connecting using NFC #
Select Connect via NFC. #
Activate NFC on the mobile device (see the
manufacturer's operating instructions). #
Bring the mobile device into the NFC area of
th eve hicle (/ page 432). #
Select Finished.
The mobile device is now connected tothe
multimedia sy stem hotspot via NFC.
Generating a new security key #
Select Vehicle hotspot. #
Select Generate security key .
A connection will be es tablished with the
newly crea ted security key. #
Tosave a security key:select Save.
When a new security key is sa ved, all existing
Wi -Fi connections are then disconnected. If
th eWi -Fi connections are being re-es tab‐
lished, the new security key must be en tere d. MBUX multimedia sy
stem 37 9
Page 441 of 697
Ac
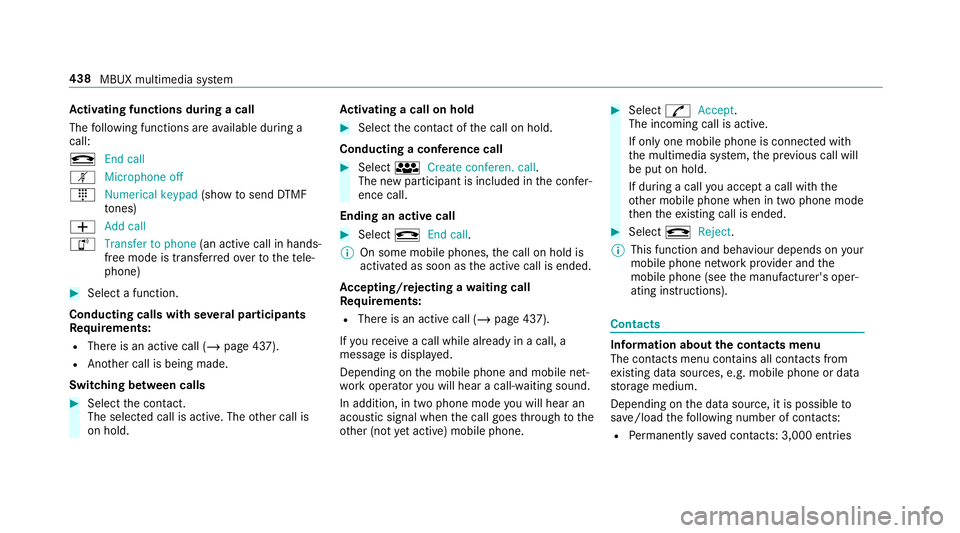
tivating functions during a call
The following functions are available during a
call:
k End call
m Microphone off
_ Numerical keypad (showtosend DTMF
to nes)
W Add call
h Transfer to phone (an activecall in hands-
free mode is transfer redove rto thete le‐
phone) #
Select a function.
Conducting calls with se veral participants
Re quirements:
R There is an active call (/ page 437).
R Another call is being made.
Switching between calls #
Select the conta ct.
The selected call is acti ve. The other call is
on hold. Ac
tivating a call on hold #
Select the conta ct ofthe call on hold.
Conducting a conference call #
Select iCreate conferen. call.
The new participant is included in the confe r‐
ence call.
Ending an active call #
Select kEnd call .
% On some mobile phones, the call on hold is
activated as soon as the active call is ended.
Ac cepting/rejecting a waiting call
Re quirements:
R There is an active call (/ page 437).
If yo ure cei vea call while already in a call, a
message is displa yed.
Depending on the mobile phone and mobile net‐
wo rkoperator you will hear a call- waiting sound.
In addition, in two phone mode you will hear an
acoustic signal when the call goes thro ugh tothe
ot her (not yet acti ve) mobile phone. #
Select RAccept.
The incoming call is active.
If only one mobile phone is connec ted with
th e multimedia sy stem, the pr evious call will
be put on hold.
If during a call you accept a call with the
ot her mobile phone when in two phone mode
th en theex isting call is ended. #
Select kReject.
% This function and behaviour depends on your
mobile phone network pr ovider and the
mobile phone (see the manufacturer's oper‐
ating instructions). Contacts
Information about
the contacts menu
The con tacts menu contains all contacts from
ex isting data sources, e.g. mobile phone or data
st orage medium.
Depending on the data source, it is possible to
sa ve /load thefo llowing number of con tacts:
R Perm anently sa ved con tacts: 3,000 entries 438
MBUX multimedia sy stem
Page 624 of 697
Display messages
Possible causes/consequences and M
MSolutions #
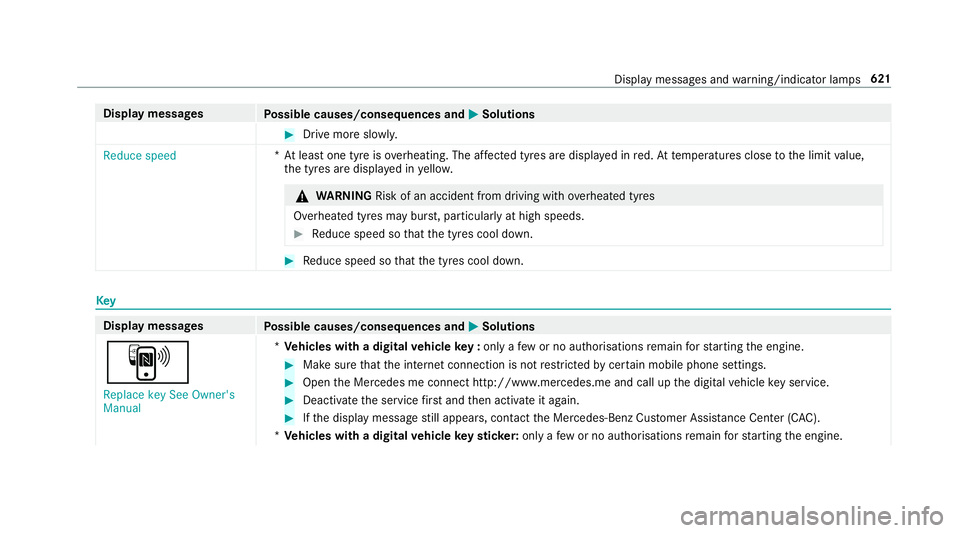
Drive more slowl y.
Reduce speed *A
t least one tyre is overheating. The af fected tyres are displ ayed in red. At temp eratures close tothe limit value,
th e tyres are displa yed in yello w. &
WARNING Risk of an accident from driving wi thove rheated tyres
Overheated tyres may bur st, particularly at high speeds. #
Reduce speed so that the tyres cool down. #
Reduce speed so that the tyres cool down. Key
Display messages
Possible causes/consequences and M
MSolutions
À Replace key See Owner's
Manual *
Ve hicles with a digital vehicle key : only a few or no authorisations remain forst arting the engine. #
Make sure that the internet connection is not restricted bycer tain mobile phone settings. #
Open the Mercedes me connect http://www.mercedes.me and call up the digital vehicle key service. #
Deactivate the service firs t and then activate it again. #
Ifth e display message still appears, con tact the Mercedes-Benz Cus tomer Assis tance Center (C AC).
* Ve hicles with a digital vehicle keyst icke r:on lyafe w or no authorisations remain forst arting the engine. Display messages and
warning/indicator lamps 621
Page 625 of 697
Display messages
Possible causes/consequences and M
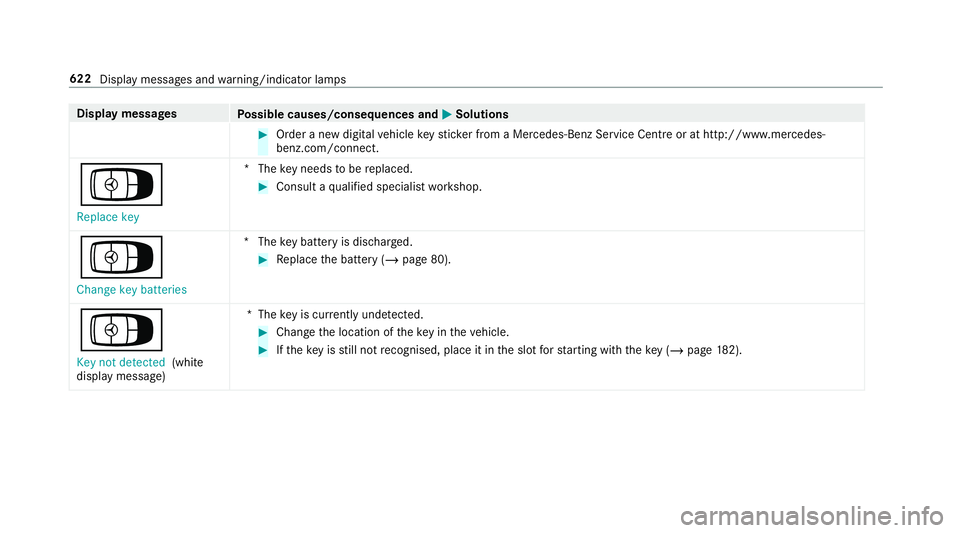
MSolutions #
Order a new digital vehicle keyst icke r from a Mercedes-Benz Service Centre or at http://www.mercedes-
benz.com/connect.
Á
Replace key *T
hekey needs tobe replaced. #
Consult a qualified specialist workshop.
Á Change key batteries *T
hekey bat tery is dischar ged. #
Replace the battery (/ page 80).
Á Key not detected (white
display message) *T
hekey is cur rently und etected. #
Change the location of theke y in theve hicle. #
Ifth eke y is still not recognised, place it in the slot forst arting with theke y (/ page182). 622
Displaymessa ges and warning/indicator lamps
Page 626 of 697
Display messages
Possible causes/consequences and M
MSolutions
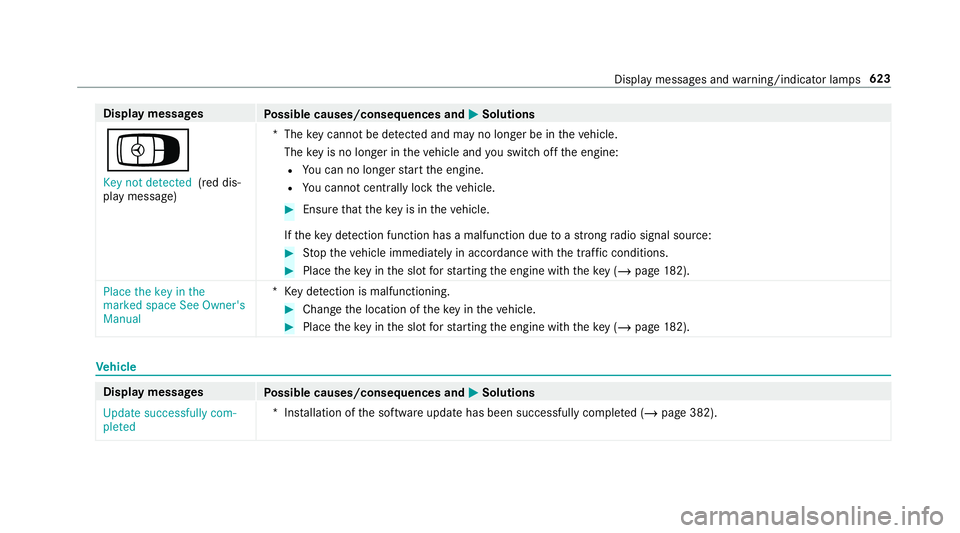
Á Key not detected (red dis‐
play message) *T
hekey cannot be de tected and may no longer be in theve hicle.
The key is no lon ger in theve hicle and you swit choff the engine:
R You can no lon gerst art the engine.
R You cannot centrally lock theve hicle. #
Ensure that theke y is in theve hicle.
If th eke y de tection function has a malfunction due toast ro ng radio signal source: #
Stop theve hicle immediately in accordance with the traf fic conditions. #
Place theke y in the slot forst arting the engine with theke y (/ page182).
Place the key in the
marked space See Owner's
Manual *K
eydetection is malfunctioning. #
Change the location of theke y in theve hicle. #
Place theke y in the slot forst arting the engine with theke y (/ page182). Ve
hicle Display messages
Possible causes/consequences and M MSolutions
Update successfully com-
pleted *I
nstallation of the software update has been successfully comple ted (/ page 382). Display messages and
warning/indicator lamps 623