Page 346 of 607
Driving your vehicle
18
6
Shift lock system
For your safety, the automatic
transaxle has a shift lock system
which prevents shifting the transaxle
from P (Park) into R (Reverse)
unless the brake pedal is depressed.
To shift the transaxle from P (Park)
into R (Reverse):
1.Depress and hold the brake pedal.
2.Start the engine or turn the ignition
switch to the ON position.
3.Move the shift lever.
If the brake pedal is repeatedly
depressed and released with the
shift lever in the P (Park) position, a
chattering noise & vibration near the
shift lever may be heard. It is a nor-
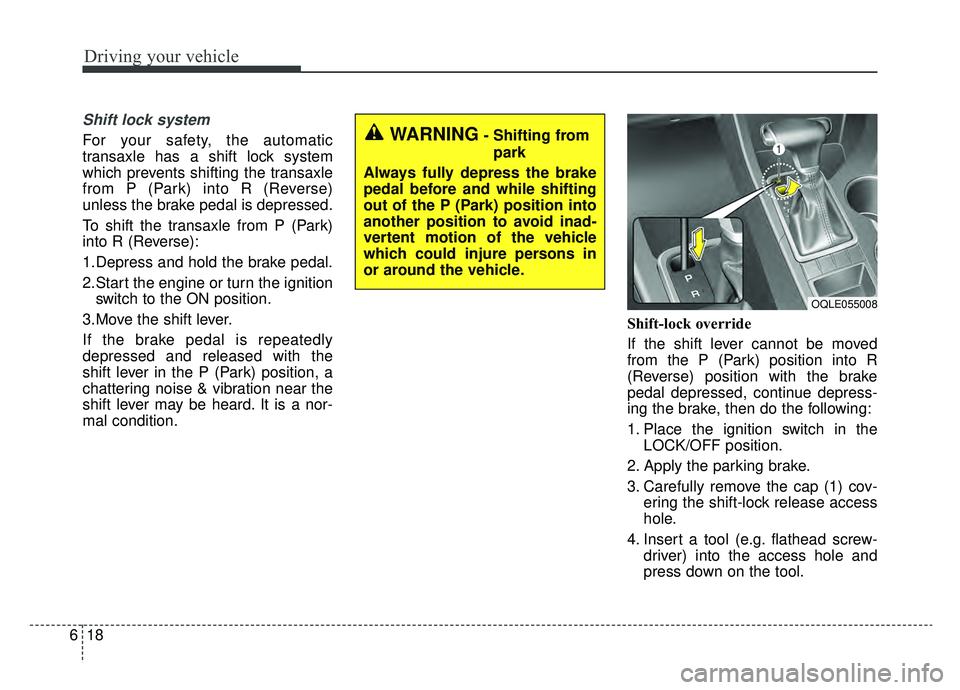
mal condition. Shift-lock override
If the shift lever cannot be moved
from the P (Park) position into R
(Reverse) position with the brake
pedal depressed, continue depress-
ing the brake, then do the following:
1. Place the ignition switch in the
LOCK/OFF position.
2. Apply the parking brake.
3. Carefully remove the cap (1) cov- ering the shift-lock release access
hole.
4. Insert a tool (e.g. flathead screw- driver) into the access hole and
press down on the tool.WARNING- Shifting from
park
Always fully depress the brake
pedal before and while shifting
out of the P (Park) position into
another position to avoid inad-
vertent motion of the vehicle
which could injure persons in
or around the vehicle.
OQLE055008
Page 347 of 607
619
Driving your vehicle
5. Move the shift lever.
6. Remove the tool from the shiftlockoverride access hole then install
the cap.
7. We recommend that the system be inspected by an authorized Kia
dealer.
Ignition key interlock system
The ignition key cannot be removed
unless the shift lever is in the P
(Park) position. Even if the ignition
switch is in the LOCK position, the
key cannot be removed.
If your vehicle is equipped with
ENGINE START/STOP button, the
button will not change to the OFF
position unless the shift lever is in the
P (Park) position.
Good driving practices
Never move the gear shift leverfrom P (Park) to any other position
with the accelerator pedal
depressed.
Never move the gear shift lever into P (Park) when the vehicle is in
motion.
Slow down before shifting to a lower gear. Otherwise, the lower
gear may not be engaged.
Always use the parking brake. Do not depend on placing the
transaxle in P (Park) to keep the
vehicle from moving.
Optimum vehicle performance and economy is obtained by smoothly
depressing and releasing the
accelerator pedal.
✽ ✽ NOTICE- Kickdown
Mechanism
Use the kickdown mechanism for
maximum acceleration. Depress the
accelerator pedal beyond the pres-
sure point. The automatic transaxle
will shift to a lower gear depending
on the engine speed.
Moving up a steep grade from astanding start
To move up a steep grade from a
standing start, depress the brake
pedal, shift the shift lever to D
(Drive). Select the appropriate gear
depending on load weight and steep-
ness of the grade, and release the
parking brake. Depress the accelera-
tor gradually while releasing the
service brakes.
When accelerating from a stop on
a steep hill, the vehicle may have a
tendency to roll backwards.
Shifting the shift lever into 2
(Second Gear) will help prevent
the vehicle from rolling back-
wards.
Page 349 of 607
621
Driving your vehicle
✽ ✽NOTICE
If the AWD system warning light
( ) illuminates, this indicates that
there is a malfunction in the AWD
system.
If this occurs, we recommend that
the system be checked by an author-
ized Kia dealer.
Tight corner brake effect
✽ ✽NOTICE- AWD
When turning sharply on a paved
road at low speed while in all wheel
drive, steering control will be difficult.
Tight corner brake effect is a unique
characteristic of all wheel drive vehi-
cles caused by the difference in tire
rotation at the four wheels and the
zero-degree alignment of the front
wheels and suspension.
Sharp turns at low speeds should be
carried out with caution.
Page 353 of 607
625
Driving your vehicle
If you need to drive in the water,stop your vehicle, set your transfer
to the AWD LOCK mode and drive
at less than 5 mph (8 km/h).✽ ✽ NOTICE
• Do not drive in water if the level is
higher than the bottom of the vehi-
cle.
• Check your brake condition once you are out of mud or water. Press
the brake pedal several times as
you move slowly until you feel nor-
mal braking forces return.
• Shorten your scheduled mainte- nance interval if you drive in off-
road conditions such as sand, mud
or water (see “Maintenance under
severe usage conditions” in section
8). Always wash your vehicle thor-
oughly after off-road use, especially
cleaning the bottom of the vehicle.
• Since the driving torque is always applied to the 4 wheels the per-
formance of the AWD vehicle is
greatly affected by the condition of
the tires. Be sure to equip the vehi-
cle with four tires of the same size
and type.
• A full time all wheel drive vehicle cannot be towed by an ordinary
tow truck. Make sure that the
vehicle is placed on a flat bed
truck for moving.
WARNING - Driving
through water
Drive slowly. If you are driving
too fast in water, the water can
get into the engine compart-
ment and wet the ignition sys-
tem, causing your vehicle to
suddenly stop. If this happens
and your vehicle is in a tilted
position, your vehicle may roll
over.
WARNING - AWD driving
Avoid high cornering speed.
Do not make quick steering wheel movements, such as
sharp lane changes or fast,
sharp turns.
The risk of rollover is greatly increased if you lose control
of your vehicle at high speed.
Loss of control often occurs if two or more wheels drop off
the roadway and the driver
over-steers to re-enter the
roadway. In the event your
vehicle leaves the roadway, do
not steer sharply. Instead,
slow down before pulling
back into the travel lanes.
Page 355 of 607
627
Driving your vehicle
Full-time AWD vehicles must betested on a special four wheel
chassis dynamometer.
✽ ✽ NOTICE
Never engage the parking brake
while performing these tests.
A full-time AWD vehicle should not
be tested on a FWD roll tester. If a
FWD roll tester must be used, per-
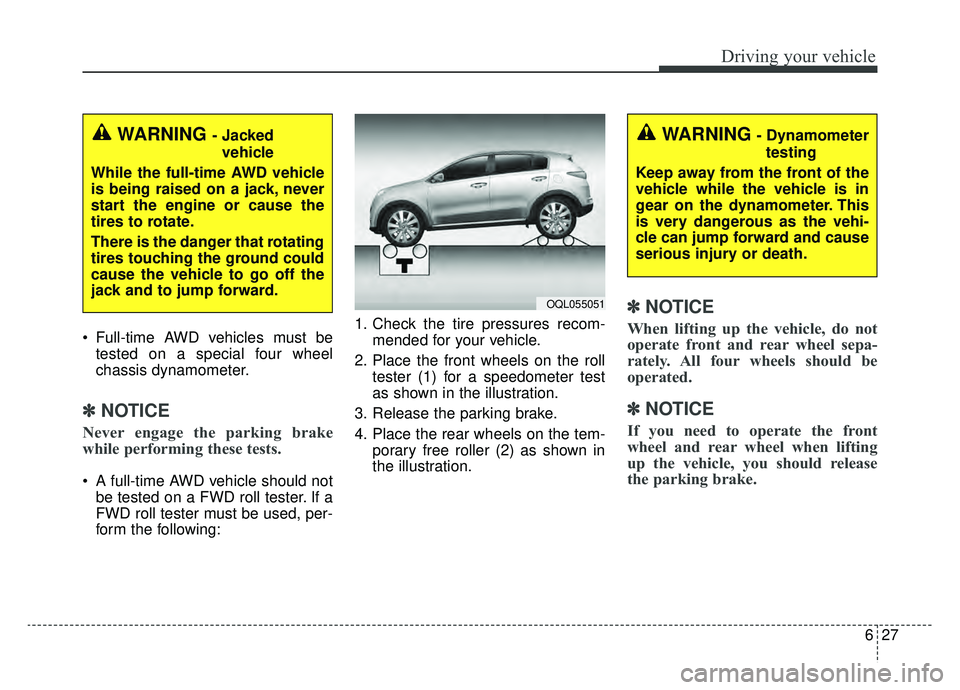
form the following: 1. Check the tire pressures recom-
mended for your vehicle.
2. Place the front wheels on the roll tester (1) for a speedometer test
as shown in the illustration.
3. Release the parking brake.
4. Place the rear wheels on the tem- porary free roller (2) as shown in
the illustration.
✽ ✽NOTICE
When lifting up the vehicle, do not
operate front and rear wheel sepa-
rately. All four wheels should be
operated.
✽ ✽NOTICE
If you need to operate the front
wheel and rear wheel when lifting
up the vehicle, you should release
the parking brake.
WARNING - Jacked
vehicle
While the full-time AWD vehicle
is being raised on a jack, never
start the engine or cause the
tires to rotate.
There is the danger that rotating
tires touching the ground could
cause the vehicle to go off the
jack and to jump forward.
OQL055051
WARNING- Dynamometer testing
Keep away from the front of the
vehicle while the vehicle is in
gear on the dynamometer. This
is very dangerous as the vehi-
cle can jump forward and cause
serious injury or death.
Page 356 of 607
Driving your vehicle
28
6
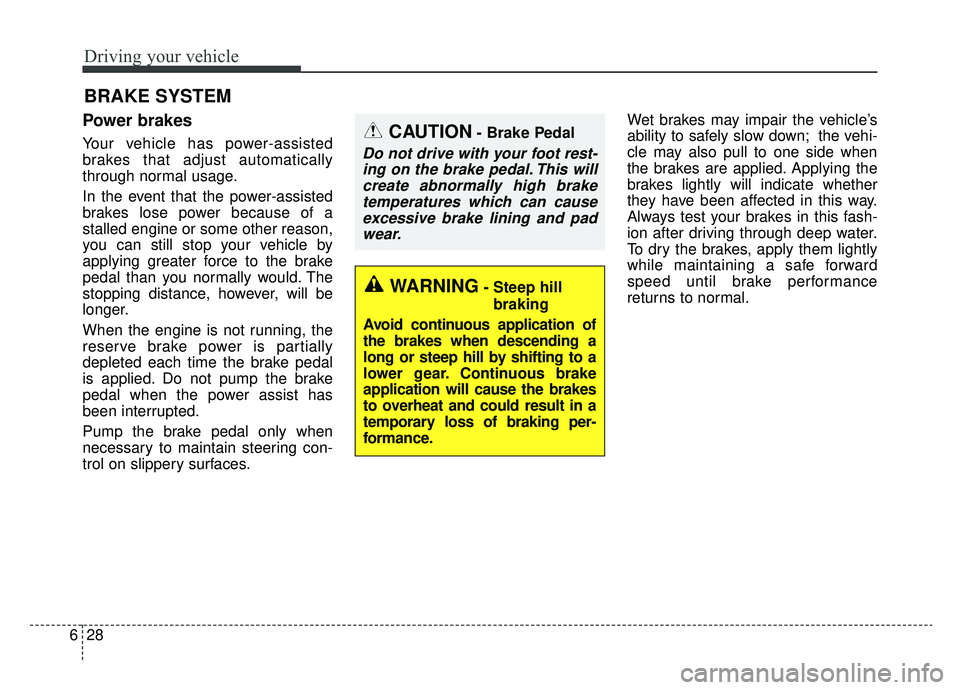
Power brakes
Your vehicle has power-assisted
brakes that adjust automatically
through normal usage.
In the event that the power-assisted
brakes lose power because of a
stalled engine or some other reason,
you can still stop your vehicle by
applying greater force to the brake
pedal than you normally would. The
stopping distance, however, will be
longer.
When the engine is not running, the
reserve brake power is partially
depleted each time the brake pedal
is applied. Do not pump the brake
pedal when the power assist has
been interrupted.
Pump the brake pedal only when
necessary to maintain steering con-
trol on slippery surfaces. Wet brakes may impair the vehicle’s
ability to safely slow down; the vehi-
cle may also pull to one side when
the brakes are applied. Applying the
brakes lightly will indicate whether
they have been affected in this way.
Always test your brakes in this fash-
ion after driving through deep water.
To dry the brakes, apply them lightly
while maintaining a safe forward
speed until brake performance
returns to normal.
BRAKE SYSTEM
WARNING- Steep hill
braking
Avoid continuous application of
the brakes when descending a
long or steep hill by shifting to a
lower gear. Continuous brake
application will cause the brakes
to overheat and could result in a
temporary loss of braking per-
formance.
CAUTION- Brake Pedal
Do not drive with your foot rest- ing on the brake pedal. This willcreate abnormally high braketemperatures which can causeexcessive brake lining and padwear.
Page 357 of 607
629
Driving your vehicle
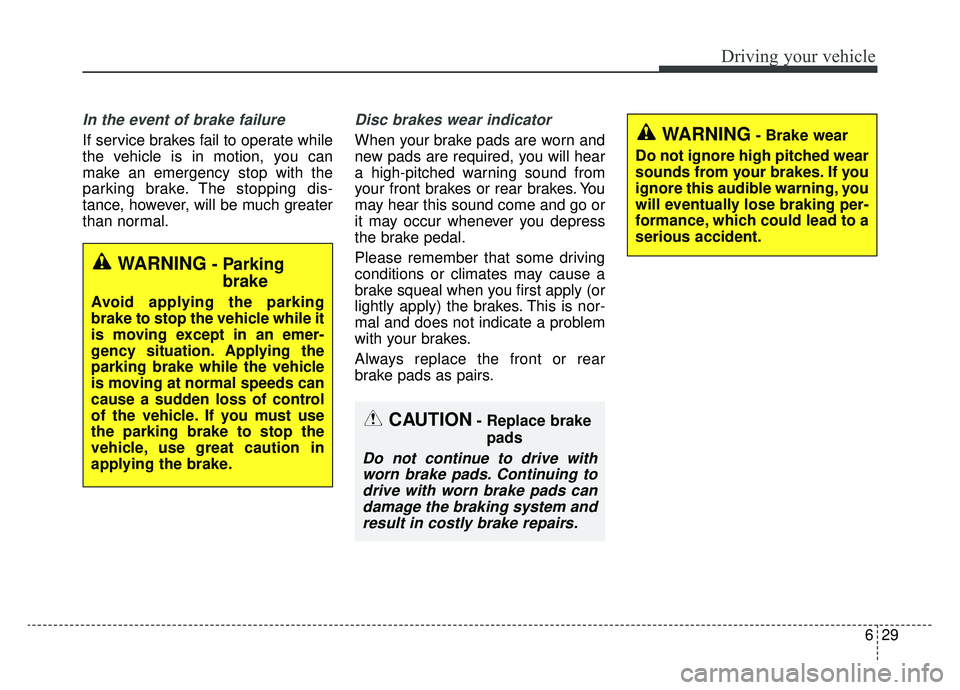
In the event of brake failure
If service brakes fail to operate while
the vehicle is in motion, you can
make an emergency stop with the
parking brake. The stopping dis-
tance, however, will be much greater
than normal.
Disc brakes wear indicator
When your brake pads are worn and
new pads are required, you will hear
a high-pitched warning sound from
your front brakes or rear brakes. You
may hear this sound come and go or
it may occur whenever you depress
the brake pedal.
Please remember that some driving
conditions or climates may cause a
brake squeal when you first apply (or
lightly apply) the brakes. This is nor-
mal and does not indicate a problem
with your brakes.
Always replace the front or rear
brake pads as pairs.
WARNING- Parkingbrake
Avoid applying the parking
brake to stop the vehicle while it
is moving except in an emer-
gency situation. Applying the
parking brake while the vehicle
is moving at normal speeds can
cause a sudden loss of control
of the vehicle. If you must use
the parking brake to stop the
vehicle, use great caution in
applying the brake.
WARNING- Brake wear
Do not ignore high pitched wear
sounds from your brakes. If you
ignore this audible warning, you
will eventually lose braking per-
formance, which could lead to a
serious accident.
CAUTION- Replace brake pads
Do not continue to drive withworn brake pads. Continuing todrive with worn brake pads candamage the braking system andresult in costly brake repairs.
Page 358 of 607
Driving your vehicle
30
6
Parking brake – Foot type
(if equipped)
Applying the parking brake
To engage the parking brake, first
apply the foot brake and then
depress the parking brake pedal
down as far as possible.
Releasing the parking brake
To release the parking brake,
depress the parking brake pedal a
second time while applying the foot
brake. The pedal will automatically
extend to the fully released position.OQL055013
OQL055015
CAUTION - Parking brake
Driving with the parking brake
applied will cause excessivebrake pad (or lining) and brakerotor wear.
WARNING - Parking brake
use
All vehicles should always have
the parking brake fully engaged
when parked to avoid inadver-
tent movement of the vehicles
which can injure occupants or
pedestrians.