Page 124 of 485

3-40
Convenient features of your vehicle
4. Push the control lever forward about 10 seconds.
- When the sunroof is in the closed position :
The glass will tilt and slightly move up and down.
- When the sunroof is in the tilt position:
The glass will slightly move up and down.
Do not release the lever until the
operation is completed.
If you release the lever during opera-
tion, start the procedure again from
step 2.
5. Within 3 seconds, push and hold the control lever forward until the
sunroof operates as follows:
Tilt down → Slide Open → Slide
Close.
Do not release the lever until the
operation is completed. If you release the lever during opera-
tion, start the procedure again from
step 2.
6. Release the sunroof control lever
after all steps have completed.
(The sunroof system has been
reset.)
Information
• If the sunroof is not reset when thevehicle battery is disconnected or
discharged, or the sunroof fuse is
blown, the sunroof may not operate
normally.
• For more detailed information, con- tact an authorized HYUNDAI dealer.
Sunroof Open Warning
(if equipped)
If the driver turns off the enginewhen the sunroof is not fully
closed, the warning chime will
sound for approximately 3 seconds
and the sunroof open warning will
appear on the LCD display.
If the driver turns off the engine and opens the door when the sun-
roof is not fully closed, the open
sunroof warning will appear on the
LCD display until the door is closed
or the sunroof is fully closed.
Close the sunroof securely when
leaving your vehicle.
i
Page 131 of 485
3-47
Convenient features of your vehicle
3
I
IN
N S
ST
T R
R U
U M
M E
EN
N T
T
C
C L
LU
U S
ST
T E
ER
R
1. Tachometer
2. Speedometer
3. Engine coolant temperature gauge
4. Fuel gauge
5. Warning and indicator lights
6. LCD display (including Trip computer)
OOS047101N/OOS047102N
■ ■
Type A
■
■ Type B
The actual cluster in the vehicle may differ
from the illustration.
For more information, refer to the "Gauges
and Meters" in this chapter.
Page 132 of 485
3-48
Convenient features of your vehicle
Instrument Cluster Control
Adjusting instrument clusterillumination
When the vehicle's position lights or
headlights are on, press the illumina-
tion control button to adjust the
brightness of the instrument panel
illumination.
When pressing the illumination con-
trol button, the interior switch illumi-
nation intensity is also adjusted. The brightness of the instrument
panel illumination is displayed.
If the brightness reaches the maxi- mum or minimum level, a chime
will sound.
For information regarding the illu-
mination setting on your audio dis-
play, refer to the "Setup" section of
your Audio or Navigation manual.
Never adjust the instrument
cluster while driving. Doing so
could lead to driver distraction
which may cause an accident
and lead to vehicle damage,
serious injury, or death.
WARNING
OOS047401N
OPDE046110
Page 135 of 485
3-51
Convenient features of your vehicle
3
Outside temperature gauge
This gauge indicates the current out-
side air temperature by 1°F (1°C).
- Temperature range :-40°F ~ 140°F
(-40°C ~ 60°C)
Note that the temperature indicated
on the LCD display may not change
as quickly as the outside tempera-
ture (there may be a slight delay
before the temperature changes.) You can change the temperature unit
from °F to °C or °C to °F in the User
Settings mode in the cluster:
- Go to User Settings Mode
➝Other
➝ Temperature Unit.
For vehicles equipped with Automatic
Climate Control, you can also:
- Press and hold the AUTO and OFF buttons on the climate control unit
for 3 seconds
Both the temperature unit on the
cluster LCD display and climate con-
trol screen will change.
Odometer
The odometer indicates the total dis-
tance that the vehicle has been driv-
en and should be used to determine
when periodic maintenance should
be performed.
OPD047463NOPDE046141R
Page 136 of 485

3-52
Convenient features of your vehicle
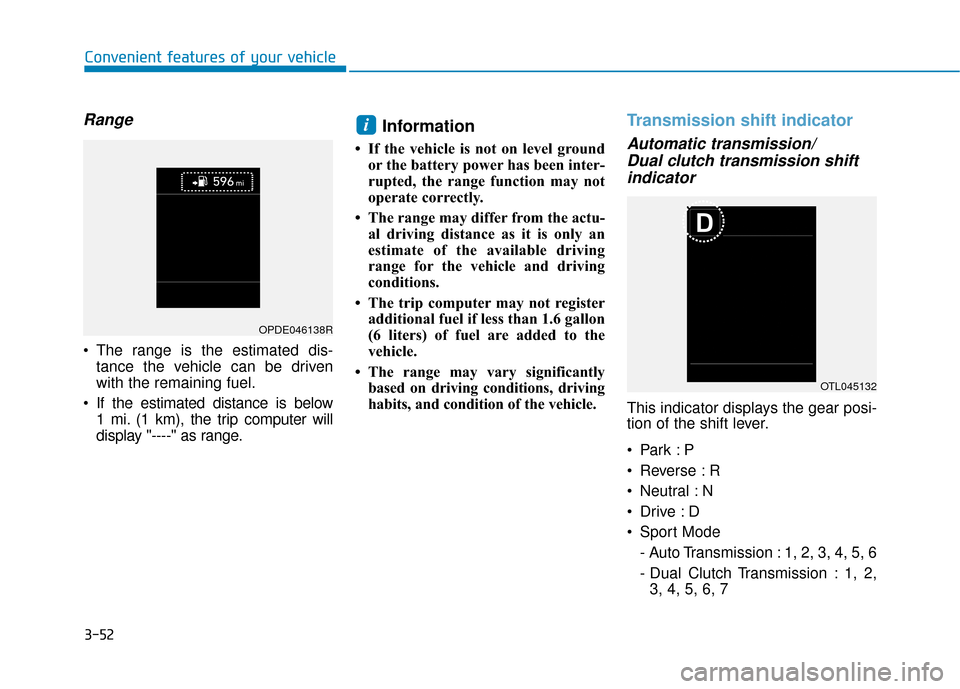
Range
The range is the estimated dis-tance the vehicle can be driven
with the remaining fuel.
If the estimated distance is below 1 mi. (1 km), the trip computer will
display "----" as range.
Information
• If the vehicle is not on level groundor the battery power has been inter-
rupted, the range function may not
operate correctly.
• The range may differ from the actu- al driving distance as it is only an
estimate of the available driving
range for the vehicle and driving
conditions.
• The trip computer may not register additional fuel if less than 1.6 gallon
(6 liters) of fuel are added to the
vehicle.
• The range may vary significantly based on driving conditions, driving
habits, and condition of the vehicle.
Transmission shift indicator
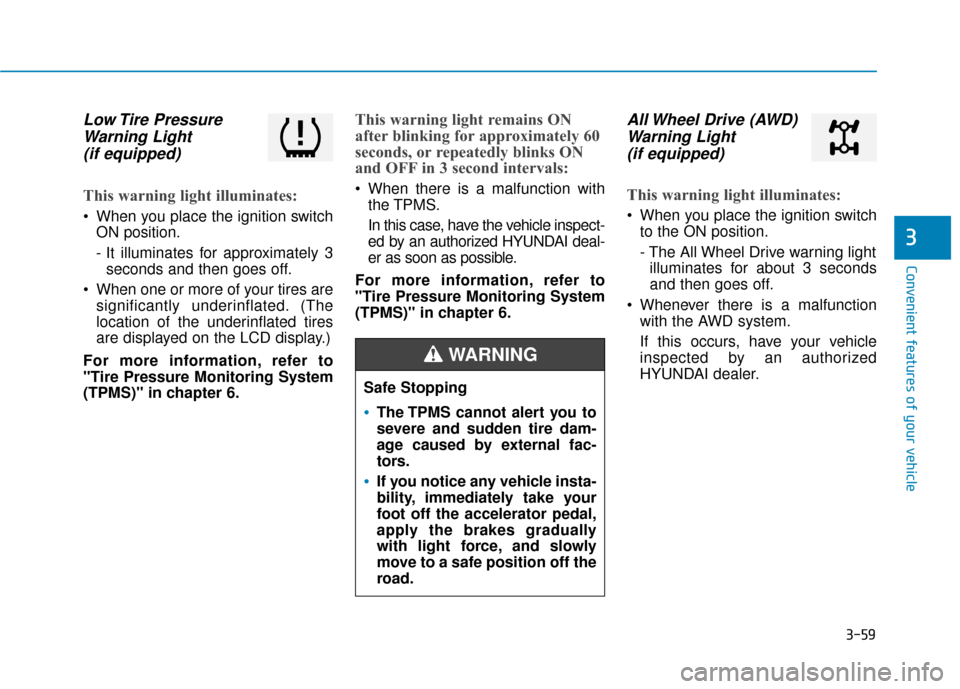
Automatic transmission/Dual clutch transmission shiftindicator
This indicator displays the gear posi-
tion of the shift lever.
Reverse : R
Neutral : N
Sport Mode
- Auto Transmission : 1, 2, 3, 4, 5, 6
- Dual Clutch Transmission : 1, 2,3, 4, 5, 6, 7
i
OPDE046138R
OTL045132
Page 137 of 485

3-53
Convenient features of your vehicle
3
Shift indicator pop-up
The pop-up indicates the current
gear position displayed in the cluster
for about 2 seconds when shifting
into other positions (P/R/N/D).
Warning and Indicator LightsInformation
Make sure that all warning lights are
OFF after starting the engine. If any
light is still ON, this indicates a situa-
tion that needs attention.
Air Bag Warning Light
This warning light illuminates:
When you place the ignition switchto the ON position.
- The air bag warning light illumi-nates for about 6 seconds and
then turns off when all checks
have been performed
The air bag warning light will remain illuminated if there is a mal-
function with the Safety Restraint
System (SRS) air bag operation.
In this case, have the vehicle
inspected by an authorized
HYUNDAI dealer.
Seat Belt Warning Light
This warning light informs the driver
that the seat belt is not fastened.
For more information, refer to
"Seat Belts" in chapter 2.
i
OTL045134
Page 142 of 485
3-58
Convenient features of your vehicle
Low Fuel LevelWarning Light
This warning light illuminates:
When the fuel tank is nearly empty.
Add fuel as soon as possible.
Driving with the Low Fuel Level
warning light on or with the fuel
level below "E" can cause the
engine to misfire and damage the
catalytic converter.
Washer Fluid Warning Light
This warning light illuminates:
When the washer fluid level in the
reservoir is nearly empty.
If washer fluid warning light illumi-
nates, refill the washer fluid reser-
voir in the engine room when pos-
sible.
Master Warning Light
This warning light illuminates:
When there is a malfunction inoperation in any of the following
systems:
- Low washer fluid
- Exterior lamp malfunction(if equipped)
- Blind-Spot Collision Warning (BCW) malfunction (if equipped)
- Tire Pressure Monitoring System (TPMS)
To identify the details of the warn-
ing, look at the LCD display.
NOTICE
Page 143 of 485

3-59
Convenient features of your vehicle
3
Low Tire PressureWarning Light (if equipped)
This warning light illuminates:
When you place the ignition switch
ON position.
- It illuminates for approximately 3seconds and then goes off.
When one or more of your tires are significantly underinflated. (The
location of the underinflated tires
are displayed on the LCD display.)
For more information, refer to
"Tire Pressure Monitoring System
(TPMS)" in chapter 6.
This warning light remains ON
after blinking for approximately 60
seconds, or repeatedly blinks ON
and OFF in 3 second intervals:
When there is a malfunction with the TPMS.
In this case, have the vehicle inspect-
ed by an authorized HYUNDAI deal-
er as soon as possible.
For more information, refer to
"Tire Pressure Monitoring System
(TPMS)" in chapter 6.
All Wheel Drive (AWD) Warning Light (if equipped)
This warning light illuminates:
When you place the ignition switch
to the ON position.
- The All Wheel Drive warning lightilluminates for about 3 seconds
and then goes off.
Whenever there is a malfunction with the AWD system.
If this occurs, have your vehicle
inspected by an authorized
HYUNDAI dealer.
Safe Stopping
The TPMS cannot alert you to
severe and sudden tire dam-
age caused by external fac-
tors.
If you notice any vehicle insta-
bility, immediately take your
foot off the accelerator pedal,
apply the brakes gradually
with light force, and slowly
move to a safe position off the
road.
WARNING