2019 Hyundai Ioniq Electric stop start
[x] Cancel search: stop startPage 100 of 555
3-15
Convenient features of your vehicle
3
Recalling positions from mem-
ory
1. Shift to P (Park) while the POWERbutton is in the ON position.
2. Press the desired memory button (1 or 2). The system will beep
once, and then the driver’s seat
position, side view mirror position
and instrument panel illumination
intensity will automatically adjust
to the stored positions.
3. "Driver 1(or 2) settings is applied" will appear on the LCD display. While recalling the "1" memory
position, pressing the SET or 1
button temporarily stops the
adjustment of the recalled memo-
ry position. Pressing the 2 button
recalls the "2" memory position.
While recalling the "2" memory position, pressing the SET or 2
button temporarily stops the
adjustment of the recalled memo-
ry position. Pressing the 1 button
recalls the "1" memory position.
While recalling the stored posi- tions, pressing one of the con-
trol buttons for the driver’s seat,
side view mirror or instrument
panel illumination will cause the
movement of that component to
stop and move in the direction
that the control button is
pressed.
Easy Access Function
When exiting the vehicle the driver’s
seat will move rearward when the
vehicle is turned off, and the gear in
P (Park).
When entering the vehicle the dri-
ver's seat will move forward when the
smart key is detected with the
POWER button in the ACC/ON/
START position.
You can activate or deactivate the
Easy Access Function from the User
Settings mode on the LCD display.
For more information, refer to the
"LCD Display" section in this
chapter.
NOTICE
Page 130 of 555
3-45
Convenient features of your vehicle
3
Resetting the sunroof
Sunroof needs to be reset if the fol-
lowing occurs :
- Battery is discharged or discon-nected or the related fuse has been
replaced or disconnected
- The one-touch sliding function of the sunroof does not normally oper-
ate
Reset procedure :
1. Place the POWER button to the ON position or start the vehicle
( indicator ON). It is recom-
mended to reset the sunroof while
the vehicle is in the ready ( )
mode.
2. Push the control lever forward. The sunroof will close completely or tilt
depending on the condition of the
sunroof.
3. Release the control lever when the sunroof stops moving. 4. Push the control lever forward
about 10 seconds.
- When the sunroof is in the closed position :
The glass will tilt and slightly move up and down.
- When the sunroof is in the tilt position:
The glass will slightly move up and down.
Do not release the lever until the
operation is completed.
If you release the lever during opera-
tion, start the procedure again from
step 2.
5. Within 3 seconds, push and hold the control lever forward until the
sunroof operates as follows:
Tilt down → Slide Open → Slide
Close. Do not release the lever until the
operation is completed.
If you release the lever during opera-
tion, start the procedure again from
step 2.
6. Release the sunroof control lever
after all steps have completed. The
sunroof system has been reset.
Information
• If the sunroof is not reset when thevehicle battery is disconnected or
discharged, or the sunroof fuse is
blown, the sunroof may not operate
normally.
• For more detailed information, con- tact an authorized HYUNDAI deal-
er.
i
Page 150 of 555
3-65
Convenient features of your vehicle
3
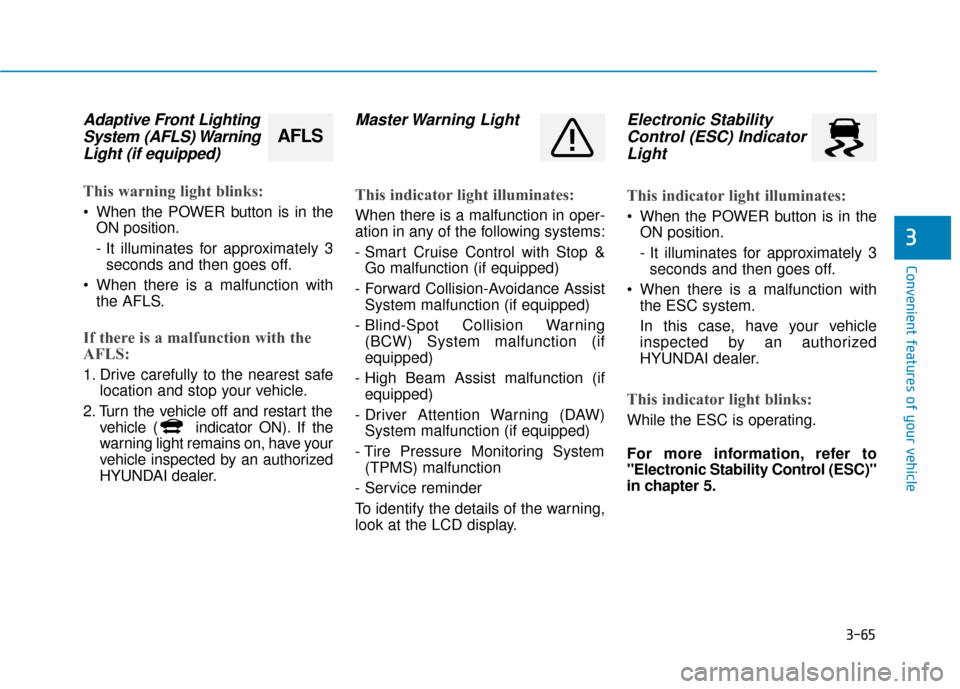
Adaptive Front LightingSystem (AFLS) WarningLight (if equipped)
This warning light blinks:
When the POWER button is in the
ON position.
- It illuminates for approximately 3seconds and then goes off.
When there is a malfunction with the AFLS.
If there is a malfunction with the
AFLS:
1. Drive carefully to the nearest safe location and stop your vehicle.
2. Turn the vehicle off and restart the vehicle ( indicator ON). If the
warning light remains on, have your
vehicle inspected by an authorized
HYUNDAI dealer.
Master Warning Light
This indicator light illuminates:
When there is a malfunction in oper-
ation in any of the following systems:
- Smart Cruise Control with Stop &Go malfunction (if equipped)
- Forward Collision-Avoidance Assist System malfunction (if equipped)
- Blind-Spot Collision Warning (BCW) System malfunction (if
equipped)
- High Beam Assist malfunction (if equipped)
- Driver Attention Warning (DAW) System malfunction (if equipped)
- Tire Pressure Monitoring System (TPMS) malfunction
- Service reminder
To identify the details of the warning,
look at the LCD display.
Electronic Stability Control (ESC) IndicatorLight
This indicator light illuminates:
When the POWER button is in the
ON position.
- It illuminates for approximately 3seconds and then goes off.
When there is a malfunction with the ESC system.
In this case, have your vehicle
inspected by an authorized
HYUNDAI dealer.
This indicator light blinks:
While the ESC is operating.
For more information, refer to
"Electronic Stability Control (ESC)"
in chapter 5.
AFLS
Page 163 of 555
3-78
Convenient features of your vehicle
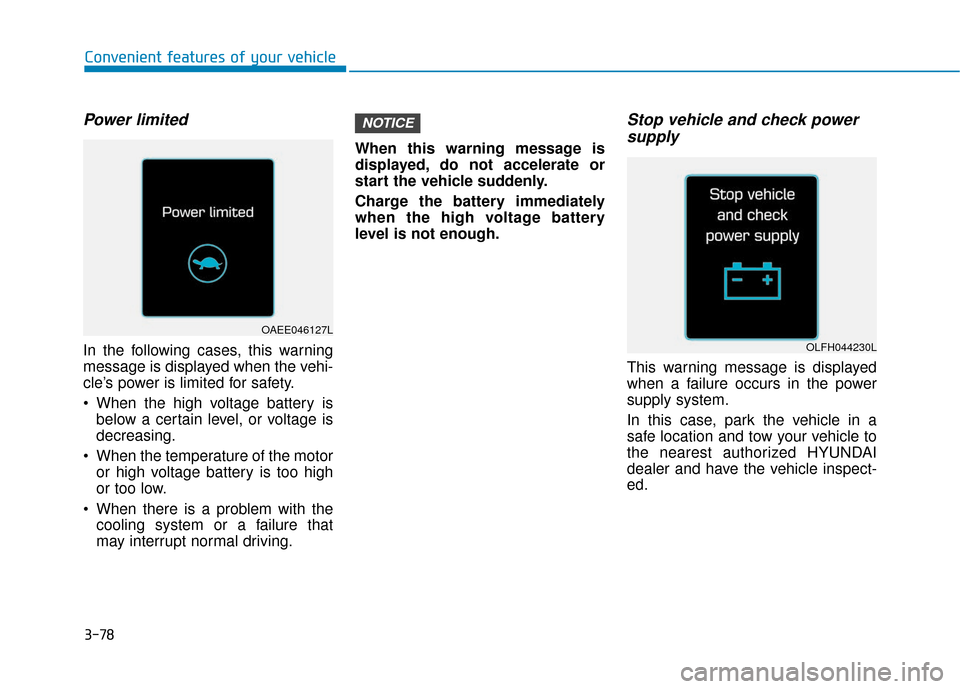
Power limited
In the following cases, this warning
message is displayed when the vehi-
cle’s power is limited for safety.
When the high voltage battery isbelow a certain level, or voltage is
decreasing.
When the temperature of the motor or high voltage battery is too high
or too low.
When there is a problem with the cooling system or a failure that
may interrupt normal driving. When this warning message is
displayed, do not accelerate or
start the vehicle suddenly.
Charge the battery immediately
when the high voltage battery
level is not enough.
Stop vehicle and check power
supply
This warning message is displayed
when a failure occurs in the power
supply system.
In this case, park the vehicle in a
safe location and tow your vehicle to
the nearest authorized HYUNDAI
dealer and have the vehicle inspect-
ed.
NOTICE
OAEE046127L
OLFH044230L
Page 178 of 555
3-93
Convenient features of your vehicle
3
Tripmeter (1)
The tripmeter is the total drivingdistance since the last tripmeter
reset.
To reset the tripmeter, press the OK button on the steering wheel
for more than 1 second when the
tripmeter is displayed.
Average Vehicle Speed (2)
The average vehicle speed is cal-culated by the total driving dis-
tance and driving time since the
last average vehicle speed reset.
To reset the average vehicle speed, press the OK button on the steering
wheel for more than 1 second when
the average vehicle speed is dis-
played.
Information
• The average vehicle speed is not dis-played if the driving distance is less
than 0.19 miles (300 meters) or the
driving time is less than 10 seconds,
after resetting the vehicle speed.
• The average vehicle speed will con- tinue to be calculated and will start
to decrease if the vehicle is stopped
while the vehicle is in the ready
( ) mode.
Timer (3)
The timer is the total driving timesince the last timer reset.
To reset the timer, press the OK button on the steering wheel for
more than 1 second when the timer
is displayed.
Information
The timer will continue to be counted
while the vehicle is in the ready ( )
mode.
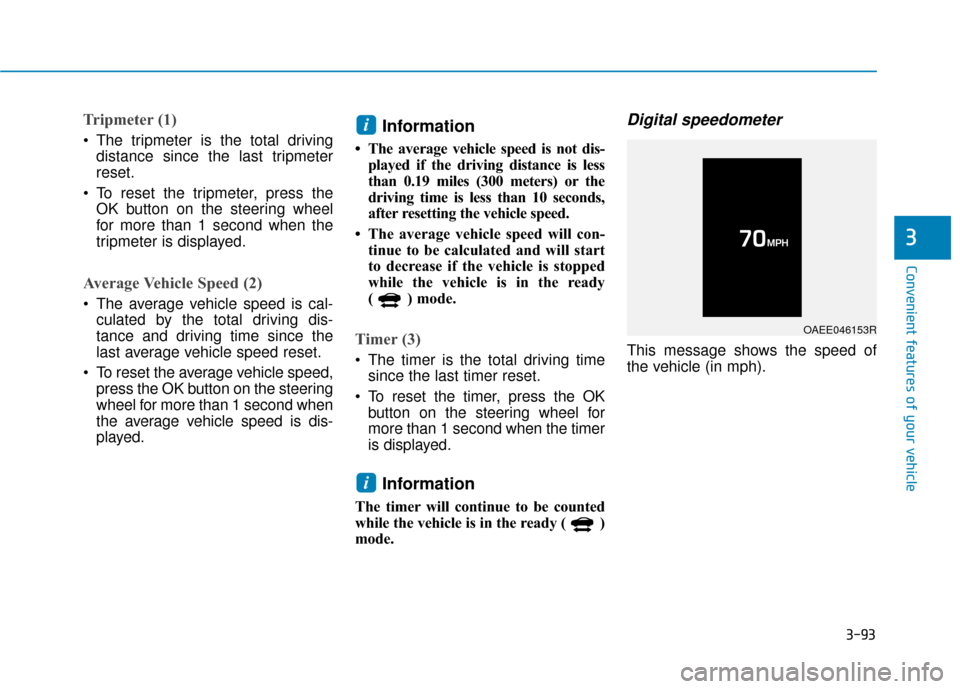
Digital speedometer
This message shows the speed of
the vehicle (in mph).
i
i
OAEE046153R
Page 215 of 555
3-130
Convenient features of your vehicle
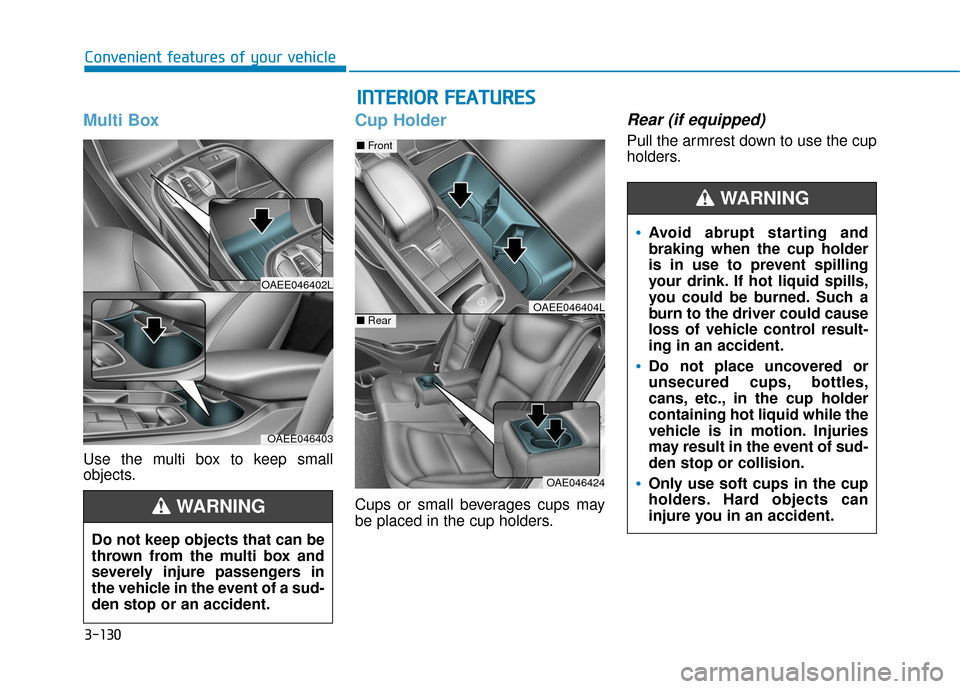
Multi Box
Use the multi box to keep small
objects.
Cup Holder
Cups or small beverages cups may
be placed in the cup holders.
Rear (if equipped)
Pull the armrest down to use the cup
holders.
OAEE046402L
OAEE046403
Do not keep objects that can be
thrown from the multi box and
severely injure passengers in
the vehicle in the event of a sud-
den stop or an accident.
WARNING
I IN
N T
TE
ER
R I
IO
O R
R
F
F E
E A
A T
TU
U R
RE
ES
S
OAE046424
■ Front
■RearOAEE046404L
Avoid abrupt starting and
braking when the cup holder
is in use to prevent spilling
your drink. If hot liquid spills,
you could be burned. Such a
burn to the driver could cause
loss of vehicle control result-
ing in an accident.
Do not place uncovered or
unsecured cups, bottles,
cans, etc., in the cup holder
containing hot liquid while the
vehicle is in motion. Injuries
may result in the event of sud-
den stop or collision.
Only use soft cups in the cup
holders. Hard objects can
injure you in an accident.
WARNING
Page 218 of 555
3-133
Convenient features of your vehicle
3
Wireless Cellular Phone
Charging System (if equipped)
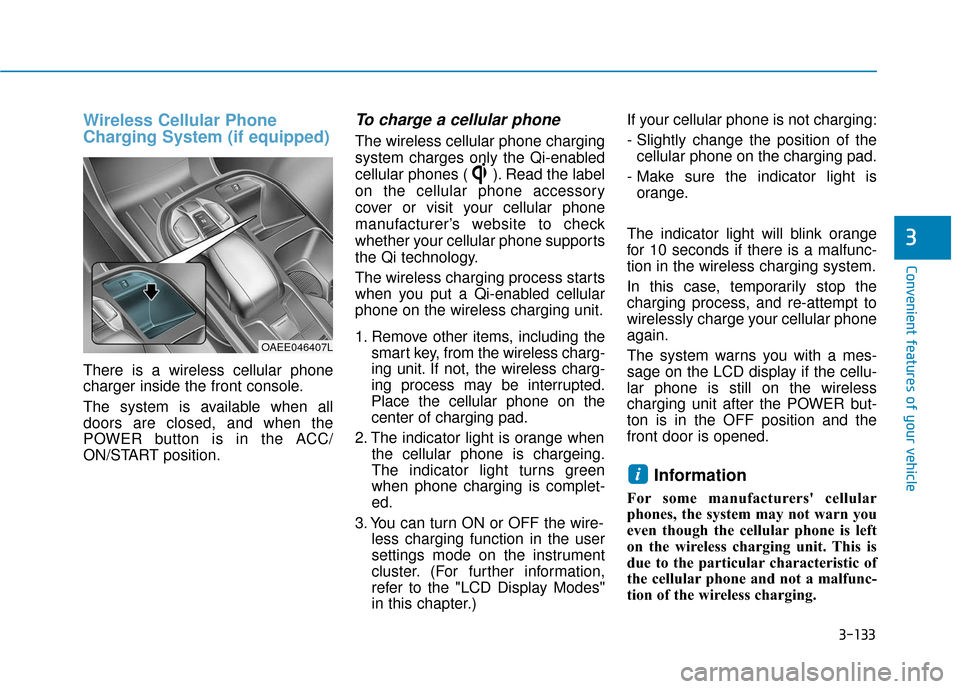
There is a wireless cellular phone
charger inside the front console.
The system is available when all
doors are closed, and when the
POWER button is in the ACC/
ON/START position.
To charge a cellular phone
The wireless cellular phone charging
system charges only the Qi-enabled
cellular phones ( ). Read the label
on the cellular phone accessory
cover or visit your cellular phone
manufacturer’s website to check
whether your cellular phone supports
the Qi technology.
The wireless charging process starts
when you put a Qi-enabled cellular
phone on the wireless charging unit.
1. Remove other items, including thesmart key, from the wireless charg-
ing unit. If not, the wireless charg-
ing process may be interrupted.
Place the cellular phone on the
center of charging pad.
2. The indicator light is orange when the cellular phone is chargeing.
The indicator light turns green
when phone charging is complet-
ed.
3. You can turn ON or OFF the wire- less charging function in the user
settings mode on the instrument
cluster. (For further information,
refer to the "LCD Display Modes"
in this chapter.) If your cellular phone is not charging:
- Slightly change the position of the
cellular phone on the charging pad.
- Make sure the indicator light is orange.
The indicator light will blink orange
for 10 seconds if there is a malfunc-
tion in the wireless charging system.
In this case, temporarily stop the
charging process, and re-attempt to
wirelessly charge your cellular phone
again.
The system warns you with a mes-
sage on the LCD display if the cellu-
lar phone is still on the wireless
charging unit after the POWER but-
ton is in the OFF position and the
front door is opened.
Information
For some manufacturers' cellular
phones, the system may not warn you
even though the cellular phone is left
on the wireless charging unit. This is
due to the particular characteristic of
the cellular phone and not a malfunc-
tion of the wireless charging.
i
OAEE046407L
Page 219 of 555
3-134
Convenient features of your vehicle
The wireless cellular phone charging system may not sup-
port certain cellular phones,
which are not verified for the Qi
specification ( ).
When placing your cellular phone on the charging mat,
position the phone in the middle
of the mat for optimal charging
performance. If your cell phone
is off to the side, the charging
rate may be less and in some
cases the cell phone may experi-
ence higher heat conduction.
In some cases, the wireless charging may stop temporarily
when the Smart Key is used,
either when starting the vehicle
or locking/unlocking the doors,
etc.
When charging certain cellular phones, the charging indicator
may not change to green when
the cell phone is fully charged.
(Continued)(Continued)
The wireless charging process
may temporarily stop, when tem-
perature abnormally increases
inside the wireless cellular
phone charging system. The
wireless charging process
restarts, when temperature falls
to a proper level.
The wireless charging process may temporarily stop when
there is any metallic item, such
as a coin, between the wireless
cellular phone charging system
and a cellular phone.
For certain cellular phone with their own protection, the wire-
less charging speed may
decrease and the wireless
charging may stop.
If the cellular phone has a thick cover, the wireless charging may
not be possible.
If the cell phone is not complete- ly contacting the charging pad,
wireless charging may not oper-
ate properly.
(Continued) (Continued)
Some magnetic items like credit
cards, phone cards or rail tickets
may be damaged if left with the
cellular phone during the charg-
ing process.
If the cellular phone without the wireless charging function or
the metallic items are placed on
the charging pad, it may cause
slight noise. This noise does not
affect the cellular phone and the
vehicle, because this noise is an
operating sound during deter-
mining the item on the charging
pad.
If the POWER button is in the OFF position, the charging also
stops.
NOTICE