2019 FORD F650/750 manual transmission
[x] Cancel search: manual transmissionPage 5 of 387
Warning Lamps and Indicators
...............60
Audible Warnings and Indicators ............
63
Information Displays
General Information ....................................
64
Information Messages .................................
67
Climate Control
Manual Climate Control ..............................
72
Hints on Controlling the Interior Climate ........................................................................\
...
73
Heated Exterior Mirrors ...............................
74
Seats
Sitting in the Correct Position ...................
75
Head Restraints ..............................................
75
Manual Seats ...................................................
77
Power Seats ....................................................
78
Rear Seats .......................................................
80
Front Seat Armrest ........................................
81
Rear Seat Armrest .........................................
81
Auxiliary Power Points
Auxiliary Power Points ................................
83
Storage Compartments
Overhead Console ........................................
85
Starting and Stopping the Engine
General Information ....................................
86
Ignition Switch ...............................................
86
Starting a Gasoline Engine ........................
87
Starting a Diesel Engine .............................
88
Switching Off the Engine ...........................
89
Engine Idle Shutdown .................................
90
Engine Block Heater ....................................
90
Fuel and Refueling
Safety Precautions .......................................
92Fuel Quality - Diesel
.....................................
93
Fuel Quality - Gasoline ...............................
96
Running Out of Fuel - Diesel .....................
97
Running Out of Fuel - Gasoline ................
97
Refueling - Diesel ..........................................
97
Refueling - Gasoline ....................................
98
Fuel Consumption ......................................
100
Fuel Tank Selector Switch ........................
101
Engine Emission Control
Emission Law ................................................
102
Catalytic Converter .....................................
103
Selective Catalytic Reductant System - Diesel ...........................................................
105
Diesel Particulate Filter .............................
109
Transmission
Automatic Transmission ............................
115
Power Take-Off .............................................
119
Rear Axle
General Information ...................................
120
Limited Slip Differential ............................
120
Electronic Locking Differential ...............
120
2-Speed Rear Axle ........................................
121
Brakes
General Information ....................................
122
Hints on Driving With Anti-Lock Brakes ........................................................................\
.
123
Parking Brake .................................................
123
Air Brakes ........................................................
126
Exhaust Brake ................................................
127
Trailer Brakes .................................................
129
Traction Control
Principle of Operation ................................
133
Using Traction Control - Vehicles With: Air Brakes ....................................................
133
2
F650750 (TBC) , enUSA, Edition date: 201804, Second-Printing Table of Contents
Page 10 of 387
ABOUT THIS MANUAL
Thank you for choosing Ford. We
recommend that you take some time to
get to know your vehicle by reading this
manual. The more that you know about
your vehicle, the greater the safety and
pleasure you will get from driving it.
WARNING: Driving while
distracted can result in loss of vehicle
control, crash and injury. We strongly
recommend that you use extreme
caution when using any device that may
take your focus off the road. Your
primary responsibility is the safe
operation of your vehicle. We
recommend against the use of any
hand-held device while driving and
encourage the use of voice-operated
systems when possible. Make sure you
are aware of all applicable local laws
that may affect the use of electronic
devices while driving.
Note: Always use and operate your vehicle
in line with all applicable laws and
regulations.
Note: Pass on this manual when selling
your vehicle. It is an integral part of your
vehicle. Note:
Your vehicle ’s powertrain control
systems can detect and store information
about vehicle modifications that increase
horsepower and torque output such as
whether or not performance-enhancing
powertrain components commonly referred
to as performance chips have been used.
This information will stay in the system ’s
memory and cannot be erased even if the
modification is removed. Ford Motor
Company, Ford of Canada, Ford of Mexico
and service or repair facilities can retrieve
this information when servicing your vehicle.
Ford Motor Company may use this
information to determine if your warranty
covers any needed repairs.
Note: Some aftermarket products may
cause severe engine/transmission and/or
exhaust system damage; refer to your
warranty information for more information.
Your new diesel engine will feel, drive and
function somewhat differently than a
gasoline engine. Therefore it is very
important that you read and thoroughly
familiarize yourself and others operating
the vehicle with this guide. There is a
special procedure for turning off the diesel
engine. See
Starting a Diesel Engine
(page 88). It is important to read and
understand this material in order to
maintain the best service life for your
engine.
Ford may discontinue models or change
specifications without any notice and
without incurring obligations.
Note: Either Ford Motor Company or an
authorized Ford dealer may have originally
sold this incomplete vehicle to a vehicle
modifier who upfitted it. As a result, some
of the options and features on this vehicle
may differ from what we describe in this
manual.
This manual may qualify the location of a
component as left-hand side or right-hand
side. The side is determined when facing
forward in the seat.
7
F650750 (TBC) , enUSA, Edition date: 201804, Second-Printing Introduction
Page 118 of 387
AUTOMATIC TRANSMISSION
WARNING: Apply the parking
brake, shift into park (P), switch the
ignition off and remove the key before
you leave your vehicle. Failure to follow
this instruction could result in personal
injury or death.
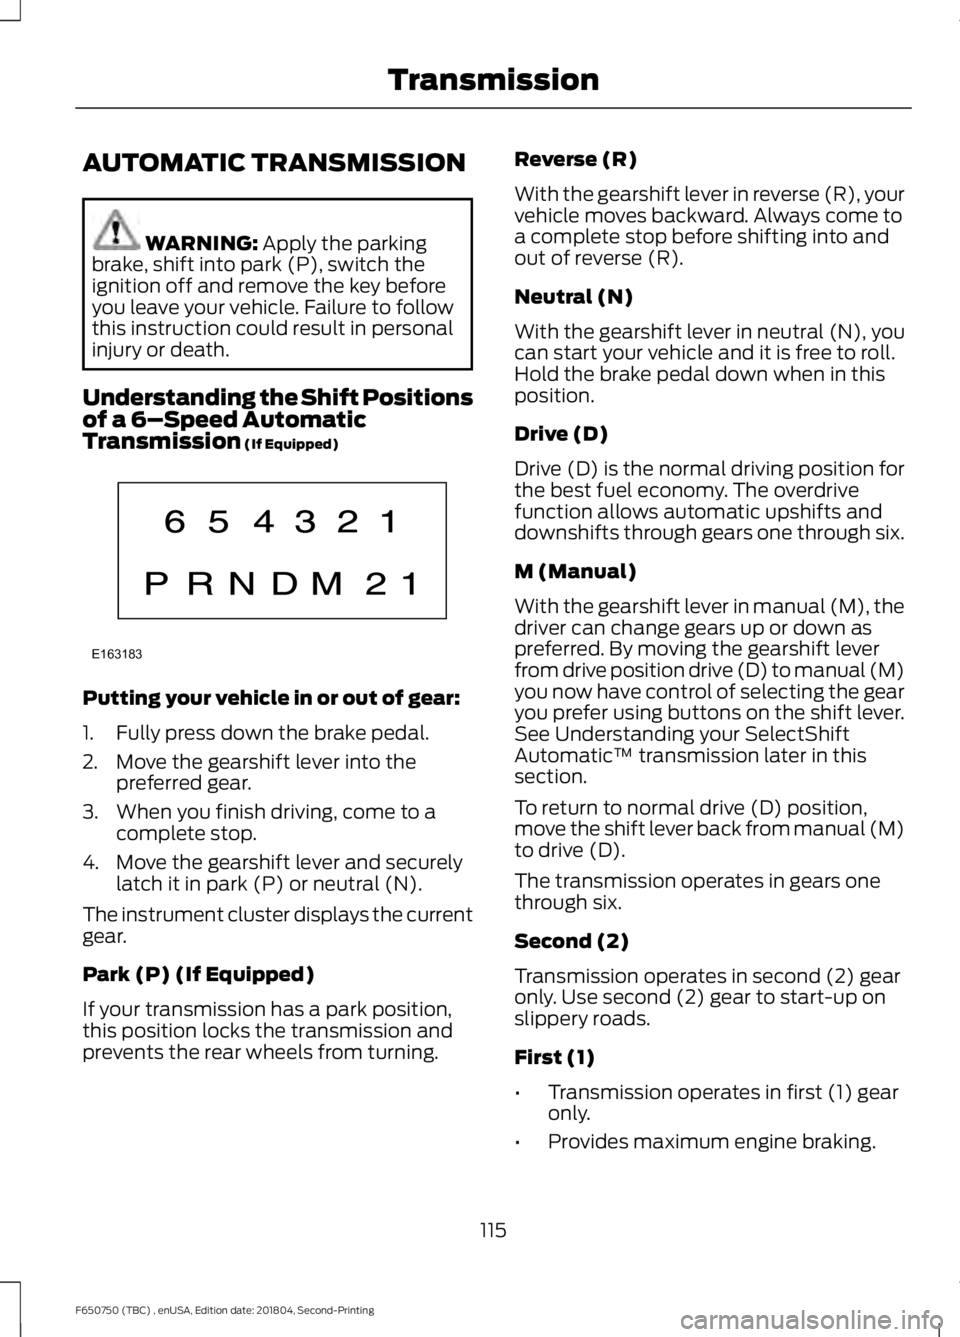
Understanding the Shift Positions
of a 6– Speed Automatic
Transmission
(If Equipped) Putting your vehicle in or out of gear:
1. Fully press down the brake pedal.
2. Move the gearshift lever into the
preferred gear.
3. When you finish driving, come to a complete stop.
4. Move the gearshift lever and securely latch it in park (P) or neutral (N).
The instrument cluster displays the current
gear.
Park (P) (If Equipped)
If your transmission has a park position,
this position locks the transmission and
prevents the rear wheels from turning. Reverse (R)
With the gearshift lever in reverse (R), your
vehicle moves backward. Always come to
a complete stop before shifting into and
out of reverse (R).
Neutral (N)
With the gearshift lever in neutral (N), you
can start your vehicle and it is free to roll.
Hold the brake pedal down when in this
position.
Drive (D)
Drive (D) is the normal driving position for
the best fuel economy. The overdrive
function allows automatic upshifts and
downshifts through gears one through six.
M (Manual)
With the gearshift lever in manual (M), the
driver can change gears up or down as
preferred. By moving the gearshift lever
from drive position drive (D) to manual (M)
you now have control of selecting the gear
you prefer using buttons on the shift lever.
See Understanding your SelectShift
Automatic
™ transmission later in this
section.
To return to normal drive (D) position,
move the shift lever back from manual (M)
to drive (D).
The transmission operates in gears one
through six.
Second (2)
Transmission operates in second (2) gear
only. Use second (2) gear to start-up on
slippery roads.
First (1)
• Transmission operates in first (1) gear
only.
• Provides maximum engine braking.
115
F650750 (TBC) , enUSA, Edition date: 201804, Second-Printing TransmissionE163183
Page 120 of 387
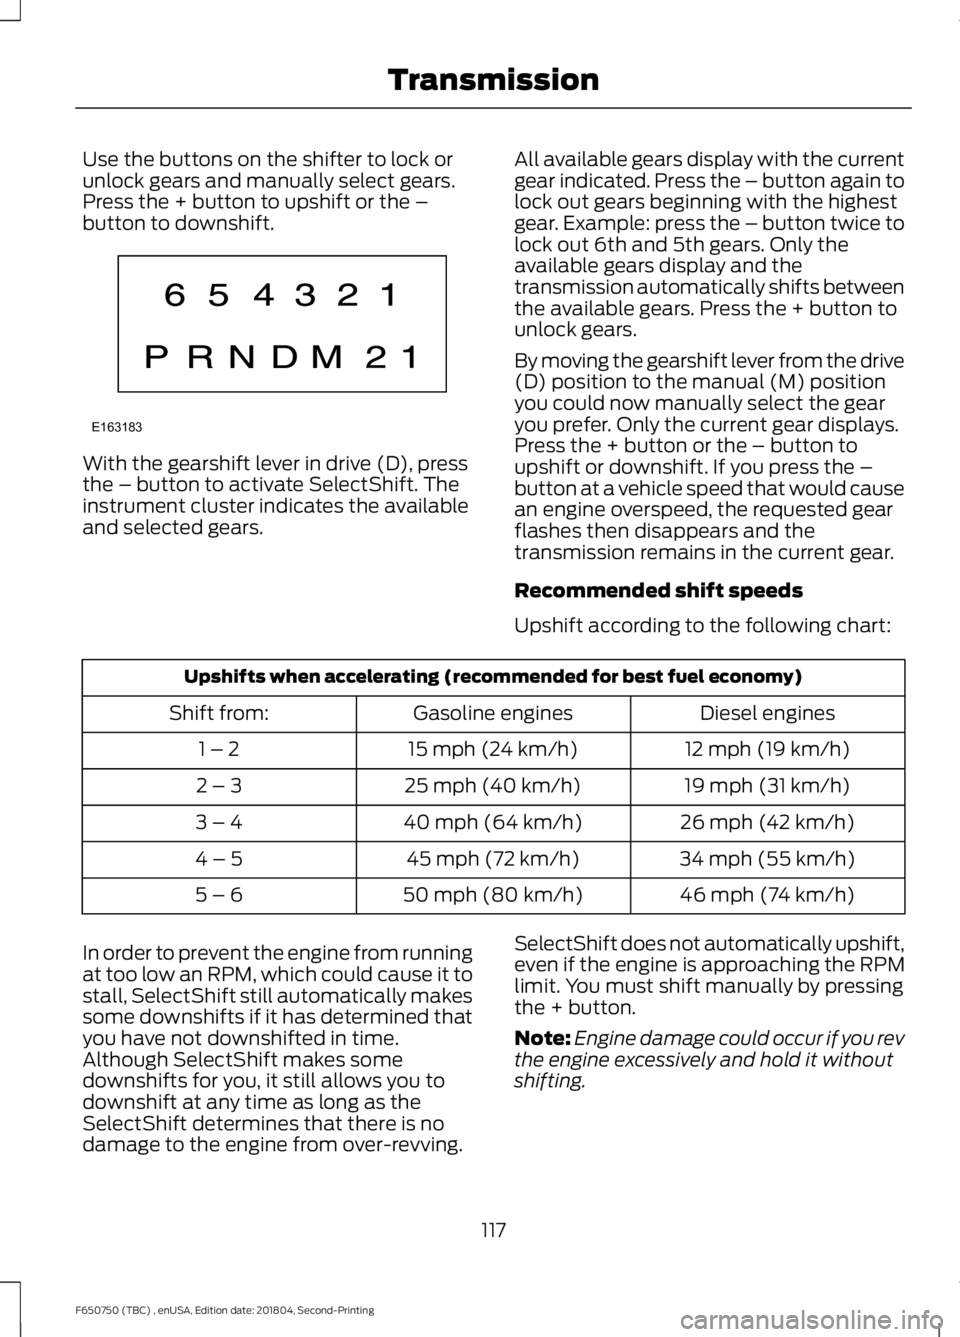
Use the buttons on the shifter to lock or
unlock gears and manually select gears.
Press the + button to upshift or the –
button to downshift.
With the gearshift lever in drive (D), press
the – button to activate SelectShift. The
instrument cluster indicates the available
and selected gears.
All available gears display with the current
gear indicated. Press the – button again to
lock out gears beginning with the highest
gear. Example: press the – button twice to
lock out 6th and 5th gears. Only the
available gears display and the
transmission automatically shifts between
the available gears. Press the + button to
unlock gears.
By moving the gearshift lever from the drive
(D) position to the manual (M) position
you could now manually select the gear
you prefer. Only the current gear displays.
Press the + button or the – button to
upshift or downshift. If you press the –
button at a vehicle speed that would cause
an engine overspeed, the requested gear
flashes then disappears and the
transmission remains in the current gear.
Recommended shift speeds
Upshift according to the following chart:Upshifts when accelerating (recommended for best fuel economy)
Diesel engines
Gasoline engines
Shift from:
12 mph (19 km/h)
15 mph (24 km/h)
1 – 2
19 mph (31 km/h)
25 mph (40 km/h)
2 – 3
26 mph (42 km/h)
40 mph (64 km/h)
3 – 4
34 mph (55 km/h)
45 mph (72 km/h)
4 – 5
46 mph (74 km/h)
50 mph (80 km/h)
5 – 6
In order to prevent the engine from running
at too low an RPM, which could cause it to
stall, SelectShift still automatically makes
some downshifts if it has determined that
you have not downshifted in time.
Although SelectShift makes some
downshifts for you, it still allows you to
downshift at any time as long as the
SelectShift determines that there is no
damage to the engine from over-revving. SelectShift does not automatically upshift,
even if the engine is approaching the RPM
limit. You must shift manually by pressing
the + button.
Note:
Engine damage could occur if you rev
the engine excessively and hold it without
shifting.
117
F650750 (TBC) , enUSA, Edition date: 201804, Second-Printing TransmissionE163183
Page 127 of 387
Push the palm release lever (A) on the
parking brake handle (B) and push down
as far as possible to release the brake.
Driving with the parking brake on causes
the brakes to wear out quickly and reduces
fuel economy.
We recommend you not use the parking
brake to stop a moving vehicle. However,
if the normal brakes fail, you can use the
parking brake to stop your vehicle in an
emergency. Since the parking brake only
applies retardation to the rear wheels, the
vehicle's stopping distance increases
greatly and the handling of your vehicle is
adversely affected.
Releasing Spring Manually
WARNING: Do not attempt to
disassemble the parking brake air
chamber under any circumstances as
this may cause serious injury. WARNING:
Block the wheels to
help prevent the vehicle from moving. WARNING:
Unexpected and
possibly sudden vehicle movement may
occur if you do not take these
precautions.
If you release hydraulic pressure from the
spring brake chamber, the power spring
applies the brake. If the hydraulic pressure
can be re-established, you must release
the spring brake in order to move your
vehicle. Air Brakes
(If Equipped) WARNING:
This control is for
parking only. Do not leave the vehicle
unattended after setting the parking
brake without placing the transmission
in park (P). We recommend using wheel
chocks for hilly or off-road
circumstances.
If the service brakes fail to operate while
your vehicle is moving, you can make an
emergency stop with the parking brake.
Since the parking brake only applies
stopping power to the rear wheels, your
vehicle ’s stopping distance greatly
increases and the handling of your vehicle
is adversely affected. Make repairs
immediately to an inoperative air brake
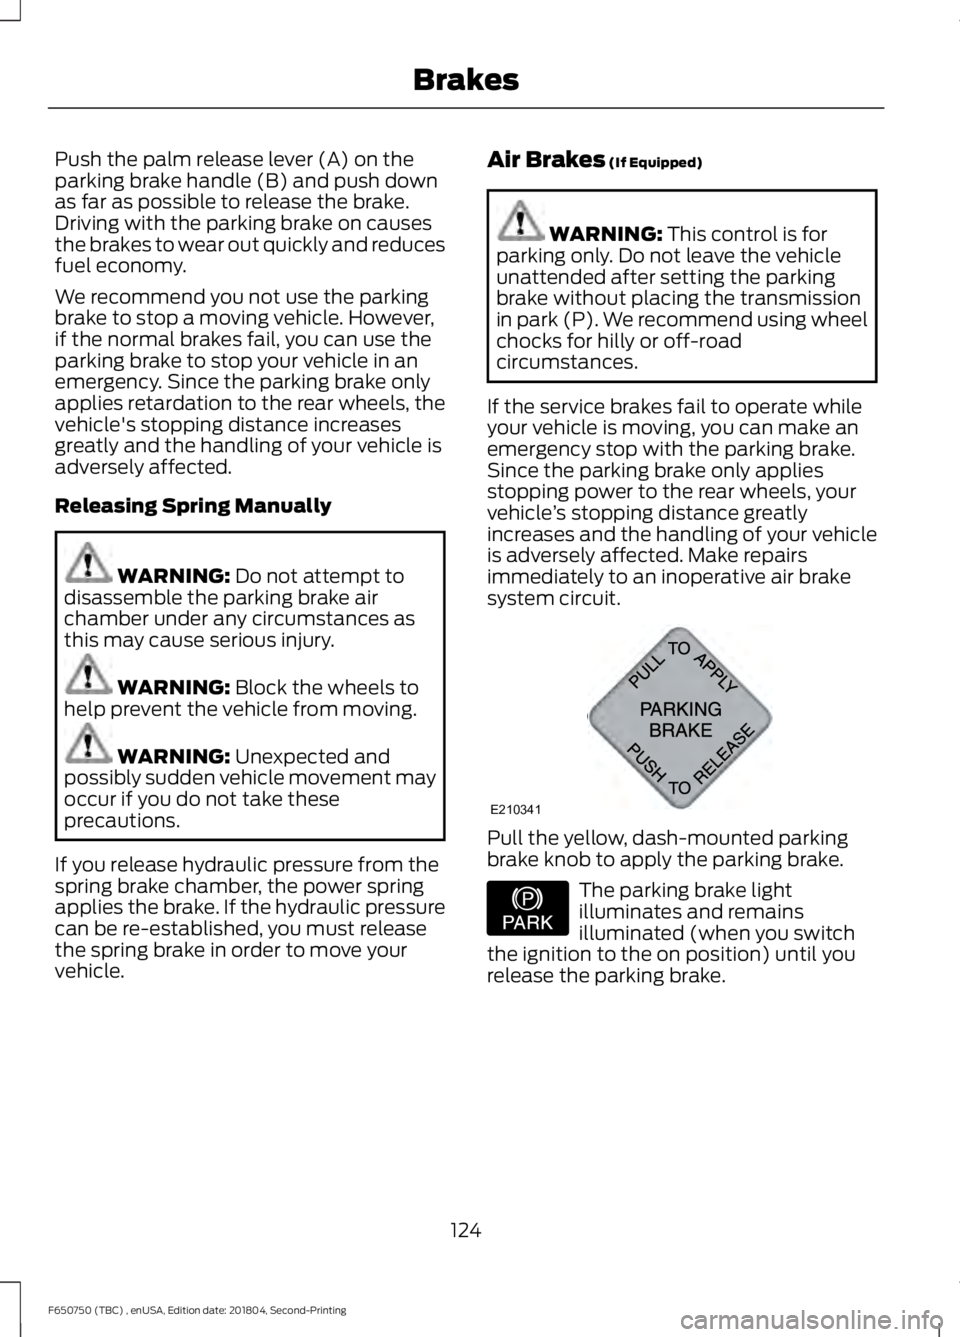
system circuit. Pull the yellow, dash-mounted parking
brake knob to apply the parking brake.
The parking brake light
illuminates and remains
illuminated (when you switch
the ignition to the on position) until you
release the parking brake.
124
F650750 (TBC) , enUSA, Edition date: 201804, Second-Printing BrakesE210341 E208810
Page 130 of 387
A qualified service technician should
perform air brake inspection and
adjustment or repairs keeping to the
instructions in the service manual.
Cam Brakes - Automatic Slack
Adjusters
WARNING: Do not manually
adjust the automatic slack adjusters to
correct excessive push rod stroke as it
may result in reduced brake
effectiveness and a vehicle crash.
Excessive push rod stroke indicates that
a problem exists with the automatic
adjuster, with the installation of the
adjuster, or with foundation brake
components that manual adjustment
does not remedy. Seek service from a
qualified facility for excessive push rod
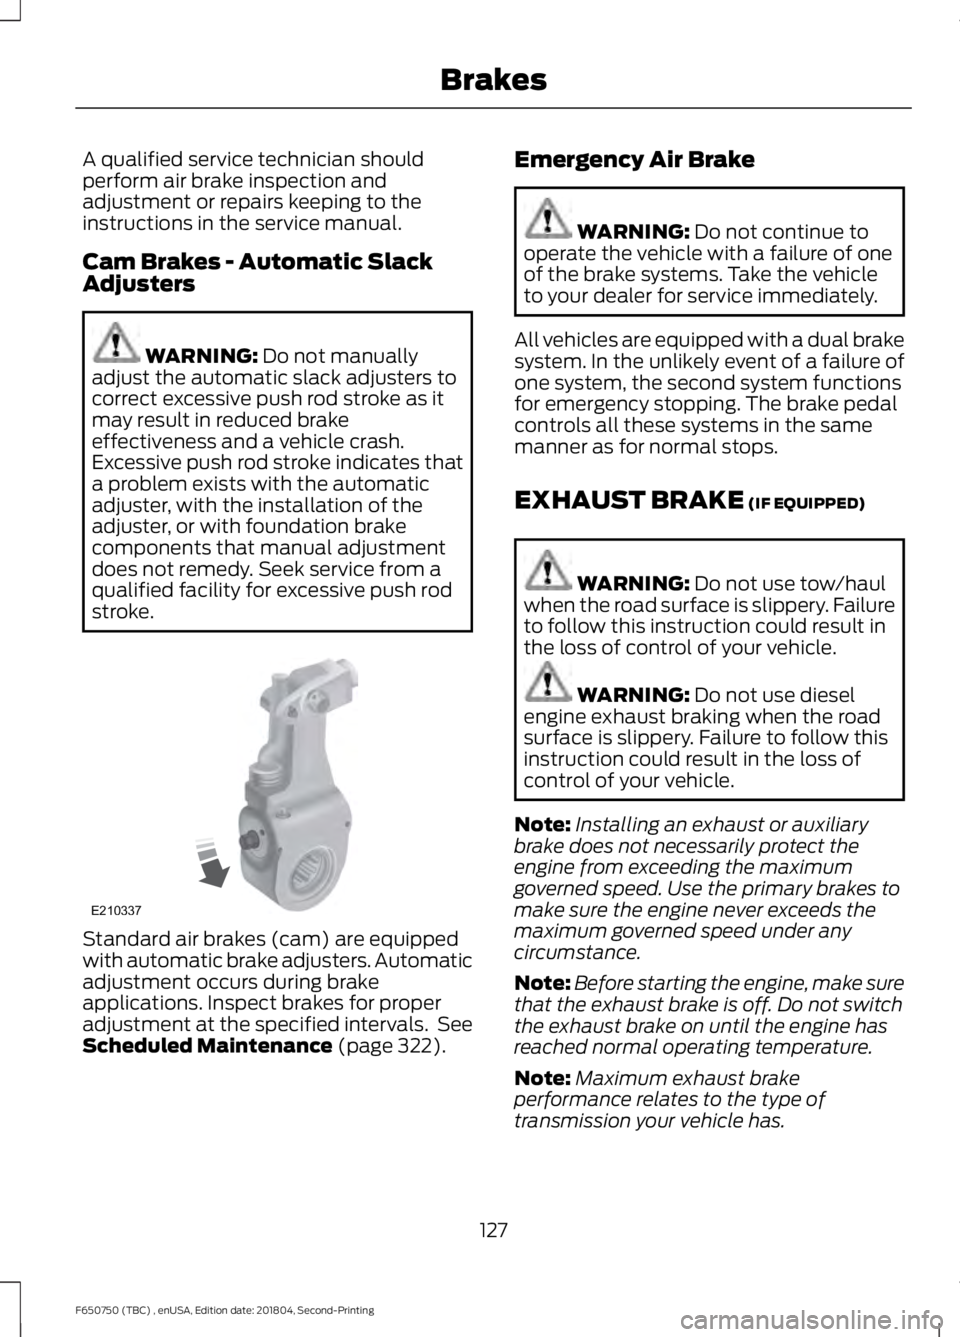
stroke. Standard air brakes (cam) are equipped
with automatic brake adjusters. Automatic
adjustment occurs during brake
applications. Inspect brakes for proper
adjustment at the specified intervals. See
Scheduled Maintenance
(page 322). Emergency Air Brake WARNING:
Do not continue to
operate the vehicle with a failure of one
of the brake systems. Take the vehicle
to your dealer for service immediately.
All vehicles are equipped with a dual brake
system. In the unlikely event of a failure of
one system, the second system functions
for emergency stopping. The brake pedal
controls all these systems in the same
manner as for normal stops.
EXHAUST BRAKE
(IF EQUIPPED) WARNING:
Do not use tow/haul
when the road surface is slippery. Failure
to follow this instruction could result in
the loss of control of your vehicle. WARNING:
Do not use diesel
engine exhaust braking when the road
surface is slippery. Failure to follow this
instruction could result in the loss of
control of your vehicle.
Note: Installing an exhaust or auxiliary
brake does not necessarily protect the
engine from exceeding the maximum
governed speed. Use the primary brakes to
make sure the engine never exceeds the
maximum governed speed under any
circumstance.
Note: Before starting the engine, make sure
that the exhaust brake is off. Do not switch
the exhaust brake on until the engine has
reached normal operating temperature.
Note: Maximum exhaust brake
performance relates to the type of
transmission your vehicle has.
127
F650750 (TBC) , enUSA, Edition date: 201804, Second-Printing BrakesE210337
Page 147 of 387

TOWING A TRAILER
WARNING: Do not exceed
the GVWR or the GAWR
specified on the certification
label. WARNING:
Towing trailers
beyond the maximum
recommended gross trailer
weight exceeds the limit of the
vehicle and could result in engine
damage, transmission damage,
structural damage, loss of
vehicle control, vehicle rollover
and personal injury.
Your vehicle may have electrical
items, such as fuses or relays,
related to towing. See
Fuses
(page 167).
Your vehicle's load capacity
designation is by weight, not by
volume, so you cannot necessarily
use all available space when
loading a vehicle.
Towing a trailer places an extra
load on your vehicle's engine,
transmission, axle, brakes, tires
and suspension. Inspect these
components periodically during,
and after, any towing operation. Load Placement
To help minimize how trailer
movement affects your vehicle
when driving:
•
Load the heaviest items closest
to the trailer floor.
• Load the heaviest items
centered between the left and
right side trailer tires.
• Load the heaviest items above
the trailer axles or just slightly
forward toward the trailer
tongue. Do not allow the final
trailer tongue weight to go
above or below 10-15% of the
loaded trailer weight.
When driving with a trailer or
payload, a slight takeoff vibration
or shudder may be present due to
the increased payload weight.
Additional information regarding
proper trailer loading and setting
your vehicle up for towing is
located in another chapter of this
manual. See
Load Limit (page
141).
You can also find information in
the
RV & Trailer Towing Guide
available at your authorized
dealer, or online. RV & Trailer Towing Guide Online
http://www.fleet.ford.com/towing-guides/
Website
144
F650750 (TBC) , enUSA, Edition date: 201804, Second-Printing Towing
Page 149 of 387
ESSENTIAL TOWING CHECKS
See Load limits in the Load Carrying
chapter for load specification terms found
on the tire label and Safety Compliance
label and instructions on calculating your
vehicle's load.
Remember to account for the trailer
tongue weight as part of your vehicle load
when calculating the total vehicle weight.
Hitches
Do not use a hitch that either clamps onto
the bumper or attaches to the axle. You
must distribute the load in your trailer so
that 10-15% of the total weight of the
trailer is on the tongue.
Safety Chains
Note: Do not attach safety chains to the
bumper.
Always connect the safety chains to the
frame or hook retainers of your vehicle
hitch.
To connect the safety chains, cross the
chains under the trailer tongue and allow
enough slack for turning tight corners. Do
not allow the chains to drag on the ground.
Trailer Brakes WARNING:
Do not connect a
trailer's hydraulic brake system directly
to your vehicle's brake system. Your
vehicle may not have enough braking
power and your chances of having a
collision greatly increase.
Electric brakes and manual, automatic or
surge-type trailer brakes are safe if you
install them properly and adjust them to
the manufacturer's specifications. The
trailer brakes must meet local and federal
regulations. The rating for the tow vehicle's braking
system operation is at the gross vehicle
weight rating, not the gross combined
weight rating.
Trailer Lamps
WARNING:
Never connect any
trailer lamp wiring to the vehicle's tail
lamp wiring; this may damage the
electrical system resulting in fire. Contact
your authorized dealer as soon as
possible for assistance in proper trailer
tow wiring installation. Additional
electrical equipment may be required.
Trailer lamps are required on most towed
vehicles. Make sure all running lights, brake
lights, turn signals and hazard lights are
working.
Before Towing a Trailer
Practice turning, stopping and backing up
to get the feel of your vehicle-trailer
combination before starting on a trip.
When turning, make wider turns so the
trailer wheels clear curbs and other
obstacles.
When Towing a Trailer
• Check your hitch, electrical connections
and trailer wheel lug nuts thoroughly
after you have traveled
50 mph
(80 km/h).
• When stopped in congested or heavy
traffic during hot weather, place the
transmission in park (P) or neutral (N)
to aid engine and transmission cooling
and to help air conditioning
performance.
• Turn off the speed control with heavy
loads or in hilly terrain. The speed
control may turn off automatically
when you are towing on long, steep
grades.
146
F650750 (TBC) , enUSA, Edition date: 201804, Second-Printing Towing