2019 FORD F650/750 fuel
[x] Cancel search: fuelPage 115 of 387

Before you start operator commanded
regeneration, do the following:
•
Shift into park (P) or if you have an
RNDM selector shift into neutral (N)
and apply the parking and or air brake,
on stable, level ground.
• Park your vehicle outside of any
structure.
• Park your vehicle 10– 15 ft (3–5 m)
away from any obstructions and away
from materials that can easily combust
or melt, for example paper, leaves,
petroleum products, fuels, plastics and
other dry organic material.
• Make sure there is a minimum of 1/8
tank of fuel.
• Make sure all fluids are at proper levels.
How to Start Operator Commanded
Regeneration WARNING:
Stay clear of the
exhaust tailpipe during regeneration. Hot
exhaust gases can burn you badly.
Note: You cannot use the operator
commanded regeneration until the diesel
particulate filter load percentage has
reached 100%. The diesel particulate filter
load percentage fluctuates up and down
when driving your vehicle due to active and
passive regenerations.
Note: During the use of operator
commanded regeneration, you may observe
a light amount of white smoke. This is
normal. You may not be able to use
operator commanded
regeneration if the service engine
soon warning lamp appears in the
information display Information Display Procedure
Start your vehicle engine and when it has
reached the normal operating temperature,
press the information display control
button on the steering wheel until Exhaust
Filter XX%/FULL is displays. Operator
commanded regeneration can only be
initiated when FULL
See Information
Display Control (page 47). If a message
advising that the exhaust filter is full
appears in the information display, press
the down arrow button to set the display
to
Y. Answer yes to this prompt and then
follow the next prompts regarding exhaust
position required to initiate operator
commanded regeneration. Be sure to
understand each prompt. If you are not
sure what is being asked by each prompt,
contact an authorized dealer. The display
confirms the operation has started and
when it has finished.
If the diesel particulate filter is near or at
saturation, a message requesting
permission to initiate filter cleaning
appears in the information display only if
viewing the Exhaust Filter Status message.
See
Information Messages (page 67).
Answer yes to this prompt and then follow
the next prompts regarding exhaust
position required to initiate operator
commanded regeneration. Be sure to
understand each prompt. If you are not
sure what is being asked by each prompt,
contact an authorized dealer. The display
confirms the operation has started and
when it has finished. You can also drive to
clean the filter. When the system is at the point
of oversaturation, the service
engine warning lamp illuminates
and a message appears in the information
display. You cannot initiate filter cleaning.
You must have your vehicle checked as
soon as possible.
112
F650750 (TBC) , enUSA, Edition date: 201804, Second-Printing Engine Emission Control
Page 118 of 387
AUTOMATIC TRANSMISSION
WARNING: Apply the parking
brake, shift into park (P), switch the
ignition off and remove the key before
you leave your vehicle. Failure to follow
this instruction could result in personal
injury or death.
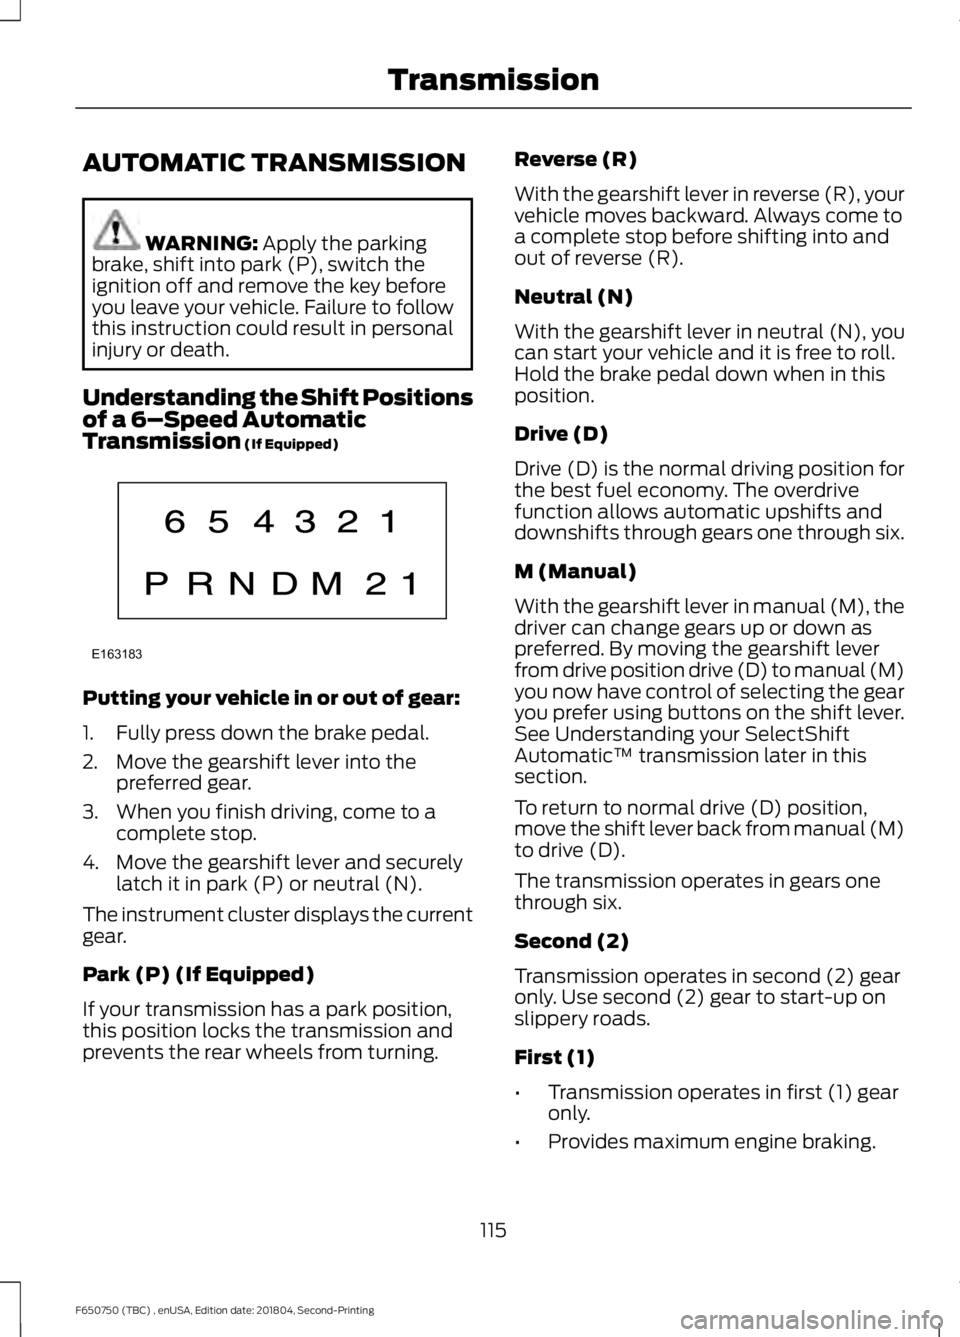
Understanding the Shift Positions
of a 6– Speed Automatic
Transmission
(If Equipped) Putting your vehicle in or out of gear:
1. Fully press down the brake pedal.
2. Move the gearshift lever into the
preferred gear.
3. When you finish driving, come to a complete stop.
4. Move the gearshift lever and securely latch it in park (P) or neutral (N).
The instrument cluster displays the current
gear.
Park (P) (If Equipped)
If your transmission has a park position,
this position locks the transmission and
prevents the rear wheels from turning. Reverse (R)
With the gearshift lever in reverse (R), your
vehicle moves backward. Always come to
a complete stop before shifting into and
out of reverse (R).
Neutral (N)
With the gearshift lever in neutral (N), you
can start your vehicle and it is free to roll.
Hold the brake pedal down when in this
position.
Drive (D)
Drive (D) is the normal driving position for
the best fuel economy. The overdrive
function allows automatic upshifts and
downshifts through gears one through six.
M (Manual)
With the gearshift lever in manual (M), the
driver can change gears up or down as
preferred. By moving the gearshift lever
from drive position drive (D) to manual (M)
you now have control of selecting the gear
you prefer using buttons on the shift lever.
See Understanding your SelectShift
Automatic
™ transmission later in this
section.
To return to normal drive (D) position,
move the shift lever back from manual (M)
to drive (D).
The transmission operates in gears one
through six.
Second (2)
Transmission operates in second (2) gear
only. Use second (2) gear to start-up on
slippery roads.
First (1)
• Transmission operates in first (1) gear
only.
• Provides maximum engine braking.
115
F650750 (TBC) , enUSA, Edition date: 201804, Second-Printing TransmissionE163183
Page 120 of 387
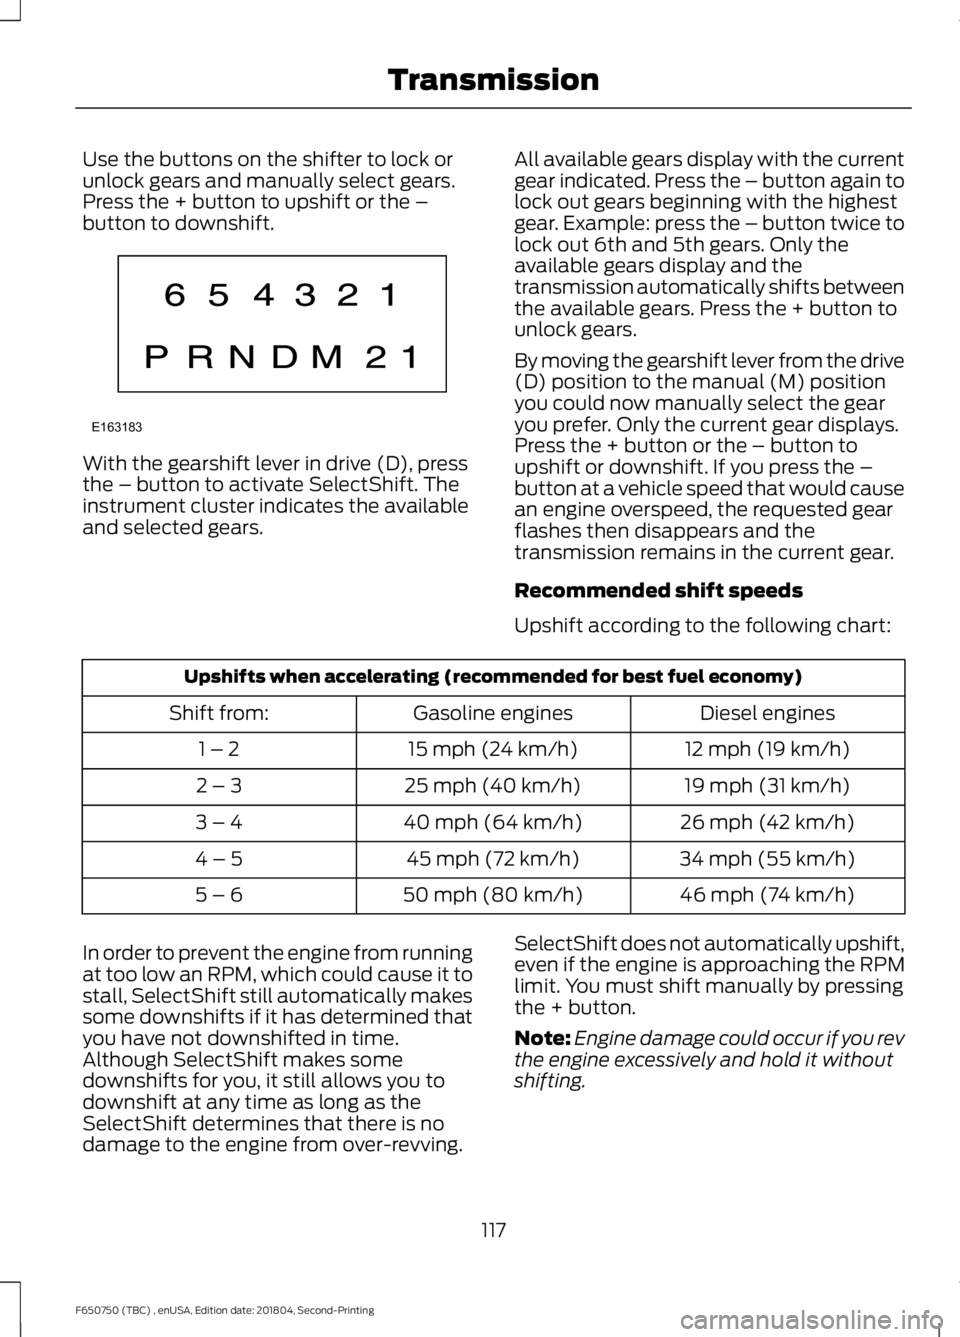
Use the buttons on the shifter to lock or
unlock gears and manually select gears.
Press the + button to upshift or the –
button to downshift.
With the gearshift lever in drive (D), press
the – button to activate SelectShift. The
instrument cluster indicates the available
and selected gears.
All available gears display with the current
gear indicated. Press the – button again to
lock out gears beginning with the highest
gear. Example: press the – button twice to
lock out 6th and 5th gears. Only the
available gears display and the
transmission automatically shifts between
the available gears. Press the + button to
unlock gears.
By moving the gearshift lever from the drive
(D) position to the manual (M) position
you could now manually select the gear
you prefer. Only the current gear displays.
Press the + button or the – button to
upshift or downshift. If you press the –
button at a vehicle speed that would cause
an engine overspeed, the requested gear
flashes then disappears and the
transmission remains in the current gear.
Recommended shift speeds
Upshift according to the following chart:Upshifts when accelerating (recommended for best fuel economy)
Diesel engines
Gasoline engines
Shift from:
12 mph (19 km/h)
15 mph (24 km/h)
1 – 2
19 mph (31 km/h)
25 mph (40 km/h)
2 – 3
26 mph (42 km/h)
40 mph (64 km/h)
3 – 4
34 mph (55 km/h)
45 mph (72 km/h)
4 – 5
46 mph (74 km/h)
50 mph (80 km/h)
5 – 6
In order to prevent the engine from running
at too low an RPM, which could cause it to
stall, SelectShift still automatically makes
some downshifts if it has determined that
you have not downshifted in time.
Although SelectShift makes some
downshifts for you, it still allows you to
downshift at any time as long as the
SelectShift determines that there is no
damage to the engine from over-revving. SelectShift does not automatically upshift,
even if the engine is approaching the RPM
limit. You must shift manually by pressing
the + button.
Note:
Engine damage could occur if you rev
the engine excessively and hold it without
shifting.
117
F650750 (TBC) , enUSA, Edition date: 201804, Second-Printing TransmissionE163183
Page 124 of 387
WARNING: Sudden accelerations
on slippery surfaces could cause the
wheels to spin, the vehicle to turn
sideways on a crowned road surface or
in a turn, possibly resulting in loss of
vehicle control and personal injury.
Activating the Locking Differential
You can lock and unlock the differential
when your vehicle is moving at a constant
speed of less than 25 mph (40 km/h) and
while the wheels are not slipping. Do not
lock the differential when your vehicle is
traveling down steep grades and when
traction is minimal.
The differential lock and differential lock
light automatically disengage at speeds
above 25 mph (40 km/h). The differential
lock remains off until either you restart your
vehicle or you turn the differential lock
switch off then back on.
Servicing a Vehicle with a Locking
Differential
Turn the engine off and raise all drive
wheels of the locker differential axle in
order to prevent your vehicle from moving
when servicing the wheels, tires or brakes.
Axles equipped with a driver-controlled
differential deliver power to both wheels
even when only one wheel is on the ground. WARNING: Failure to raise all drive
wheels with this type of differential could
cause the vehicle to move unexpectedly,
resulting in property damage, personal
injury or death. 2-SPEED REAR AXLE (IF EQUIPPED) WARNING:
Never shift a
two-speed axle when descending a
steep grade as this may cause loss of
vehicle control and result in personal
injury.
Note: Do not shift between ranges when
the speed control is on.
A two-speed rear axle allows the driver to
select a low range for greater pulling power
and a high range for greater road speed
and fuel economy. You can also use these
ranges to provide extra steps between
transmission shifts when driving on steep
grades or fuel economy may be factors.
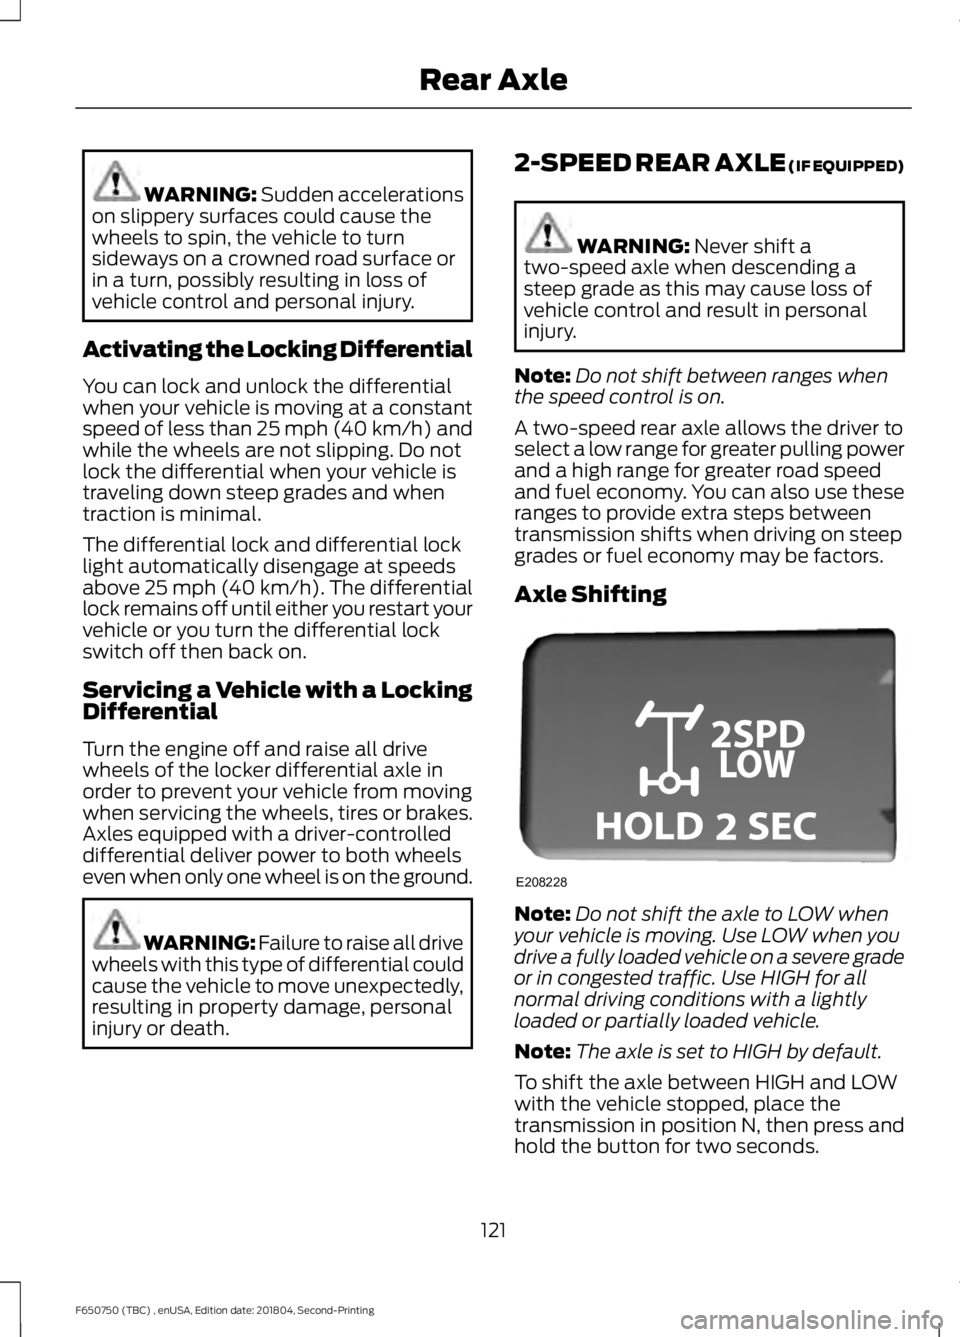
Axle Shifting Note:
Do not shift the axle to LOW when
your vehicle is moving. Use LOW when you
drive a fully loaded vehicle on a severe grade
or in congested traffic. Use HIGH for all
normal driving conditions with a lightly
loaded or partially loaded vehicle.
Note: The axle is set to HIGH by default.
To shift the axle between HIGH and LOW
with the vehicle stopped, place the
transmission in position N, then press and
hold the button for two seconds.
121
F650750 (TBC) , enUSA, Edition date: 201804, Second-Printing Rear AxleE208228
Page 127 of 387
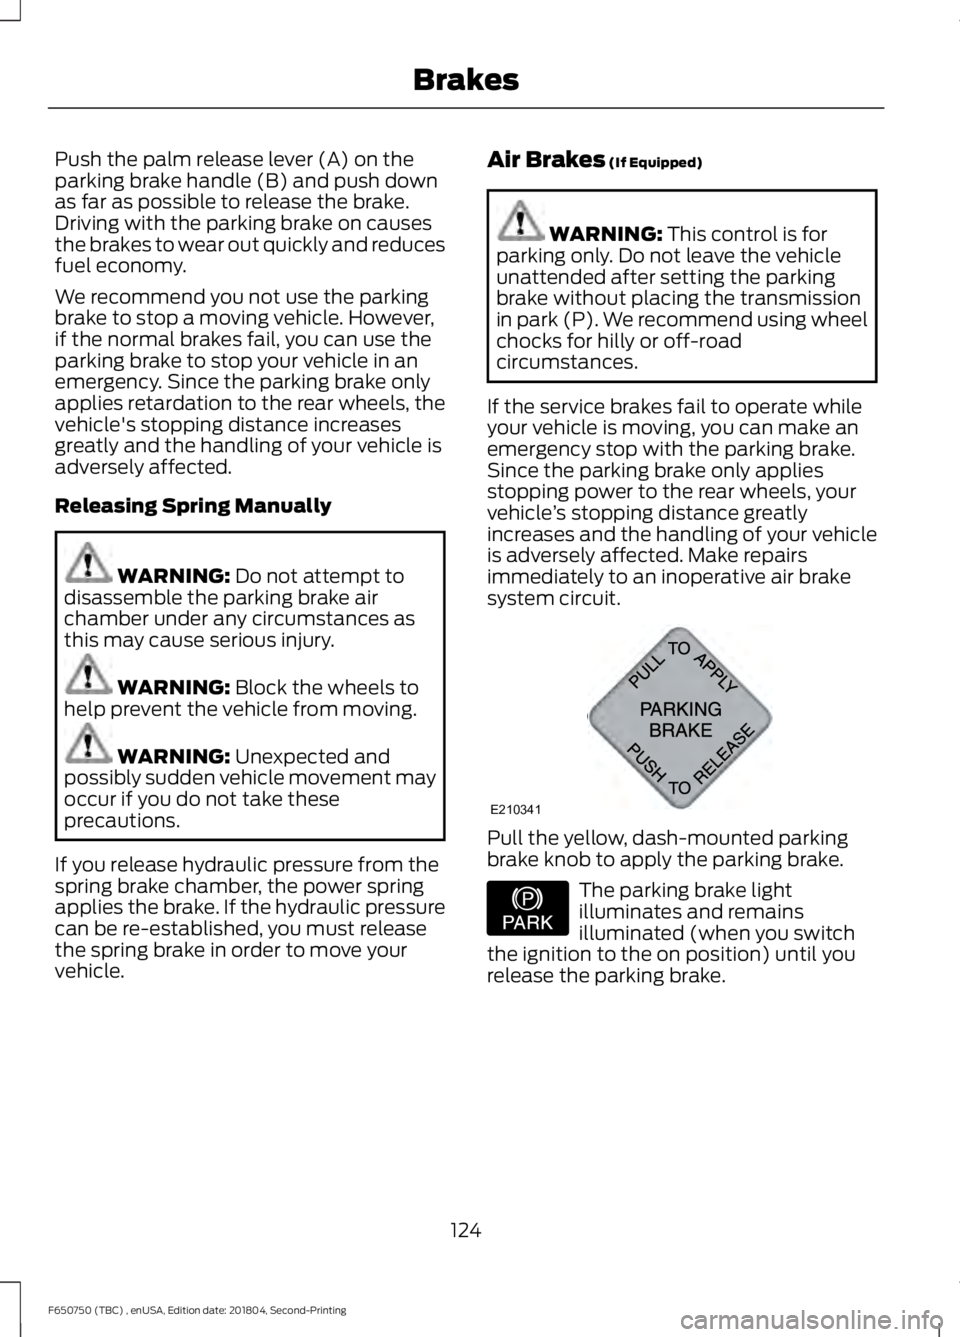
Push the palm release lever (A) on the
parking brake handle (B) and push down
as far as possible to release the brake.
Driving with the parking brake on causes
the brakes to wear out quickly and reduces
fuel economy.
We recommend you not use the parking
brake to stop a moving vehicle. However,
if the normal brakes fail, you can use the
parking brake to stop your vehicle in an
emergency. Since the parking brake only
applies retardation to the rear wheels, the
vehicle's stopping distance increases
greatly and the handling of your vehicle is
adversely affected.
Releasing Spring Manually
WARNING: Do not attempt to
disassemble the parking brake air
chamber under any circumstances as
this may cause serious injury. WARNING:
Block the wheels to
help prevent the vehicle from moving. WARNING:
Unexpected and
possibly sudden vehicle movement may
occur if you do not take these
precautions.
If you release hydraulic pressure from the
spring brake chamber, the power spring
applies the brake. If the hydraulic pressure
can be re-established, you must release
the spring brake in order to move your
vehicle. Air Brakes
(If Equipped) WARNING:
This control is for
parking only. Do not leave the vehicle
unattended after setting the parking
brake without placing the transmission
in park (P). We recommend using wheel
chocks for hilly or off-road
circumstances.
If the service brakes fail to operate while
your vehicle is moving, you can make an
emergency stop with the parking brake.
Since the parking brake only applies
stopping power to the rear wheels, your
vehicle ’s stopping distance greatly
increases and the handling of your vehicle
is adversely affected. Make repairs
immediately to an inoperative air brake
system circuit. Pull the yellow, dash-mounted parking
brake knob to apply the parking brake.
The parking brake light
illuminates and remains
illuminated (when you switch
the ignition to the on position) until you
release the parking brake.
124
F650750 (TBC) , enUSA, Edition date: 201804, Second-Printing BrakesE210341 E208810
Page 150 of 387
•
Shift to a lower gear when driving down
a long or steep hill. Do not apply the
brakes continuously, as they may
overheat and become less effective.
• If your transmission is equipped with
the Tow/Haul feature, use this feature
when towing. This provides engine
braking and helps eliminate excessive
transmission shifting for optimum fuel
economy and transmission cooling.
• Allow more distance for stopping with
a trailer attached. Anticipate stops and
brake gradually.
FIFTH WHEEL OPERATION WARNING: Failure to follow the
fifth wheel manufacturer ’s instructions
for hooking and unhooking as well as
sliding the fifth wheel could result in an
accident, personal injury or death. WARNING:
When the tractor and
trailer are parked unattended, the trailer
brake hand control should never be used
to apply the brake, since air may leak
from the system, allowing vehicle
movement, resulting in possible property
damage, personal injury or death.
Before hook-up, make sure:
• The fifth wheel jaws are fully open.
• The fifth wheel is fully tilted back to
prevent body damage when the tractor
is backed under a trailer.
• You block the trailer wheels and adjust
and apply the trailer spring brakes.
Never chase a trailer.
• The brake hoses and light cords are
clear of the fifth wheel. Hook-up
1. Back the tractor squarely under the
trailer, engaging the fifth-wheel jaws
on the kingpin. Always back up slowly;
make sure the trailer is neither too high
nor too low. Avoid backing under the
trailer from an angle.
2. Connect the service and emergency brake hoses and trailer light connector.
3. Inspect the jaws of the fifth wheel to be sure they have fully closed on the
trailer kingpin and the trailer plate is
resting securely on the fifth wheel.
4. Make sure the coupler release lever is in the locked position.
5. Charge the trailer brake system. Set the trailer brakes, with either the hand
valve or tractor protection valve. Pull
against the trailer for an extra check of
proper hook-up. Do not pull hard
enough to damage or strain the
equipment.
6. Set the tractor parking brakes and fully
raise the trailer landing gear.
7. Check the operation of all trailer lights
and correct any lights that may be
faulty.
Un-hook
1. Try to keep the tractor and trailer in a straight line.
2. Apply the parking brakes.
3. Lower the trailer landing gear, making sure it is on solid, level ground. The
weight of the trailer is to be on the
landing gear.
4. Block the trailer wheels.
5. Disconnect the brake hoses and light cords. Be sure hoses and cords are
clear.
6. Pull coupler release lever to disengage
the fifth wheel jaws.
147
F650750 (TBC) , enUSA, Edition date: 201804, Second-Printing Towing
Page 152 of 387
BREAKING-IN
You need to break in new tires for
approximately 300 mi (480 km). During
this time, your vehicle may exhibit some
unusual driving characteristics.
Avoid driving too fast during the first
1,000 mi (1,600 km)
. Vary your speed
frequently and change up through the
gears early. Do not labor the engine.
Drive your new vehicle at least
1,000 mi
(1,600 km) before towing a trailer. Make
sure you use the specified engine oil. See
Capacities and Specifications
(page
261).
Do not add friction modifier compounds
or special break-in oils during the first few
thousand miles (kilometers) of operation.
These additives may prevent piston ring
seating.
GENERAL DRIVING POINTS
General Information
• Accelerate smoothly and evenly. Rapid
acceleration increases fuel
consumption without increasing engine
performance.
• When approaching a hill, press the
accelerator smoothly to start the
incline at full power, and then shift
down as needed to maintain vehicle
speed.
• When going down a hill, or long steep
grades, prevent overspeeding of the
engine. Normally, choose the same
gear to descend the hill that you use to
ascend the hill. The engine governor
has no control over engine speed when
it is being pushed by a loaded vehicle. •
Do not operate in a gear that permits
an engine speed more than the
maximum governed speed or high-idle
RPM (no load).
• Always shift to a lower gear at high
altitudes to prevent engine smoking.
Backing Up WARNING: All vehicles have blind
spots. To reduce the risk of severe injury
or property damage, never move your
vehicle to the side or rear or change lanes
without being sure your way is clear on
both sides and to your rear. WARNING:
To reduce the risk of
the possibility of personal injury while
backing up the vehicle, always be sure
your vehicle ’s path is clear.
Before backing up your vehicle, be sure you
can do so safely. If anything behind the cab
limits your view, do not rely on mirrors
alone to make sure that your intended path
is clear. If other people are in the vicinity,
have someone standing well behind your
vehicle and outside of your intended path
(visible through an exterior mirror) guide
you as you back up.
Although OSHA or some governmental
regulations may require the use of an
electrical or mechanical back up alarm to
warn bystanders, such an alarm does not
guarantee that the intended path is clear.
When in doubt, get out of your vehicle and
visually check the intended path is clear.
Back up slowly as to allow others time to
move, if necessary.
If you install an electrical back up alarm,
connect it to the backup lamp circuit.
149
F650750 (TBC) , enUSA, Edition date: 201804, Second-Printing Driving Hints
Page 153 of 387
Parking
WARNING: When parking your
vehicle, do not leave the transmission in
gear; if the key is in the on position and
the vehicle rolls, the engine could start.
Failure to follow these instructions could
result in an unattended vehicle moving,
possibly causing personal injury or
property damage.
Always use the parking brake. When
parking on a grade, block the wheels and
turn the front wheels to one side so that if
your vehicle rolls, the front tires act against
the curb to stop your vehicle. The front
wheels are more effective at stopping a
rolling vehicle than the rear wheels.
ECONOMICAL DRIVING
Your fuel economy is affected by several
things, such as how you drive, the
conditions you drive under, and how you
maintain your vehicle.
You may improve your fuel economy by
keeping these things in mind:
• Accelerate and slow down in a smooth,
moderate fashion.
• Drive at steady speeds without
stopping.
• Anticipate stops; slowing down may
eliminate the need to stop.
• Close the windows for high-speed
driving.
• Drive at reasonable speeds (traveling
at 55 mph [88 km/h] uses 15% less
fuel than traveling at 65 mph [105
km/h]).
• Keep the tires properly inflated and use
only the recommended size. •
Use the recommended engine oil.
• Perform all regularly scheduled
maintenance.
Avoid these actions; they reduce your fuel
economy:
• Sudden accelerations or hard
accelerations.
• Warm up your vehicle on cold
mornings.
• Use the air conditioner or front
defroster.
• Use the speed control in hilly terrain.
• Rest your foot on the brake pedal while
driving.
• Carry unnecessary weight
(approximately 1 mpg [0.4 km/L] is
lost for every 400 lb [180 kilogram] of
weight carried).
• Driving with the wheels out of
alignment.
Conditions
• Adding certain accessories to your
vehicle (for example bug deflectors,
rollbars, light bars, running boards, ski
racks or luggage racks) may reduce
fuel economy.
• Using fuel blended with alcohol may
lower fuel economy.
• Fuel economy may decrease with lower
temperatures during the first
5–10 mi
(12 –16 km) of driving.
• Driving on flat terrain offers improved
fuel economy as compared to driving
on hilly terrain.
• Transmissions give their best fuel
economy when operated in the top
cruise gear and with steady pressure
on the gas pedal.
150
F650750 (TBC) , enUSA, Edition date: 201804, Second-Printing Driving Hints