2019 FORD F-450 warning light
[x] Cancel search: warning lightPage 376 of 666
WARNING: On vehicles equipped
with seat-mounted airbags, do not use
chemical solvents or strong detergents.
Such products could contaminate the
side airbag system and affect
performance of the side airbag in a crash.
For fabric, carpets, cloth seats and seats
equipped with side airbags:
• Remove dust and loose dirt with a
vacuum cleaner.
• Remove light stains and soil with
Motorcraft Professional Strength
Carpet & Upholstery Cleaner.
• If grease or tar is present on the
material, spot-clean the area first with
Motorcraft Spot and Stain Remover. In
Canada, use Motorcraft Multi-Purpose
Cleaner. •
If a ring forms on the fabric after spot
cleaning, clean the entire area
immediately (but do not oversaturate)
or the ring will set.
• Do not use household cleaning
products or glass cleaners, which can
stain and discolor the fabric and affect
the flame retardant abilities of the seat
materials.
Note: Microfiber cloth fabric is made of
polyester microfiber with micro-porous
polyurethane. Using commercially available
fabric cleaners can cause permanent
damage.
Note: Do not use commercially available
leather and vinyl cleaning products on
microfiber cloth fabric.
Note: Your vehicle may have microfiber
cloth fabric on the seats, headliner, floor
mats and door panels.
Depending on the type of stain, use water,
lemon juice or pure ethyl alcohol when
cleaning. For cleaning microfiber cloth,
refer to the following chart: Cleaning Procedure
Type of Stain
Use lukewarm water and rinse by dabbing
with clean water.
Fruit juice, jam, jelly, syrup or ketchup.
Use cold water and rinse by dabbing with
clean water. Avoid warm water because it
makes these substances coagulate.
Blood, egg, excrement or urine.
Use lukewarm water. If the color remains,
treat with lemon juice and then rinse.
Liquor, alcoholic beverages, wine, beer, cola
and tea.
Use lukewarm water and rinse by dabbing
with clean water.
Indelible pencil, cocoa, chocolate, pastry
with cream or chocolate, ice cream or
mustard.
Use lemon juice, wipe with lukewarm water
and rinse by dabbing with clean water.
Vinegar, hair gel, tomato sauce or coffee
with sugar.
Use ethyl alcohol, then dab with water.
Dye transfer and all other stains.
373
Super Duty (TFE) Canada/United States of America, enUSA, Edition date: 201804, Fourth-Printing Vehicle Care
Page 384 of 666
TIRE CARE
Information About Uniform
Tire Quality Grading
Tire Quality Grades apply to new
pneumatic passenger car tires.
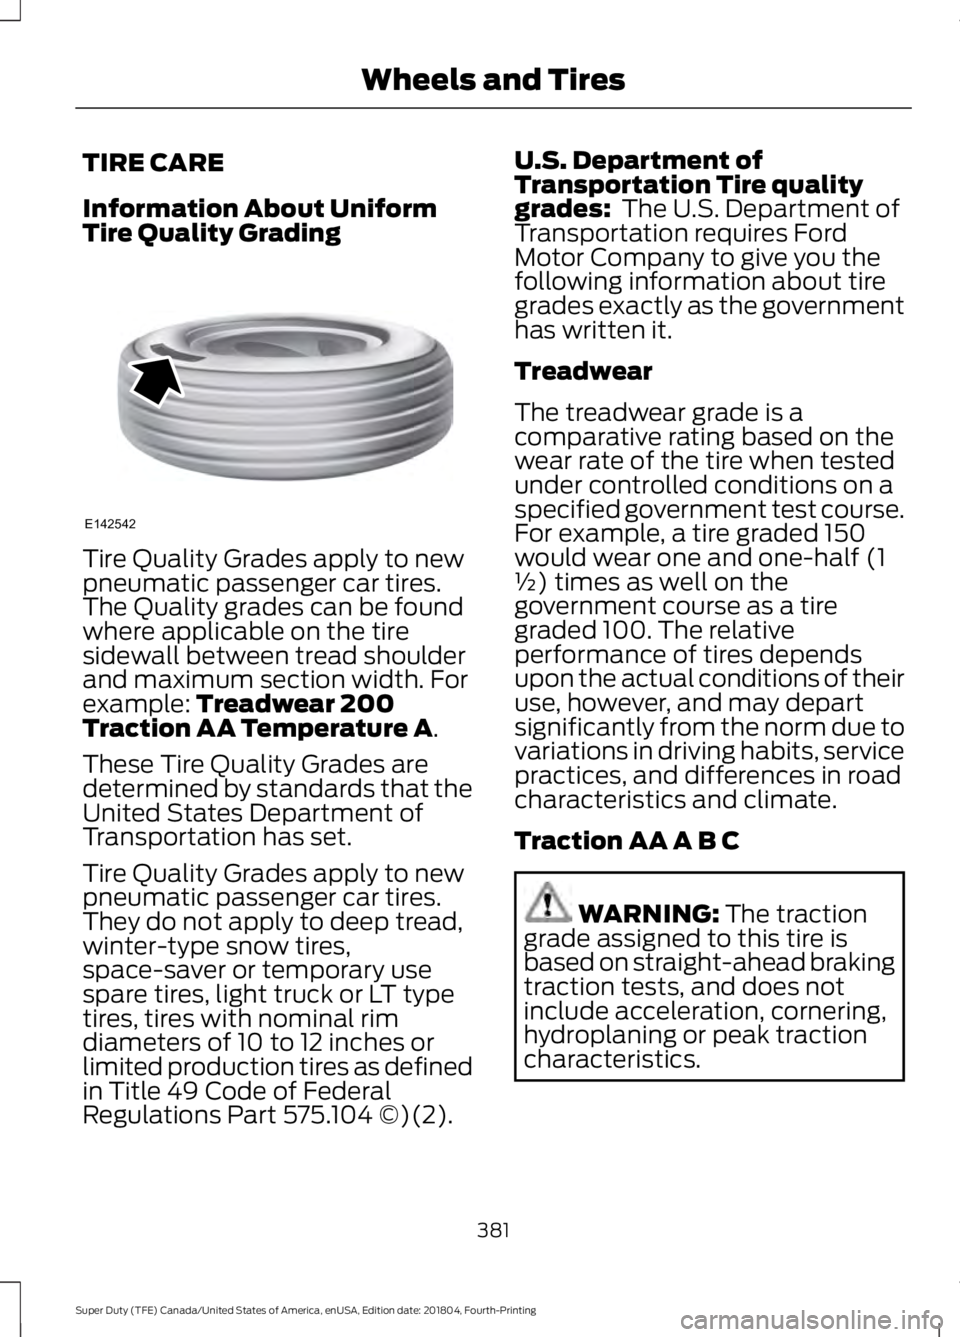
The Quality grades can be found
where applicable on the tire
sidewall between tread shoulder
and maximum section width. For
example: Treadwear 200
Traction AA Temperature A.
These Tire Quality Grades are
determined by standards that the
United States Department of
Transportation has set.
Tire Quality Grades apply to new
pneumatic passenger car tires.
They do not apply to deep tread,
winter-type snow tires,
space-saver or temporary use
spare tires, light truck or LT type
tires, tires with nominal rim
diameters of 10 to 12 inches or
limited production tires as defined
in Title 49 Code of Federal
Regulations Part 575.104 ©)(2). U.S. Department of
Transportation Tire quality
grades:
The U.S. Department of
Transportation requires Ford
Motor Company to give you the
following information about tire
grades exactly as the government
has written it.
Treadwear
The treadwear grade is a
comparative rating based on the
wear rate of the tire when tested
under controlled conditions on a
specified government test course.
For example, a tire graded 150
would wear one and one-half (1
½) times as well on the
government course as a tire
graded 100. The relative
performance of tires depends
upon the actual conditions of their
use, however, and may depart
significantly from the norm due to
variations in driving habits, service
practices, and differences in road
characteristics and climate.
Traction AA A B C WARNING:
The traction
grade assigned to this tire is
based on straight-ahead braking
traction tests, and does not
include acceleration, cornering,
hydroplaning or peak traction
characteristics.
381
Super Duty (TFE) Canada/United States of America, enUSA, Edition date: 201804, Fourth-Printing Wheels and TiresE142542
Page 389 of 666
*Temperature: The temperature
grades are A (the highest), B and
C, representing the tire's
resistance to the generation of
heat and its ability to dissipate
heat when tested under controlled
conditions on a specified indoor
laboratory test wheel.
M. Maximum Inflation
Pressure:
Indicates the tire
manufacturers' maximum
permissible pressure or the
pressure at which the maximum
load can be carried by the tire. This
pressure is normally higher than
the vehicle manufacturer's
recommended cold inflation
pressure which can be found on
the Safety Compliance
Certification Label (affixed to
either the door hinge pillar,
door-latch post, or the door edge
that meets the door-latch post,
next to the driver's seating
position), or Tire Label located on
the B-pillar or the edge of the
driver's door. The cold inflation
pressure should never be set lower
than the recommended pressure
on the vehicle label.
The tire suppliers may have
additional markings, notes or
warnings such as standard load
or radial tubeless.
Additional Information
Contained on the Tire Sidewall
for LT Type Tires
Note: Tire Quality Grades do not
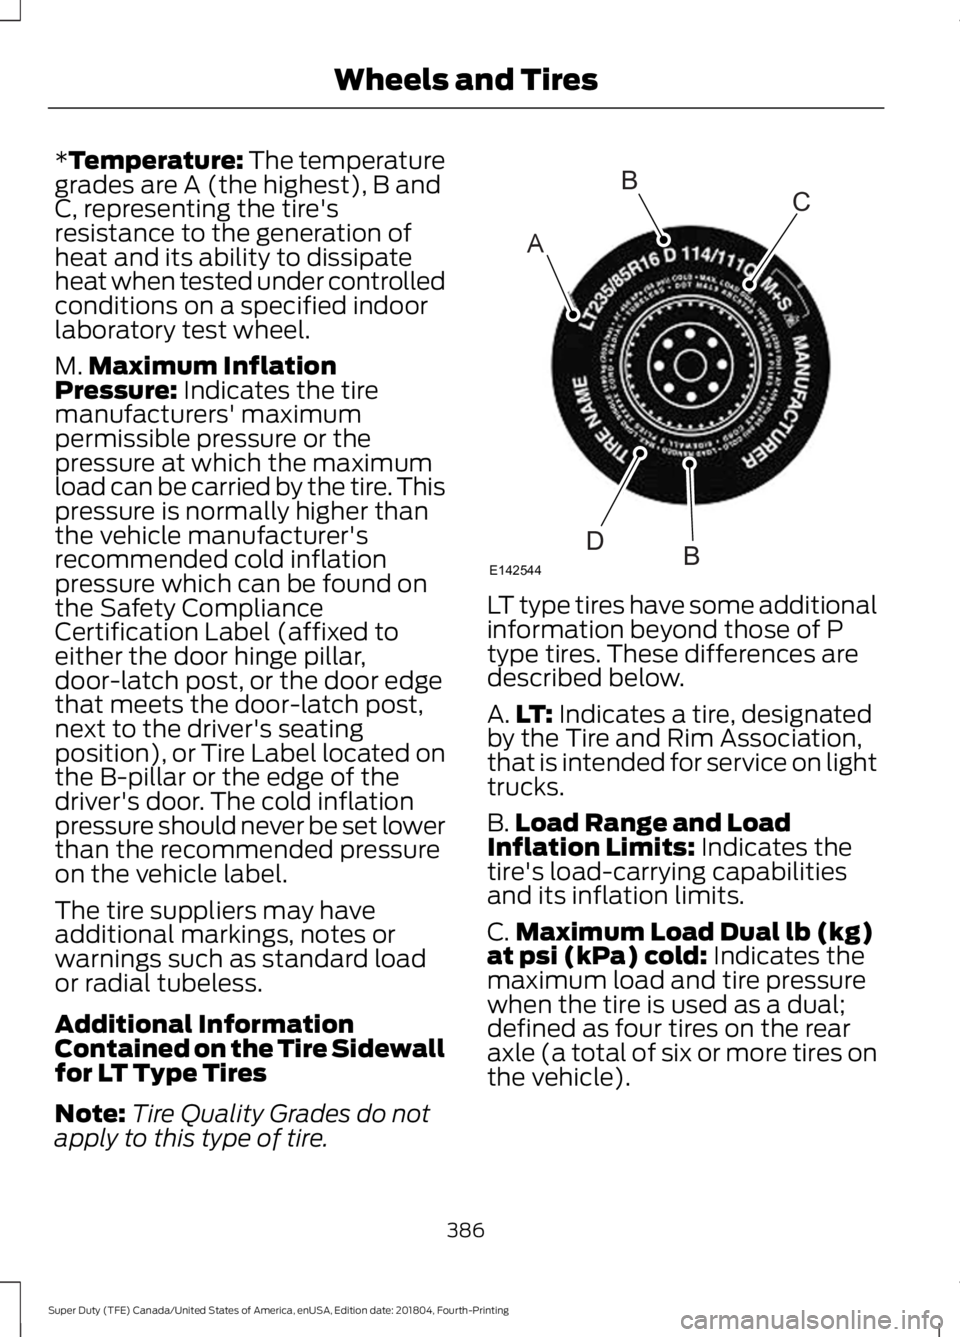
apply to this type of tire. LT type tires have some additional
information beyond those of P
type tires. These differences are
described below.
A.
LT:
Indicates a tire, designated
by the Tire and Rim Association,
that is intended for service on light
trucks.
B. Load Range and Load
Inflation Limits:
Indicates the
tire's load-carrying capabilities
and its inflation limits.
C. Maximum Load Dual lb (kg)
at psi (kPa) cold:
Indicates the
maximum load and tire pressure
when the tire is used as a dual;
defined as four tires on the rear
axle (a total of six or more tires on
the vehicle).
386
Super Duty (TFE) Canada/United States of America, enUSA, Edition date: 201804, Fourth-Printing Wheels and TiresA
BC
BDE142544
Page 393 of 666
Note:
If you have to drive a
distance to get air for your tire(s),
check and record the tire pressure
first and add the appropriate air
pressure when you get to the
pump. It is normal for tires to heat
up and the air pressure inside to go
up as you drive.
2. Remove the cap from the valve
on one tire, then firmly press the
tire gauge onto the valve and
measure the pressure.
3. Add enough air to reach the
recommended air pressure.
Note: If you overfill the tire, release
air by pressing on the metal stem
in the center of the valve. Then
recheck the pressure with your tire
gauge.
4. Replace the valve cap.
5. Repeat this procedure for each
tire, including the spare.
Note: Some spare tires operate at
a higher inflation pressure than the
other tires. For T type mini-spare
tires, (see the Dissimilar spare
wheel and tire assembly
information for a description. Store
and maintain at 60 psi (4.15 bar).
For full-size and dissimilar spare
tires, see the Dissimilar spare wheel
and tire assembly information for
a description. Store and maintain
at the higher of the front and rear
inflation pressure as shown on the
Safety Compliance Certification
Label or Tire Label. 6. Visually inspect the tires to
make sure there are no nails or
other objects embedded that
could poke a hole in the tire and
cause an air leak.
7. Check the sidewalls to make
sure there are no gouges, cuts or
bulges.
Tire Inflation Information
WARNING: An inflated tire
and rim can be very dangerous
if improperly used, serviced or
maintained. To reduce the risk
of serious injury, never attempt
to re-inflate a tire which has
been run flat or seriously
under-inflated without first
removing the tire from the wheel
assembly for inspection. Do not
attempt to add air to tires or
replace tires or wheels without
first taking precautions to
protect persons and property.
All tires with Steel Carcass Plies
(if equipped):
This type of tire utilizes steel cords
in the sidewalls. As such, they
cannot be treated like normal light
truck tires. Tire service, including
adjusting tire pressure, must be
performed by personnel trained,
supervised and equipped
according to Federal Occupational
Safety and Health Administration
regulations. For example, during
390
Super Duty (TFE) Canada/United States of America, enUSA, Edition date: 201804, Fourth-Printing Wheels and Tires
Page 403 of 666
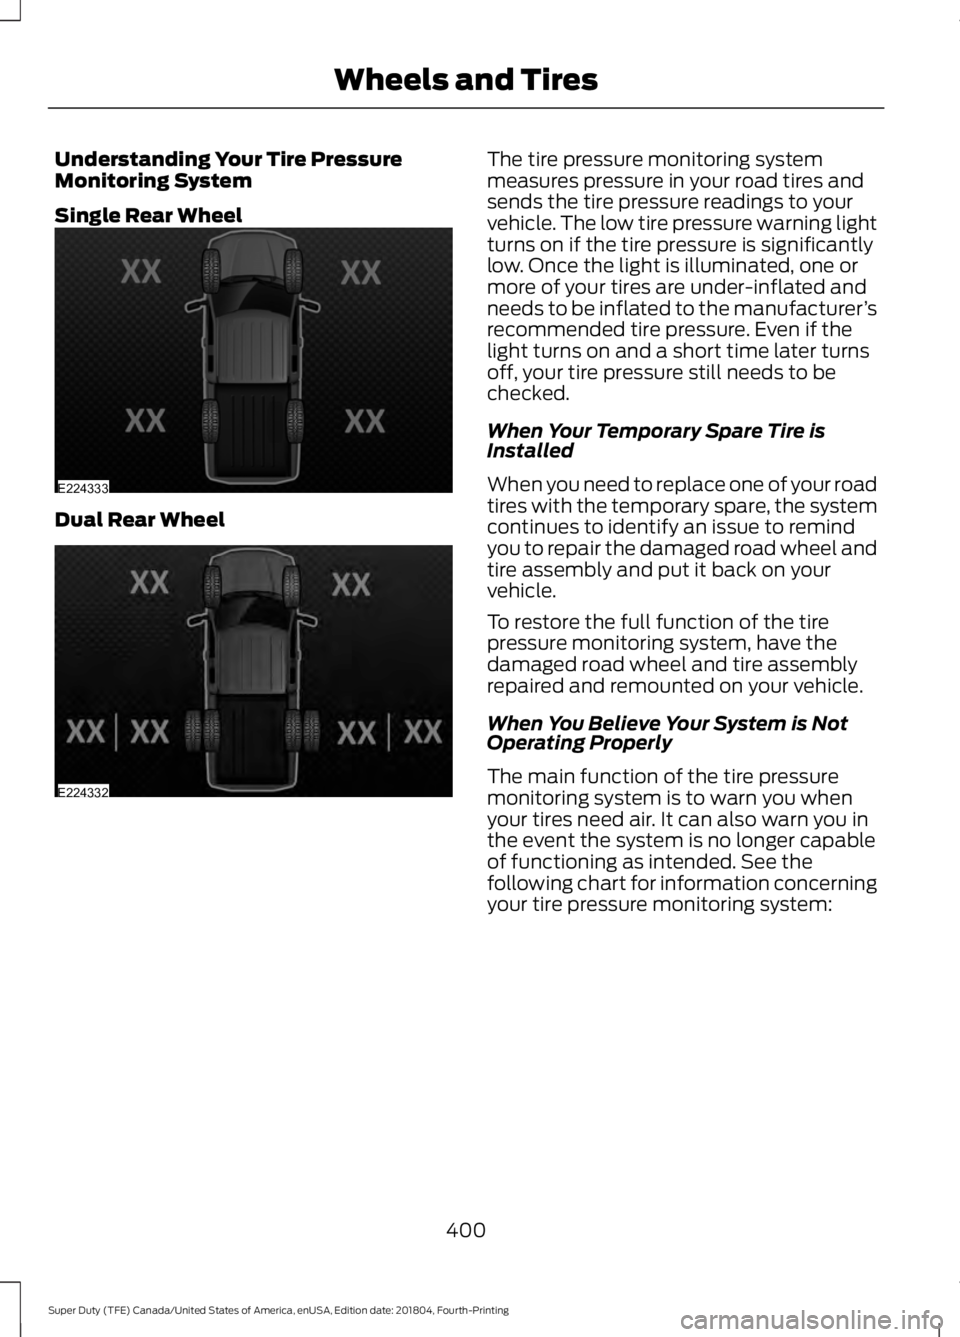
Understanding Your Tire Pressure
Monitoring System
Single Rear Wheel
Dual Rear Wheel The tire pressure monitoring system
measures pressure in your road tires and
sends the tire pressure readings to your
vehicle. The low tire pressure warning light
turns on if the tire pressure is significantly
low. Once the light is illuminated, one or
more of your tires are under-inflated and
needs to be inflated to the manufacturer
’s
recommended tire pressure. Even if the
light turns on and a short time later turns
off, your tire pressure still needs to be
checked.
When Your Temporary Spare Tire is
Installed
When you need to replace one of your road
tires with the temporary spare, the system
continues to identify an issue to remind
you to repair the damaged road wheel and
tire assembly and put it back on your
vehicle.
To restore the full function of the tire
pressure monitoring system, have the
damaged road wheel and tire assembly
repaired and remounted on your vehicle.
When You Believe Your System is Not
Operating Properly
The main function of the tire pressure
monitoring system is to warn you when
your tires need air. It can also warn you in
the event the system is no longer capable
of functioning as intended. See the
following chart for information concerning
your tire pressure monitoring system:
400
Super Duty (TFE) Canada/United States of America, enUSA, Edition date: 201804, Fourth-Printing Wheels and TiresE224333 E224332
Page 404 of 666

Customer Action Required
Possible Cause
Low Tire Pressure
Warning Light
Make sure tires are at the proper pres-
sure. See Inflating Your Tires in this
chapter. After inflating your tires to the
manufacturer’s recommended pressure
as shown on the Tire Label, located on
the edge of driver door or the B-Pillar,
you must drive your vehicle for at least
two minutes over 20 mph (32 km/h)
before the light turns off.
Tire under inflated
Solid warning light
Repair the damaged road wheel and tire
assembly and reinstall it on the vehicle
to restore system function. For a
description on how the system functions,
see When your temporary spare tire is
installed in this section.
Spare tire in use
If the tires are properly inflated and the
spare tire is not in use but the light
remains on, contact your authorized
dealer as soon as possible.
Tire pressure monitoring
system malfunction
On vehicles with different front and rear
tire pressures, the system must be
retrained following every tire rotation.
See
Tire Care (page 381).
Tire rotation without
sensor training
Repair the damaged road wheel and tire
assembly and reinstall it on the vehicle
to restore system function. For a
description on how the system functions,
see When your temporary spare tire is
installed in this section.
Spare tire in use
Flashing warning
light
If the tires are properly inflated and the
spare tire is not in use but the light
remains on, contact your authorized
dealer as soon as possible.
Tire pressure monitoring
system malfunction
401
Super Duty (TFE) Canada/United States of America, enUSA, Edition date: 201804, Fourth-Printing Wheels and Tires
Page 405 of 666
When Inflating Your Tires
When putting air into your tires, such as at
a gas station or in your garage, the tire
pressure monitoring system may not
respond immediately to the air added to
your tires.
It may take up to two minutes of driving
over 20 mph (32 km/h) for the light to turn
off after you have filled your tires to the
recommended inflation pressure.
How Temperature Affects Your Tire
Pressure
The tire pressure monitoring system
monitors tire pressure in each pneumatic
tire. When driving in a normal manner, a
typical passenger tire inflation pressure
may increase about 2
–4 psi (14– 28 kPa)
from a cold start situation. If the vehicle is
stationary overnight with the outside
temperature significantly lower than the
daytime temperature, the tire pressure may
decrease about 3 psi (21 kPa) for a drop of
30°F (17°C) in ambient temperature. This
lower pressure value may be detected by
the tire pressure monitoring system as
being significantly lower than the
recommended inflation pressure and
activate the system warning light for low
tire pressure.
If the low tire pressure warning light is on,
visually check each tire to verify that no tire
is flat. If one or more tires are flat, repair as
necessary. Check the air pressure in the
road tires. If any tire is under-inflated,
carefully drive the vehicle to the nearest
location where air can be added to the
tires. Inflate all the tires to the
recommended inflation pressure. Tire Pressure Monitoring System Reset
Procedure WARNING:
To determine the
required pressure(s) for your vehicle, see
the Safety Compliance Certification
Label (on the door hinge pillar,
door-latch post or the door edge that
meets the door-latch post, next to the
driver seat) or the Tire Label on the
B-Pillar or the edge of the driver door.
Note: You need to perform the tire pressure
monitoring system reset procedure after
each tire rotation.
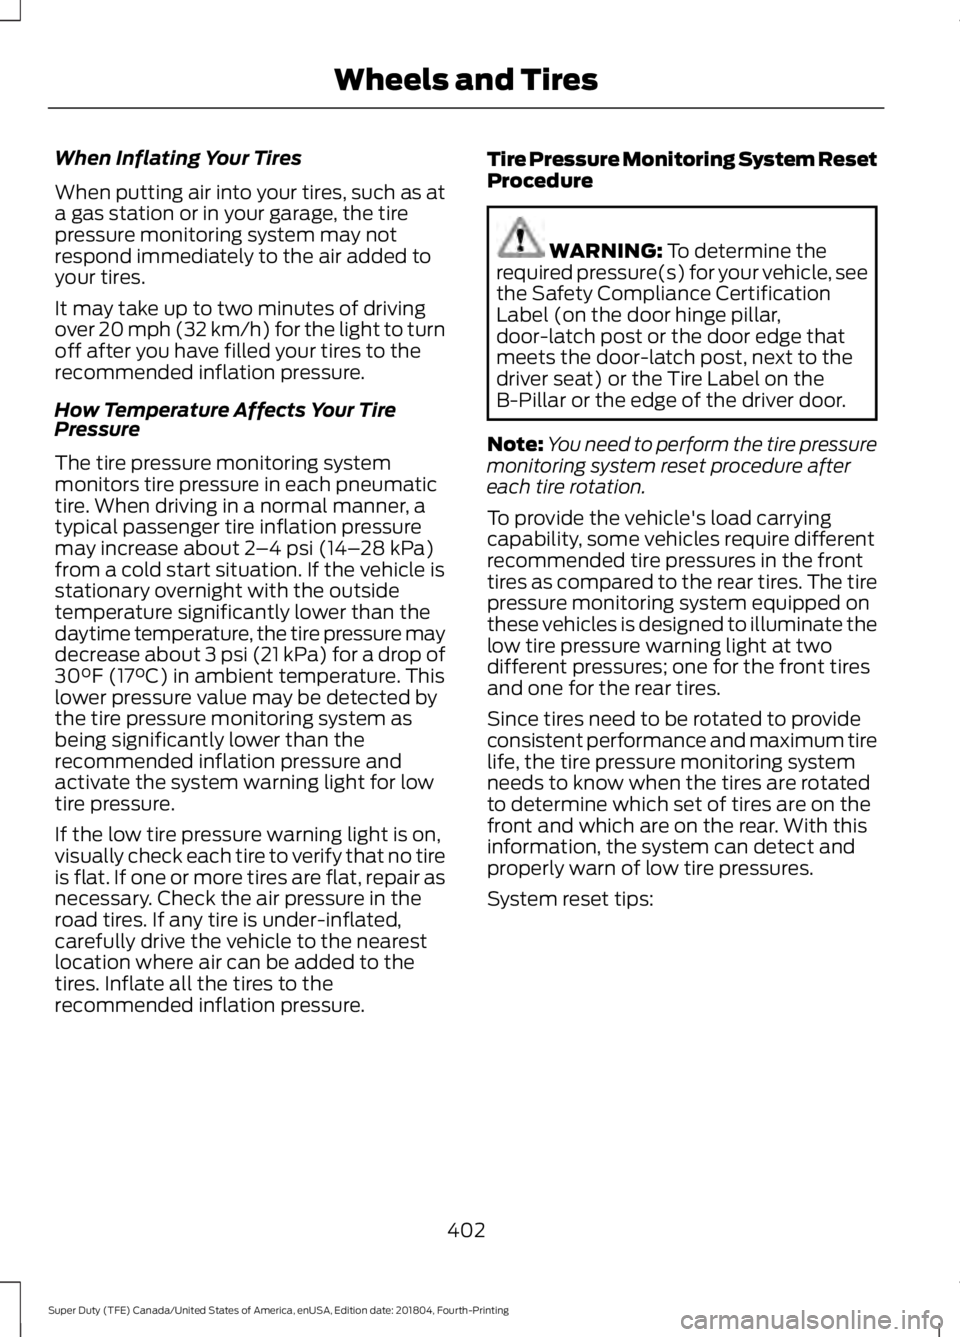
To provide the vehicle's load carrying
capability, some vehicles require different
recommended tire pressures in the front
tires as compared to the rear tires. The tire
pressure monitoring system equipped on
these vehicles is designed to illuminate the
low tire pressure warning light at two
different pressures; one for the front tires
and one for the rear tires.
Since tires need to be rotated to provide
consistent performance and maximum tire
life, the tire pressure monitoring system
needs to know when the tires are rotated
to determine which set of tires are on the
front and which are on the rear. With this
information, the system can detect and
properly warn of low tire pressures.
System reset tips:
402
Super Duty (TFE) Canada/United States of America, enUSA, Edition date: 201804, Fourth-Printing Wheels and Tires
Page 408 of 666

12.
Turn the ignition off. If two short horn
beeps are heard, the reset procedure
was unsuccessful and you must
repeat it. If after repeating the
procedure and two short beeps are
heard when the ignition is turned to
off, seek assistance from your
authorized dealer.
13. Set all six tires to the recommended air pressure as indicated on the
Safety Compliance Certification
Label, affixed to either the door hinge
pillar, door-latch post, or the door
edge that meets the door-latch post,
next to the driver seating position or
Tire Label located on the B-Pillar or
the edge of the driver door.
Trailer Tire Pressure Monitoring
System (If Equipped)
Note: Additional equipment may be
required for your vehicle to support trailer
tire pressure monitoring. See your authorized
dealer for more information.
Note: The trailer tire pressure monitoring
system is not a substitute for proper tire
maintenance. It is your responsibility to
maintain correct tire pressures at all times.
Note: If a trailer tire is repaired, replaced or
broken down for service, the screw and valve
on the trailer tire pressure sensor should be
replaced. See your authorized dealer for
details. The trailer tire pressure monitoring system
is an added safety feature that allows you
to view your trailer tire pressures through
the information display.
See General
Information (page 112). Tire pressure
sensors are mounted into each tire on your
trailer. The sensors send a message to your
vehicle indicating the current trailer tire
pressure.
If the trailer tire pressure monitoring
system detects that a tire is low, a warning
message appears in the information
display. The trailer tire pressure status
screen in the information display highlights
the tire with a low pressure.
The main function of the trailer tire
pressure monitoring system is to warn you
when your trailer tires need air. It can also
warn you in the event the system is no
longer capable of functioning as intended.
See
Information Messages (page 128).
When a Temporary Spare or New Tire
is Installed
If you have replaced a trailer tire with a new
or spare tire, a warning message appears
and pressure readings are no longer
displayed for that tire.
To restore the full function of the trailer
tire pressure monitoring system:
• Have the damaged wheel and tire
assembly repaired and remounted to
your trailer.
• Install the trailer tire pressure
monitoring sensor into the new wheel
and tire assembly.
• Perform the trailer tire pressure
monitoring system reset procedure.
Trailer Tire Pressure Monitoring
System Reset Procedure
Note: You need to perform the tire pressure
monitoring system reset procedure after
each tire rotation, or when a new trailer tire
pressure sensor is installed into a trailer tire.
405
Super Duty (TFE) Canada/United States of America, enUSA, Edition date: 201804, Fourth-Printing Wheels and TiresE235807