2019 FORD EXPLORER rear camera
[x] Cancel search: rear cameraPage 6 of 571

Auxiliary Power Points
Auxiliary Power Points
...............................162
Storage Compartments
Center Console .............................................
164
Overhead Console ......................................
165
Starting and Stopping the Engine
General Information ...................................
166
Ignition Switch ..............................................
166
Keyless Starting ...........................................
166
Starting a Gasoline Engine .......................
167
Switching Off the Engine ..........................
170
Engine Block Heater ...................................
170
Fuel and Refueling
Safety Precautions ......................................
172
Fuel Quality - Gasoline ...............................
172
Fuel Quality - E85 ........................................
173
Fuel Filler Funnel Location .......................
174
Running Out of Fuel ....................................
174
Refueling .........................................................
176
Fuel Consumption .......................................
179
Engine Emission Control
Emission Law ...............................................
180
Catalytic Converter ......................................
181
Transmission
Automatic Transmission ..........................
184
Four-Wheel Drive
Principle of Operation ...............................
188
Using Four-Wheel Drive ...........................
188
Brakes
General Information ...................................
193Hints on Driving With Anti-Lock Brakes
........................................................................\
.
193
Parking Brake ................................................
194
Hill Start Assist .............................................
194
Traction Control
Principle of Operation ...............................
196
Using Traction Control ..............................
196
Stability Control
Principle of Operation ................................
197
Using Stability Control ..............................
198
Terrain Control
Using Terrain Control .................................
199
Using Hill Descent Control .....................
200
Parking Aids
Principle of Operation ...............................
202
Rear Parking Aid ..........................................
202
Front Parking Aid ........................................
203
Side Sensing System ................................
204
Active Park Assist .......................................
206
Rear View Camera .......................................
212
180 Degree Camera ....................................
215
Cruise Control
Principle of Operation ................................
217
Using Cruise Control ...................................
217
Using Adaptive Cruise Control ...............
218
Driving Aids
Driver Alert .....................................................
225
Lane Keeping System ...............................
226
Blind Spot Information System ..............
231
Cross Traffic Alert .......................................
232
Steering ..........................................................
235
Pre-Collision Assist ....................................
236
3
Explorer (TUB) Canada/United States of America, enUSA, Edition date: 201807, Second-Printing Table of Contents
Page 19 of 571

INSTRUMENT PANEL OVERVIEW
Air vents.
A
Direction indicators. See
Direction Indicators (page 88).
High beam. See Lighting
Control (page 84).
B
Information display controls. See
Information Display Control
(page
80).
C
Instrument cluster.
See Warning
Lamps and Indicators (page
99).
D
Wiper lever. See
Wipers and
Washers (page 82).
E
180 degree camera. See
180
Degree Camera (page 215).
F Parking aid switch. See Parking
Aids
(page 202).
G
Information and entertainment
display.
H
Hazard warning flasher switch.
See Hazard Flashers (page 259
).
I
Audio unit.
See Audio System
(page 362).
J
Climate controls. See
Climate
Control (page 129).
K
Heated rear window switch. See
Heated Rear Window
(page
137).
L
16
Explorer (TUB) Canada/United States of America, enUSA, Edition date: 201807, Second-Printing At a GlanceE192491
Page 86 of 571
In these conditions, you can do the
following:
•
Lower the sensitivity of the autowipers
to reduce the amount of smearing on
the windshield.
• Switch to normal or high-speed wipe.
• Switch autowipers off.
Autowipers Settings
Autowipers default to on and remain on
until you switch them off in the information
display. When you switch off autowipers,
the wipers operate in intermittent mode.
WINDSHIELD WASHERS
Note: Do not operate the wipers on a dry
windshield. This may scratch the glass,
damage the wiper blades or cause the wiper
motor to burn out. Always use the
windshield washers before wiping a dry
windshield.
Note: Do not operate the washers when
the washer reservoir is empty. This may
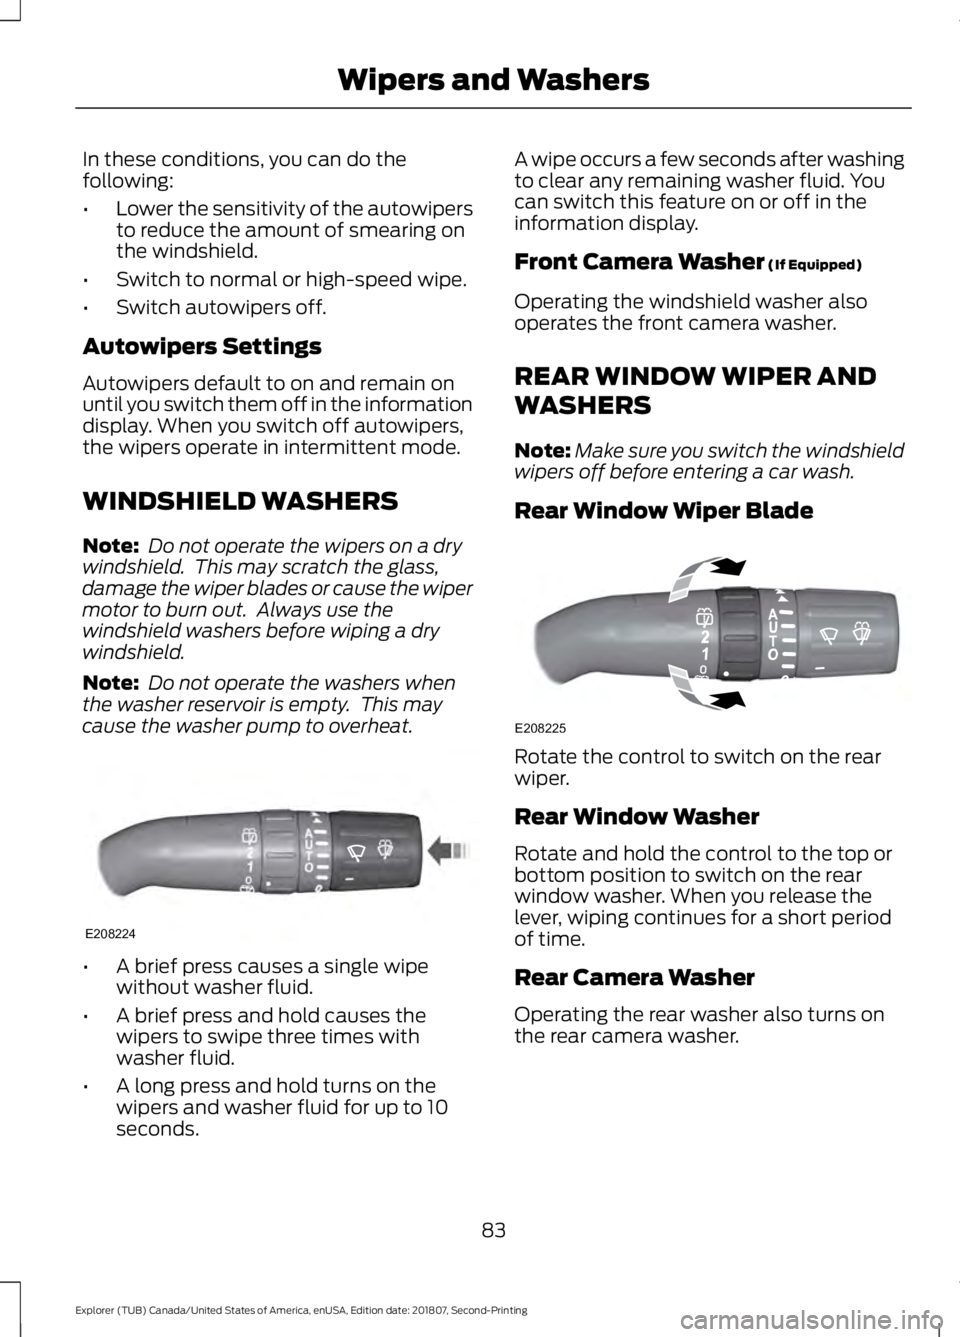
cause the washer pump to overheat. •
A brief press causes a single wipe
without washer fluid.
• A brief press and hold causes the
wipers to swipe three times with
washer fluid.
• A long press and hold turns on the
wipers and washer fluid for up to 10
seconds. A wipe occurs a few seconds after washing
to clear any remaining washer fluid. You
can switch this feature on or off in the
information display.
Front Camera Washer (If Equipped)
Operating the windshield washer also
operates the front camera washer.
REAR WINDOW WIPER AND
WASHERS
Note: Make sure you switch the windshield
wipers off before entering a car wash.
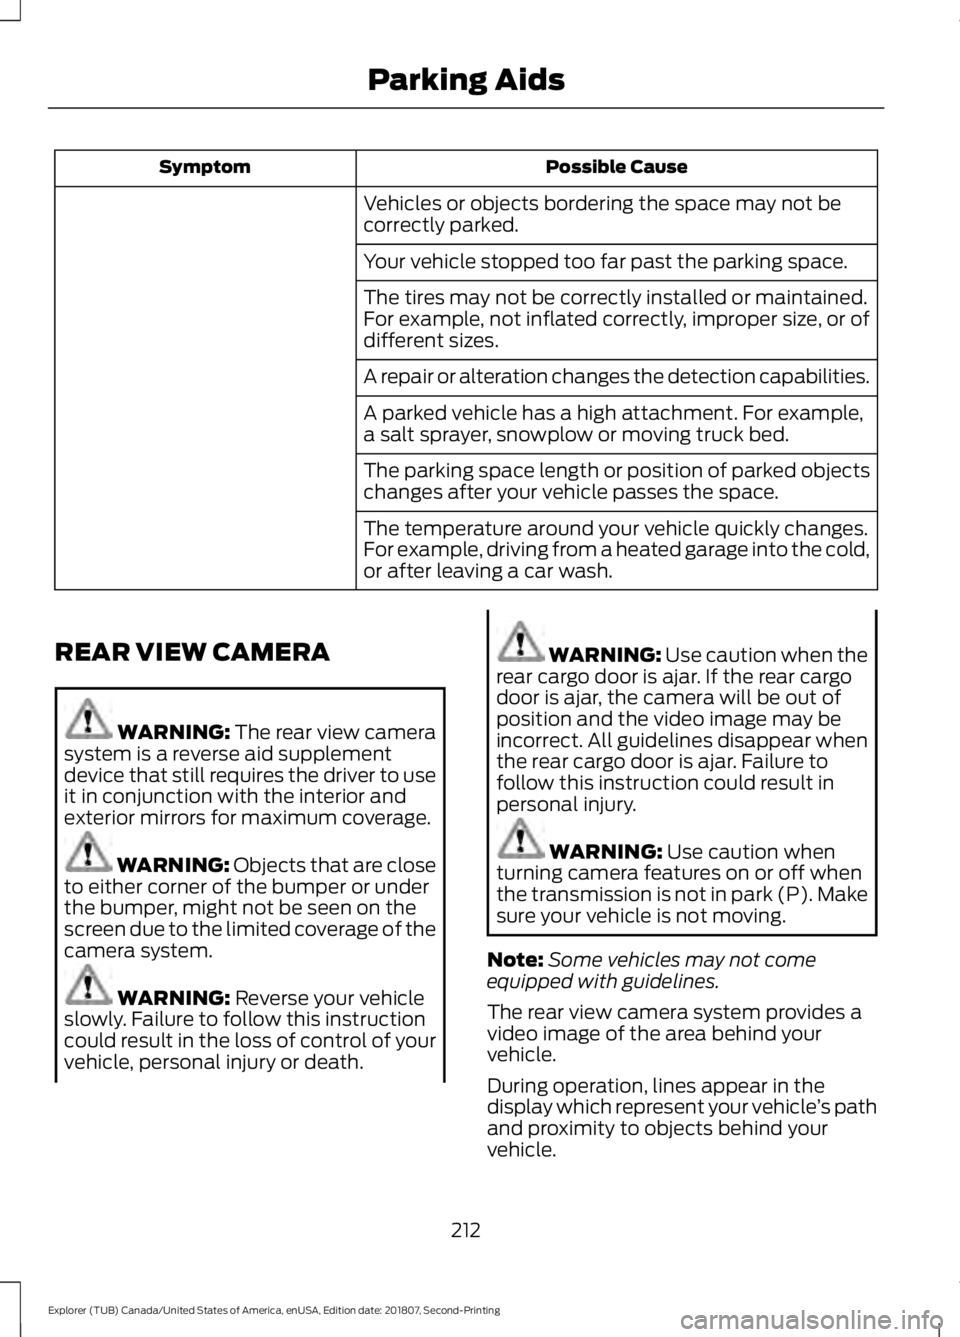
Rear Window Wiper Blade Rotate the control to switch on the rear
wiper.
Rear Window Washer
Rotate and hold the control to the top or
bottom position to switch on the rear
window washer. When you release the
lever, wiping continues for a short period
of time.
Rear Camera Washer
Operating the rear washer also turns on
the rear camera washer.
83
Explorer (TUB) Canada/United States of America, enUSA, Edition date: 201807, Second-Printing Wipers and WashersE208224 E208225
Page 215 of 571
Possible Cause
Symptom
Vehicles or objects bordering the space may not be
correctly parked.
Your vehicle stopped too far past the parking space.
The tires may not be correctly installed or maintained.
For example, not inflated correctly, improper size, or of
different sizes.
A repair or alteration changes the detection capabilities.
A parked vehicle has a high attachment. For example,
a salt sprayer, snowplow or moving truck bed.
The parking space length or position of parked objects
changes after your vehicle passes the space.
The temperature around your vehicle quickly changes.
For example, driving from a heated garage into the cold,
or after leaving a car wash.
REAR VIEW CAMERA WARNING: The rear view camera
system is a reverse aid supplement
device that still requires the driver to use
it in conjunction with the interior and
exterior mirrors for maximum coverage. WARNING: Objects that are close
to either corner of the bumper or under
the bumper, might not be seen on the
screen due to the limited coverage of the
camera system. WARNING: Reverse your vehicle
slowly. Failure to follow this instruction
could result in the loss of control of your
vehicle, personal injury or death. WARNING:
Use caution when the
rear cargo door is ajar. If the rear cargo
door is ajar, the camera will be out of
position and the video image may be
incorrect. All guidelines disappear when
the rear cargo door is ajar. Failure to
follow this instruction could result in
personal injury. WARNING:
Use caution when
turning camera features on or off when
the transmission is not in park (P). Make
sure your vehicle is not moving.
Note: Some vehicles may not come
equipped with guidelines.
The rear view camera system provides a
video image of the area behind your
vehicle.
During operation, lines appear in the
display which represent your vehicle ’s path
and proximity to objects behind your
vehicle.
212
Explorer (TUB) Canada/United States of America, enUSA, Edition date: 201807, Second-Printing Parking Aids
Page 216 of 571
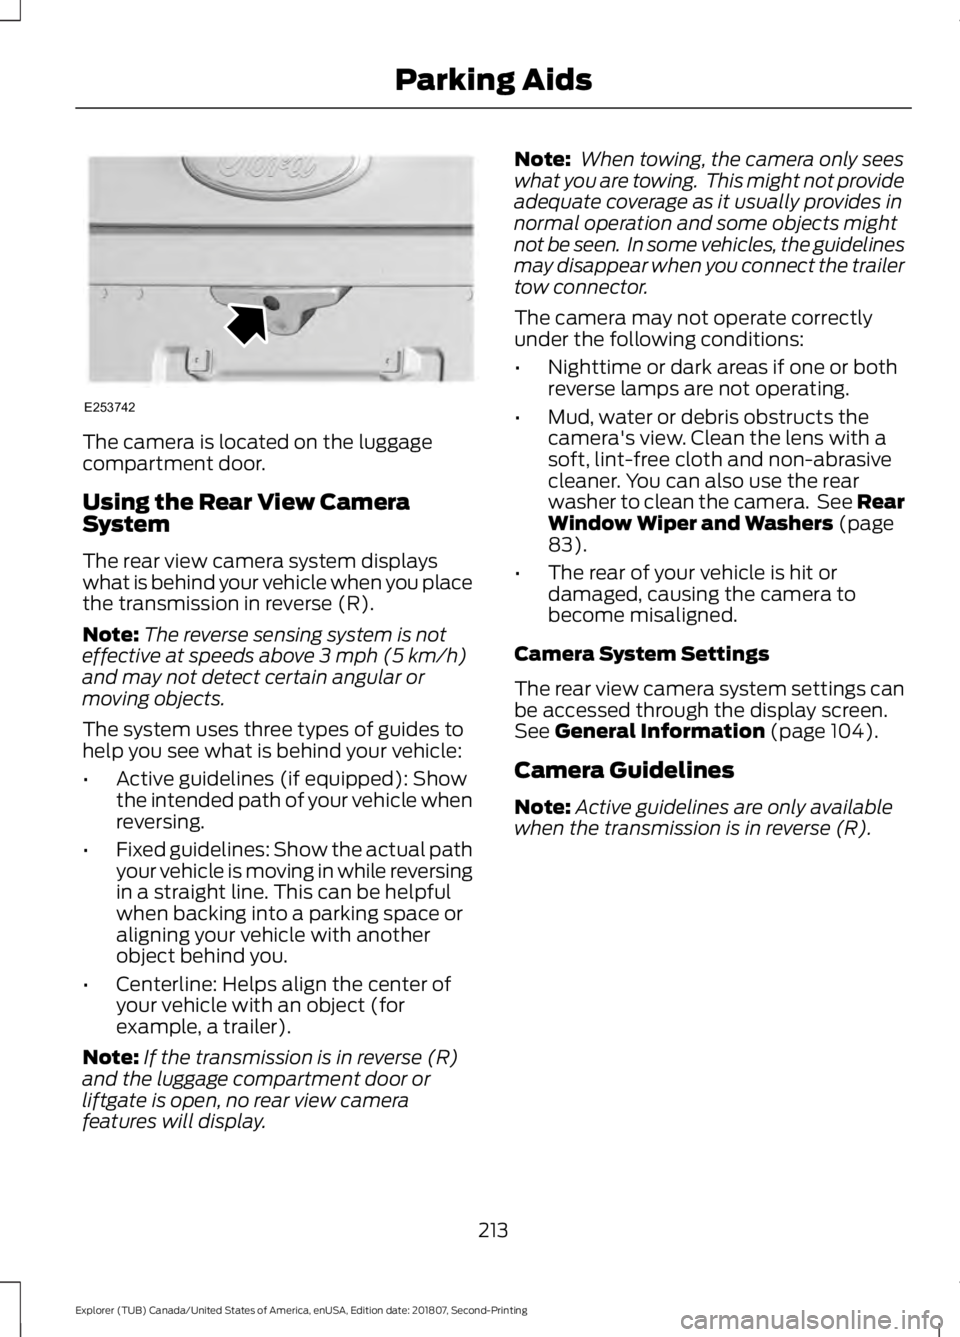
The camera is located on the luggage
compartment door.
Using the Rear View Camera
System
The rear view camera system displays
what is behind your vehicle when you place
the transmission in reverse (R).
Note:
The reverse sensing system is not
effective at speeds above 3 mph (5 km/h)
and may not detect certain angular or
moving objects.
The system uses three types of guides to
help you see what is behind your vehicle:
• Active guidelines (if equipped): Show
the intended path of your vehicle when
reversing.
• Fixed guidelines: Show the actual path
your vehicle is moving in while reversing
in a straight line. This can be helpful
when backing into a parking space or
aligning your vehicle with another
object behind you.
• Centerline: Helps align the center of
your vehicle with an object (for
example, a trailer).
Note: If the transmission is in reverse (R)
and the luggage compartment door or
liftgate is open, no rear view camera
features will display. Note:
When towing, the camera only sees
what you are towing. This might not provide
adequate coverage as it usually provides in
normal operation and some objects might
not be seen. In some vehicles, the guidelines
may disappear when you connect the trailer
tow connector.
The camera may not operate correctly
under the following conditions:
• Nighttime or dark areas if one or both
reverse lamps are not operating.
• Mud, water or debris obstructs the
camera's view. Clean the lens with a
soft, lint-free cloth and non-abrasive
cleaner. You can also use the rear
washer to clean the camera. See Rear
Window Wiper and Washers
(page
83).
• The rear of your vehicle is hit or
damaged, causing the camera to
become misaligned.
Camera System Settings
The rear view camera system settings can
be accessed through the display screen.
See
General Information (page 104).
Camera Guidelines
Note: Active guidelines are only available
when the transmission is in reverse (R).
213
Explorer (TUB) Canada/United States of America, enUSA, Edition date: 201807, Second-Printing Parking AidsE253742
Page 218 of 571
Manual Zoom
WARNING: When manual zoom
is on, the full area behind your vehicle
may not show. Be aware of your
surroundings when using the manual
zoom feature.
Note: Manual zoom is only available when
the transmission is in reverse (R).
Note: When you enable manual zoom, only
the centerline is shown.
Selectable settings for this feature are
Zoom in (+) and Zoom out (-). Press the
symbol in the camera screen to change the
view. The default setting is Zoom OFF.
This allows you to get a closer view of an
object behind your vehicle. The zoomed
image keeps the bumper in the image to
provide a reference. The zoom is only
active while the transmission is in reverse
(R).
Rear Camera Delay
Selectable settings for this feature are ON
and OFF.
The default setting for the rear camera
delay is OFF.
When shifting the transmission out of
reverse (R) and into any gear other than
park (P), the camera image remains in the
display until:
• Your vehicle speed reaches
approximately
5 mph (8 km/h).
• You shift your vehicle into park (P). 180 DEGREE CAMERA (IF EQUIPPED) WARNING:
The front camera
system still requires the driver to use it
in conjunction with looking out of your
vehicle. WARNING: Objects that are close
to either corner of the bumper or under
the bumper, might not be seen on the
screen due to the limited coverage of the
camera system. WARNING:
Use caution when
turning camera features on or off when
the transmission is not in park (P). Make
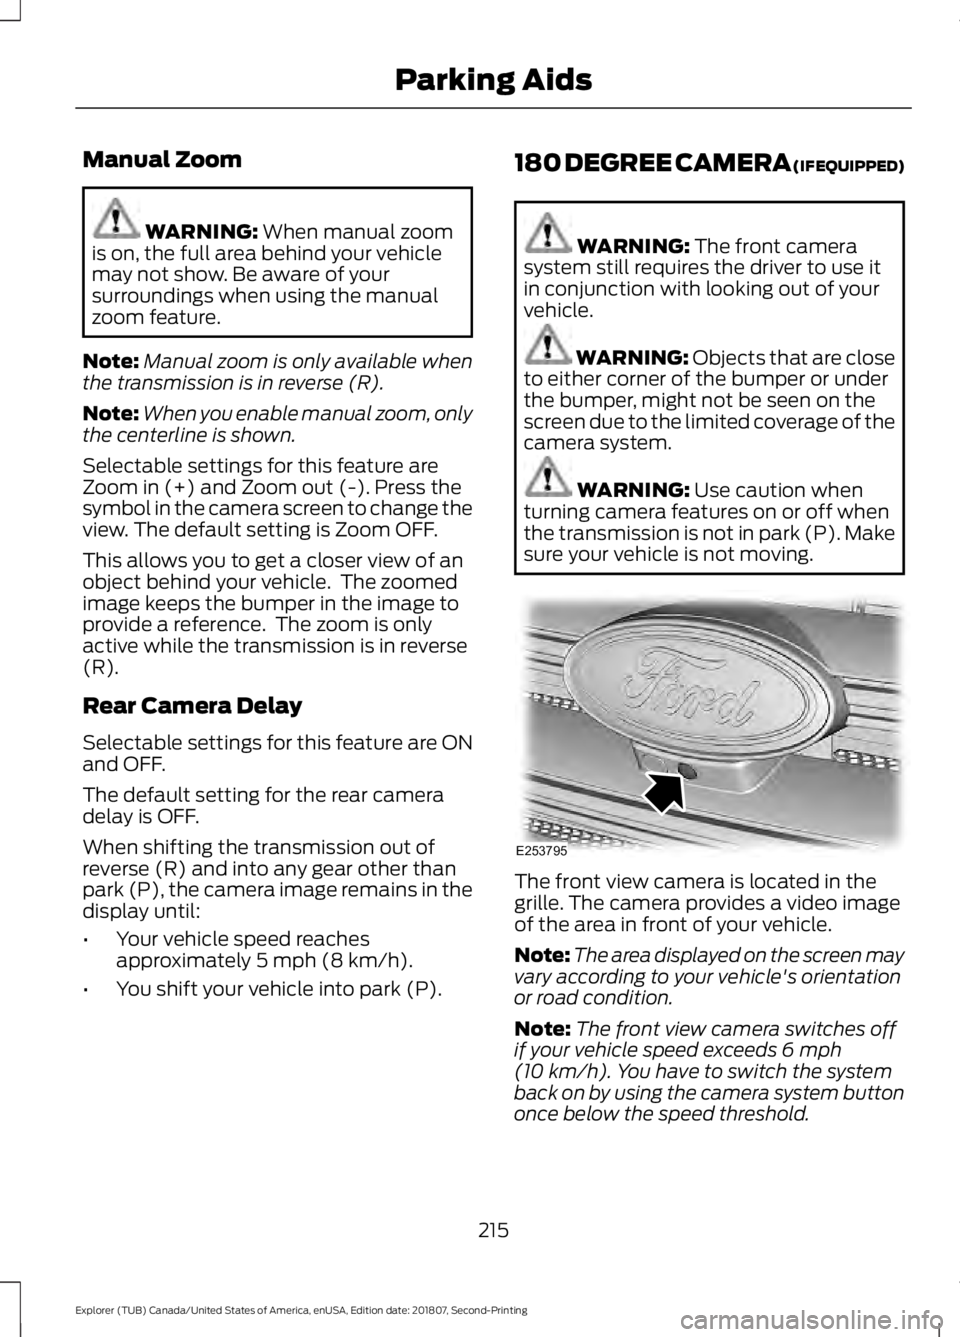
sure your vehicle is not moving. The front view camera is located in the
grille. The camera provides a video image
of the area in front of your vehicle.
Note:
The area displayed on the screen may
vary according to your vehicle's orientation
or road condition.
Note: The front view camera switches off
if your vehicle speed exceeds
6 mph
(10 km/h). You have to switch the system
back on by using the camera system button
once below the speed threshold.
215
Explorer (TUB) Canada/United States of America, enUSA, Edition date: 201807, Second-Printing Parking AidsE253795
Page 219 of 571
Using the System
The 180 degree camera system consists
of front and rear cameras. The system:
•
Allows you to see what is directly in
front or behind your vehicle.
• Provides cross traffic view in front and
behind your vehicle.
• Provides visibility during parking
maneuvers. The camera system button is
located on the center stack and
allows you to toggle through
different camera views.
Note: The camera system may not operate
correctly if mud, water or debris obstructs
the camera's view. You can clean the lens
with a soft, lint-free cloth and non-abrasive
cleaner or by using your front or rear washer.
See Wipers and Washers (page 82).
Camera Views
Press the camera button to toggle
between different views.
• Normal Rear View: Provides an image
of what is directly behind your vehicle
when your vehicle is in reverse (R).
• Expanded Rear View:
Provides an
expanded 180 degree image of what
is directly behind your vehicle when
your vehicle is in reverse (R).
• Normal Front View:
Provides an
image of what is directly in front your
vehicle when your vehicle is in neutral
(N) or drive (D).
• Expanded Front View:
Provides an
expanded 180 degree image of what
is directly in front your vehicle when
your vehicle is in neutral (N) or drive
(D).
216
Explorer (TUB) Canada/United States of America, enUSA, Edition date: 201807, Second-Printing Parking AidsE188847
Page 276 of 571

Protected Component
Fuse Rating
Fuse or Relay
Number
Not used.
—
23
Right hand side electronic cooling fan 3
relay.
—
24
Not used.
—
25
Anti-lock brake system valves.
30A 2
26
Trailer tow battery charge relay power.
30A 2
27
Not used.
—
28
Starter relay.
—
29
Not used.
—
30
Electric power-assisted steering.
10A 1
31
Anti-lock brake system module.
10A 1
32
Powertrain control module (Ignition Switch
Position - Run).
10A 1
33
Blind spot information system.
10A 1
34
Adaptive cruise control.
Front view camera.
Rear camera.
Not used.
—
35
Blower motor relay.
—
36
Trailer tow battery charge relay.
—
37
A/C compressor clutch relay.
—
38
Horn relay.
—
39
Not used.
—
40
Rear blower motor.
40A 2
41
Not used.
—
42
Front blower motor.
40A 2
43
273
Explorer (TUB) Canada/United States of America, enUSA, Edition date: 201807, Second-Printing Fuses