Page 53 of 496

Each stored memory setting will have an associated Easy
Entry and Easy Exit position.
NOTE:The Easy Entry/Exit feature is not enabled when
the vehicle is delivered from the factory. The Easy Entry/
Exit feature is enabled (or later disabled) through the
programmable features in the Uconnect system. Refer to
“Uconnect Settings” in “Multimedia”.
Heated Seats — If Equipped
On some models, the front and rear seats may be equipped
with heaters located in the seat cushions and seat backs.
WARNING!
• Persons who are unable to feel pain to the skin
because of advanced age, chronic illness, diabetes,
spinal cord injury, medication, alcohol use, exhaus-
tion or other physical condition must exercise care
when using the seat heater. It may cause burns even
at low temperatures, especially if used for long
periods of time.
(Continued)
WARNING! (Continued)
•Do not place anything on the seat or seatback that
insulates against heat, such as a blanket or cushion.
This may cause the seat heater to overheat. Sitting in a
seat that has been overheated could cause serious burns
due to the increased surface temperature of the seat.
Front Heated Seats
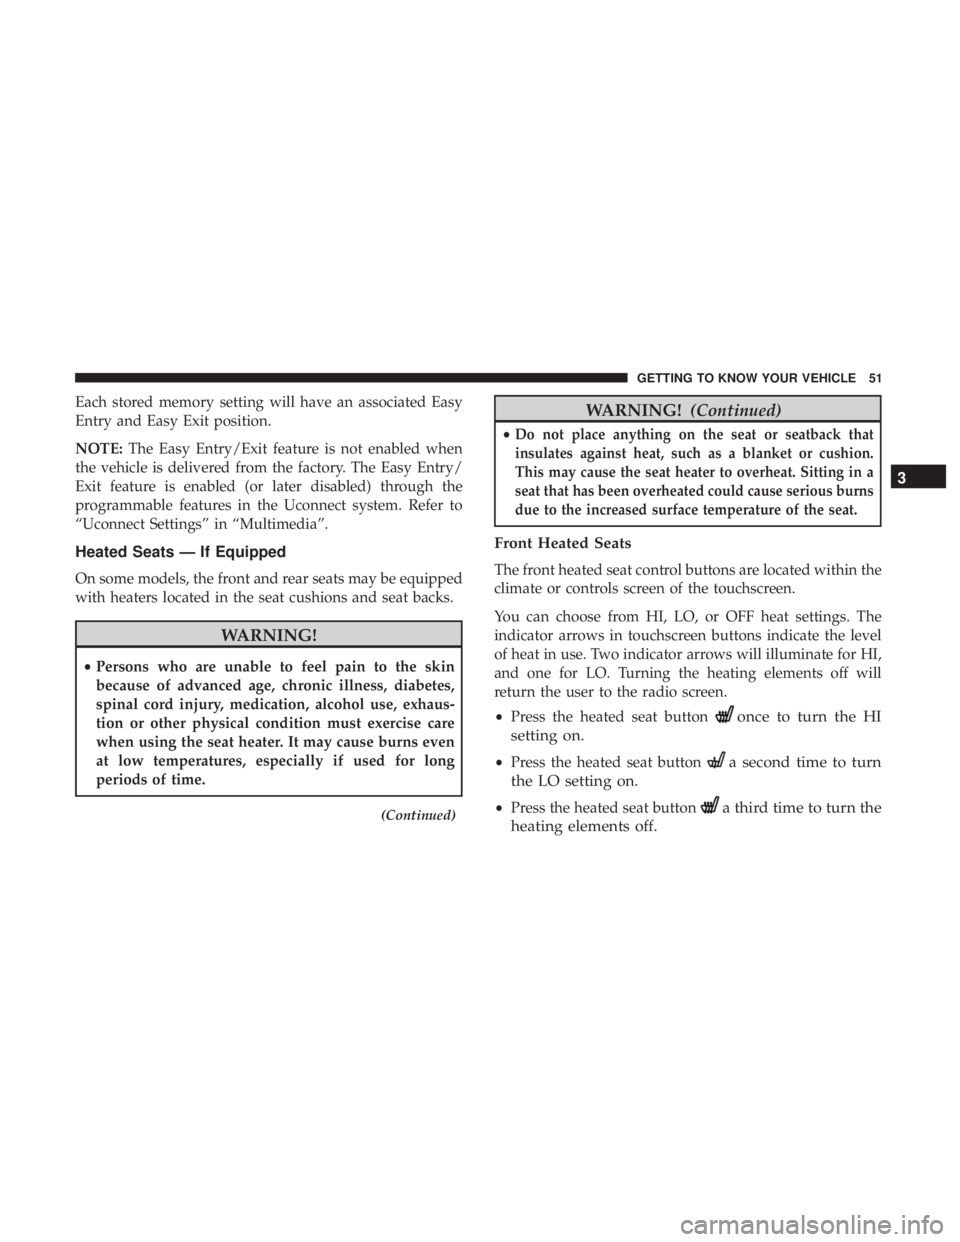
The front heated seat control buttons are located within the
climate or controls screen of the touchscreen.
You can choose from HI, LO, or OFF heat settings. The
indicator arrows in touchscreen buttons indicate the level
of heat in use. Two indicator arrows will illuminate for HI,
and one for LO. Turning the heating elements off will
return the user to the radio screen.
• Press the heated seat button
once to turn the HI
setting on.
• Press the heated seat buttona second time to turn
the LO setting on.
• Press the heated seat buttona third time to turn the
heating elements off. 3
GETTING TO KNOW YOUR VEHICLE 51
Page 75 of 496

Rain Sensing Wipers — If Equipped
This feature senses rain or snowfall on the windshield and
automatically activates the wipers for the driver. The
feature is especially useful for road splash or overspray
from the windshield washers of the vehicle ahead. Rotate
the end of the multifunction lever to one of four settings to
activate this feature.
The sensitivity of the system can be adjusted with the
multifunction lever. Wiper delay position 1 is the least
sensitive, and wiper delay position 4 is the most sensitive.
Setting 3 should be used for normal rain conditions.
Settings 1 and 2 can be used if the driver desires less wiper
sensitivity. Setting 4 can be used if the driver desires more
sensitivity. Place the wiper switch in the off position when
not using the system.
NOTE:
•The Rain Sensing feature will not operate when the
wiper switch is in the low or high-speed position.
• The Rain Sensing feature may not function properly
when ice, or dried salt water is present on the wind-
shield.
• Use of Rain-X or products containing wax or silicone
may reduce Rain Sensing performance. The Rain Sensing system has protection features for the
wiper blades and arms, and will not operate under the
following conditions:
•
Low Ambient Temperature — When the ignition is first
turned ON, the Rain Sensing system will not operate
until the wiper switch is moved, vehicle speed is greater
than 0 mph (0 km/h), or the outside temperature is
greater than 32°F (0°C).
• Transmission In NEUTRAL Position — When the igni-
tion is ON, and the transmission is in the NEUTRAL
position, the Rain Sensing system will not operate until
the wiper switch is moved, vehicle speed is greater than
3 mph (5 km/h), or the gear selector is moved out of the
NEUTRAL position.
NOTE: Rain Sensing can be turned on and off using the
Uconnect System, refer to “Uconnect Settings” in “Multi-
media” for further information.
CLIMATE CONTROLS
The Climate Control System allows you to regulate the
temperature, air flow, and direction of air circulating
throughout the vehicle. The controls are located on the
touchscreen (if equipped) and on the instrument panel
below the radio.
3
GETTING TO KNOW YOUR VEHICLE 73
Page 399 of 496

MULTIMEDIA
CONTENTS
�UCONNECT SYSTEMS ...................399
� DRAG & DROP MENU BAR ................399
� CYBERSECURITY ...................... .400
� UCONNECT SETTINGS ...................401
▫ Customer Programmable Features — Uconnect
4C/4C NAV Settings ....................402
� PERFORMANCE PAGES — IF EQUIPPED ......424
▫ Home .............................. .425
▫ Timers .............................. .426
▫ Gauges ............................. .429
▫ G-Force ............................. .430
▫ Engine ............................. .432
▫ Dynamometer (Dyno) ....................433
� SRT DRIVE MODES ..................... .434▫
Track Mode .......................... .437
▫ Sport Mode .......................... .437
▫ Auto Mode .......................... .438
▫ Custom Mode ........................ .438
� RACE OPTIONS ....................... .445
▫ Launch Control ....................... .445
▫ Shift Light ........................... .448
▫ Race Cooldown — If Equipped ............449
� VALET MODE ......................... .450
� ECO MODE — IF EQUIPPED ...............452
� STEERING WHEEL AUDIO CONTROLS — IF
EQUIPPED ........................... .453
▫ Radio Operation ....................... .453
▫ Media
Mode ......................... .453
10
Page 455 of 496

STEERING WHEEL AUDIO CONTROLS — IF
EQUIPPED
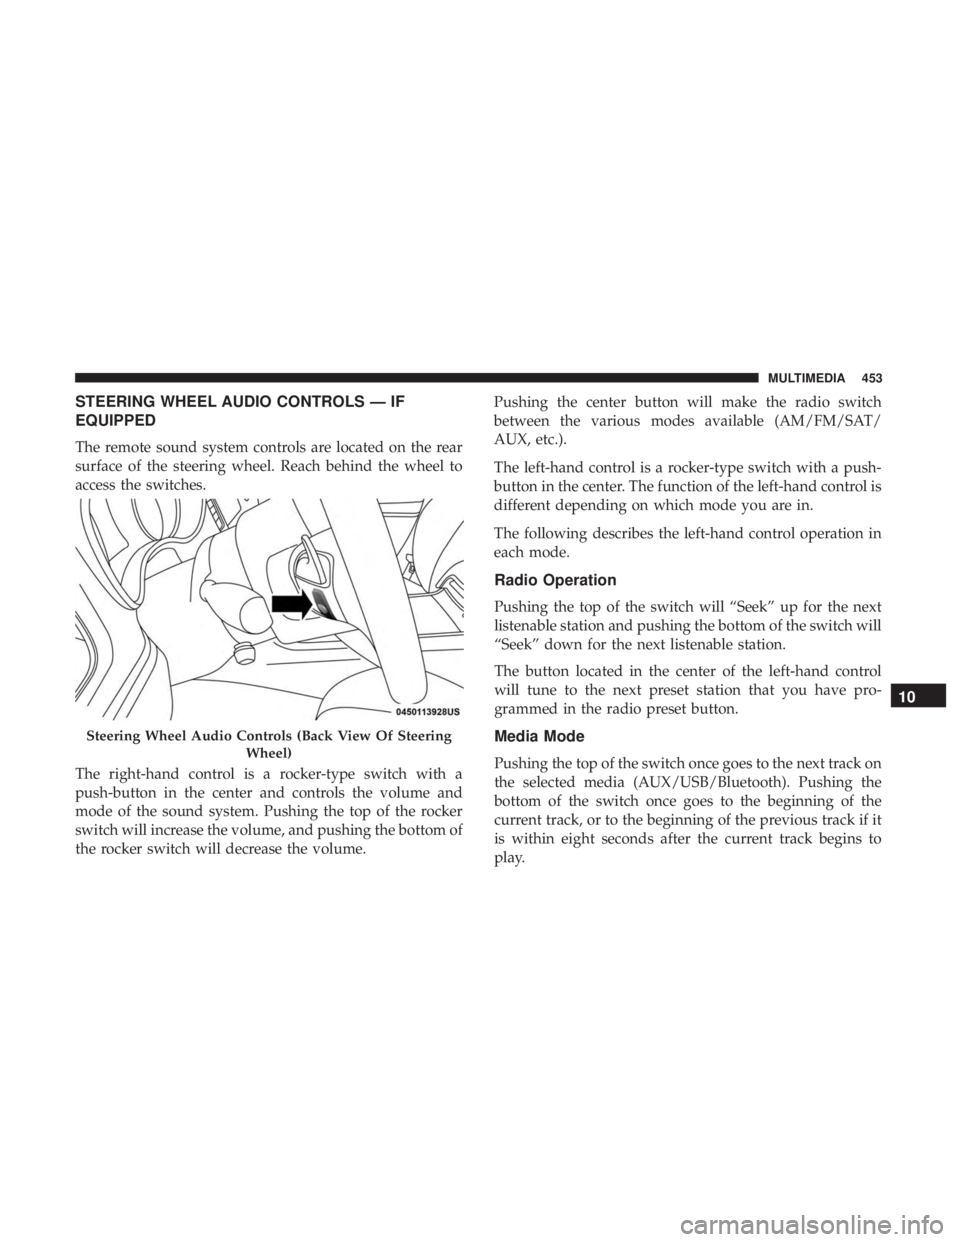
The remote sound system controls are located on the rear
surface of the steering wheel. Reach behind the wheel to
access the switches.
The right-hand control is a rocker-type switch with a
push-button in the center and controls the volume and
mode of the sound system. Pushing the top of the rocker
switch will increase the volume, and pushing the bottom of
the rocker switch will decrease the volume.Pushing the center button will make the radio switch
between the various modes available (AM/FM/SAT/
AUX, etc.).
The left-hand control is a rocker-type switch with a push-
button in the center. The function of the left-hand control is
different depending on which mode you are in.
The following describes the left-hand control operation in
each mode.
Radio Operation
Pushing the top of the switch will “Seek” up for the next
listenable station and pushing the bottom of the switch will
“Seek” down for the next listenable station.
The button located in the center of the left-hand control
will tune to the next preset station that you have pro-
grammed in the radio preset button.
Media Mode
Pushing the top of the switch once goes to the next track on
the selected media (AUX/USB/Bluetooth). Pushing the
bottom of the switch once goes to the beginning of the
current track, or to the beginning of the previous track if it
is within eight seconds after the current track begins to
play.
Steering Wheel Audio Controls (Back View Of Steering
Wheel)
10
MULTIMEDIA 453