Page 404 of 496
, and then
press the “Settings” button on the touchscreen to dis-
play the menu setting scre")
Customer Programmable Features — Uconnect
4C/4C NAV Settings
Press the “Apps” button (if equipped), and then
press the “Settings” button on the touchscreen to dis-
play the menu setting screen. In this mode, the
Uconnect system allows you to access programmable
features that may be equipped such as Language, Dis-
play, Units, Voice, Clock & Date, Safety & Driving
Assistance, Mirrors & Wipers, Lights, Doors & Locks,
Auto-On Comfort, Key Off Options, Audio, Phone/
Bluetooth, SiriusXM Setup, Reset, and System Informa-
tion.
NOTE: Depending on the vehicle’s options, feature set-
tings may vary. When making a selection, press the button on the touch-
screen to enter the desired mode. Once in the desired
mode, press and release the preferred setting “option” until
a check-mark appears next to the setting, showing that
setting has been selected. Once the setting is complete,
press the “X” button on the touchscreen to close out of the
settings screen. Pressing the up or down arrow button on
the right side of the screen will allow you to toggle up or
down through the available settings.
Language
After pressing the “Language” button on the touchscreen,
the following settings will be available:
Setting Name
Selectable Options
Set Language EnglishFrançais Español
402 MULTIMEDIA
Page 405 of 496
Display
After pressing the “Display” button on the touchscreen, the
following settings will be available:
Setting NameSelectable Options
Display Mode AutoManual
Display Brightness With Headlights ON +–
NOTE:
•When in the “Display Brightness With Headlights ON” display, you may select the brightness with the headlights
on.
•To make changes to the �Display Brightness With Headlights ON� setting, the headlights must be on and the inte-
rior dimmer switch must not be in the �party�or�parade� positions.
Display Brightness With Headlights OFF +–
NOTE:
•When in the “Display Brightness With Headlights OFF” display, you may select the brightness with the headlights
off. Adjust the brightness from (1–10) with the “+” and “–” buttons on the touchscreen.
•To make changes to the �Display Brightness With Headlights OFF� setting, the headlights must be off and the inte-
rior dimmer switch must not be in the �party�or�parade� positions.
10
MULTIMEDIA 403
Page 406 of 496
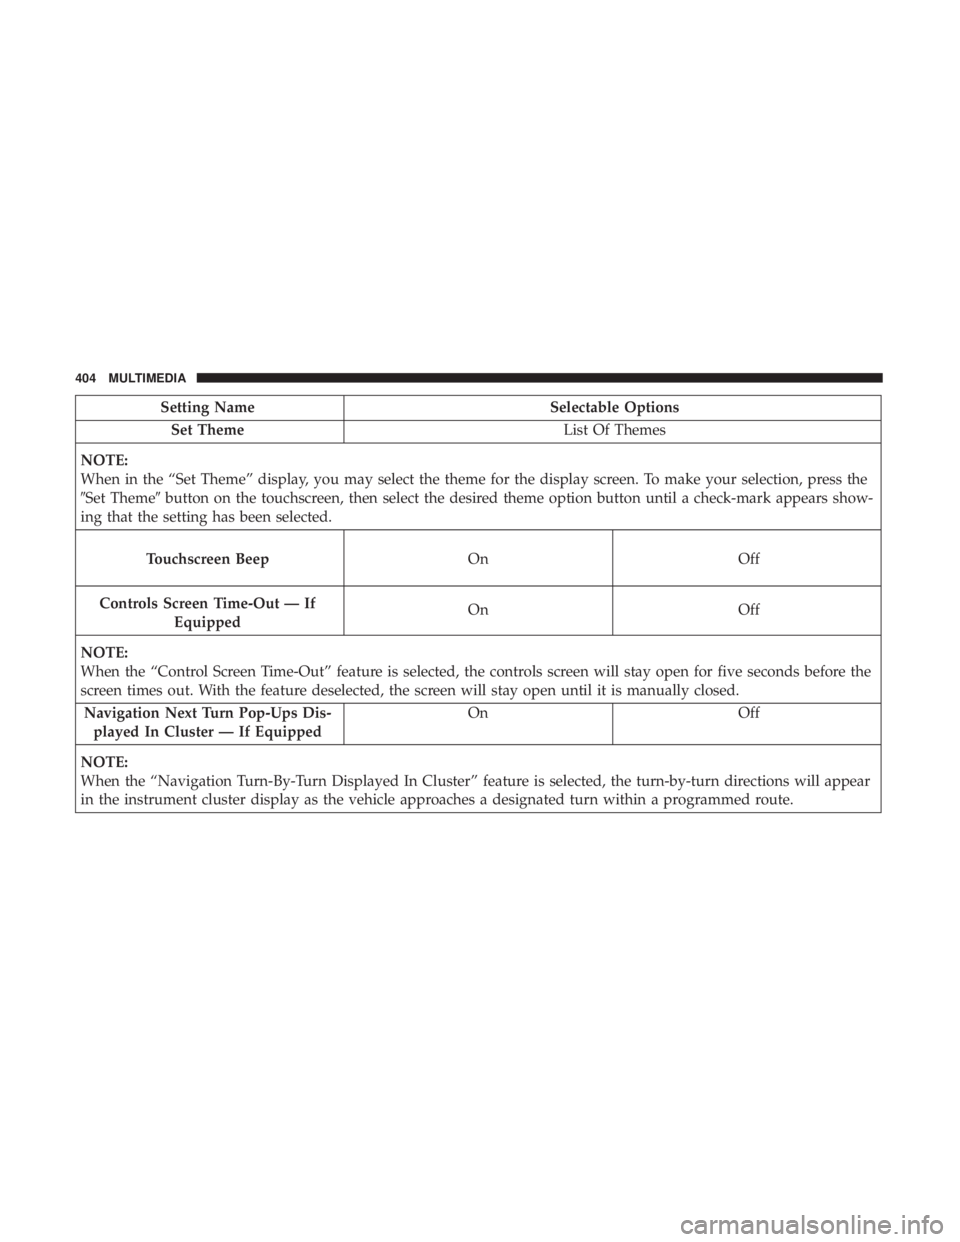
Setting NameSelectable Options
Set Theme List Of Themes
NOTE:
When in the “Set Theme” display, you may select the theme for the display screen. To make your selection, press the
�Set Theme� button on the touchscreen, then select the desired theme option button until a check-mark appears show-
ing that the setting has been selected.
Touchscreen Beep OnOff
Controls Screen
Time-Out — If
Equipped
On Off
NOTE:
When
the “Control Screen Time-Out” feature is selected, the controls screen will stay open for five seconds before the
screen times out. With the feature deselected, the screen will stay open until it is manually closed.
Navigation Next Turn Pop-Ups Dis- played In Cluster — If Equipped On
Off
NOTE:
When the “Navigation Turn-By-Turn Displayed In Cluster” feature is selected, the turn-by-turn directions will appear
in the instrument cluster display as the vehicle approaches a designated turn within a programmed route.
404 MULTIMEDIA
Page 407 of 496
Units
After pressing the “Units” button on the touchscreen, you
may select each unit of measure independently displayed
in the instrument cluster display, and navigation system (if
equipped). The following selectable units of measure are
listed below:
Setting NameSelectable Options
Units USMetric Custom
NOTE: When the “Custom” setting is selected, units will appear according to your personally configured settings. To
configure these settings, press the “Custom” bar. The following settings will appear:
Speed MPH km/h
Distance mi km
Fuel Consumption MPG (US)MPG (UK) L/100 km km/L
Pressure psikPa bar
Temperature °F °C
10
MULTIMEDIA 405
Page 408 of 496
Voice
After pressing the “Voice” button on the touchscreen, the
following settings will be available:
Setting NameSelectable Options
Voice Response Length Brief Detailed
Show Command List Neverw/Help Always
Clock & Date
After pressing the “Clock & Date” button on the touch-
screen, the following settings will be available:
Setting Name Selectable Options
Sync Time With GPS — If Equipped On
Off
NOTE:
The “Sync Time With GPS” feature will allow you to automatically have the radio set the time. Set Time Hours +–
Set Time Minutes +–
Time Format 12 hrs24 hrs
AM PM
406 MULTIMEDIA
Page 409 of 496
Setting NameSelectable Options
Show Time In Status Bar — If Equipped On
Off
NOTE:
The “Show Time In Status Bar” feature will allow you to turn on or shut off the digital clock in the status bar.
Safety & Driving Assistance
After pressing the “Safety & Driving Assistance” button on
the touchscreen, the following settings will be available:
Setting Name Selectable Options
ParkView Backup Camera Delay On
Off
NOTE:
The “ParkView Backup Camera Delay” setting determines whether or not the screen will display the rear view image
with dynamic grid lines for up to ten seconds after the vehicle is shifted out of REVERSE. This delay will be canceled
if the vehicle’s speed exceeds 8 mph (13 km/h), the transmission is shifted into PARK, or the ignition is switched to
the OFF position.
10
MULTIMEDIA 407
Page 410 of 496
Setting NameSelectable Options
Active ParkView Backup Camera Guidelines On
Off
NOTE:
The “Active ParkView Backup Camera Guidelines” feature overlays the Rear Backup Camera image with active, or
dynamic, grid lines to help illustrate the width of the vehicle and its project back up path, based on the steering
wheel position when the option is checked. A dashed center line overlay indicates the center of the vehicle to assist
with parking or aligning to a hitch/receiver. Forward Collision Warn- ing — If Equipped On
Off
NOTE:
Changing the FCW status to “Off” prevents the system from warning you of a possible collision with the vehicle in
front of you.
The FCW system state is kept in memory from one ignition cycle to the next. If the system is turned off, it remains
off when the vehicle is restarted. Forward Collision Warn- ing Sensitivity— If Equipped Near
Far
408 MULTIMEDIA
Page 411 of 496
 feature provides an audible and/or visual warning to potential forward colli-
sions. The feature can be set to Far, or set to Nea")
Setting NameSelectable Options
NOTE:
The Front Collision Warning (FCW) feature provides an audible and/or visual warning to potential forward colli-
sions. The feature can be set to Far, or set to Near. The default status of FCW is the Far setting. This means the sys-
tem warns you of a possible collision with the vehicle in front of you when you are farther away. This gives you the
most reaction time. To change the setting for more dynamic driving, select the Near setting. This warns you of a pos-
sible collision when you are much closer to the vehicle in front of you. Forward Collision Warn-
ing (FCW) — Active Brak- ing On
Off
NOTE:
The FCW system includes Advanced Brake Assist (ABA). When this feature is selected, the ABA applies additional
brake pressure when the driver requests insufficient brake pressure to avoid a potential frontal collision. The ABA
system becomes active at 5 mph (8 km/h). To make your selection, press the “Forward Collision Warning Active
Braking” button on the touchscreen, until a check-mark appears next to setting, indicating that the setting had been
selected. LaneSense Warning — If Equipped Early
Med Late
NOTE:
When the “LanseSense Warning” feature is selected, it sets the distance at which the steering wheel provides feedback
for potential lane departures. The LDW sensitivity can be set to provide either an “Early,” “Medium,” or “Late”
warning zone start point.
10
MULTIMEDIA 409

. The")


