2019 DODGE CHARGER SRT brake light
[x] Cancel search: brake lightPage 209 of 496
WARNING!(Continued)
•NEVER place any objects under the floor mat (e.g.,
towels, keys, etc.). These objects could change the
position of the floor mat and may cause interference
with the accelerator, brake, or clutch pedals.
• If the vehicle carpet has been removed and re-
installed, always properly attach carpet to the floor
and check the floor mat fasteners are secure to the
vehicle carpet. Fully depress each pedal to check for
interference with the accelerator, brake, or clutch
pedals then re-install the floor mats.
• It is recommended to only use mild soap and water
to clean your floor mats. After cleaning, always check
your floor mat has been properly installed and is
secured to your vehicle using the floor mat fasteners
by lightly pulling mat.
Periodic Safety Checks You Should Make Outside
The Vehicle
Tires
Examine tires for excessive tread wear and uneven wear
patterns. Check for stones, nails, glass, or other objects
lodged in the tread or sidewall. Inspect the tread for cuts
and cracks. Inspect sidewalls for cuts, cracks, and bulges.
Check the wheel nuts for tightness. Check the tires (includ-
ing spare) for proper cold inflation pressure.
Lights
Have someone observe the operation of brake lights and
exterior lights while you work the controls. Check turn
signal and high beam indicator lights on the instrument
panel.
Door Latches
Check for proper closing, latching, and locking.
5
SAFETY 207
Page 221 of 496
The foot operated parking brake is located below the lower
left corner of the instrument panel. To apply the park
brake, firmly push the park brake pedal fully. To release the
parking brake, press the park brake pedal a second time
and let your foot up as you feel the brake disengage.
When the parking brake is applied with the ignition switch
in the ON/RUN position, the Brake Warning Light in the
instrument cluster will illuminate.NOTE:
•
When the parking brake is applied and the transmission
is placed in gear, the Brake Warning Light will flash. If
vehicle speed is detected, a chime will sound to alert the
driver. Fully release the parking brake before attempting
to move the vehicle.
• This light only shows that the parking brake is applied.
It does not show the degree of brake application.
When parking on a hill, it is important to turn the front
wheels toward the curb on a downhill grade and away
from the curb on an uphill grade. Apply the parking brake
before placing the gear selector in PARK, otherwise the
load on the transmission locking mechanism may make it
difficult to move the gear selector out of PARK. The
parking brake should always be applied whenever the
driver is not in the vehicle.
WARNING!
• Never use the PARK position as a substitute for the
parking brake. Always apply the parking brake fully
when parked to guard against vehicle movement and
possible injury or damage.
(Continued)
Parking Brake
6
STARTING AND OPERATING 219
Page 222 of 496
WARNING!(Continued)
•When exiting the vehicle, always remove the key fob
from the ignition and lock your vehicle.
• Never leave children alone in a vehicle, or with
access to an unlocked vehicle. Allowing children to
be in a vehicle unattended is dangerous for a number
of reasons. A child or others could be seriously or
fatally injured. Children should be warned not to
touch the parking brake, brake pedal or the gear
selector.
• When exiting the vehicle, always make sure the
keyless ignition node is in the OFF mode, remove the
key fob from the vehicle and lock the vehicle.
• Do not leave the key fob in or near the vehicle or in
a location accessible to children, and do not leave the
ignition of a vehicle equipped with Keyless Enter-
N-Go in the ACC or ON/RUN mode. A child could
operate power windows, other controls, or move the
vehicle.
• Be sure the parking brake is fully disengaged before
driving; failure to do so can lead to brake failure and
a collision.
(Continued)
WARNING! (Continued)
•Always fully apply the parking brake when leaving
your vehicle, or it may roll and cause damage or
injury. Also be certain to leave the transmission in
PARK. Failure to do so may allow the vehicle to roll
and cause damage or injury.
CAUTION!
If the Brake Warning Light remains on with the park-
ing brake released, a brake system malfunction is
indicated. Have the brake system serviced by an au-
thorized dealer immediately.
AUTOMATIC TRANSMISSION
WARNING!
• Never use the PARK position as a substitute for the
parking brake. Always apply the parking brake fully
when exiting the vehicle to guard against vehicle
movement and possible injury or damage.
(Continued)
220 STARTING AND OPERATING
Page 240 of 496
•If the button is continually pushed, the set speed will
continue to decrease until the button is released, then the
new set speed will be established.
Metric Speed (km/h)
• Pushing the SET (-)button once will result in a 1 km/h
decrease in set speed. Each subsequent tap of the button
results in a decrease of 1 km/h.
• If the button is continually pushed, the set speed will
continue to decrease until the button is released, then the
new set speed will be established.
To Accelerate For Passing
Press the accelerator as you would normally. When the
pedal is released, the vehicle will return to the set speed.
Using Speed Control On Hills
The transmission may downshift on hills to maintain the
vehicle set speed.
NOTE: The Speed Control system maintains speed up and
down hills. A slight speed change on moderate hills is
normal.
On steep hills, a greater speed loss or gain may occur so it
may be preferable to drive without Speed Control.
WARNING!
Speed Control can be dangerous where the system
cannot maintain a constant speed. Your vehicle could
go too fast for the conditions, and you could lose
control and have an accident. Do not use Speed Control
in heavy traffic or on roads that are winding, icy,
snow-covered or slippery.
To Resume Speed
To resume a previously set speed, push the RES button and
release. Resume can be used at any speed above 20 mph
(32 km/h).
To Deactivate
A soft tap on the brake pedal, pushing the CANC button,
or normal brake pressure while slowing the vehicle will
deactivate the Speed Control without erasing the set speed
from memory.
Pushing the on/off button or turning the ignition switch
OFF erases the set speed from memory.
238 STARTING AND OPERATING
Page 241 of 496
ADAPTIVE CRUISE CONTROL (ACC) — IF
EQUIPPED
Adaptive Cruise Control (ACC) increases the driving con-
venience provided by cruise control while traveling on
highways and major roadways. However, it is not a safety
system and not designed to prevent collisions.Speed
Control function performs differently. Please refer to the
proper section within this chapter.
ACC will allow you to keep cruise control engaged in light
to moderate traffic conditions without the constant need to
reset your cruise control. ACC utilizes a radar sensor and a
forward facing camera designed to detect a vehicle directly
ahead of you.
NOTE:
• If the sensor does not detect a vehicle ahead of you, ACC
will maintain a fixed set speed.
• If the ACC sensor detects a vehicle ahead, ACC will
apply limited braking or accelerate (not to exceed the
original set speed) automatically to maintain a preset
following distance, while matching the speed of the
vehicle ahead. The Cruise Control system has two control modes:
•
Adaptive Cruise Control mode for maintaining an ap-
propriate distance between vehicles.
• Normal (Fixed Speed) Cruise Control mode for cruising
at a constant preset speed. For additional information,
refer to “Normal (Fixed Speed) Cruise Control Mode” in
this section.
NOTE: Normal (Fixed Speed) Cruise Control will not react
to preceding vehicles. Always be aware of the mode
selected.
You can change the mode by using the Cruise Control
buttons. The two control modes function differently. Al-
ways confirm which mode is selected.
WARNING!
• Adaptive Cruise Control (ACC) is a convenience
system. It is not a substitute for active driving
involvement. It is always the driver ’s responsibility
to be attentive of road, traffic, and weather condi-
tions, vehicle speed, distance to the vehicle ahead;
and, most importantly, brake operation to ensure safe
(Continued)
6
STARTING AND OPERATING 239
Page 248 of 496
NOTE:
•When you override and push the SET (+)button or SET
(-) buttons, the new set speed will be the current speed
of the vehicle.
• When you use the SET (-)button to decelerate, if the
engine’s braking power does not slow the vehicle suffi-
ciently to reach the set speed, the brake system will
automatically slow the vehicle.
• The ACC system applies the brake down to a full stop
when following a target vehicle. If an ACC host vehicle
follows a target vehicle to a standstill, the host vehicle
will release the vehicle brakes two seconds after coming
to a full stop.
• The ACC system maintains set speed when driving up
hill and down hill. However, a slight speed change on
moderate hills is normal. In addition, downshifting may
occur while climbing uphill or descending downhill.
This is normal operation and necessary to maintain set
speed. When driving up hill and down hill, the ACC
system will cancel if the braking temperature exceeds
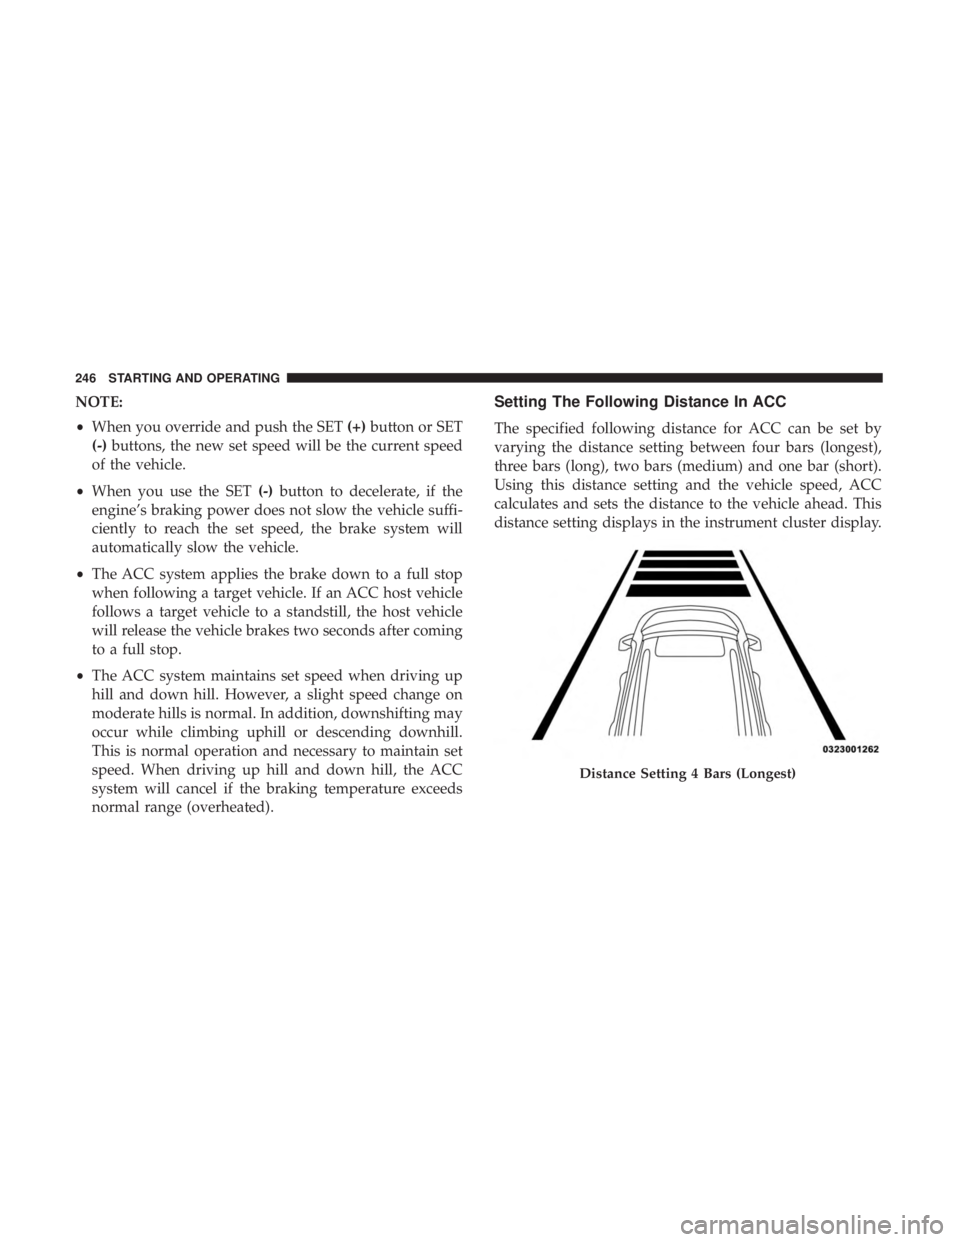
normal range (overheated).Setting The Following Distance In ACC
The specified following distance for ACC can be set by
varying the distance setting between four bars (longest),
three bars (long), two bars (medium) and one bar (short).
Using this distance setting and the vehicle speed, ACC
calculates and sets the distance to the vehicle ahead. This
distance setting displays in the instrument cluster display.
Distance Setting 4 Bars (Longest)
246 STARTING AND OPERATING
Page 250 of 496
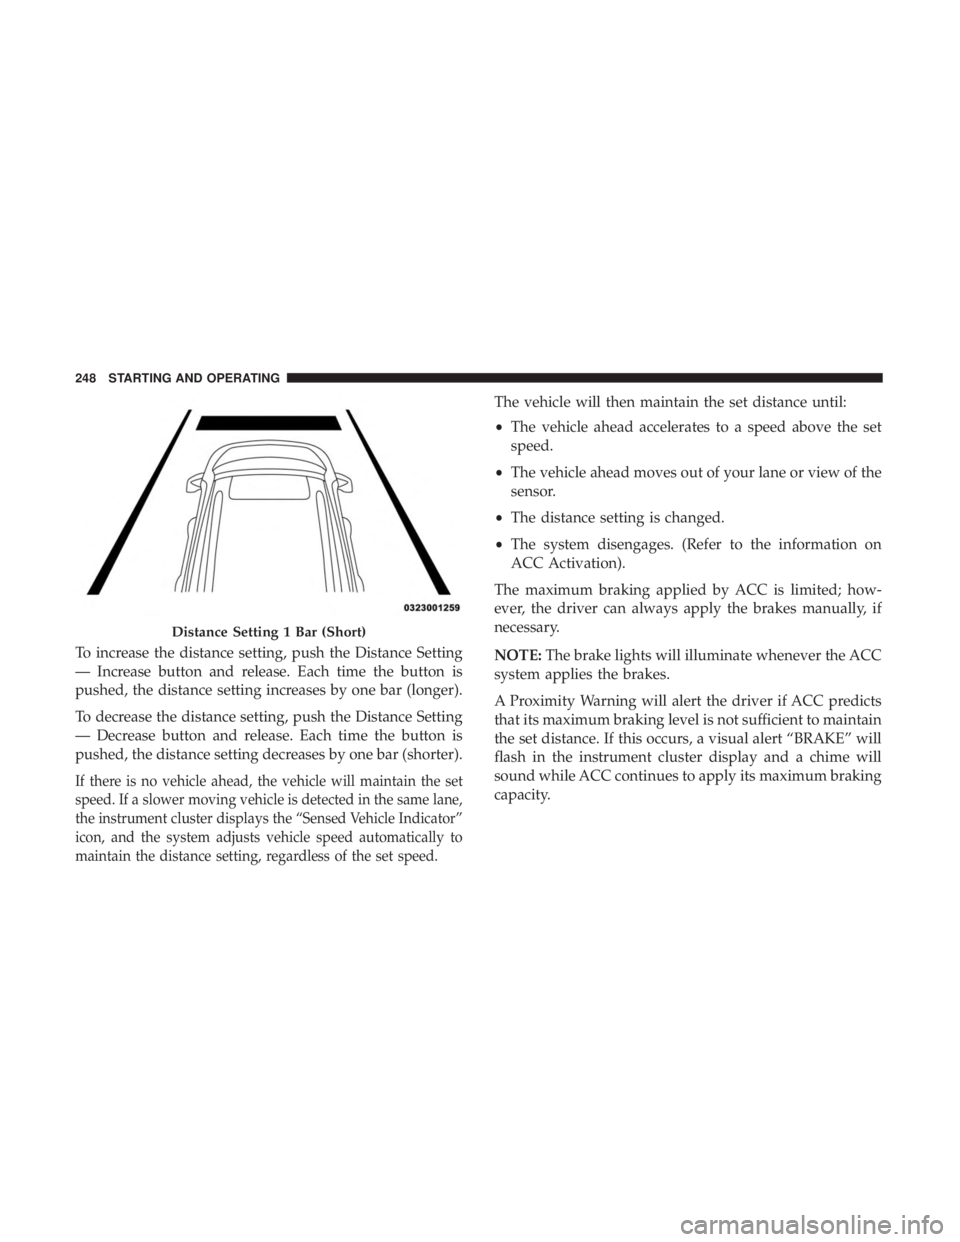
To increase the distance setting, push the Distance Setting
— Increase button and release. Each time the button is
pushed, the distance setting increases by one bar (longer).
To decrease the distance setting, push the Distance Setting
— Decrease button and release. Each time the button is
pushed, the distance setting decreases by one bar (shorter).
If there is no vehicle ahead, the vehicle will maintain the set
speed. If a slower moving vehicle is detected in the same lane,
the instrument cluster displays the “Sensed Vehicle Indicator”
icon, and the system adjusts vehicle speed automatically to
maintain the distance setting, regardless of the set speed.
The vehicle will then maintain the set distance until:
•The vehicle ahead accelerates to a speed above the set
speed.
• The vehicle ahead moves out of your lane or view of the
sensor.
• The distance setting is changed.
• The system disengages. (Refer to the information on
ACC Activation).
The maximum braking applied by ACC is limited; how-
ever, the driver can always apply the brakes manually, if
necessary.
NOTE: The brake lights will illuminate whenever the ACC
system applies the brakes.
A Proximity Warning will alert the driver if ACC predicts
that its maximum braking level is not sufficient to maintain
the set distance. If this occurs, a visual alert “BRAKE” will
flash in the instrument cluster display and a chime will
sound while ACC continues to apply its maximum braking
capacity.
Distance Setting 1 Bar (Short)
248 STARTING AND OPERATING
Page 281 of 496
Driving Through Water
Driving through water more than a few inches/centimeters
deep will require extra caution to ensure safety and pre-
vent damage to your vehicle.
Flowing/Rising Water
WARNING!
Do not drive on or across a road or path where water is
flowing and/or rising (as in storm run-off). Flowing
water can wear away the road or path’s surface and
cause your vehicle to sink into deeper water. Further-
more, flowing and/or rising water can carry your ve-
hicle away swiftly. Failure to follow this warning may
result in injuries that are serious or fatal to you, your
passengers, and others around you.
Shallow Standing Water
Although your vehicle is capable of driving through shal-
low standing water, consider the following Cautions and
Warnings before doing so.
WARNING!
•Driving through standing water limits your vehicle’s
traction capabilities. Do not exceed 5 mph (8 km/h)
when driving through standing water.
• Driving through standing water limits your vehicle’s
braking capabilities, which increases stopping dis-
tances. Therefore, after driving through standing
water, drive slowly and lightly press on the brake
pedal several times to dry the brakes.
• Failure to follow these warnings may result in inju-
ries that are serious or fatal to you, your passengers,
and others around you.
CAUTION!
• Always check the depth of the standing water before
driving through it. Never drive through standing
water that is deeper than the bottom of the tire rims
mounted on the vehicle.
• Determine the condition of the road or the path that
is under water and if there are any obstacles in the
way before driving through the standing water.
(Continued)
6
STARTING AND OPERATING 279