2019 DODGE CHARGER oil type
[x] Cancel search: oil typePage 316 of 560

Replacing Exterior Bulbs
Front Low/High Beam Headlamp — Models With
Halogen Headlamps
1. Open the hood.
NOTE:Removal of the air cleaner filter housing may be
necessary prior to replacing bulbs in the headlamp assem-
bly on the driver side of the vehicle.
2. Remove the large dust cap from the headlamp housing by turning it counterclockwise.
3. Turn the bulb counterclockwise, and remove.
CAUTION!
Do not touch the new bulb with your fingers. Oil
contamination will severely shorten bulb life. If the
bulb comes in contact with any oily surface, clean the
bulb with rubbing alcohol.
4. Disconnect the bulb from the socket assembly and install the replacement bulb.
5. Reinstall the bulb and socket assembly into the head- lamp assembly, and then turn it clockwise.
6. Reinstall the dust cap.
Front Low/High Beam Headlamp — Models With
High Intensity Discharge Headlamps (HID)
The headlamps are a type of high voltage discharge tube.
High voltage can remain in the circuit even with the
headlamp switch off and the key removed. Because of this,
you should not attempt to service a headlamp bulb
yourself. If a headlamp bulb fails, take your vehicle to an
authorized dealer for service.
WARNING!
A transient high voltage occurs at the bulb sockets of
HID headlamps when the headlamp switch is turned
ON. It may cause serious electrical shock or electrocu-
tion if not serviced properly. See your authorized
dealer for service.
NOTE: On vehicles equipped with HID headlamps, when
the headlamps are turned on, there is a blue hue to the
lights. This diminishes and becomes more white after
approximately 10 seconds, as the system charges.
Front/Rear Side Marker Lamp
The Side Markers use LED lamps that are not serviceable
separately. The Side Markers must be replaced as an
assembly, see your authorized dealer.
314 IN CASE OF EMERGENCY
Page 363 of 560
SCHEDULED SERVICING
3.6L And 5.7L Engines
Your vehicle is equipped with an automatic oil change
indicator system. The oil change indicator system will
remind you that it is time to take your vehicle in for
scheduled maintenance.
Based on engine operation conditions, the oil change
indicator message will illuminate. This means that service
is required for your vehicle. Operating conditions such as
frequent short-trips, trailer tow, extremely hot or cold
ambient temperatures, and E85 fuel usage will influence
when the “Change Oil” or “Oil Change Required” message
is displayed. Severe Operating Conditions can cause the
change oil message to illuminate as early as 3,500 miles
(5,600 km) since last reset. Have your vehicle serviced as
soon as possible, within the next 500 miles (800 km).
The “Oil Change Required” message will be displayed in
the instrument cluster and a single chime will sound,
indicating that an oil change is necessary.
Your authorized dealer will reset the oil change indicator
message after completing the scheduled oil change. If a
scheduled oil change is performed by someone other than
your authorized dealer, the message can be reset by referring
to “Instrument Cluster Display” in “Getting To Know Your
Instrument Panel” for further information.
NOTE:Under no circumstances should oil change inter-
vals exceed 10,000 miles (16,000 km), 12 months or
350 hours of engine run time, whichever comes first. The
350 hours of engine run or idle time is generally only a
concern for fleet customers.
Severe Duty All Models
Change Engine Oil at 4,000 miles (6,500 km) or 350 hours of
engine run time if the vehicle is operated in a dusty and
off-road environment, or is operated predominantly at idle
or only very low engine RPM’s. This type of vehicle use is
considered Severe Duty.
8
SERVICING AND MAINTENANCE 361
Page 367 of 560

Heavy Duty Use Of The Vehicle
Change engine oil at 4,000 miles (6,500 km) or 350 hours of
engine run time if the vehicle is operated in a dusty and off
road environment or is operated predominately at idle or
only very low engine RPM’s. This type of vehicle use is
considered Severe Duty.
6.4L Engine
The scheduled maintenance services listed in this manual
must be done at the times or mileages specified to protect
your vehicle warranty and ensure the best vehicle perfor-
mance and reliability. More frequent maintenance may be
needed for vehicles in severe operating conditions, such as
dusty areas and very short trip driving. Inspection and
service should also be done anytime a malfunction is
suspected.
The oil change indicator system will remind you that it is
time to take your vehicle in for scheduled maintenance.
A “Oil Change Required” message will be displayed in the
instrument cluster and a single chime will sound, indicat-
ing that an oil change is necessary.Based on engine operation conditions, the oil change
indicator message will illuminate. This means that service
is required for your vehicle. Have your vehicle serviced as
soon as possible, within the next 500 miles (800 km).
NOTE:
•
The oil change indicator message will not monitor the
time since the last oil change. Change your vehicle’s oil
if it has been six months since your last oil change, even
if the oil change indicator message is NOT illuminated.
• Change your engine oil more often if you drive your
vehicle off-road/track usage for an extended period of
time.
• Under no circumstances should oil change intervals
exceed 6,000 miles (10,000 km) or six months, whichever
comes first.
An authorized dealer will reset the oil change indicator
message after completing the scheduled oil change. If a
scheduled oil change is performed by someone other than
an authorized dealer, the message can be reset by referring
to the steps described under “Instrument Cluster Display”
in “Getting To Know Your Instrument Panel” for further
information.
8
SERVICING AND MAINTENANCE 365
Page 375 of 560

Checking Oil Level — 3.6L And 5.7L Engine
To assure proper engine lubrication, the engine oil must be
maintained at the correct level. Check the oil level at
regular intervals, such as every month. The best time to
check the engine oil level is about five minutes after a fully
warmed up engine is shut off.
Checking the oil while the vehicle is on level ground will
improve the accuracy of the oil level readings.
There are three possible dipstick types,
•Crosshatched zone.
• Crosshatched zone marked SAFE.
• Crosshatched zone marked with MIN at the low end of
the range and MAX at the high end of the range.
NOTE: Always maintain the oil level within the crosshatch
markings on the dipstick.
Adding 1 quart (1.0 liters) of oil when the reading is at the
low end of the dipstick range will raise the oil level to the
high end of the range marking.
CAUTION!
Overfilling or underfilling the crankcase will cause
aeration or loss of oil pressure. This could damage your
engine.
Checking Oil Level — 6.4L Engine
To assure proper engine lubrication, the engine oil must be
maintained at the correct level. Check the oil level at
regular intervals, such as once a month. The best time to
check the engine oil level is about five minutes after a fully
warmed engine is shut off.
Checking the oil while the vehicle is on level ground will
improve the accuracy of the oil level readings. Maintain the
oil level in the “SAFE” range. Adding 1.0 quart (1 liter) of
oil when the reading is at the bottom of the “SAFE” range
will result in an oil level at the top of the “SAFE” range on
these engines.
8
SERVICING AND MAINTENANCE 373
Page 379 of 560
NOTE:Under no circumstances should oil change inter-
vals exceed 6,000 miles (10,000 km) or six months, which-
ever occurs first.
Engine Oil Selection — 3.6L And 5.7L Engine
For best performance and maximum protection under all
types of operating conditions, the manufacturer only rec-
ommends engine oils that are API Certified and meet the
requirements of FCA Material Standard MS-6395.
Engine Oil Selection — 6.4L Engine
For best performance and maximum protection under all
types of operating conditions, the manufacturer only rec-
ommends full synthetic engine oils that meet the American
Petroleum Institute (API) categories of SN.
The manufacturer recommends the use of a full synthetic
SAE 0W-40 engine oil or equivalent meeting the require-
ments of FCA Material Standard MS-12633.
CAUTION!
Do not use chemical flushes in your engine oil as the
chemicals can damage your engine. Such damage is not
covered by the New Vehicle Limited Warranty.
American Petroleum Institute (API) Engine Oil
Identification Symbol
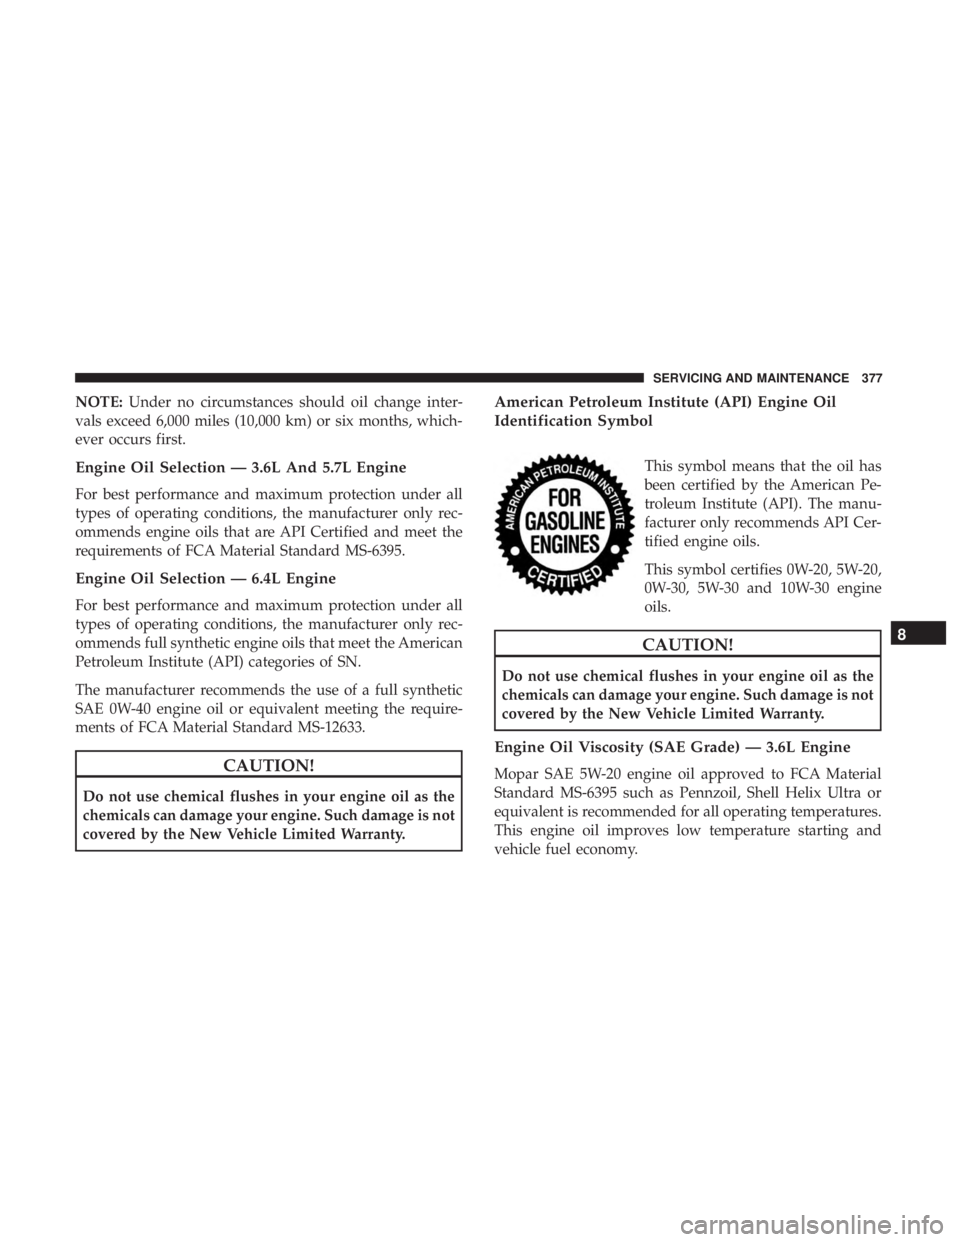
This symbol means that the oil has
been certified by the American Pe-
troleum Institute (API). The manu-
facturer only recommends API Cer-
tified engine oils.
This symbol certifies 0W-20, 5W-20,
0W-30, 5W-30 and 10W-30 engine
oils.
CAUTION!
Do not use chemical flushes in your engine oil as the
chemicals can damage your engine. Such damage is not
covered by the New Vehicle Limited Warranty.
Engine Oil Viscosity (SAE Grade) — 3.6L Engine
Mopar SAE 5W-20 engine oil approved to FCA Material
Standard MS-6395 such as Pennzoil, Shell Helix Ultra or
equivalent is recommended for all operating temperatures.
This engine oil improves low temperature starting and
vehicle fuel economy.
8
SERVICING AND MAINTENANCE 377
Page 381 of 560
Synthetic engine oils which do not have both the engine oil
certification mark and the correct SAE viscosity grade
number should not be used.
Materials Added To Engine Oil
The manufacturer strongly recommends against the addi-
tion of any additives (other than leak detection dyes) to the
engine oil. Engine oil is an engineered product and its
performance may be impaired by supplemental additives.
Disposing Of Used Engine Oil And Oil Filters
Care should be taken in disposing of used engine oil and
oil filters from your vehicle. Used oil and oil filters,
indiscriminately discarded, can present a problem to the
environment. Contact an authorized dealer, service station
or governmental agency for advice on how and where used
oil and oil filters can be safely discarded in your area.
Engine Oil Filter
The engine oil filter should be replaced with a new filter at
every engine oil change.
Engine Oil Filter Selection
This manufacturer’s engines have a full-flow type dis-
posable oil filter. Use a filter of this type for replacement.The quality of replacement filters varies considerably. Only
high quality filters should be used to assure most efficient
service. Mopar engine oil filters are high quality oil filters
and are recommended.
Engine Air Cleaner Filter
Refer to the “Maintenance Plan” in this section for the
proper maintenance intervals.
NOTE:
Be sure to follow the “Severe Duty Conditions”
maintenance interval if applicable.
WARNING!
The air induction system (air cleaner, hoses, etc.) can
provide a measure of protection in the case of engine
backfire. Do not remove the air induction system (air
cleaner, hoses, etc.) unless such removal is necessary
for repair or maintenance. Make sure that no one is
near the engine compartment before starting the ve-
hicle with the air induction system (air cleaner, hoses,
etc.) removed. Failure to do so can result in serious
personal injury.8
SERVICING AND MAINTENANCE 379
Page 396 of 560
fluid level can be expected to fall as the brake pads wear.
However, low fluid level may be caused by a leak and a
checkup may be needed.
Use only brake fluid that has been recommended by the
manufacturer, and has been kept in a tightly closed container
to avoid contamination from foreign matter or moisture.
Refer to “Fluids And Lubricants” in “Technical Specifica-
tions” for further information.
WARNING!
•Use only manufacturer’s recommended brake fluid.
Refer to “Fluids And Lubricants” in “Technical
Specifications” for further information. Using the
wrong type of brake fluid can severely damage your
brake system and/or impair its performance. The
proper type of brake fluid for your vehicle is also
identified on the original factory installed hydraulic
master cylinder reservoir.
(Continued)
WARNING! (Continued)
•To avoid contamination from foreign matter or mois-
ture, use only new brake fluid or fluid that has been
in a tightly closed container. Keep the master cylin-
der reservoir cap secured at all times. Brake fluid in
a open container absorbs moisture from the air
resulting in a lower boiling point. This may cause it
to boil unexpectedly during hard or prolonged brak-
ing, resulting in sudden brake failure. This could
result in a collision.
• Overfilling the brake fluid reservoir can result in
spilling brake fluid on hot engine parts, causing the
brake fluid to catch fire. Brake fluid can also damage
painted and vinyl surfaces, care should be taken to
avoid its contact with these surfaces.
• Do not allow petroleum based fluid to contaminate
the brake fluid. Brake seal components could be
damaged, causing partial or complete brake failure.
This could result in a collision.
394 SERVICING AND MAINTENANCE
Page 425 of 560
WARNING!
A frayed or torn belt could rip apart in a collision and
leave you with no protection. Inspect the belt system
periodically, checking for cuts, frays, or loose parts.
Damaged parts must be replaced immediately. Do not
disassemble or modify the system. Seat belt assemblies
must be replaced after a collision if they have been
damaged (i.e., bent retractor, torn webbing, etc.).
Plastic And Coated Parts
Use Mopar Total Clean to clean vinyl upholstery.
CAUTION!
•Direct contact of air fresheners, insect repellents,
suntan lotions, or hand sanitizers to the plastic,
painted, or decorated surfaces of the interior may
cause permanent damage. Wipe away immediately.
• Damage caused by these type of products may not be
covered by your New Vehicle Limited Warranty.
Cleaning Plastic Instrument Cluster Lenses
The lenses in front of the instruments in this vehicle are
molded in clear plastic. When cleaning the lenses, care
must be taken to avoid scratching the plastic.
1. Clean with a wet soft cloth. A mild soap solution may be used, but do not use high alcohol content or abrasive
cleaners. If soap is used, wipe clean with a clean damp
cloth.
2. Dry with a soft cloth.
Leather Parts
Mopar Total Clean is specifically recommended for leather
upholstery.
Your leather upholstery can be best preserved by regular
cleaning with a damp soft cloth. Small particles of dirt
can act as an abrasive and damage the leather upholstery
and should be removed promptly with a damp cloth.
Stubborn soils can be removed easily with a soft cloth and
Mopar Total Clean. Care should be taken to avoid soaking
your leather upholstery with any liquid. Please do not
use polishes, oils, cleaning fluids, solvents, detergents, or8
SERVICING AND MAINTENANCE 423