2019 DODGE CHARGER tires
[x] Cancel search: tiresPage 300 of 560
CAUTION!
•Do not tow a trailer at all during the first 500 miles
(805 km) the new vehicle is driven. The engine, axle
or other parts could be damaged.
• Then, during the first 500 miles (805 km) that a trailer
is towed, do not drive over 50 mph (80 km/h) and do
not make starts at full throttle. This helps the engine
and other parts of the vehicle wear in at the heavier
loads.
Towing Requirements — Tires
• Do not attempt to tow a trailer while using a compact
spare tire.
• Do not drive more than 50 mph (80 km/h) when towing
while using a full size spare tire.
• Proper tire inflation pressures are essential to the safe
and satisfactory operation of your vehicle. Refer to
“Tires” in “Servicing And Maintenance” for proper tire
inflation procedures.
• Check the trailer tires for proper tire inflation pressures
before trailer usage. •
Check for signs of tire wear or visible tire damage before
towing a trailer. Refer to “Tires” in “Servicing And
Maintenance” for the proper inspection procedure.
• When replacing tires, refer to “Tires” in “Servicing And
Maintenance” for the proper tire replacement proce-
dures. Replacing tires with a higher load carrying capac-
ity will not increase the vehicle’s GVWR and GAWR
limits.
Towing Requirements — Trailer Brakes
• Do not interconnect the hydraulic brake system or
vacuum system of your vehicle with that of the trailer.
This could cause inadequate braking and possible per-
sonal injury.
• An electronically actuated trailer brake controller is
required when towing a trailer with electronically actu-
ated brakes. When towing a trailer equipped with a
hydraulic surge actuated brake system, an electronic
brake controller is not required.
• Trailer brakes are recommended for trailers over
1,000 lbs (453 kg) and required for trailers in excess of
2,000 lbs (907 kg).
298 STARTING AND OPERATING
Page 304 of 560
RECREATIONAL TOWING (BEHIND MOTORHOME,
ETC.)
Recreational towing (with all four wheels on the ground, or
using a tow dolly) isNOT ALLOWED. The only accept-
able method for towing this vehicle (behind another
vehicle) is on a vehicle trailer with all four wheels OFFthe
ground.
CAUTION!
Towing this vehicle in violation of the above require-
ments can cause severe transmission and/or transfer
case damage. Damage from improper towing is not
covered under the New Vehicle Limited Warranty.
DRIVING TIPS
Driving On Slippery Surfaces
Information in this section will aid in safe controlled
launches in adverse conditions.
Acceleration
Rapid acceleration on snow covered, wet, or other slippery
surfaces may cause the driving wheels to pull erratically to
the right or left. This phenomenon occurs when there is a difference in the surface traction under the front (driving)
wheels.
WARNING!
Rapid acceleration on slippery surfaces is dangerous.
Unequal traction can cause sudden pulling of the front
wheels. You could lose control of the vehicle and
possibly have a collision. Accelerate slowly and care-
fully whenever there is likely to be poor traction (ice,
snow, wet, mud, loose sand, etc.).
Traction
When driving on wet or slushy roads, it is possible for a
wedge of water to build up between the tire and road
surface. This is known as hydroplaning and may cause
partial or complete loss of vehicle control and stopping
ability. To reduce this possibility, the following precautions
should be observed:
•
Slow down during rainstorms or when the roads are
slushy.
• Slow down if the road has standing water or puddles.
• Replace tires when tread wear indicators first become
visible.
302 STARTING AND OPERATING
Page 305 of 560
•Keep tires properly inflated.
• Maintain sufficient distance between your vehicle and
the vehicle in front of you to avoid a collision in a
sudden stop.
Your vehicle may be equipped with a Limited Slip Differ-
ential (LSD) that reduces, but does not eliminate, the
amount of wheel slip across a given axle for improved
handling.
Driving Through Water
Driving through water more than a few inches/centimeters
deep will require extra caution to ensure safety and pre-
vent damage to your vehicle.
Flowing/Rising Water
WARNING!
Do not drive on or across a road or path where water is
flowing and/or rising (as in storm run-off). Flowing
water can wear away the road or path’s surface and
cause your vehicle to sink into deeper water. Further-
more, flowing and/or rising water can carry your
vehicle away swiftly. Failure to follow this warning
(Continued)
WARNING! (Continued)
may result in injuries that are serious or fatal to you,
your passengers, and others around you.
Shallow Standing Water
Although your vehicle is capable of driving through shal-
low standing water, consider the following Cautions and
Warnings before doing so.
WARNING!
•Driving through standing water limits your vehicle’s
traction capabilities. Do not exceed 5 mph (8 km/h)
when driving through standing water.
• Driving through standing water limits your vehicle’s
braking capabilities, which increases stopping dis-
tances. Therefore, after driving through standing
water, drive slowly and lightly press on the brake
pedal several times to dry the brakes.
• Failure to follow these warnings may result in inju-
ries that are serious or fatal to you, your passengers,
and others around you.
6
STARTING AND OPERATING 303
Page 327 of 560
Cavity Cartridge FuseMini-FuseDescription
View Mirror / Police Run Acc Relay
68 –10 Amp Red Dual USB Power Outlet – R/A Sense (Charger/
300) Rear Sunshade (Charger/300) RR USB Timer
69 – –Fuse – Spare
70 – –Fuse – Spare
JACKING AND TIRE CHANGING
WARNING!
•Do not attempt to change a tire on the side of the
vehicle close to moving traffic. Pull far enough off
the road to avoid the danger of being hit when
operating the jack or changing the wheel.
• Being under a jacked-up vehicle is dangerous. The
vehicle could slip off the jack and fall on you. You
could be crushed. Never put any part of your body
(Continued)
WARNING! (Continued)
under a vehicle that is on a jack. If you need to get
under a raised vehicle, take it to a service center
where it can be raised on a lift.
• Never start or run the engine while the vehicle is on
a jack.
• The jack is designed to be used as a tool for changing
tires only. The jack should not be used to lift the
vehicle for service purposes. The vehicle should be
jacked on a firm level surface only. Avoid ice or
slippery areas.7
IN CASE OF EMERGENCY 325
Page 330 of 560
5. Turn off the ignition.
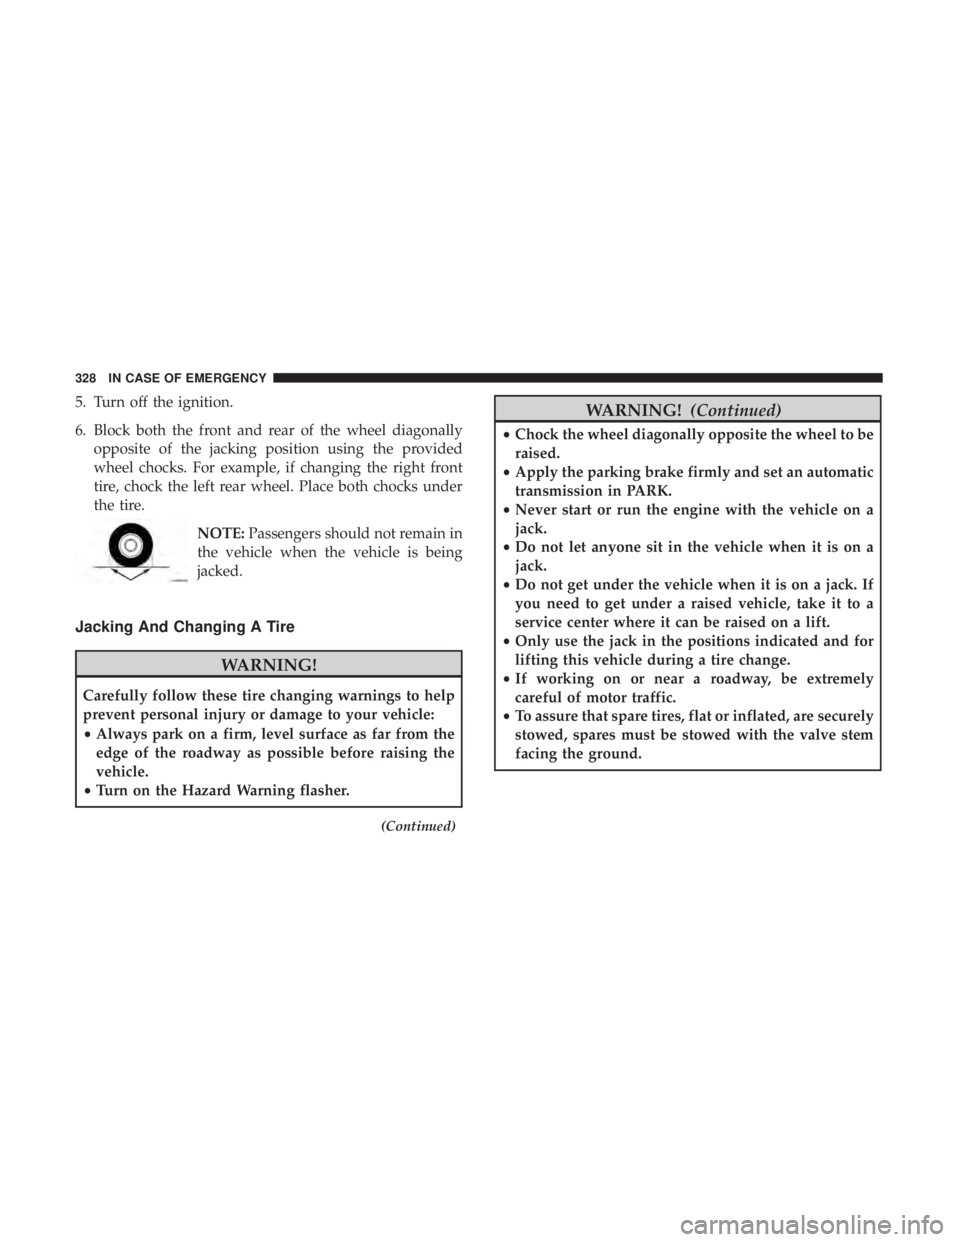
6. Block both the front and rear of the wheel diagonallyopposite of the jacking position using the provided
wheel chocks. For example, if changing the right front
tire, chock the left rear wheel. Place both chocks under
the tire.
NOTE:Passengers should not remain in
the vehicle when the vehicle is being
jacked.
Jacking And Changing A Tire
WARNING!
Carefully follow these tire changing warnings to help
prevent personal injury or damage to your vehicle:
• Always park on a firm, level surface as far from the
edge of the roadway as possible before raising the
vehicle.
• Turn on the Hazard Warning flasher.
(Continued)
WARNING! (Continued)
•Chock the wheel diagonally opposite the wheel to be
raised.
• Apply the parking brake firmly and set an automatic
transmission in PARK.
• Never start or run the engine with the vehicle on a
jack.
• Do not let anyone sit in the vehicle when it is on a
jack.
• Do not get under the vehicle when it is on a jack. If
you need to get under a raised vehicle, take it to a
service center where it can be raised on a lift.
• Only use the jack in the positions indicated and for
lifting this vehicle during a tire change.
• If working on or near a roadway, be extremely
careful of motor traffic.
• To assure that spare tires, flat or inflated, are securely
stowed, spares must be stowed with the valve stem
facing the ground.
328 IN CASE OF EMERGENCY
Page 331 of 560
CAUTION!
Do not attempt to raise the vehicle by jacking on
locations other than those indicated in the Jacking
Instructions for this vehicle.
1. Remove the spare tire, jack, wheel chocks, and lug wrench. NOTE:
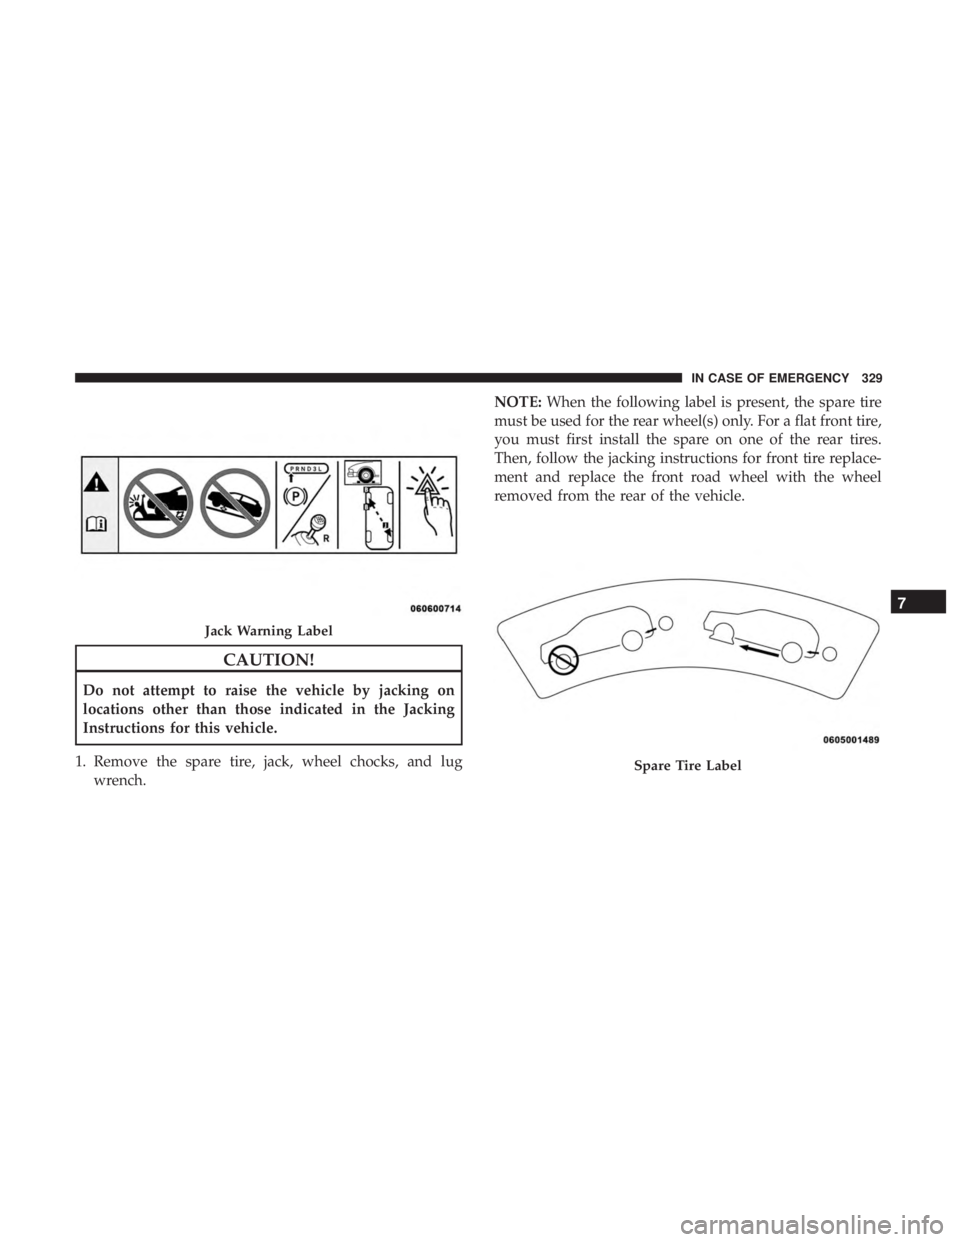
When the following label is present, the spare tire
must be used for the rear wheel(s) only. For a flat front tire,
you must first install the spare on one of the rear tires.
Then, follow the jacking instructions for front tire replace-
ment and replace the front road wheel with the wheel
removed from the rear of the vehicle.
Jack Warning Label
Spare Tire Label
7
IN CASE OF EMERGENCY 329
Page 334 of 560

NOTE:•For vehicles that are equipped, do not attempt to
install a center cap or wheel cover on the compact
spare.
•
Refer to “Tires—General Information” in “Servicing
And Maintenance” for additional warnings, cautions,
and information about the spare tire, its use, and opera-
tion.
8. Install the lug nuts with the cone shaped end of the lug nut toward the wheel. Lightly tighten the lug nuts.
WARNING!
To avoid the risk of forcing the vehicle off the jack, do
not tighten the wheel nuts fully until the vehicle has
been lowered. Failure to follow this warning may
result in serious injury.
9. Lower the vehicle to the ground by turning the jack handle counterclockwise. 10. Finish tightening the lug nuts. Push down on the
wrench while at the end of the handle for increased
leverage. Tighten the lug nuts in a star pattern until
each nut has been tightened twice. Refer to “Torque
Specifications” in “Technical Specifications” for proper
lug nut torque.
11. Stow the wheel chocks, jack, tools and flat tire. Make sure the base of the jack faces the front of the vehicle
before tightening down the fastener.
WARNING!
A loose tire or jack thrown forward in a collision or
hard stop could endanger the occupants of the vehicle.
Always stow the jack parts and the spare tire in the
places provided. Have the deflated (flat) tire repaired
or replaced immediately.
Road Tire Installation
1. Mount the road tire on the axle.
2.
Install the remaining lug nuts with the cone shaped end of
the nut toward the wheel. Lightly tighten the lug nuts.
332 IN CASE OF EMERGENCY
Page 337 of 560
Tire Service Kit Usage Precautions
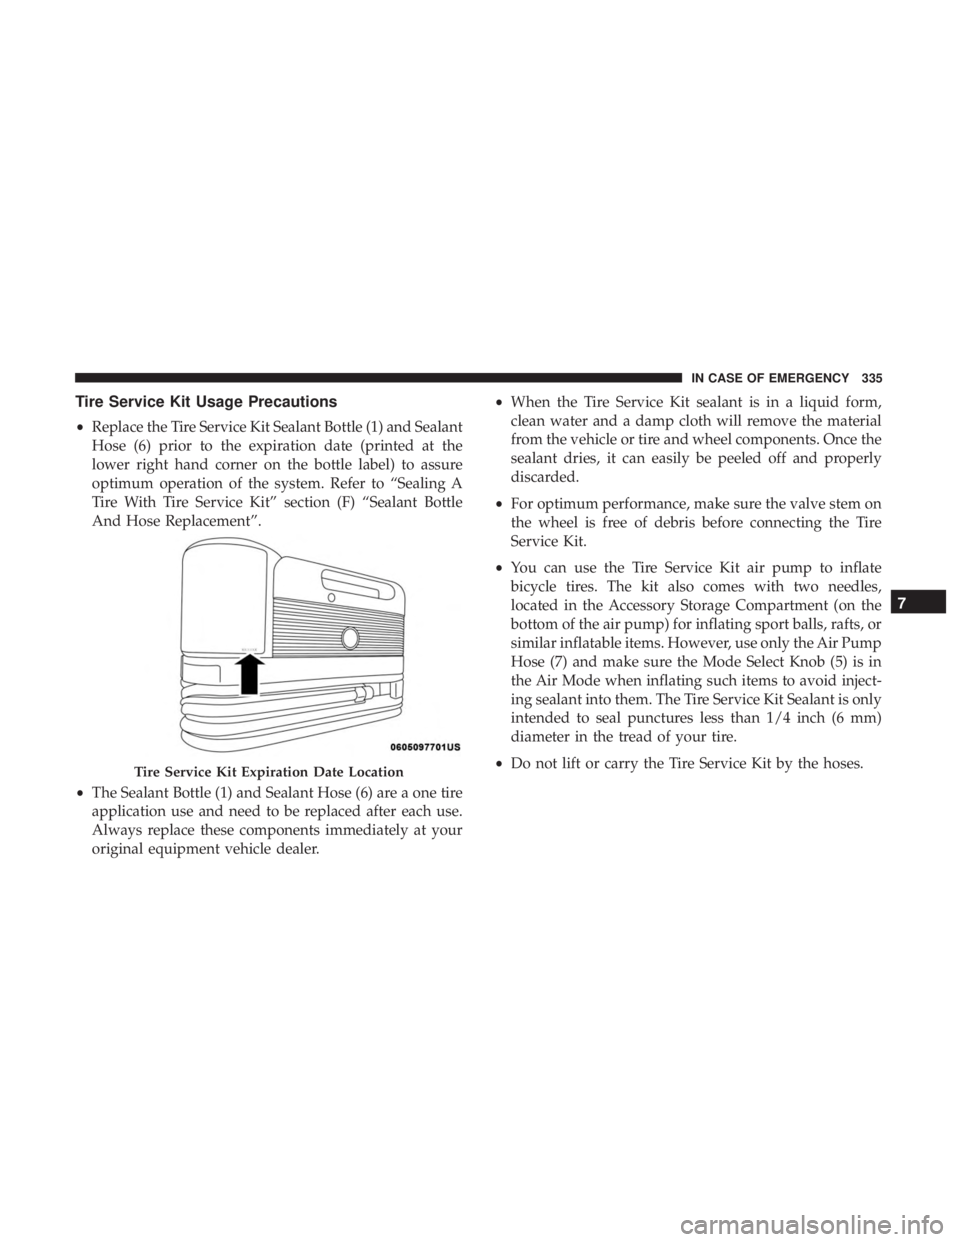
•Replace the Tire Service Kit Sealant Bottle (1) and Sealant
Hose (6) prior to the expiration date (printed at the
lower right hand corner on the bottle label) to assure
optimum operation of the system. Refer to “Sealing A
Tire With Tire Service Kit” section (F) “Sealant Bottle
And Hose Replacement”.
• The Sealant Bottle (1) and Sealant Hose (6) are a one tire
application use and need to be replaced after each use.
Always replace these components immediately at your
original equipment vehicle dealer. •
When the Tire Service Kit sealant is in a liquid form,
clean water and a damp cloth will remove the material
from the vehicle or tire and wheel components. Once the
sealant dries, it can easily be peeled off and properly
discarded.
• For optimum performance, make sure the valve stem on
the wheel is free of debris before connecting the Tire
Service Kit.
• You can use the Tire Service Kit air pump to inflate
bicycle tires. The kit also comes with two needles,
located in the Accessory Storage Compartment (on the
bottom of the air pump) for inflating sport balls, rafts, or
similar inflatable items. However, use only the Air Pump
Hose (7) and make sure the Mode Select Knob (5) is in
the Air Mode when inflating such items to avoid inject-
ing sealant into them. The Tire Service Kit Sealant is only
intended to seal punctures less than 1/4 inch (6 mm)
diameter in the tread of your tire.
• Do not lift or carry the Tire Service Kit by the hoses.
Tire Service Kit Expiration Date Location
7
IN CASE OF EMERGENCY 335