2019 DODGE CHALLENGER SRT recommended oil
[x] Cancel search: recommended oilPage 222 of 500
WARNING!
Remember to disconnect the engine block heater cord
before driving. Damage to the 110-115 Volt electrical
cord could cause electrocution.
ENGINE BREAK-IN RECOMMENDATIONS
The following tips will be helpful in obtaining optimum
performance and maximum durability for your new SRT
vehicle.
Despite modern technology and World Class manufactur-
ing methods, the moving parts of the vehicle must still
wear in with each other. This wearing in occurs mainly
during the first 500 miles (805 km) and continues through
the first oil change interval.
It is recommended for the operator to observe the follow-
ing driving behaviors during the new vehicle break-in
period:
0 to 100 miles (0 to 161 km):
•Do not allow the engine to operate at idle for an
extended period of time.
• Depress the accelerator pedal slowly and not more than
halfway to avoid rapid acceleration. •
Avoid aggressive braking.
• Drive with the engine speed less than 3,500 RPM.
• Maintain vehicle speed below 55 mph (88 km/h) and
observe local speed limits.
100 to 300 miles (161 to 483 km):
• Depress the accelerator pedal slowly and not more than
halfway to avoid rapid acceleration in lower gears (1st to
3rd gears).
• Avoid aggressive braking.
• Drive with the engine speed less than 5,000 RPM.
• Maintain vehicle speed below 70 mph (112 km/h) and
observe local speed limits.
300 to 500 miles (483 to 805 km):
• Exercise the full engine rpm range, shifting manually at
higher rpms when possible.
• Do not perform sustained operation with the accelerator
pedal at wide open throttle.
• Maintain vehicle speed below 85 mph (136 km/h) and
observe local speed limits.
220 STARTING AND OPERATING
Page 311 of 500
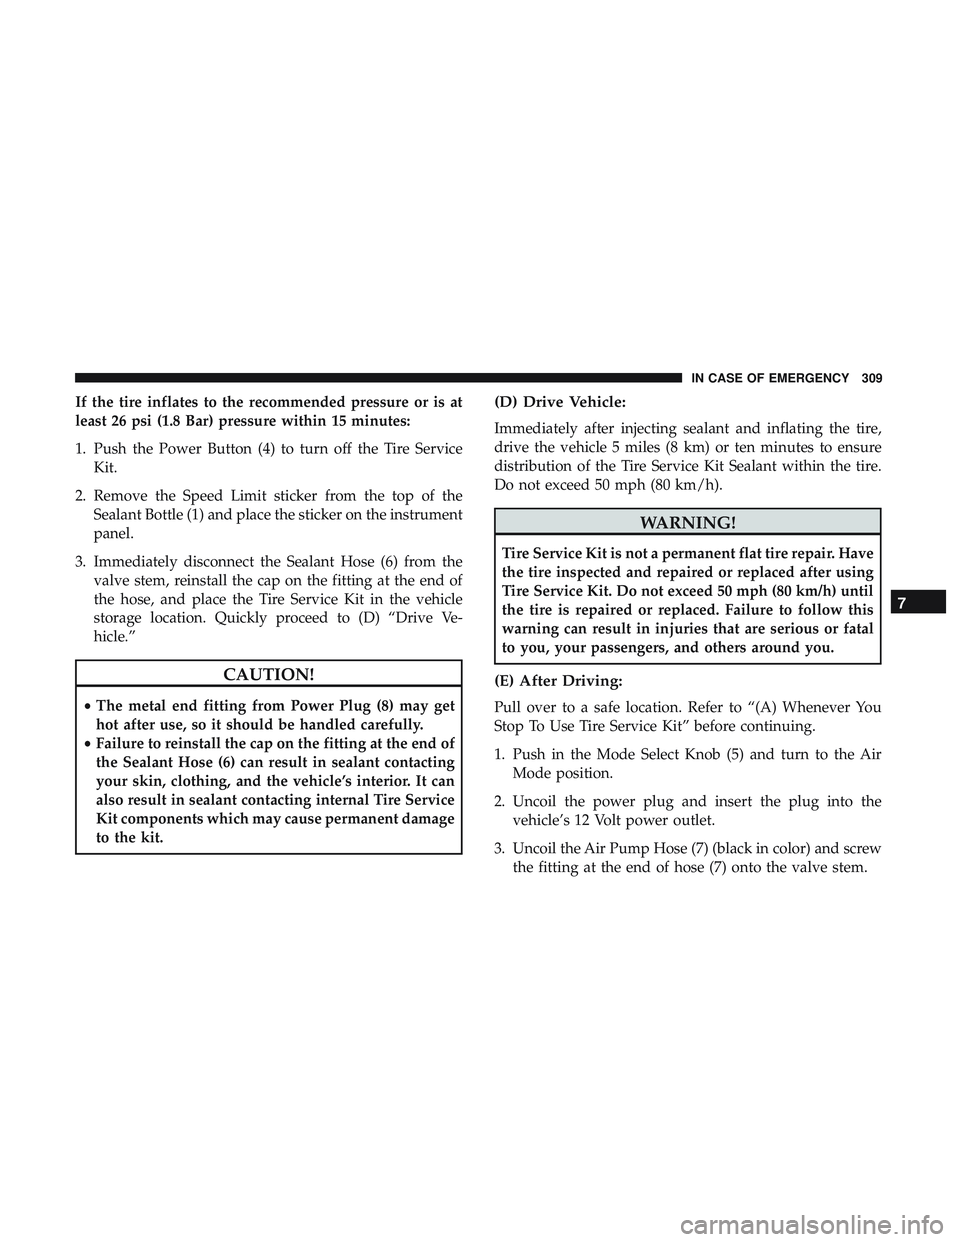
If the tire inflates to the recommended pressure or is at
least 26 psi (1.8 Bar) pressure within 15 minutes:
1. Push the Power Button (4) to turn off the Tire ServiceKit.
2. Remove the Speed Limit sticker from the top of the Sealant Bottle (1) and place the sticker on the instrument
panel.
3. Immediately disconnect the Sealant Hose (6) from the valve stem, reinstall the cap on the fitting at the end of
the hose, and place the Tire Service Kit in the vehicle
storage location. Quickly proceed to (D) “Drive Ve-
hicle.”
CAUTION!
•The metal end fitting from Power Plug (8) may get
hot after use, so it should be handled carefully.
• Failure to reinstall the cap on the fitting at the end of
the Sealant Hose (6) can result in sealant contacting
your skin, clothing, and the vehicle’s interior. It can
also result in sealant contacting internal Tire Service
Kit components which may cause permanent damage
to the kit.
(D) Drive Vehicle:
Immediately after injecting sealant and inflating the tire,
drive the vehicle 5 miles (8 km) or ten minutes to ensure
distribution of the Tire Service Kit Sealant within the tire.
Do not exceed 50 mph (80 km/h).
WARNING!
Tire Service Kit is not a permanent flat tire repair. Have
the tire inspected and repaired or replaced after using
Tire Service Kit. Do not exceed 50 mph (80 km/h) until
the tire is repaired or replaced. Failure to follow this
warning can result in injuries that are serious or fatal
to you, your passengers, and others around you.
(E) After Driving:
Pull over to a safe location. Refer to “(A) Whenever You
Stop To Use Tire Service Kit” before continuing.
1. Push in the Mode Select Knob (5) and turn to the Air
Mode position.
2. Uncoil the power plug and insert the plug into the vehicle’s 12 Volt power outlet.
3. Uncoil the Air Pump Hose (7) (black in color) and screw the fitting at the end of hose (7) onto the valve stem.
7
IN CASE OF EMERGENCY 309
Page 312 of 500
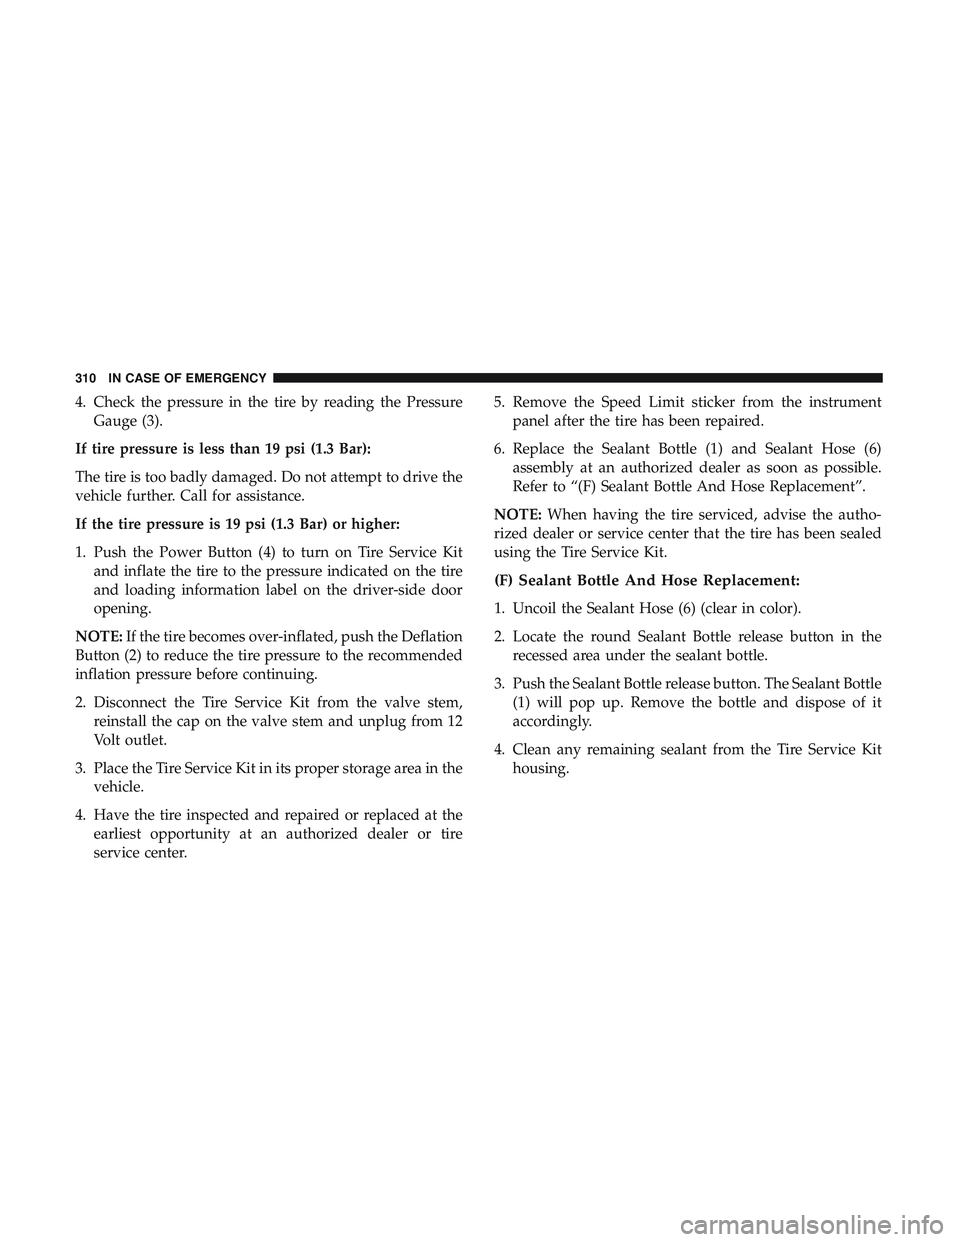
4. Check the pressure in the tire by reading the PressureGauge (3).
If tire pressure is less than 19 psi (1.3 Bar):
The tire is too badly damaged. Do not attempt to drive the
vehicle further. Call for assistance.
If the tire pressure is 19 psi (1.3 Bar) or higher:
1. Push the Power Button (4) to turn on Tire Service Kit and inflate the tire to the pressure indicated on the tire
and loading information label on the driver-side door
opening.
NOTE: If the tire becomes over-inflated, push the Deflation
Button (2) to reduce the tire pressure to the recommended
inflation pressure before continuing.
2. Disconnect the Tire Service Kit from the valve stem, reinstall the cap on the valve stem and unplug from 12
Volt outlet.
3. Place the Tire Service Kit in its proper storage area in the vehicle.
4. Have the tire inspected and repaired or replaced at the earliest opportunity at an authorized dealer or tire
service center. 5. Remove the Speed Limit sticker from the instrument
panel after the tire has been repaired.
6. Replace the Sealant Bottle (1) and Sealant Hose (6) assembly at an authorized dealer as soon as possible.
Refer to “(F) Sealant Bottle And Hose Replacement”.
NOTE: When having the tire serviced, advise the autho-
rized dealer or service center that the tire has been sealed
using the Tire Service Kit.
(F) Sealant Bottle And Hose Replacement:
1. Uncoil the Sealant Hose (6) (clear in color).
2. Locate the round Sealant Bottle release button in the recessed area under the sealant bottle.
3. Push the Sealant Bottle release button. The Sealant Bottle (1) will pop up. Remove the bottle and dispose of it
accordingly.
4. Clean any remaining sealant from the Tire Service Kit housing.
310 IN CASE OF EMERGENCY
Page 319 of 500
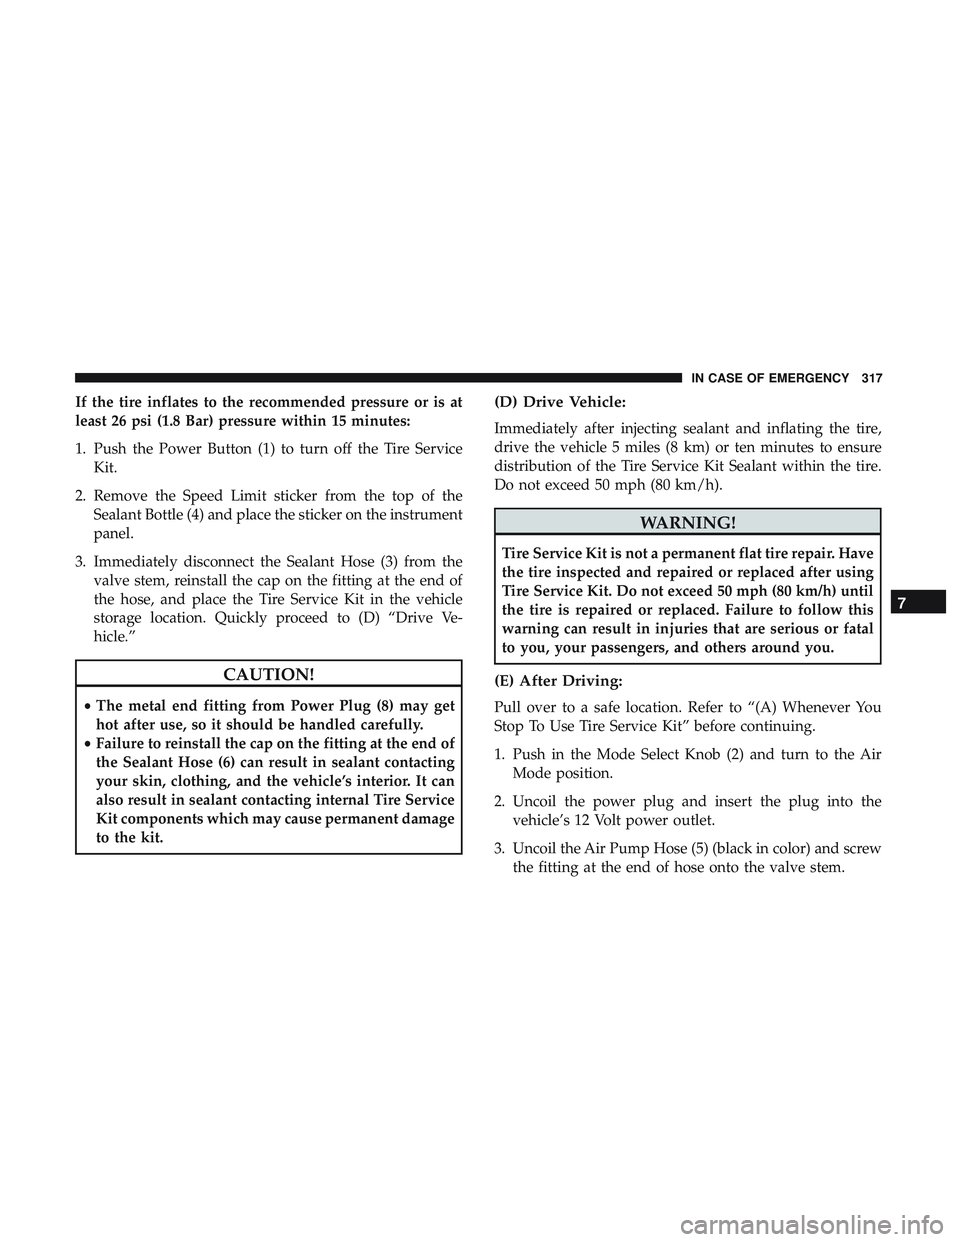
If the tire inflates to the recommended pressure or is at
least 26 psi (1.8 Bar) pressure within 15 minutes:
1. Push the Power Button (1) to turn off the Tire ServiceKit.
2. Remove the Speed Limit sticker from the top of the Sealant Bottle (4) and place the sticker on the instrument
panel.
3. Immediately disconnect the Sealant Hose (3) from the valve stem, reinstall the cap on the fitting at the end of
the hose, and place the Tire Service Kit in the vehicle
storage location. Quickly proceed to (D) “Drive Ve-
hicle.”
CAUTION!
•The metal end fitting from Power Plug (8) may get
hot after use, so it should be handled carefully.
• Failure to reinstall the cap on the fitting at the end of
the Sealant Hose (6) can result in sealant contacting
your skin, clothing, and the vehicle’s interior. It can
also result in sealant contacting internal Tire Service
Kit components which may cause permanent damage
to the kit.
(D) Drive Vehicle:
Immediately after injecting sealant and inflating the tire,
drive the vehicle 5 miles (8 km) or ten minutes to ensure
distribution of the Tire Service Kit Sealant within the tire.
Do not exceed 50 mph (80 km/h).
WARNING!
Tire Service Kit is not a permanent flat tire repair. Have
the tire inspected and repaired or replaced after using
Tire Service Kit. Do not exceed 50 mph (80 km/h) until
the tire is repaired or replaced. Failure to follow this
warning can result in injuries that are serious or fatal
to you, your passengers, and others around you.
(E) After Driving:
Pull over to a safe location. Refer to “(A) Whenever You
Stop To Use Tire Service Kit” before continuing.
1. Push in the Mode Select Knob (2) and turn to the Air
Mode position.
2. Uncoil the power plug and insert the plug into the vehicle’s 12 Volt power outlet.
3. Uncoil the Air Pump Hose (5) (black in color) and screw the fitting at the end of hose onto the valve stem.
7
IN CASE OF EMERGENCY 317
Page 320 of 500
4. Check the pressure in the tire by reading the PressureGauge (8).
If tire pressure is less than 19 psi (1.3 Bar):
The tire is too badly damaged. Do not attempt to drive the
vehicle further. Call for assistance.
If the tire pressure is 19 psi (1.3 Bar) or higher:
1. Push the Power Button (1) to turn on Tire Service Kit and inflate the tire to the pressure indicated on the tire
and loading information label on the driver-side door
opening.
NOTE: If the tire becomes over-inflated, push the Deflation
Button to reduce the tire pressure to the recommended
inflation pressure before continuing.
2. Disconnect the Tire Service Kit from the valve stem, reinstall the cap on the valve stem and unplug from 12
Volt outlet.
3. Place the Tire Service Kit in its proper storage area in the vehicle.
4. Have the tire inspected and repaired or replaced at the earliest opportunity at an authorized dealer or tire
service center. 5. Remove the Speed Limit sticker from the instrument
panel after the tire has been repaired.
6. Replace the Sealant Bottle (4) and Sealant Hose (3) assembly at an authorized dealer as soon as possible.
Refer to “(F) Sealant Bottle And Hose Replacement”.
NOTE: When having the tire serviced, advise the autho-
rized dealer or service center that the tire has been sealed
using the Tire Service Kit.
(F) Sealant Bottle And Hose Replacement:
1. Uncoil the Sealant Hose (3) (clear in color).
2. Locate the red colored round Sealant Bottle release button at the lower right hand corner of the kit.
3. Push and hold the Sealant Bottle release button, then pull out the bottle holding the button.
4. Clean any remaining sealant from the Tire Service Kit housing.
318 IN CASE OF EMERGENCY
Page 343 of 500
The manufacturer recommends the use of a full synthetic
SAE 0W-40 engine oil or equivalent meeting the require-
ments of FCA Material Standard MS-12633.
CAUTION!
Do not use chemical flushes in your engine oil as the
chemicals can damage your engine. Such damage is not
covered by the New Vehicle Limited Warranty.
Engine Oil Viscosity
Use Pennzoil Ultra Platinum 0W-40 engine or equivalent
Mopar oil meeting the FCA Material Standard MS-12633
for use in all operating temperatures.
The engine oil filler cap also shows the recommended
engine oil viscosity for your engine. For information on
engine oil filler cap location, refer to “Engine Compart-
ment” in this section for further information.
Synthetic Engine Oils
You may use synthetic engine oils provided the recom-
mended oil quality requirements are met, and the recom-
mended maintenance intervals for oil and filter changes are
followed.Synthetic engine oils which do not have both the engine oil
certification mark and the correct SAE viscosity grade
number should not be used.
Materials Added To Engine Oil
The manufacturer strongly recommends against the addi-
tion of any additives (other than leak detection dyes) to the
engine oil. Engine oil is an engineered product and its
performance may be impaired by supplemental additives.
Engine Oil Change Requirements — 6.2L
Supercharged Engine (If Equipped)
We recommend having your oil changed and vehicle
serviced by an authorized dealer. You should only perform
maintenance procedures and/or repairs for which you
have the knowledge and the right equipment.
Your 6.2L Supercharged engine (if equipped) has a unique
engine oil system. The system contains a drain in the
engine oil pan and the engine oil cooler. It is necessary for
the service technician to drain both the engine oil pan and
the engine oil cooler to properly perform the engine oil
change procedure. Failure to drain the engine oil cooler
will result in overfilling your vehicle’s engine oil system.8
SERVICING AND MAINTENANCE 341
Page 344 of 500
NOTE:Do not overfill crankcase with engine oil, pressure
loss or oil foaming can result.
To access these oil drains, the vehicle needs to be safely
lifted and supported to remove the front underbody
shields (belly pan). Your service technician will refer to the
Service Manual for proper under body shield (belly pan)
removal and installation procedures.
An authorized dealer has the qualified service personnel,
special tools, and equipment to perform all service opera-
tions in an expert manner. Service Manuals are available
which include detailed service information for your ve-
hicle. Refer to these Service Manuals before attempting any
procedure yourself.
WARNING!
You can be badly injured working on or around a
motor vehicle. Do only that service work for which you
have the knowledge and the right equipment. If you
have any doubt about your ability to perform a service
job, take your vehicle to a competent mechanic.
Disposing Of Used Engine Oil And Oil Filters
Care should be taken in disposing of used engine oil and
oil filters from your vehicle. Used oil and oil filters,
indiscriminately discarded, can present a problem to the
environment. Contact an authorized dealer, service station
or governmental agency for advice on how and where used
oil and oil filters can be safely discarded in your area.
Engine Oil Filter
The engine oil filter should be replaced with a new filter at
every engine oil change.
Engine Oil Filter Selection
This manufacturer’s engines have a full-flow type dispos-
able oil filter. Use a filter of this type for replacement. The
quality of replacement filters varies considerably. Only
high quality filters should be used to assure most efficient
service. Mopar engine oil filters are high quality oil filters
and are recommended.
Engine Air Cleaner Filter
Refer to the “Maintenance Plan” in this section for the
proper maintenance intervals.
342 SERVICING AND MAINTENANCE
Page 359 of 500
WARNING!
•Use only manufacturer’s recommended brake fluid.
Refer to “Fluids And Lubricants” in “Technical
Specifications” for further information. Using the
wrong type of brake fluid can severely damage your
brake system and/or impair its performance. The
proper type of brake fluid for your vehicle is also
identified on the original factory installed hydraulic
master cylinder reservoir.
• To avoid contamination from foreign matter or mois-
ture, use only new brake fluid or fluid that has been
in a tightly closed container. Keep the master cylin-
der reservoir cap secured at all times. Brake fluid in
a open container absorbs moisture from the air
resulting in a lower boiling point. This may cause it
to boil unexpectedly during hard or prolonged brak-
ing, resulting in sudden brake failure. This could
result in a collision.
• Overfilling the brake fluid reservoir can result in
spilling brake fluid on hot engine parts, causing the
brake fluid to catch fire. Brake fluid can also damage
painted and vinyl surfaces, care should be taken to
avoid its contact with these surfaces.
(Continued)
WARNING! (Continued)
•Do not allow petroleum based fluid to contaminate
the brake fluid. Brake seal components could be
damaged, causing partial or complete brake failure.
This could result in a collision.
Clutch Hydraulic System — Manual Transmission
(If Equipped)
The clutch hydraulic system is fed by a segregated volume
of fluid within the brake system master cylinder reservoir.
In the event of leakage or wear, use only the manufactur-
er’s recommended brake fluid. Refer to “Fluids And Lu-
bricants” in “Technical Specifications” for further informa-
tion.
Manual Transmission — If Equipped
Fluid Level Check
Check the fluid level by removing the fill plug on the left
side of the transmission. The fluid level should be 1/4 inch
(6.4mm) below the bottom of the fill hole. Add fluid, if
necessary, to maintain the proper level. Refer to “Fluids
And Lubricants” in “Technical Specifications” for further
information.
8
SERVICING AND MAINTENANCE 357