2019 DODGE CHALLENGER SRT radio
[x] Cancel search: radioPage 20 of 500
Pre-Installed Features
Your User Guide — Up-
dated in real-timeAvailable when and where
you need it
Touchscreen convenience Customizable interface
Maintenance schedules
and information Multilingual
Comprehensive icon &
symbol glossary
Once you launch your Vehicle User Guide, you will be able
to explore your warranty information and radio manual
when and where you need them. Your Uconnect system
displays the Vehicle User Guide on your touchscreen radio
to assist in better understanding your vehicle. There’s no
app to download, no phone to connect and no external
device needed for playback. Plus, it’s updated throughout
the year, in real-time, so it never goes out of date.
Features/Benefits
• Pre-installed on your Uconnect touchscreen radio
• Enhanced search and browsing capability •
Robust NAV application — If Equipped
• Add selected topics to a fast-access Favorites category
• Icon and symbol glossary
• Warranty information
• Crucial driver information and assistance:
Operating Instructions Maintenance Schedules
Warranty Information Emergency Procedures
Fluid Level Standards 911 Contact and More
Tip: When viewing a topic, tap the star icon to add it to
your Favorites, for easy access in the future.
18 GETTING TO KNOW YOUR VEHICLE
Page 25 of 500
Using The Panic Alarm
To turn the Panic Alarm feature on or off, push the Panic
button on the key fob. When the Panic Alarm is activated,
the turn signals will flash, the horn will pulse on and off,
and the interior lights will turn on.
The Panic Alarm will stay on for three minutes unless you
turn it off by either pushing the Panic button a second time
or drive the vehicle at a speed of 15 mph (24 km/h) or
greater.
NOTE:
•The interior lights will turn off if you place the ignition
in the ACC or ON/RUN position while the Panic Alarm
is activated. However, the exterior lights and horn will
remain on.
• You may need to be less than 35 ft (11 m) from the
vehicle when using the key fob to turn off the Panic
Alarm due to the radio frequency noises emitted by the
system.
Key Fob Battery Replacement
The recommended replacement battery is one CR2032
battery.
NOTE:
•Perchlorate Material — special handling may apply. See
www.dtsc.ca.gov/hazardouswaste/perchlorate for fur-
ther information.
• Do not touch the battery terminals that are on the back
housing or the printed circuit board.
3
GETTING TO KNOW YOUR VEHICLE 23
Page 29 of 500
WARNING!
•Always remove the key fobs from the vehicle and
lock all doors when leaving the vehicle unattended.
• For vehicles equipped with Keyless Enter-N-Go —
Ignition, always remember to place the ignition in
the OFF mode.
Duplication of key fobs may be performed at an authorized
dealer. This procedure consists of programming a blank
key fob to the vehicle electronics. A blank key fob is one
that has never been programmed.
NOTE: When having the Sentry Key Immobilizer System
serviced, bring all vehicle keys with you to an authorized
dealer.
General Information
The following regulatory statement applies to all radio
frequency (RF) devices equipped in this vehicle:
This device complies with Part 15 of the FCC Rules and
with Industry Canada license-exempt RSS standard(s).
Operation is subject to the following two conditions: 1. This device may not cause harmful interference, and
2. This device must accept any interference received, in-
cluding interference that may cause undesired opera-
tion.
NOTE: Changes or modifications not expressly approved
by the party responsible for compliance could void the
user ’s authority to operate the equipment.
IGNITION SWITCH
Keyless Push Button Ignition
This feature allows the driver to operate the ignition with
the push of a button as long as the key fob is in the
passenger compartment.
The Keyless Push Button Ignition has four operating
positions, three of which are labeled and will illuminate
when in position. The three positions are OFF, ACC, and
ON/RUN. The fourth position is START. During start,
ON/RUN will illuminate.
3
GETTING TO KNOW YOUR VEHICLE 27
Page 35 of 500

NOTE:
•For vehicles not equipped with the Keyless Enter-N-Go
— Passive Entry feature, the ignition switch must be in
the ON/RUN position in order to drive the vehicle.
• For vehicles not equipped with the Keyless Enter-N-Go
— Passive Entry feature, the message “Remote Start
Active — Insert Key and Turn To Run” will show in the
instrument cluster display until you insert the key.
• For vehicles equipped with the Keyless Enter-N-Go —
Passive Entry feature, the message “Remote Start Active
— Push Start Button” will show in the instrument
cluster display until you push the START button.
To Cancel Remote Start
Remote Starting will also cancel if any of the following
occur:
• The engine stalls or engine speed exceeds 2500 rpm.
• Any engine warning lights come on.
• Low Fuel Light turns on.
• The hood is opened.
• The hazard switch is pushed.
• The gear selector is moved out of PARK. •
The brake pedal is pushed.
Remote Start Comfort Systems — If Equipped
When remote start is activated, the heated steering wheel
and driver heated seat features will automatically turn on
in cold weather. In warm weather, the driver vented seat
feature will automatically turn on when the remote start is
activated. These features will stay on through the duration
of remote start or until the ignition switch is cycled to the
ON/RUN position.
General Information
The following regulatory statement applies to all radio
frequency (RF) devices equipped in this vehicle:
This device complies with Part 15 of the FCC Rules and
with Industry Canada license-exempt RSS standard(s).
Operation is subject to the following two conditions:
1. This device may not cause harmful interference, and
2. This device must accept any interference received, in-
cluding interference that may cause undesired opera-
tion.
NOTE: Changes or modifications not expressly approved
by the party responsible for compliance could void the
user ’s authority to operate the equipment.
3
GETTING TO KNOW YOUR VEHICLE 33
Page 37 of 500
CAUTION!
•Always remove the key fobs from the vehicle and
lock all doors when leaving the vehicle unattended.
• For vehicles equipped with Keyless Enter-N-Go —
Ignition, always remember to place the ignition in
the OFF position.
NOTE: Duplication of key fobs may be performed at an
authorized dealer. This procedure consists of programming
a blank key fob to the vehicle electronics. A blank key fob
is one that has never been programmed.
When having the Sentry Key Immobilizer System serviced,
bring all vehicle keys with you to an authorized dealer.
General Information
The following regulatory statement applies to all radio
frequency (RF) devices equipped in this vehicle:
This device complies with Part 15 of the FCC Rules and
with Industry Canada license-exempt RSS standard(s).
Operation is subject to the following two conditions: 1. This device may not cause harmful interference, and
2. This device must accept any interference received, in-
cluding interference that may cause undesired opera-
tion.
NOTE: Changes or modifications not expressly approved
by the party responsible for compliance could void the
user ’s authority to operate the equipment.
VEHICLE SECURITY ALARM — IF EQUIPPED
The vehicle security alarm monitors the vehicle doors for
unauthorized entry and the keyless push button ignition
for unauthorized operation. While the vehicle security
alarm is armed, interior switches for door locks and trunk
release are disabled. If something triggers the alarm, the
vehicle security alarm will provide the following audible
and visible signals: the horn will pulse, the park lamps
and/or turn signals will flash, and the vehicle security light
in the instrument cluster will flash.
3
GETTING TO KNOW YOUR VEHICLE 35
Page 45 of 500
General Information
The following regulatory statement applies to all radio
frequency (RF) devices equipped in this vehicle:
This device complies with Part 15 of the FCC Rules and
with Industry Canada license-exempt RSS standard(s).
Operation is subject to the following two conditions:
1. This device may not cause harmful interference, and
2. This device must accept any interference received, in-cluding interference that may cause undesired opera-
tion.
NOTE: Changes or modifications not expressly approved
by the party responsible for compliance could void the
user ’s authority to operate the equipment.
Automatic Unlock Doors On Exit
The doors will unlock automatically on vehicles with
power door locks if:
1. The Automatic Unlock Doors On Exit feature is enabled. 2. The vehicle was in motion, then speed returned to
0 mph (0 km/h) and the transmission is placed in PARK.
3. The driver door is opened.
4. The doors were not previously unlocked.
NOTE: Automatic Unlock Doors On Exit Programming
To change the current setting, refer to “Uconnect Settings”
in “Multimedia” for further information.
Use the Automatic Unlock Doors On Exit feature in accor-
dance with local laws.
Automatic Door Locks — If Equipped
The auto door lock feature default condition is enabled.
When enabled, the door locks will lock automatically when
the vehicle’s speed exceeds 15 mph (24 km/h). The auto
door lock feature can be enabled or disabled by an autho-
rized dealer per written request of the customer. Please see
an authorized dealer for service.
3
GETTING TO KNOW YOUR VEHICLE 43
Page 50 of 500
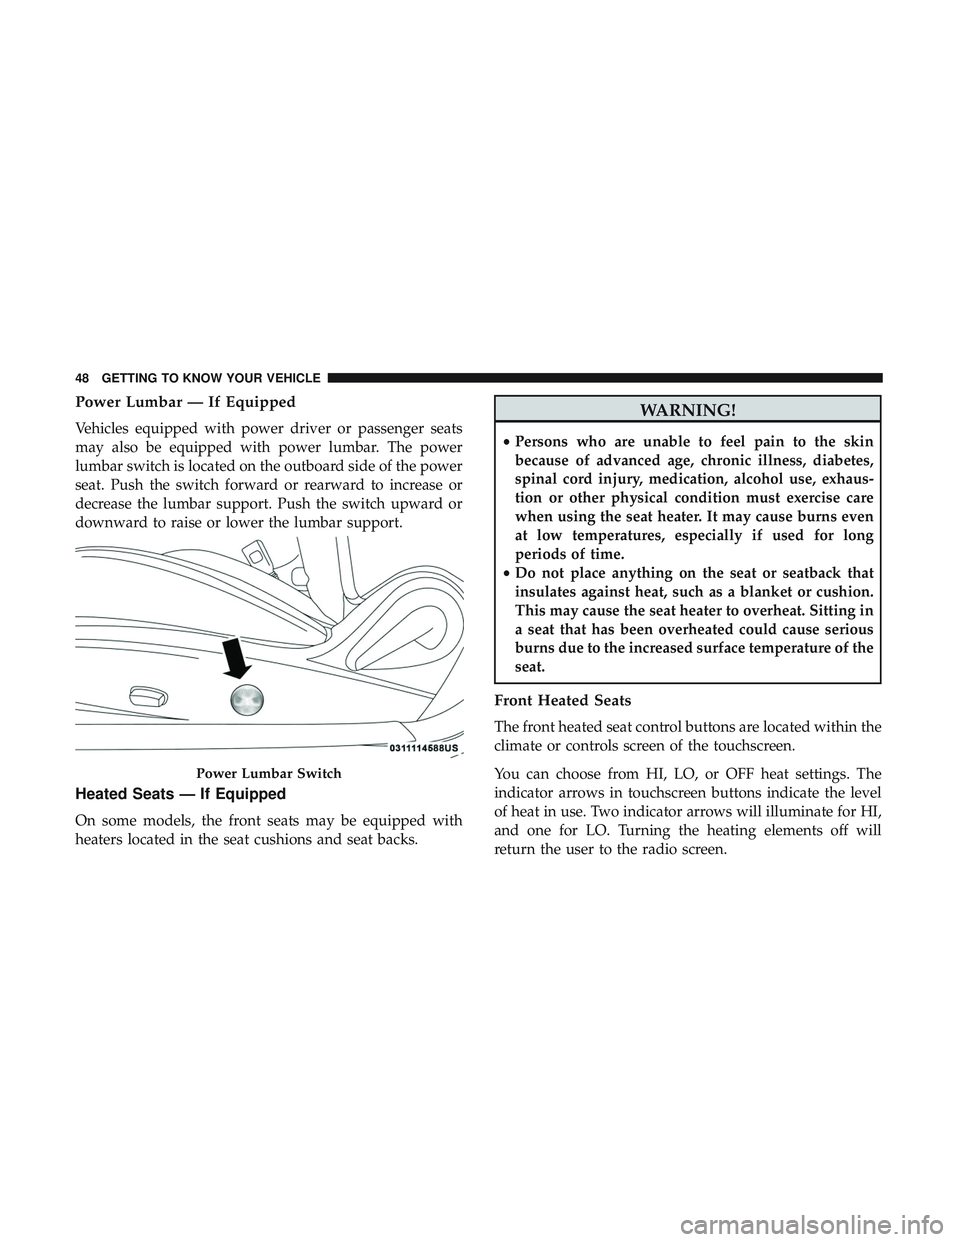
Power Lumbar — If Equipped
Vehicles equipped with power driver or passenger seats
may also be equipped with power lumbar. The power
lumbar switch is located on the outboard side of the power
seat. Push the switch forward or rearward to increase or
decrease the lumbar support. Push the switch upward or
downward to raise or lower the lumbar support.
Heated Seats — If Equipped
On some models, the front seats may be equipped with
heaters located in the seat cushions and seat backs.
WARNING!
•Persons who are unable to feel pain to the skin
because of advanced age, chronic illness, diabetes,
spinal cord injury, medication, alcohol use, exhaus-
tion or other physical condition must exercise care
when using the seat heater. It may cause burns even
at low temperatures, especially if used for long
periods of time.
• Do not place anything on the seat or seatback that
insulates against heat, such as a blanket or cushion.
This may cause the seat heater to overheat. Sitting in
a seat that has been overheated could cause serious
burns due to the increased surface temperature of the
seat.
Front Heated Seats
The front heated seat control buttons are located within the
climate or controls screen of the touchscreen.
You can choose from HI, LO, or OFF heat settings. The
indicator arrows in touchscreen buttons indicate the level
of heat in use. Two indicator arrows will illuminate for HI,
and one for LO. Turning the heating elements off will
return the user to the radio screen.
Power Lumbar Switch
48 GETTING TO KNOW YOUR VEHICLE
Page 69 of 500
Parade Mode (Daytime Brightness Feature)
Rotate the instrument panel dimmer control upward to the
first detent. This feature brightens all text displays such as
the odometer, instrument cluster display, and radio when
the position lights or headlights are on.
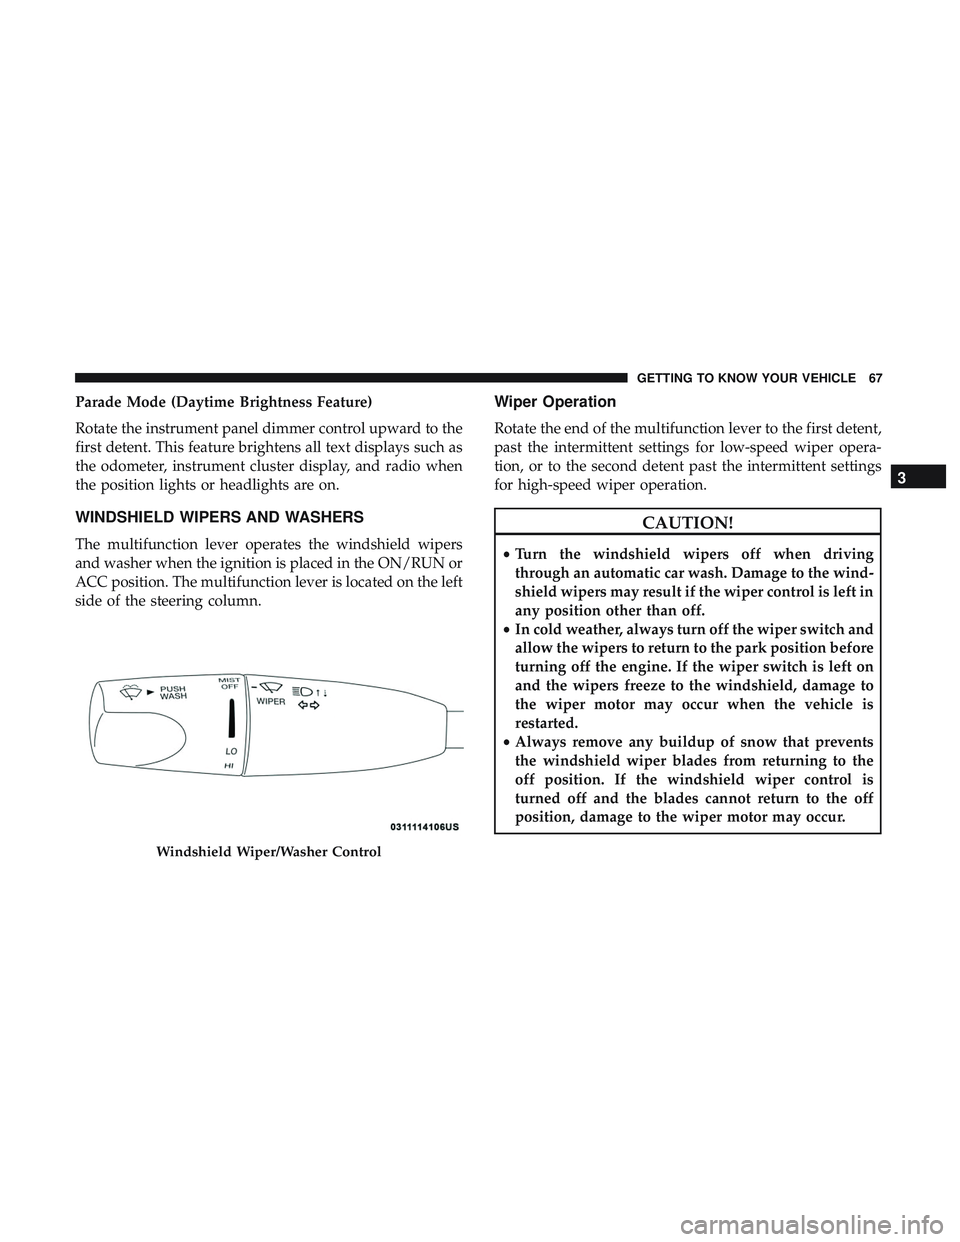
WINDSHIELD WIPERS AND WASHERS
The multifunction lever operates the windshield wipers
and washer when the ignition is placed in the ON/RUN or
ACC position. The multifunction lever is located on the left
side of the steering column.
Wiper Operation
Rotate the end of the multifunction lever to the first detent,
past the intermittent settings for low-speed wiper opera-
tion, or to the second detent past the intermittent settings
for high-speed wiper operation.
CAUTION!
•Turn the windshield wipers off when driving
through an automatic car wash. Damage to the wind-
shield wipers may result if the wiper control is left in
any position other than off.
• In cold weather, always turn off the wiper switch and
allow the wipers to return to the park position before
turning off the engine. If the wiper switch is left on
and the wipers freeze to the windshield, damage to
the wiper motor may occur when the vehicle is
restarted.
• Always remove any buildup of snow that prevents
the windshield wiper blades from returning to the
off position. If the windshield wiper control is
turned off and the blades cannot return to the off
position, damage to the wiper motor may occur.
Windshield Wiper/Washer Control
3
GETTING TO KNOW YOUR VEHICLE 67