2019 DODGE CHALLENGER SRT brake pads
[x] Cancel search: brake padsPage 243 of 500

•Prior to each track event/day, verify all fluids are at the
correct levels. Refer to “Fluid Capacities” in “Technical
Specifications” for further information.
• Prior to each track event, verify the front and rear brake
pads have more than ½ pad thickness remaining. If the
brake pads require changing, please burnish prior to
track outing at full pace.
NOTE: Use of DOT 4 brake fluid is suggested for extended
track usage due to increased thermal capacity.
• At the conclusion of each track event, it is recommended
that a brake bleed procedure is performed to maintain
the pedal feel and stopping capability of your Brembo
High Performance brake system.
• It is recommended that each track outing should end
with a minimum of one cool down lap using minimal
braking.
• If equipped with a removable lower front fascia grille, it
is recommended to remove it for track use during
warm/hot weather to improve cooling airflow to critical
powertrain and cooling system components. •
All SRT vehicles are track tested for 24 hours of endur-
ance. However, it is recommended that suspension
system, brake system, prop shaft, and ½ shaft boots
should be checked for wear or damage after every track
event.
• Track usage results in increased operating temperatures
of the engine, transmission, clutch – if equipped, drive-
line and brake system. This may affect noise (NVH)
countermeasures designed into your vehicle. New com-
ponents may need to be installed to return the system to
the original NVH performance.
• For race track usage it is recommended that the axle
fluid be changed every 4 hours of on track time.
• Tire pressure:
• 40psi (276kpa) hot, recommended 32psi (221kpa) front,
30psi (207 kpa) rear cold
NOTE: It is recommended that you target 40psi (276kpa)
Hot Tire Pressure at the conclusion of each track session.
Starting at 32psi (221kpa) Front and 30psi (207 kpa) Rear
Cold and adjusting based on ambient & track conditions is
recommended. Tire pressure can be monitored via the
instrument cluster display and can assist with adjustments.
6
STARTING AND OPERATING 241
Page 244 of 500

Track burnishing your brakes:
To avoid “green lining fade” during track use, the brake
pads and rotors must have a thermal burnish for factory
installed components or when new brake friction compo-
nents are installed:
1. Use one track session to burnish brakes by driving at75% speed. Brake at approximately 0.60-0.80g max with-
out ABS intervention.
2. Lap the track in this manner until you start smelling the brakes. Continue for another half lap at speed, then do
a two lap cool down with minimal brake applies. Make
sure the brakes are not smoking. If they are, do another
cool down lap.
3. Do not continue for more than one full burnishing lap after you start smelling the brakes. Do not get them
smoking heavily. This will get them too hot and affect
their life negatively in future track use.
4. Allow vehicle to sit and cool in the paddock for at least 30 min. If an infrared thermal gun is available, allow
rotors to cool to 200°F (93.3°C) before going back out. 5. There should be a thin ash layer when inspecting the
pads installed in the caliper. Having the ash layer go
more than half the thickness of the pad material indi-
cates too aggressive of a burnish.
6. Sometimes, a second burnish session is required. If the pads start smelling in the next track session, reduce
speed and braking decel to burnish targets and follow
steps two through four.
7. New pads installed on old rotors still need to be burnished. New rotors installed with old pads should be
burnished at the track or street driven for 300 city miles
to develop an adequate lining transfer layer on the rotor
surface prior to track use.
8. Rotors that pulsate during track use should be replaced. Resurfacing of the rotors is not recommended, as it
removes mass from the rotor, reducing its thermal
capacity. Resurfacing also thins the rotor cheek, making
it less robust and increasing the likelihood of pulsation
in further track use.
242 STARTING AND OPERATING
Page 358 of 500

•Do not change the thermostat for Summer or Winter
operation. If replacement is ever necessary, install ONLY
the correct type thermostat. Other designs may result in
unsatisfactory engine coolant (antifreeze) performance,
poor gas mileage, and increased emissions.
Brake System
In order to assure brake system performance, all brake
system components should be inspected periodically. Refer
to the “Maintenance Plan” in this section for the proper
maintenance intervals.
WARNING!
Riding the brakes can lead to brake failure and possi-
bly a collision. Driving with your foot resting or riding
on the brake pedal can result in abnormally high brake
temperatures, excessive lining wear, and possible
brake damage. You would not have your full braking
capacity in an emergency.
Fluid Level Check — Brake Master Cylinder
Check the fluid level in the master cylinder immediately if
the brake system warning light indicates system failure. Check the fluid level in the master cylinder when perform-
ing underhood services.
Clean the top of the master cylinder area before removing
the cap. Add fluid to bring the level up to the top of the
“FULL” mark on the side of the master cylinder reservoir.
Overfilling of fluid is not recommended because it may
cause leaking in the system.
Add enough fluid to bring the level up to the requirements
described on the brake fluid reservoir. With disc brakes,
fluid level can be expected to fall as the brake pads wear.
However, low fluid level may be caused by a leak and a
checkup may be needed.
Use only brake fluid that has been recommended by the
manufacturer, and has been kept in a tightly closed con-
tainer to avoid contamination from foreign matter or
moisture.
Refer to “Fluids And Lubricants” in “Technical Specifica-
tions” for further information.
356 SERVICING AND MAINTENANCE
Page 383 of 500

CAUTION!
Do not use scouring pads, steel wool, a bristle brush,
metal polishes or oven cleaner. These products may
damage the wheel’s protective finish. Such damage is
not covered by the New Vehicle Limited Warranty.
Only car wash soap, Mopar Wheel Cleaner or equiva-
lent is recommended.
NOTE: If you intend parking or storing your vehicle for an
extended period after cleaning the wheels with wheel
cleaner, drive your vehicle and apply the brakes to remove
the water droplets from the brake components. This activ-
ity will remove the red rust on the brake rotors and prevent
vehicle vibration when braking.
Dark Vapor Chrome, Black Satin Chrome, or Low Gloss
Clear Coat Wheels
CAUTION!
If your vehicle is equipped with these specialty
wheels, DO NOT USE wheel cleaners, abrasives, or
polishing compounds. They will permanently damage
this finish and such damage is not covered by the New
(Continued)
CAUTION! (Continued)
Vehicle Limited Warranty. HAND WASH ONLY US-
ING MILD SOAP AND WATER WITH A SOFT
CLOTH. Used on a regular basis; this is all that is
required to maintain this finish.
Tire Chains (Traction Devices)
Due to limited clearance, tire chains or traction devices are
not recommended.
CAUTION!
Damage to the vehicle may result if tire chains are
used.
Tire Rotation Recommendations
Tires on the front and rear axles of vehicles operate at
different loads and perform different steering, driving, and
braking functions. For these reasons, they wear at unequal
rates.
These effects can be reduced by timely rotation of tires. The
benefits of rotation are especially worthwhile with aggres-
sive tread designs such as those on all season type tires.
8
SERVICING AND MAINTENANCE 381
Page 393 of 500

In the event power assist is lost for any reason (for
example, repeated brake applications with the engine
OFF), the brakes will still function. The effort required to
brake the vehicle will be much greater than that required
with the power system operating.
NOTE:Your vehicle is equipped with a high performance
braking system. The brake pads are a semi-metallic com-
pound, which offer superior fade resistance for consistent
operation. A compromise to using this type of brake pad is
that the brakes may produce more brake dust and may
squeal slightly under certain weather and operating con-
ditions (i.e., during light brake applications). These are
considered normal conditions.
WHEEL AND TIRE TORQUE SPECIFICATIONS
Proper lug nut/bolt torque is very important to ensure that
the wheel is properly mounted to the vehicle. Any time a
wheel has been removed and reinstalled on the vehicle, the
lug nuts/bolts should be torqued using a properly cali-
brated torque wrench using a high quality six sided (hex)
deep wall socket.
Torque Specifications
Lug Nut/Bolt Torque **Lug Nut/Bolt
Size Lug Nut/Bolt
Socket Size
111 Ft-Lbs (150 N·m) M14 x 1.50 22 mm
**Use only your authorized dealer recommended lug nuts/
bolts and clean or remove any dirt or oil before tightening.
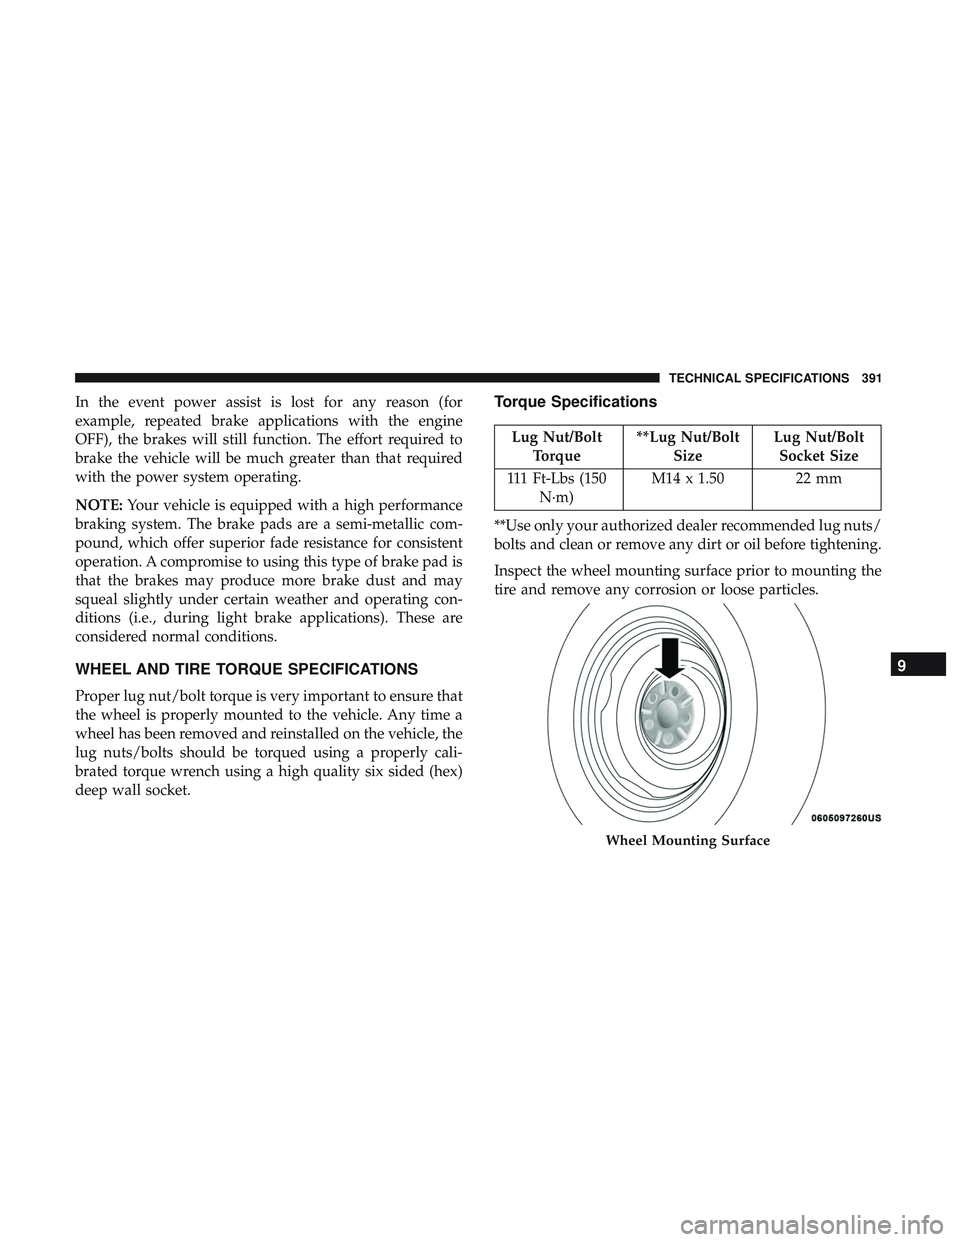
Inspect the wheel mounting surface prior to mounting the
tire and remove any corrosion or loose particles.
Wheel Mounting Surface
9
TECHNICAL SPECIFICATIONS 391