Page 16 of 492

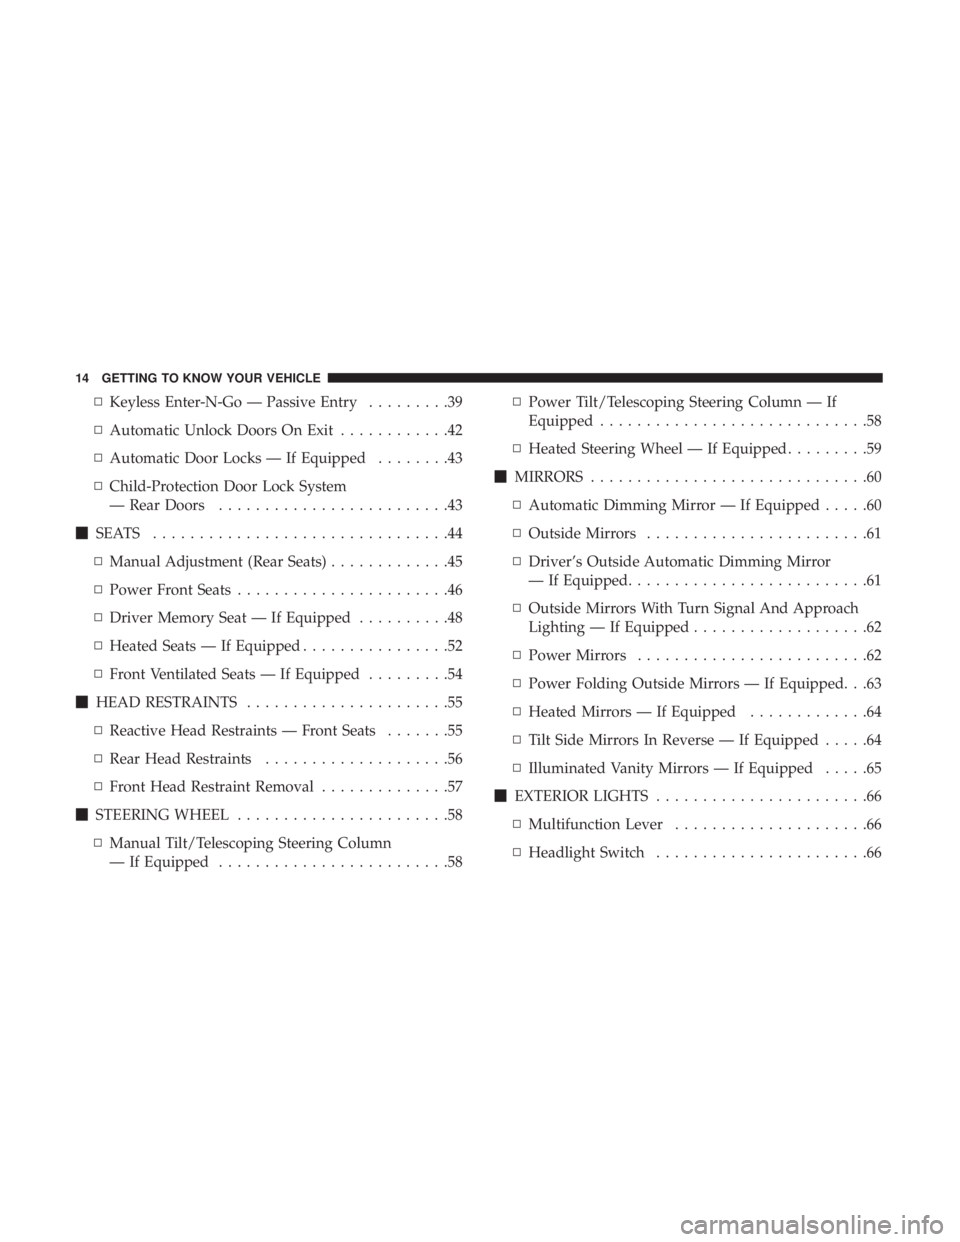
▫Keyless Enter-N-Go — Passive Entry .........39
▫ Automatic Unlock Doors On Exit ............42
▫ Automatic Door Locks — If Equipped ........43
▫ Child-Protection Door Lock System
— Rear Doors .........................43
� SEATS ................................44
▫ Manual Adjustment (Rear Seats) .............45
▫ Power Front Seats .......................46
▫ Driver Memory Seat — If Equipped ..........48
▫ Heated Seats — If Equipped ................52
▫ Front Ventilated Seats — If Equipped .........54
� HEAD RESTRAINTS ......................55
▫ Reactive Head Restraints — Front Seats .......55
▫ Rear Head Restraints ....................56
▫ Front Head Restraint Removal ..............57
� STEERING WHEEL .......................58
▫ Manual Tilt/Telescoping Steering Column
— If Equipped .........................58 ▫
Power Tilt/Telescoping Steering Column — If
Equipped .............................58
▫ Heated Steering Wheel — If Equipped .........59
� MIRRORS ..............................60
▫ Automatic Dimming Mirror — If Equipped .....60
▫ Outside Mirrors ........................61
▫ Driver’s Outside Automatic Dimming Mirror
— If Equipped ..........................61
▫ Outside Mirrors With Turn Signal And Approach
Lighting — If Equipped ...................62
▫ Power Mirrors .........................62
▫ Power Folding Outside Mirrors — If Equipped. . .63
▫ Heated Mirrors — If Equipped .............64
▫ Tilt Side Mirrors In Reverse — If Equipped .....64
▫ Illuminated Vanity Mirrors — If Equipped .....65
� EXTERIOR LIGHTS .......................66
▫ Multifunction Lever .....................66
▫ Headlight Switch .......................66
14 GETTING TO KNOW YOUR VEHICLE
Page 53 of 492

Driver Two Memory Position Recall
•To recall the memory setting for driver two using the
memory switch, push memory button (2) on the
memory switch.
• To recall the memory settings for driver two using the
key fob, push the unlock button on the key fob linked to
memory position 2.
A recall can be canceled by pushing any of the memory
buttons during a recall (S, 1, or 2), or by pushing any of the
seat adjustment switches. When a recall is canceled, the
driver’s seat and steering column (if equipped) stop mov-
ing. A delay of one second will occur before another recall
can be selected.
Easy Entry/Exit Seat
This feature provides automatic driver seat positioning to
enhance driver mobility when entering and exiting the
vehicle.
The distance the driver seat moves depends on where you
have the driver seat positioned when you cycle the vehi-
cle’s ignition to the OFF position. •
When you cycle the vehicle’s ignition to the OFF posi-
tion, the driver seat will move about 2.4 inches (60 mm)
rearward if the driver seat position is greater than or
equal to 2.7 inches (67.7 mm) forward of the rear stop.
The seat will return to its previously set position when
you cycle the vehicle’s ignition to the ACC or RUN
position.
• The Easy Entry/Easy Exit feature is disabled when the
driver seat position is less than 0.9 of an inch (22.7 mm)
forward of the rear stop. At this position, there is no
benefit to the driver by moving the seat for Easy Exit or
Easy Entry.
Each stored memory setting will have an associated Easy
Entry and Easy Exit position.
NOTE: The Easy Entry/Exit feature is not enabled when
the vehicle is delivered from the factory. The Easy Entry/
Exit feature is enabled (or later disabled) through the
programmable features in the Uconnect system. Refer to
“Uconnect Settings” in “Multimedia”.
3
GETTING TO KNOW YOUR VEHICLE 51
Page 57 of 492

HEAD RESTRAINTS
Head restraints are designed to reduce the risk of injury by
restricting head movement in the event of a rear-impact.
Head restraints should be adjusted so that the top of the
head restraint is located above the top of your ear.
WARNING!
•All occupants, including the driver, should not oper-
ate a vehicle or sit in a vehicle’s seat until the head
restraints are placed in their proper positions in
order to minimize the risk of neck injury in the event
of a crash.
• Head restraints should never be adjusted while the
vehicle is in motion. Driving a vehicle with the head
restraints improperly adjusted or removed could
cause serious injury or death in the event of a
collision.
NOTE: Do not reverse the head restraints (making the rear
of the head restraint face forward) in an attempt to gain
additional clearance to the back of your head.
Reactive Head Restraints — Front Seats
The front driver and passenger seats are equipped with
Reactive Head Restraints (RHR). In the event of a rear impact, the RHR will automatically extend forward mini-
mizing the gap between the back of the occupant’s head
and the RHR.
The RHR will automatically return to their normal position
following a rear impact. If the RHR do not return to their
normal position, see an authorized dealer immediately.
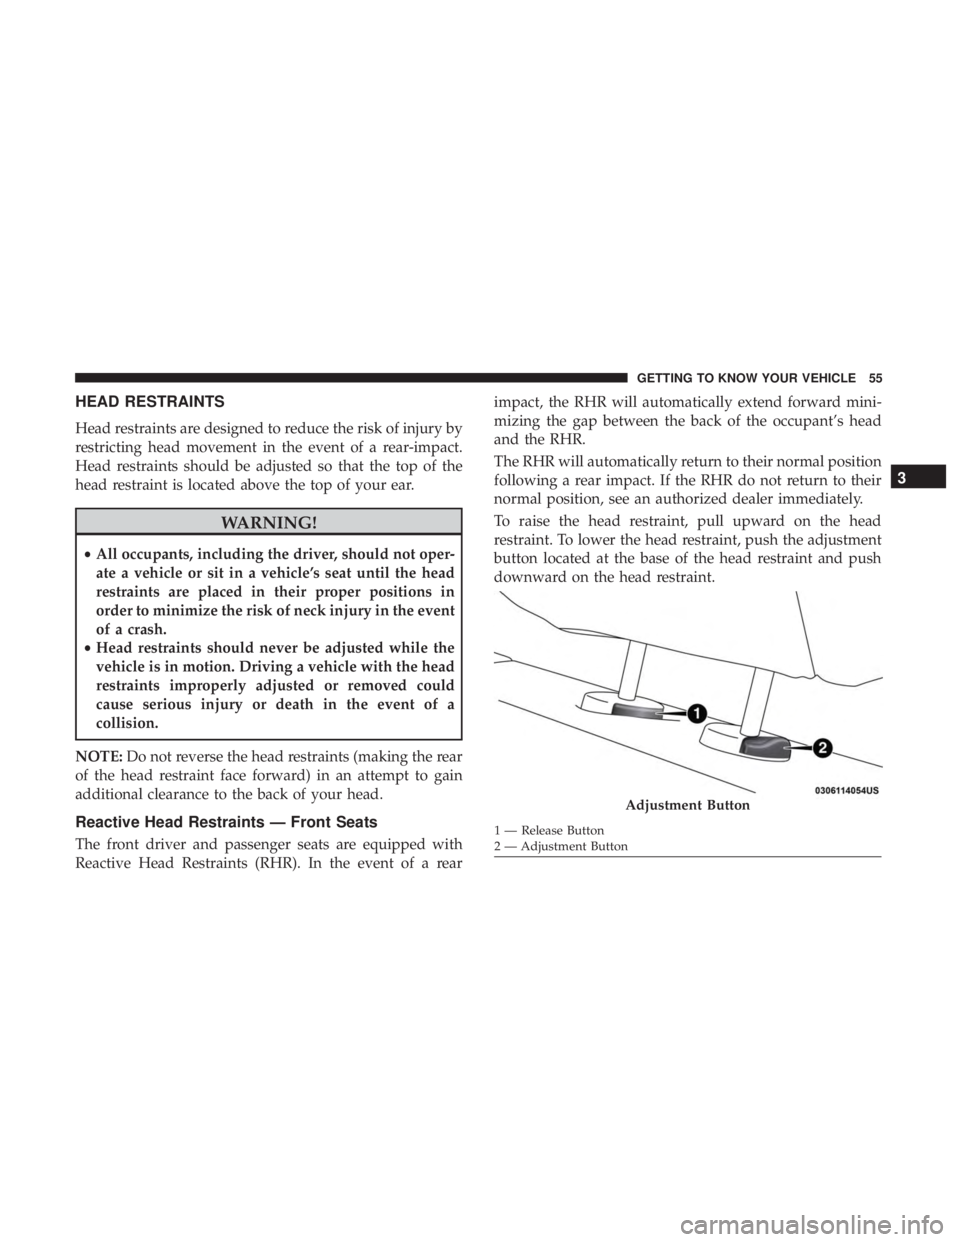
To raise the head restraint, pull upward on the head
restraint. To lower the head restraint, push the adjustment
button located at the base of the head restraint and push
downward on the head restraint.
Adjustment Button
1 — Release Button
2 — Adjustment Button
3
GETTING TO KNOW YOUR VEHICLE 55
Page 58 of 492

WARNING!
•A loose head restraint thrown forward in a collision
or hard stop could cause serious injury or death to
occupants of the vehicle. Always securely stow re-
moved head restraints in a location outside the
occupant compartment.
• ALL the head restraints MUST be reinstalled in the
vehicle to properly protect the occupants. Follow the
re-installation instructions above prior to operating
the vehicle or occupying a seat.
• Do not place items over the top of the Reactive Head
Restraint, such as coats, seat covers or portable DVD
players. These items may interfere with the opera-
tion of the Reactive Head Restraint in the event of a
collision and could result in serious injury or death.
Rear Head Restraints
The center head restraint has two adjustable positions: up
or down. When the center seat is being occupied, the head
restraint should be in the raised position. When there are
no occupants in the center seat, the head restraint can be
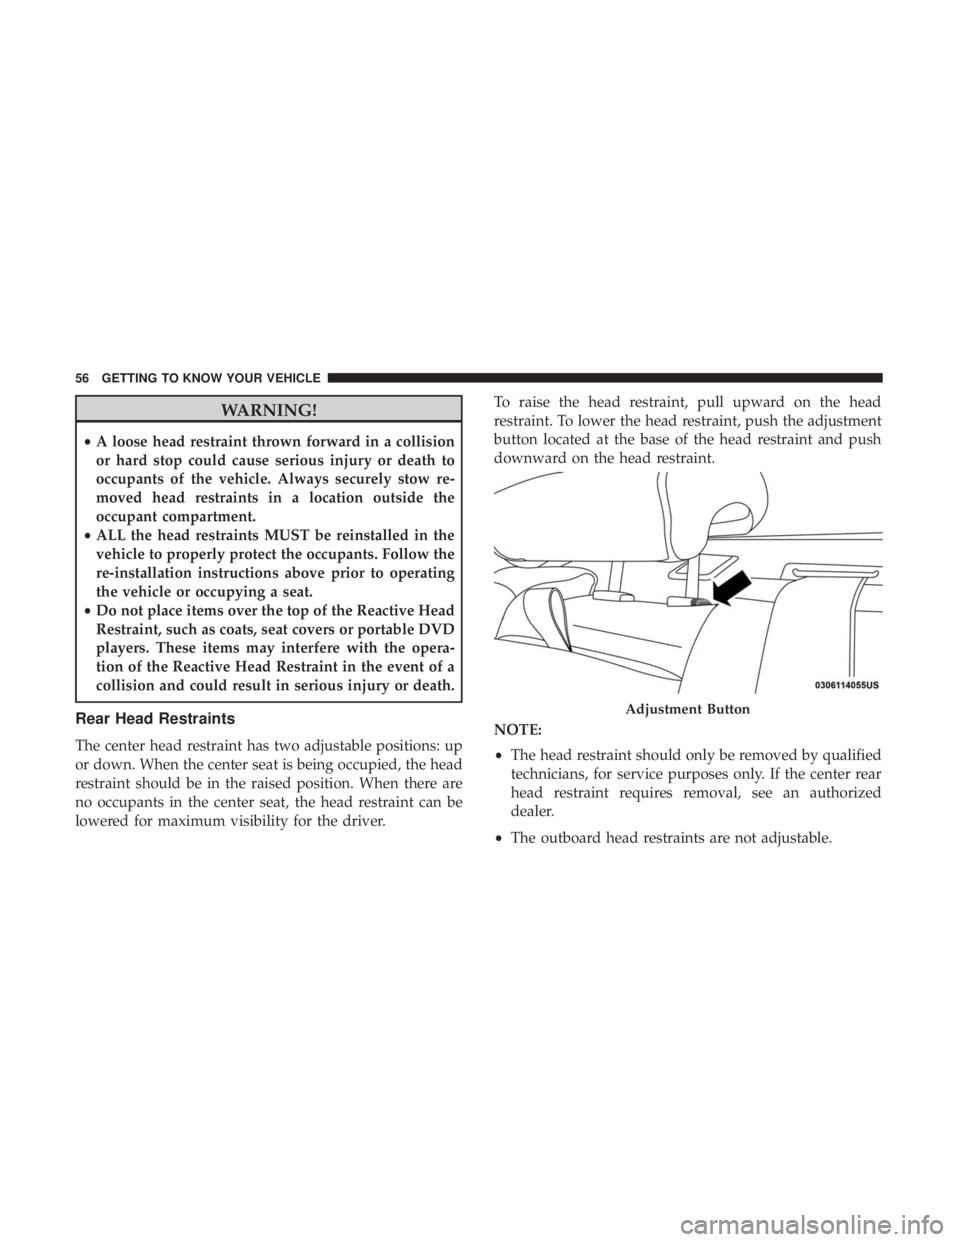
lowered for maximum visibility for the driver. To raise the head restraint, pull upward on the head
restraint. To lower the head restraint, push the adjustment
button located at the base of the head restraint and push
downward on the head restraint.
NOTE:
•
The head restraint should only be removed by qualified
technicians, for service purposes only. If the center rear
head restraint requires removal, see an authorized
dealer.
• The outboard head restraints are not adjustable.
Adjustment Button
56 GETTING TO KNOW YOUR VEHICLE