Page 100 of 492
WARNING!
•Be certain that the seatback is securely locked into
position. If the seatback is not securely locked into
position, the seat will not provide the proper stabil-
ity for child seats and/or passengers. An improperly
latched seat could cause serious injury.
• The cargo area in the rear of the vehicle (with the rear
seatbacks in the locked-up or folded down position)
should not be used as a play area by children when
the vehicle is in motion. They could be seriously
injured in a collision. Children should be seated and
using the proper restraint system.
• To help protect against personal injury, passengers
should not be seated in the rear cargo area. The rear
cargo space is intended for load carrying purposes
only, not for passengers, who should sit in seats and
use seat belts.
(Continued)
WARNING! (Continued)
The weight and position of cargo and passengers can
change the vehicle center of gravity and vehicle handling.
To avoid loss of control resulting in personal injury,
follow these guidelines for loading your vehicle:
•Always place cargo evenly on the cargo floor. Put
heavier objects as low and as far forward as possible.
• Place as much cargo as possible in front of the rear
axle. Too much weight or improperly placed weight
over or behind the rear axle can cause the rear of the
vehicle to sway.
•
Do not pile luggage or cargo higher than the top of the
seatback. This could impair visibility or become a
dangerous projectile in a sudden stop or collision.
Trunk Mat — If Equipped
A trunk mat covers the bottom of the cargo area. The trunk
mat is used to protect the interior of the trunk from mud,
snow, and debris.
98 GETTING TO KNOW YOUR VEHICLE
Page 108 of 492
•Push the LEARN button on the Garage Door Opener to
complete the training for a Rolling Code.
• Did you unplug the device for programming and re-
member to plug it back in?
If you have any problems, or require assistance, please call
toll-free 1-800-355-3515 or, on the Internet at
HomeLink.com for information or assistance.
WARNING!
• Vehicle exhaust contains carbon monoxide, a danger-
ous gas. Do not run your vehicle in the garage while
programming the transceiver. Exhaust gas can cause
serious injury or death.
• Your motorized door or gate will open and close
while you are programming the universal trans-
ceiver. Do not program the transceiver if people, pets
or other objects are in the path of the door or gate.
Only use this transceiver with a garage door opener
that has a “stop and reverse” feature as required by
Federal safety standards. This includes most garage
door opener models manufactured after 1982. Do not
(Continued)
WARNING! (Continued)
use a garage door opener without these safety fea-
tures. Call toll-free 1-800-355-3515 or, on the Internet
at HomeLink.com for safety information or assis-
tance.
General Information
The following regulatory statement applies to all Radio
Frequency (RF) devices equipped in this vehicle:
This device complies with Part 15 of the FCC Rules and
with Innovation, Science and Economic Development
Canada license-exempt RSS standard(s). Operation is sub-
ject to the following two conditions:
1. This device may not cause harmful interference, and
2. This device must accept any interference received, in-
cluding interference that may cause undesired opera-
tion.
NOTE: Changes or modifications not expressly approved
by the party responsible for compliance could void the
user ’s authority to operate the equipment.
106 GETTING TO KNOW YOUR VEHICLE
Page 110 of 492
Inside the center console armrest, there is a removable
upper storage tray that can be slid forward/rearward on
rails for access to the lower storage area. This tray has an
integrated coin holder, along with additional area for small
items and handheld devices. Below the upper tray, the
lower storage compartment is made for larger items, like
tissue boxes. In addition, the 12 volt power outlet, USB and
Aux jack are located here.WARNING!
Do not operate this vehicle with a console compart-
ment lid in the open position. Driving with the console
compartment lid open may result in injury in a colli-
sion.
Door Storage
The door panels contain storage areas.
Upper Storage Tray
Front Door Trim Storage
108 GETTING TO KNOW YOUR VEHICLE
Page 113 of 492
Heated And Cooled Cupholders — If Equipped
Your vehicle may be equipped with heated and cooled
cupholders. The cupholders are designed to help keep
warm beverages warm and cool beverages cool.Push the “Cold” symbol once to turn on the cupholder;
push the symbol a second time to turn the cupholder off.
Push the “Hot” symbol once to activate the cupholder;
push the symbol a second time to turn off the cupholder.
WARNING!
When using the cupholder in the “Hot” position, avoid
contact with the heated portion of the cupholder in
order to reduce the possibility of burns. Persons who
are unable to feel pain to the skin because of advanced
(Continued)
Light Ring In Rear CupholderHeated And Cooled Cupholder Switches
3
GETTING TO KNOW YOUR VEHICLE 111
Page 114 of 492
WARNING!(Continued)
age, chronic illness, diabetes, spinal cord injuries,
medication, alcohol use, exhaustion or other physical
condition must exercise particular care in order to
prevent serious burn injury. Keep the cupholder free of
debris or stray objects when operated in the “Hot”
position.
Power Sunshade — If Equipped
Your vehicle may be equipped with a power sunshade that
will reduce the amount of sunlight that will shine through
the rear windshield.
The power sunshade can be operated using the Uconnect
System.
Press the “Controls” button and then press the “Rear
Sunshade” button to raise the power sunscreen. Press the
“Sunshade” button a second time to lower the sunshade.
If the sunshade is in the raised position and the vehicle is
placed in REVERSE, the sunshade will automatically fully
lower. When the transmission is shifted out of REVERSE
the sunshade will automatically return to the fully raised
position after a brief delay. The power sunshade can also be operated by passengers in
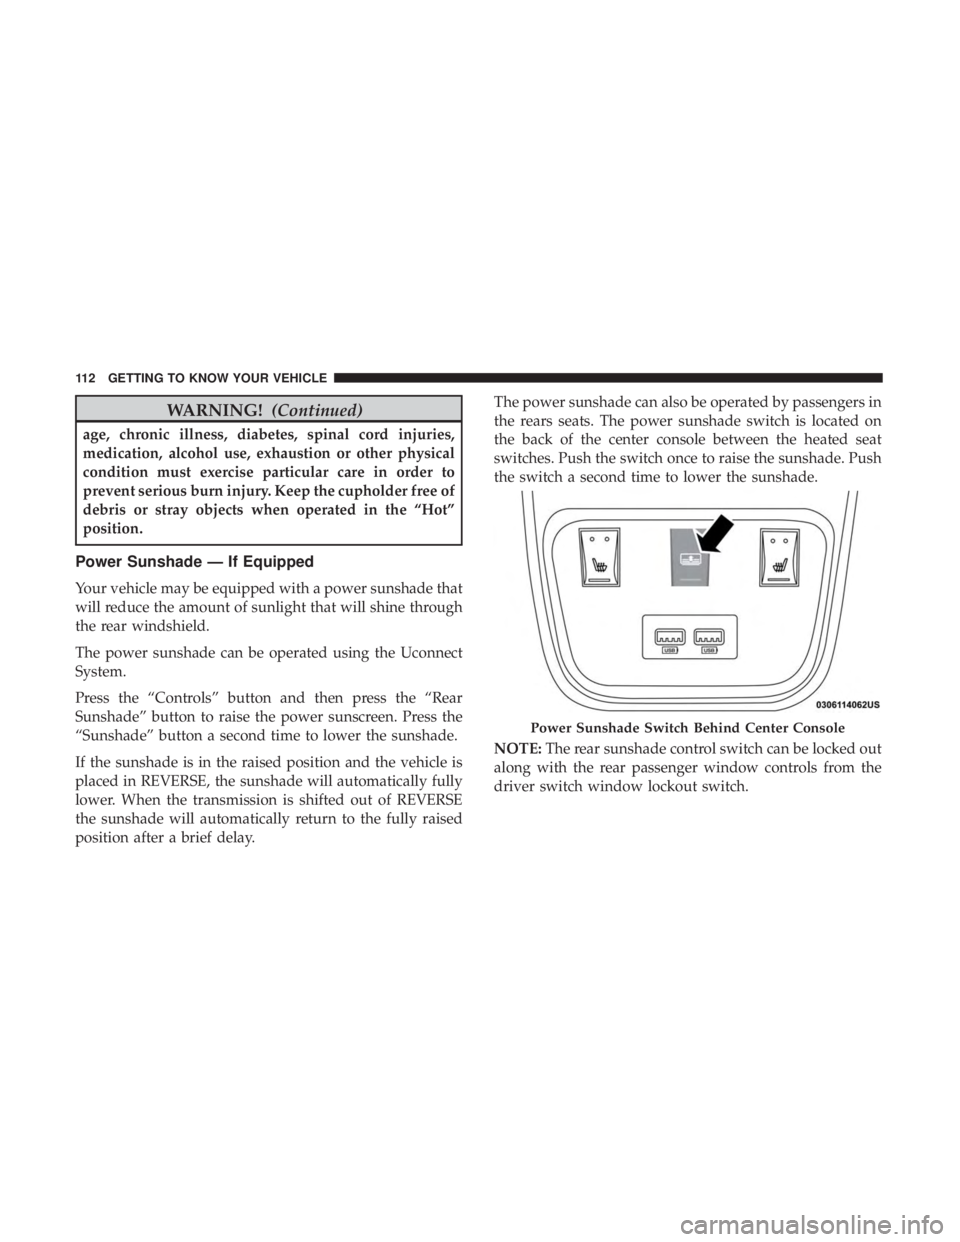
the rears seats. The power sunshade switch is located on
the back of the center console between the heated seat
switches. Push the switch once to raise the sunshade. Push
the switch a second time to lower the sunshade.
NOTE:
The rear sunshade control switch can be locked out
along with the rear passenger window controls from the
driver switch window lockout switch.
Power Sunshade Switch Behind Center Console
112 GETTING TO KNOW YOUR VEHICLE
Page 115 of 492
Electrical Power Outlets
Your vehicle is equipped with one 12 Volt (13 Amp) power
outlet on the instrument panel and one 12 Volt (13 Amp)
power outlet in the center console that can be used to
power cellular phones, small electronics and other low
powered electrical accessories. The power outlets are la-
beled with either a “key” or a “battery” symbol to indicate
how the outlet is powered. Power outlets labeled with a
“key” are powered when the ignition switch is in the ON or
ACC position, while the outlets labeled with a “battery”
are connected directly to the battery and powered at all
times.
NOTE:
•All accessories connected to the “battery” powered
outlets should be removed or turned off when the
vehicle is not in use to protect the battery against
discharge.
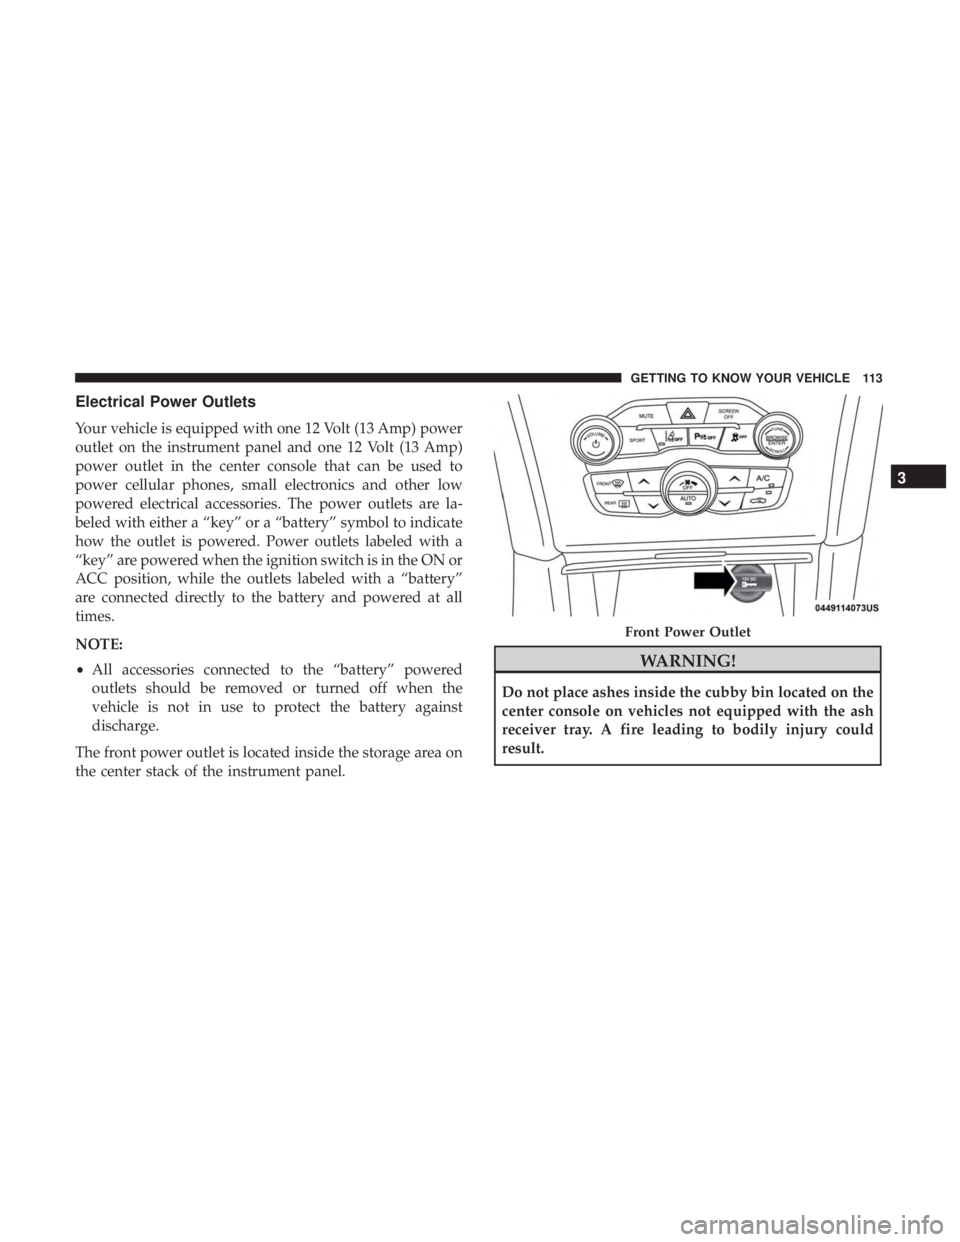
The front power outlet is located inside the storage area on
the center stack of the instrument panel.
WARNING!
Do not place ashes inside the cubby bin located on the
center console on vehicles not equipped with the ash
receiver tray. A fire leading to bodily injury could
result.
Front Power Outlet
3
GETTING TO KNOW YOUR VEHICLE 113
Page 117 of 492
WARNING!
To avoid serious injury or death:
•Only devices designed for use in this type of outlet
should be inserted into any 12 Volt outlet.
• Do not touch with wet hands.
• Close the lid when not in use and while driving the
vehicle.
• If this outlet is mishandled, it may cause an electric
shock and failure.
CAUTION!
• Many accessories that can be plugged in draw power
from the vehicle’s battery even when not in use (i.e.,
cellular phones, etc.). Eventually, if plugged in long
enough, the vehicle’s battery will discharge suffi-
ciently to degrade battery life and/or prevent the
engine from starting.
• Accessories that draw higher power (i.e., coolers,
vacuum cleaners, lights, etc.) will degrade the battery
even more quickly. Only use these intermittently and
with greater caution.
(Continued)
CAUTION! (Continued)
•After the use of high power draw accessories or long
periods of the vehicle not being started (with acces-
sories still plugged in), the vehicle must be driven a
sufficient length of time to allow the alternator to
recharge the vehicle’s battery.
• Power outlets are designed for accessory plugs only.
Do not hang any type of accessory or accessory
bracket from the plug. Improper use of the power
outlet can cause damage.
3
GETTING TO KNOW YOUR VEHICLE 115
Page 121 of 492
GETTING TO KNOW YOUR INSTRUMENT PANEL
CONTENTS
�INSTRUMENT CLUSTER ..................120
▫ Instrument Cluster Descriptions ............121
� INSTRUMENT CLUSTER DISPLAY ...........122
▫ Location And Controls ...................122
▫ Engine Oil Life Reset ....................124
▫ Instrument Cluster Display Selectable Menu
Items .............................. .125
▫ Battery Saver On/Battery Saver Mode Message —
Electrical Load Reduction Actions
— If Equipped ....................... .129
� WARNING LIGHTS AND MESSAGES .........131
▫ Red Warning Lights .....................131 ▫
Yellow Warning Lights ...................135
▫ Yellow Indicator Lights ...................140
▫ Green Indicator Lights ...................140
▫ White Indicator Lights ...................141
▫ Blue Indicator Lights ....................142
� ONBOARD DIAGNOSTIC SYSTEM — OBD II . . .142
▫ Onboard Diagnostic System (OBD II)
Cybersecurity ........................ .143
� EMISSIONS INSPECTION AND MAINTENANCE
PROGRAMS .......................... .1434