Page 3 of 16
3
Hazard Warning Flashers Button
Infotainment System Touch Screen
Driver Mode Selector/Stability Control Button
Automatic Climate Controls/Heated & Ventilated Seat ControlsF
Passenger’s Temperature Control/Heated & Ventilated Seat ControlF
Refer to your Owner’s Manual to learn about the information being relayed by the lights and gauges of the instrument cluster.
See In Brief in your Owner’s Manual.
Accessory Power OutletElectric Parking Brake Switch
Service Electric Parking Brake
Traction Control Off
Low Fuel
Screen Storage Compartment (with USB port) Button
Performance Data Recorder SD Card SlotF (in glove box)
F Optional equipment
Airbag Readiness
Check Engine
Safety Belt Reminder
Security
Page 14 of 16

14
HIGH-PERFORMANCE DRIVING FEATURES
7-SPEED MANUAL TRANSMISSION
1-to-4 Shift Feature – To help achieve the best possible fuel economy, the Driver Information Center will display 1–4 SHIFT when, from a standstill, acceleration and
vehicle qualifications are met. When the shift message is displayed, t\
he transmission can be shifted only from 1st to 4th gear. Forcing the shift lever into any o\
ther gear may damage the transmission.
Active Rev Match – The system aids in smoother shifting by matching the engine speed to the next selected gear.
Press either REV MATCH paddle on the steering wheel to activate or deactivate the
system. When active, the current gear is displayed in amber on the instr\
ument cluster.
See Driving and Operating in your Owner’s Manual.
RUN-FLAT TIRES
The run-flat tires eliminate the need for a spare tire. The tire desig\
n enables safe func-tion during and after loss of pressure for some distance at a moderate s\
peed. Driving only a short distance with a loss of pressure increases the chance that \
the tire can be repaired. Contact Roadside Assistance for the nearest run-flat tire se\
rvicing facility.
TIRE PRESSURE MONITOR
The Low Tire Pressure warning light on the instrument cluster illuminates when one or more of the vehicle’s tires is significantly underinflated. Fi\
ll the tires to the proper tire pressures as listed on the Tire and Loading Information label, located b\
elow the driver’s door latch. Current tire pressures can be viewed on the Driver Informati\
on Center.
Refer to your Owner’s Manual for additional information about normal monthly tire maintenance.\
GROOVE TRACKING
The wide tires on the Corvette provide sure-footed grip and excellent ro\
ad feel; however, the wider design may be more susceptible to grooves or wear patterns on \
some roads.
TIRE CHATTER
During hard, slow turns, such as parking, the difference in steering ang\
le of the tires may cause one tire to slide or hop lightly to keep up. This hop of the wide \
tires may cause a chatter sound. The sound will stop as the wheels are straightened.
BRAKE DUST
The high-performance brake materials and large size of the brakes may re\
sult in a fine dust coating the outer surface of the wheels. Wash the wheels with regul\
ar soap and water to remove the dust. Automatic car washes are not recommended.
DRY SUMP OIL LEVEL INSPECTION (ZR1, Z06, GRAND SPORT, STINGRAY WITH Z51\
)
To check the oil level, run the engine to operating temperature. Turn of\
f the engine and wait 5–10 minutes. Check the oil level on the dipstick located on\
top of the
external oil tank.
Note: Overfilling the oil tank may lead to an oil leak or engine failure. The initial oil change should be performed at 500 miles for proper dry sump engine break-in. Mobil 1 SAE 0W-40 engine oil is recommended for Corvette oil changes.
See Vehicle Care in your Owner’s Manual.
Page 15 of 16

15
COUPE ROOF PANEL
CONVERTIBLE TOP OPERATIONF
Before operating the convertible top, park the vehicle and check that th\
e trunk partition is in the fastened, upright position, and that the trunk is closed.
OPERATE THE POWER CONVERTIBLE TOP
1. Start the engine, shift to Park or Neutral, and set the parking brake. (If necessary, the top can be operated at vehicle speeds up to 30 mph.)
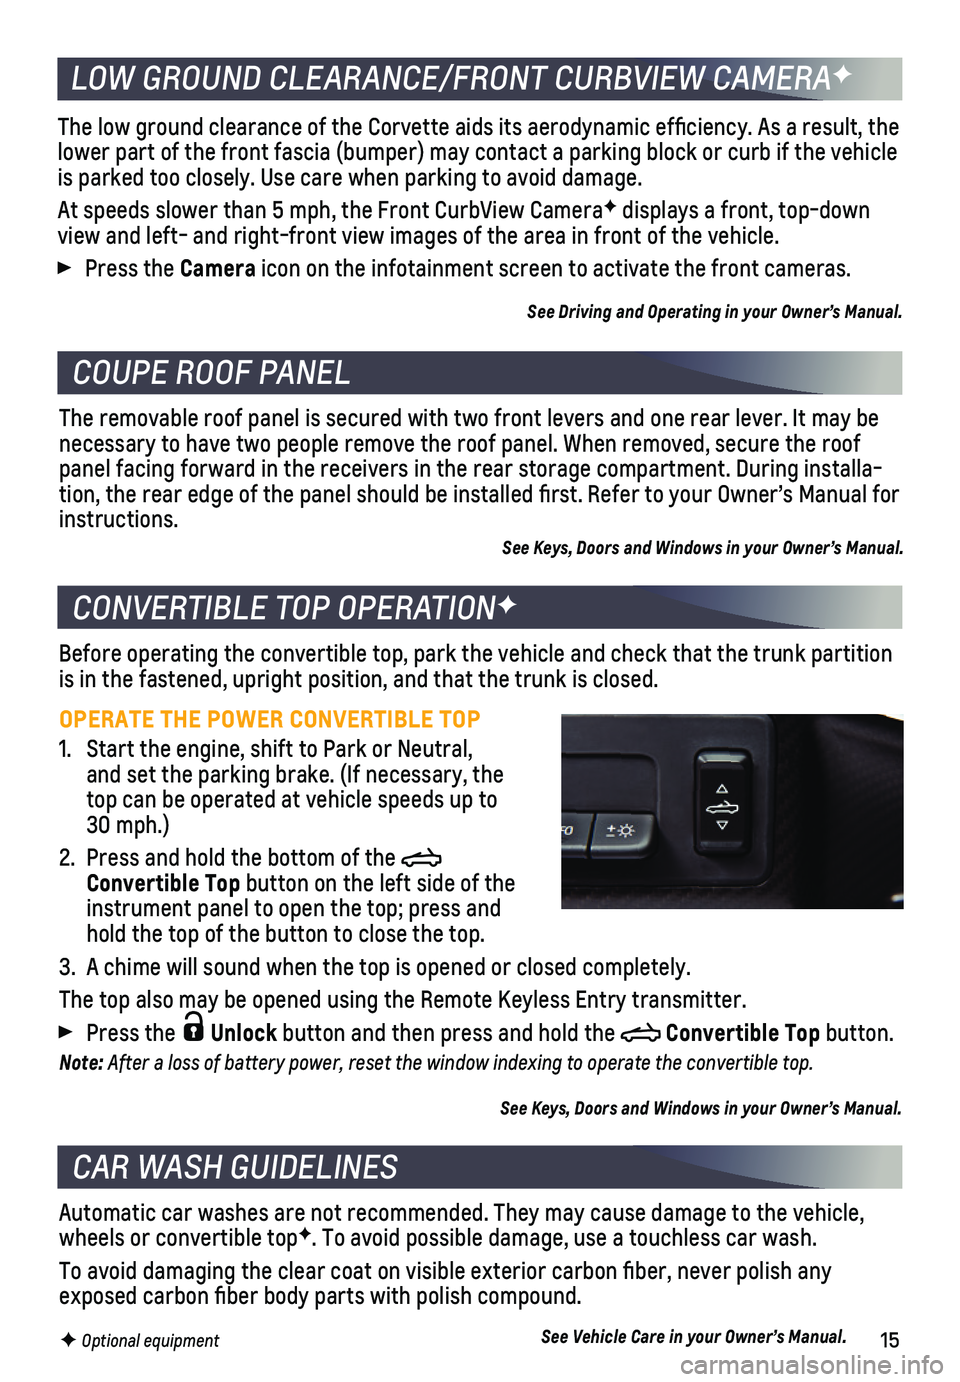
2. Press and hold the bottom of the Convertible Top button on the left side of the instrument panel to open the top; press and hold the top of the button to close the top.
3. A chime will sound when the top is opened or closed completely.
The top also may be opened using the Remote Keyless Entry transmitter.
Press the Unlock button and then press and hold the Convertible Top button.
Note: After a loss of battery power, reset the window indexing to operate the convertible top.
See Keys, Doors and Windows in your Owner’s Manual.
The removable roof panel is secured with two front levers and one rear l\
ever. It may be necessary to have two people remove the roof panel. When removed, secure\
the roof panel facing forward in the receivers in the rear storage compartment. D\
uring installa-tion, the rear edge of the panel should be installed first. Refer to y\
our Owner’s Manual for instructions. See Keys, Doors and Windows in your Owner’s Manual.
CAR WASH GUIDELINES
LOW GROUND CLEARANCE/FRONT CURBVIEW CAMERAF
Automatic car washes are not recommended. They may cause damage to the v\
ehicle, wheels or convertible topF. To avoid possible damage, use a touchless car wash.
To avoid damaging the clear coat on visible exterior carbon fiber, nev\
er polish any exposed carbon fiber body parts with polish compound.
The low ground clearance of the Corvette aids its aerodynamic efficien\
cy. As a result, the lower part of the front fascia (bumper) may contact a parking block or\
curb if the vehicle is parked too closely. Use care when parking to avoid damage.
At speeds slower than 5 mph, the Front CurbView CameraF displays a front, top-down view and left- and right-front view images of the area in front of the v\
ehicle.
Press the Camera icon on the infotainment screen to activate the front cameras.
See Driving and Operating in your Owner’s Manual.
See Vehicle Care in your Owner’s Manual.F Optional equipment