Page 50 of 132
5-2
5
Throttle lever• Make sure that operation is smooth. Lubricate cable and lever
housing if necessary.
• Check lever free play, and adjust if necessary. 5-3, 8-21
Control cables • Make sure that operation is smooth. Lubricate if necessary. 8-29
Drive chain • Check chain slack, and adjust if necessary.
• Check chain condition. Lubricate if necessary. 5-3, 8-26, 8-28
Wheels and tires • Check wheel condition, and replace if damaged.
• Check tire condition and tread depth. Replace if necessary.
• Check air pressure. Correct if necessary. 5-3
Brake levers • Make sure that operation is smooth. Lubricate lever pivoting points
if necessary. 8-29
Chassis fasteners • Make sure that all nuts, bolts and screws are properly tightened. 5-6
Instruments and switches • Check operation, and correct if necessary. 5-6
ITEM ROUTINE PAGEUBW461E0.book Page 2 Tuesda
y, January 31, 2017 5:13 PM
Page 88 of 132

8-6
8
5*Wheels • Check runout and for damage, and replace if nec-
essary. √ √√√
6 *Tires • Check tread depth and for damage, and replace if
necessary.
• Check air pressure and balance, and correct if necessary. √ √√√
7 *Wheel hub bearings • Check for looseness or damage, and replace if
necessary. √ √√√
8 *Front arm pivots • Lubricate with lithium-soap-based grease. √√√
9Drive chain • Check chain slack and adjust if necessary.
• Check rear wheel alignment and correct if neces-
sary.
• Clean and lubricate. √√√√√
10 *V- b e l t • Check for wear, cracks or other damage, and re-
place if necessary. √ √√√
11 *Chassis fasteners • Make sure that all nuts, bolts, and screws are
properly tightened. √√√√√
12 *Shock absorber as-
semblies • Check operation and correct if necessary.
• Check for oil leakage and replace if necessary.
√√√
13 *Front knuckle piv-
ots • Lubricate with lithium-soap-based grease.
√√√
14 *Steering shaft • Lubricate with lithium-soap-based grease. √√√
NO. ITEM
CHECK OR MAINTENANCE
JOB INITIAL EVERY
Whichev-
er comes first month136612
km (mi) 240
(150) 1300
(800) 2500
(1600) 2500
(1600) 5000
(3200)
hours 20 80 160 160 320UBW461E0.book Page 6 Tuesda y, January 31, 2017 5:13 PM
Page 110 of 132

8-28
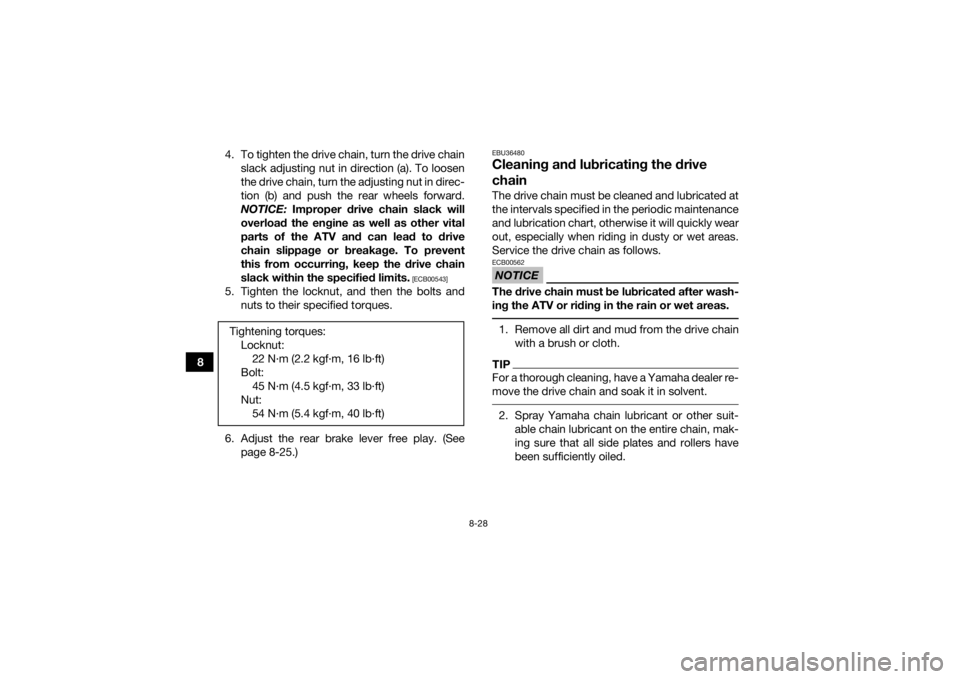
84. To tighten the drive chain, turn the drive chain
slack adjusting nut in direction (a). To loosen
the drive chain, turn the adjusting nut in direc-
tion (b) and push the rear wheels forward.
NOTICE: Improper drive chain slack will
overload the engine as well as other vital
parts of the ATV and can lead to drive
chain slippage or breakage. To prevent
this from occurring, keep the drive chain
slack within the specified limits.
[ECB00543]
5. Tighten the locknut, and then the bolts and nuts to their specified torques.
6. Adjust the rear brake lever free play. (See page 8-25.)
EBU36480Cleaning and lubricating the drive
chainThe drive chain must be cleaned and lubricated at
the intervals specified in the periodic maintenance
and lubrication chart, otherwise it will quickly wear
out, especially when riding in dusty or wet areas.
Service the drive chain as follows.NOTICEECB00562The drive chain must be lubricated after wash-
ing the ATV or riding in the rain or wet areas. 1. Remove all dirt and mud from the drive chainwith a brush or cloth.TIPFor a thorough cleaning, have a Yamaha dealer re-
move the drive chain and soak it in solvent. 2. Spray Yamaha chain lubricant or other suit-able chain lubricant on the entire chain, mak-
ing sure that all side plates and rollers have
been sufficiently oiled.
Tightening torques:
Locknut:22 N·m (2.2 kgf·m, 16 lb·ft)
Bolt: 45 N·m (4.5 kgf·m, 33 lb·ft)
Nut: 54 N·m (5.4 kgf·m, 40 lb·ft)
UBW461E0.book Page 28 Tuesday, January 31, 2017 5:13 PM
Page 117 of 132
8-35
8
EBU36413Replacing the fuseIf an electrical problem is suspected, check the
fuse and replace it if necessary as follows.NOTICEECB00641To prevent accidental short-circuiting, turn off
the main switch when checking or replacing a
fuse. 1. Turn off all electrical systems. (See page 4-1.)
2. Remove panel A. (See page 8-9.)3. Remove the blown fuse, and then install a
new fuse of the specified amperage.
WARNING! Always use a fuse of the spec- ified rating, and never use a substitute ob-
ject in place of the proper fuse. An
improper fuse or a substitute object can
cause damage to the electrical system,
which could lead to a fire.
[EWB02173]
4. Turn on the main switch and start the engine.
5. If the fuse immediately blows again, have a Yamaha dealer check the vehicle.EBU34030Removing a wheel1. Place the ATV on a level surface.
2. Loosen the wheel bolts.
1. Fuse
2. Spare fuse21
Specified fuse:7.5 A
UBW461E0.book Page 35 Tuesday, January 31, 2017 5:13 PM
Page 118 of 132
8-36
83. Elevate the ATV and place a suitable stand
under the frame.
4. Remove the bolts from the wheel.
5. Remove the wheel.
EBU34042Installing a wheel1. Install the wheel with the arrow mark pointing in the forward rotating direction of the wheel,
and then install the wheel bolts. 2. Lower the ATV to the ground.
3. Tighten the wheel bolts to the specified
torques.1. Wheel bolt
1
1
1. Arrow mark
2. Forward rotating direction
3. Wheel boltTightening torques:Front wheel bolt:45 N·m (4.5 kgf·m, 33 lb·ft)
Rear wheel bolt: 45 N·m (4.5 kgf·m, 33 lb·ft)3
1
2
UBW461E0.book Page 36 Tuesday, January 31, 2017 5:13 PM