2018 VOLVO V90 CROSS COUNTRY steering
[x] Cancel search: steeringPage 433 of 662
STARTING AND DRIVING
}}
* Option/accessory.431
Activating and deactivating LowSpeed Control using the functionbutton
Vehicles that are not equipped with drive mode controls in the tunnel console have a function button for Low Speed Control with
Hill Descent
Control in the center display's Function view.
Selecting Low Speed Control in the center display's Function view
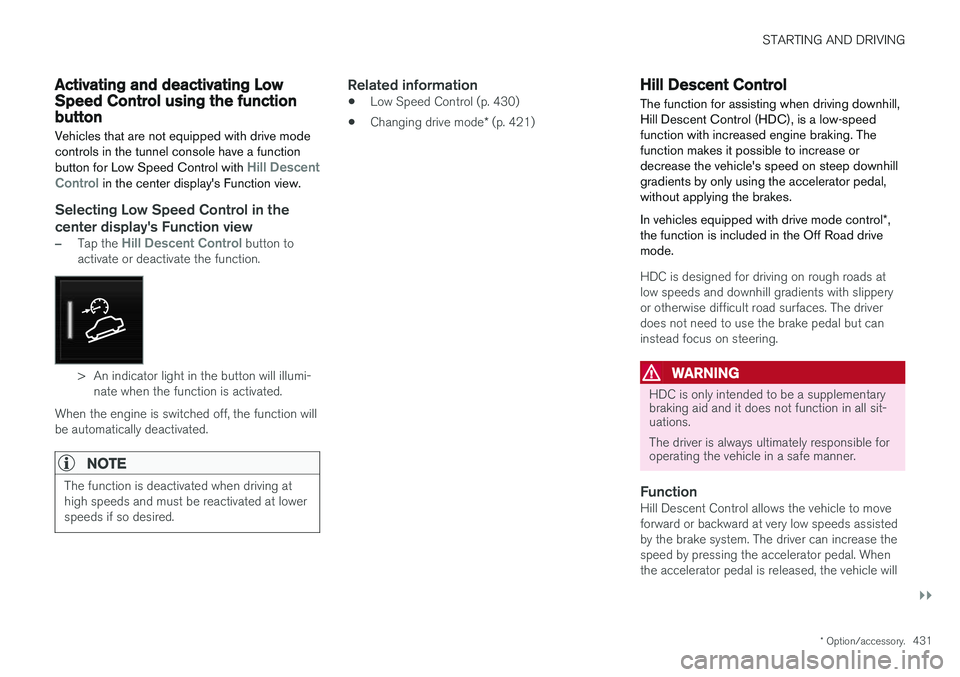
–Tap the Hill Descent Control button to
activate or deactivate the function.
> An indicator light in the button will illumi- nate when the function is activated.
When the engine is switched off, the function will be automatically deactivated.
NOTE
The function is deactivated when driving at high speeds and must be reactivated at lowerspeeds if so desired.
Related information
• Low Speed Control (p. 430)
• Changing drive mode
* (p. 421)
Hill Descent Control The function for assisting when driving downhill, Hill Descent Control (HDC), is a low-speedfunction with increased engine braking. Thefunction makes it possible to increase ordecrease the vehicle's speed on steep downhillgradients by only using the accelerator pedal,without applying the brakes. In vehicles equipped with drive mode control *,
the function is included in the Off Road drive mode.
HDC is designed for driving on rough roads at low speeds and downhill gradients with slipperyor otherwise difficult road surfaces. The driverdoes not need to use the brake pedal but caninstead focus on steering.
WARNING
HDC is only intended to be a supplementary braking aid and it does not function in all sit-uations. The driver is always ultimately responsible for operating the vehicle in a safe manner.
FunctionHill Descent Control allows the vehicle to move forward or backward at very low speeds assistedby the brake system. The driver can increase thespeed by pressing the accelerator pedal. Whenthe accelerator pedal is released, the vehicle will
Page 445 of 662
STARTING AND DRIVING
}}
* Option/accessory.443
WARNING
•Batteries generate hydrogen gas, which is flammable and explosive.
• Do not connect the jumper cable to anypart of the fuel system or to any movingparts. Avoid touching hot manifolds.
• Battery fluid contains sulfuric acid. Do notallow battery fluid to contact eyes, skin,fabrics or painted surfaces.
• If contact occurs, flush the affected areaimmediately with water. Obtain medicalhelp immediately if eyes are affected.
• Never expose the battery to open flameor electric spark. Do not smoke near thebattery. Failure to follow the instructionsfor jump starting can lead to injury.
Related information
• Starting the vehicle (p. 400)
• Ignition modes (p. 403)
• Adjusting the steering wheel (p. 200)
• Selecting ignition mode (p. 404)
Retractable towbar
*
The Volvo retractable towbar is specially designed for the vehicle.
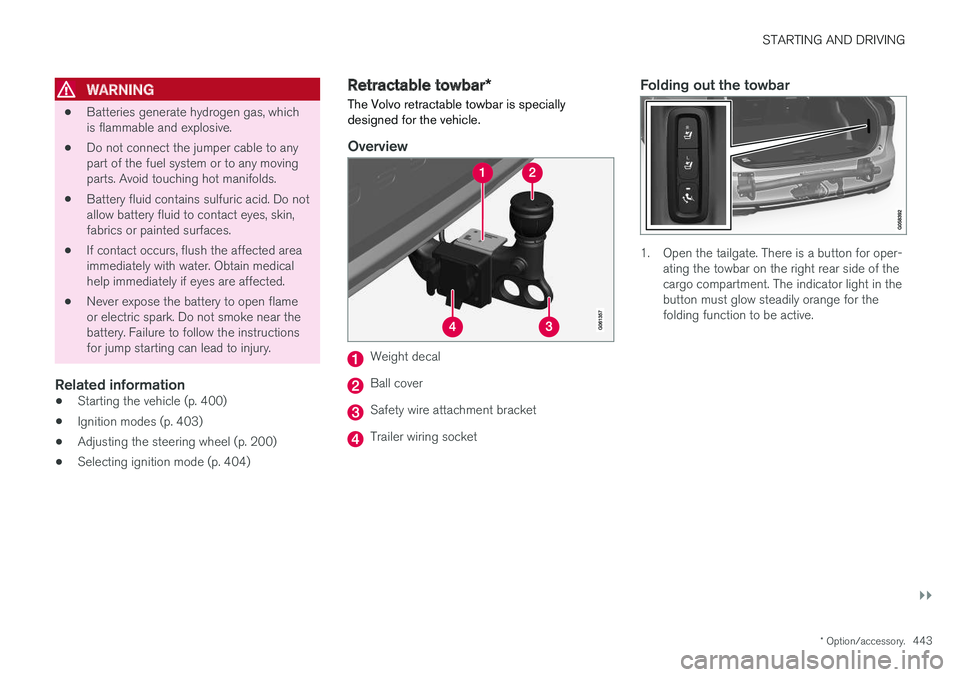
Overview
Weight decal
Ball cover
Safety wire attachment bracket
Trailer wiring socket
Folding out the towbar
1. Open the tailgate. There is a button for oper- ating the towbar on the right rear side of the cargo compartment. The indicator light in thebutton must glow steadily orange for thefolding function to be active.
Page 449 of 662

STARTING AND DRIVING
}}
* Option/accessory.447
The automatic transmission selects the optimal gear for the current load and engine speed.
Steep inclines
Do not lock the automatic transmission into a higher gear than what the engine can handle
‒ it
is not always preferable to drive in high gears at low rpm.
Parking on a hill
1. Depress the brake pedal.
2. Apply the parking brake.3. Put the gear selector in P.
4. Release the brake pedal.Put chocks behind the wheels when the vehicle is parked on a hill with a trailer attached.
Starting on a hill
1. Depress the brake pedal. 2. Put the gear selector in D.
3. Release the parking brake.
4. Release the brake pedal and start driving.
Related information
• Trailer Stability Assist
* (p. 447)
• Checking trailer lights (p. 448)
• Towing capacity and tongue weight (p. 638)
• Overheating of engine and transmission (p. 440)
Trailer Stability Assist
*
Trailer Stability Assist (TSA 10
) is a function
designed to help stabilize a vehicle that is tow- ing a trailer when the vehicle and trailer havebegun to sway. The function is part of the Elec- tronic Stability Control system ESC 11
.
Reasons for swayingA vehicle towing a trailer may begin to sway for various reasons. Normally this only occurs at highspeeds. However, if the trailer is overloaded orunevenly distributed, e.g. too far back, there is arisk of swaying even at low speeds. Swaying may be caused by factors such as:
• The vehicle and trailer are hit by a sudden, strong crosswind.
• The vehicle and trailer are traveling on anuneven road or over a bump.
• Sudden movements of the steering wheel.
Once swaying has begun, it can be difficult orimpossible to stop it. This makes the vehicle andtrailer difficult to control and there is a risk ofswerving into oncoming traffic or driving off theroad.
Trailer Stability Assist functionTrailer Stability Assist continuously monitors thevehicle's movements, particularly lateral move- ments. If swaying is detected, the brakes areapplied individually on the front wheels, which hasa stabilizing effect on the vehicle and trailer. Thisis often enough to enable the driver to regaincontrol of the vehicle. If the Trailer Stability Assist function's first attempt is not adequate to stop the swayingmotion, the brakes are applied on all wheels andengine power is temporarily reduced. As theswaying motion begins to decrease and the vehi-cle and trailer have once again become stable,TSA stops regulating the brakes/engine powerand the driver regains control of the vehicle.
NOTE
Trailer Stability Assist is deactivated if the driver selects the sport mode by deactivating
ESC in the center display's menu system.
Trailer Stability Assist may not intervene if the driver tries to compensate for the swaying motionby moving the steering wheel rapidly, becausethe system will then not be able to determine if itis the trailer or the driver causing the swaying.
10
Trailer Stability Assist
11 Electronic Stability Control
Page 450 of 662

||
STARTING AND DRIVING
* Option/accessory.
448 When Trailer Stability Assist is activated, the
ESC symbol is
displayed in the instrument panel.
Related information
• Driving with a trailer (p. 445)
• Electronic Stability Control (p. 268)
Checking trailer lights
When connecting a trailer, make sure that all of the lights on the trailer are functioning beforestarting to drive.
Trailer turn signals and brake lightsIf one or more of the turn signals or brake lights on the trailer is not working, a symbol and mes-sage will be displayed in the instrument panel.The other lights on the trailer must be checkedmanually by the driver before the vehicle is driven.
SymbolMessage
•Trailer turn indicator Right
turn indicator malfunction
•Trailer turn indicator Left
turn indicator malfunction
•Trailer brake light Malfunc-
tion
If any of the trailer's turn signal lights is not work- ing, the turn signal symbol in the instrumentpanel will also flash more quickly than normal.
Trailer rear fog lightWhen a trailer is connected, the vehicle's rear foglight may not illuminate and rear fog light func-tionality is instead transferred to the trailer. If thisis the case, check to see if the trailer is equippedwith a rear fog light before activating the vehicle's fog lights when driving with a trailer to helpensure safe operation.
Checking trailer lights
*
Automatic check
When the trailer has been connected to the vehi- cle's electrical system, its lights can be checkedby automatically activating them. This functionhelps the driver check that the trailer's lights arefunctioning correctly before starting to drive. In order to perform this check, the engine must be turned off.
1. When a trailer is connected to the towbar,
the message
Automatic Trailer Lamp
Check will appear in the instrument panel.
2. Acknowledge the message by pressing the O button on the right-side steering wheel
keypad.
> The light check will begin.
3. Get out of the vehicle to perform the check. > All of the lights on the trailer will beginflashing, and then illuminate separately one at a time.
4. Visually check that all of the trailer's lights are functioning correctly.
5. After a short time, all of the trailer's lights will start flashing again.
> The light check is completed.
Page 451 of 662

STARTING AND DRIVING
}}
449
Disabling the automatic check
The automatic light check can be disabled in the center display. 1.Tap
Settings in the Top view.
2. Tap
My CarLights and Lighting.
3. Deselect
Automatic Trailer Lamp Check.
Manual check
If the automatic check has been disabled, the check can be started manually. 1.Tap
Settings in the Top view.
2. Tap
My CarLights and Lighting.
3. Select
Manual Trailer Lamp Check.
> The light check will begin. Get out of the vehicle to perform the check.
Related information
• Driving with a trailer (p. 445)
Towing using a towline
This section refers to one vehicle being towed behind another using a towline.
Before towing another vehicle, check applicable speed limit regulations.
Preparations and towing
CAUTION
Note that the vehicle must always be towed with the wheels rolling forward.
• Do not tow a vehicle with automatictransmission at a speed greater than80 km/h (50 mph) or for a distancegreater than 80 km (50 miles).
WARNING
•
Ignition mode
II must be active – all air-
bags are deactivated in ignition mode I.
• Always have the remote key in the vehicle when it is towed.
WARNING
The brake and steering servos do not work when the engine is off – it takesabout 5 times more pressure on the brakepedal and steering requires much more effortthan normal. 1. Turn on the hazard warning flashers.
2. Attach the towline to the towing eyelet.3.
Put the vehicle in ignition mode II – without
pressing the brake pedal, turn the start knob clockwise and hold it there for about4 seconds. Release the knob, which willautomatically return to its original position.
4. Move the gear selector to neutral ( N) and
release the parking brake. If the battery charge level is too low, it may not be possible to release the parking brake.Connect an auxiliary battery to the vehicle ifthe battery is discharged.
> The towing vehicle can now start driving.
5. Keep the towline taut when the towing vehi- cle slows down by applying light pressure to the brake pedal. This will help avoid jarringmovements.
6. Be prepared to apply the brakes to stop the vehicle.
Jump startingDo not tow the vehicle to start the engine. Use anauxiliary battery if the start battery's charge levelis so low that the engine cannot be started.
Page 462 of 662
AUDIO, MEDIA AND INTERNET
* Option/accessory.
460
Audio, media and Internet
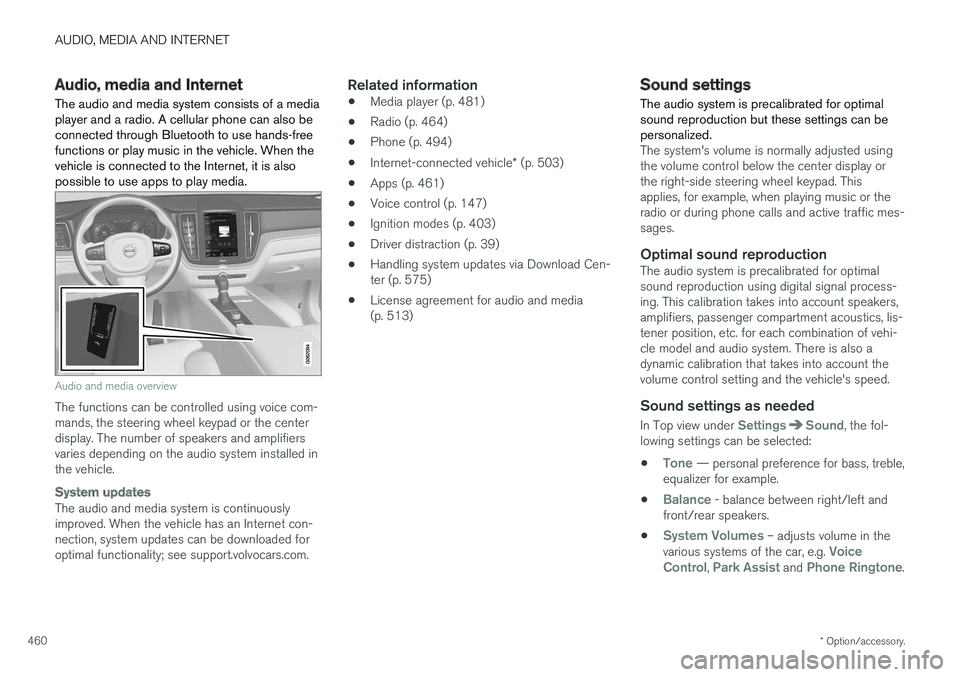
The audio and media system consists of a media player and a radio. A cellular phone can also beconnected through Bluetooth to use hands-freefunctions or play music in the vehicle. When thevehicle is connected to the Internet, it is alsopossible to use apps to play media.
Audio and media overview
The functions can be controlled using voice com- mands, the steering wheel keypad or the centerdisplay. The number of speakers and amplifiersvaries depending on the audio system installed inthe vehicle.
System updates
The audio and media system is continuously improved. When the vehicle has an Internet con-nection, system updates can be downloaded foroptimal functionality; see support.volvocars.com.
Related information
• Media player (p. 481)
• Radio (p. 464)
• Phone (p. 494)
• Internet-connected vehicle
* (p. 503)
• Apps (p. 461)
• Voice control (p. 147)
• Ignition modes (p. 403)
• Driver distraction (p. 39)
• Handling system updates via Download Cen-ter (p. 575)
• License agreement for audio and media(p. 513)
Sound settings
The audio system is precalibrated for optimal sound reproduction but these settings can bepersonalized.
The system's volume is normally adjusted using the volume control below the center display orthe right-side steering wheel keypad. Thisapplies, for example, when playing music or theradio or during phone calls and active traffic mes-sages.
Optimal sound reproductionThe audio system is precalibrated for optimalsound reproduction using digital signal process-ing. This calibration takes into account speakers,amplifiers, passenger compartment acoustics, lis-tener position, etc. for each combination of vehi-cle model and audio system. There is also adynamic calibration that takes into account thevolume control setting and the vehicle's speed.
Sound settings as needed
In Top view under SettingsSound, the fol-
lowing settings can be selected:
•
Tone — personal preference for bass, treble,
equalizer for example.
•
Balance - balance between right/left and
front/rear speakers.
•
System Volumes – adjusts volume in the
various systems of the car, e.g. Voice
Control, Park Assist and Phone Ringtone.
Page 466 of 662
AUDIO, MEDIA AND INTERNET
* Option/accessory.
464
Deleting apps
When the vehicle is connected to the Internet, it is possible to uninstall apps.
If the app is being used, it must be closed before it can be uninstalled. 1. Open the
Download Center app in App
view.
2. Select Application updates to open a list
of all installed apps.
3. Find the desired app and select
Uninstall to
begin uninstalling the app.
> When the app has been uninstalled, it will be removed from the list.
Related information
• Apps (p. 461)
• Download apps (p. 462)
• Updating apps (p. 463)
• Handling system updates via Download Cen- ter (p. 575)
• Internet-connected vehicle
* (p. 503)
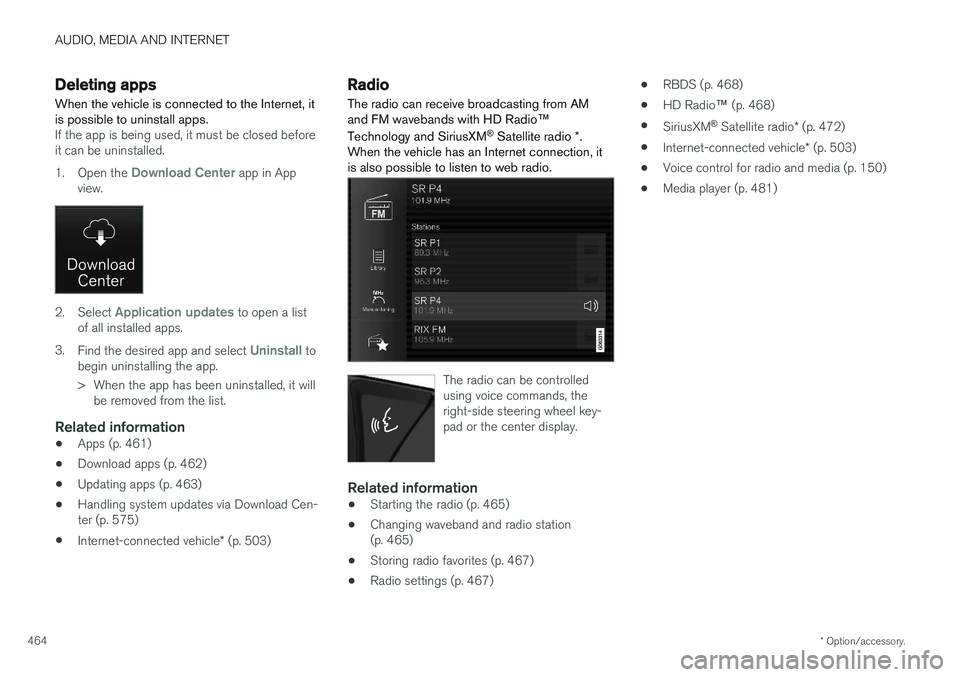
Radio The radio can receive broadcasting from AM and FM wavebands with HD Radio ™
Technology and SiriusXM ®
Satellite radio *.
When the vehicle has an Internet connection, it is also possible to listen to web radio.
The radio can be controlled using voice commands, theright-side steering wheel key-pad or the center display.
Related information
• Starting the radio (p. 465)
• Changing waveband and radio station (p. 465)
• Storing radio favorites (p. 467)
• Radio settings (p. 467) •
RBDS (p. 468)
• HD Radio
™ (p. 468)
• SiriusXM ®
Satellite radio * (p. 472)
• Internet-connected vehicle
* (p. 503)
• Voice control for radio and media (p. 150)
• Media player (p. 481)
Page 467 of 662
AUDIO, MEDIA AND INTERNET
}}
465
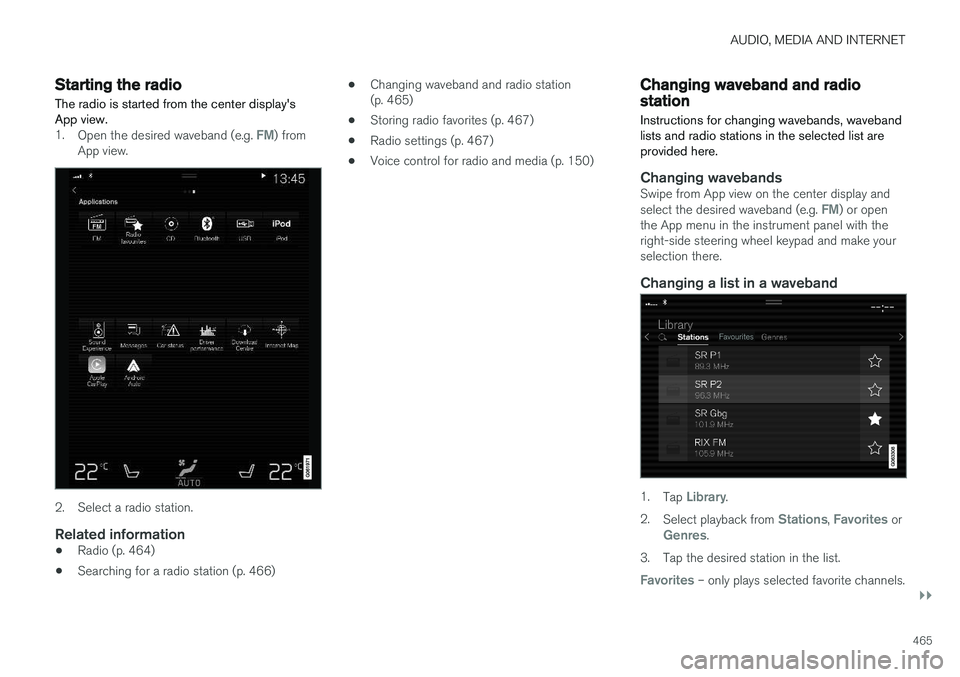
Starting the radio The radio is started from the center display's App view.
1.Open the desired waveband (e.g. FM) from
App view.
2. Select a radio station.
Related information
• Radio (p. 464)
• Searching for a radio station (p. 466) •
Changing waveband and radio station (p. 465)
• Storing radio favorites (p. 467)
• Radio settings (p. 467)
• Voice control for radio and media (p. 150)
Changing waveband and radiostation
Instructions for changing wavebands, waveband lists and radio stations in the selected list areprovided here.
Changing wavebandsSwipe from App view on the center display and select the desired waveband (e.g. FM) or open
the App menu in the instrument panel with the right-side steering wheel keypad and make yourselection there.
Changing a list in a waveband
1. Tap Library.
2. Select playback from
Stations, Favorites orGenres.
3. Tap the desired station in the list.
Favorites – only plays selected favorite channels.