Page 8 of 292

TABLE OF CONTENTS
8
MIRAI_Navi_USA_OM62029U_17CY
1. BASIC FUNCTION........................... 12
BUTTONS OVERVIEW ......................... 12
“Menu” SCREEN.................................... 14
HOME SCREEN .................................... 16
2. QUICK REFERENCE....................... 20
“Setup” SCREEN ................................... 20
3. NAVIGATION OPERATION ............ 22
REGISTERING HOME .......................... 22
REGISTERING FAVORITE DESTINATIONS .................................. 23
OPERATION FLOW: ROUTE GUIDANCE ............................ 24
SETTING HOME AS THE DESTINATION ............................ 25
4. FUNCTION INDEX ..... ...................... 26
FUNCTION INDEX ................................ 26
1. BASIC INFORMATION BEFORE
OPERATION .................................. 30
INITIAL SCREEN ................................... 30
TOUCH SCREEN GESTURES ............. 31
TOUCH SCREEN OPERATION ............ 32
HOME SCREEN OPERATION .............. 34
ENTERING LETTERS AND
NUMBERS/LIST SCREEN
OPERATION ....................................... 35
SCREEN ADJUSTMENT ....................... 39
LINKING MULTI-INFORMATION DISPLAY AND THE SYSTEM............. 41
2. CONNECTIVITY SETTINGS ........... 42
REGISTERING/CONNECTING A
Bluetooth® DEVICE ................................ 42
SETTING Bluetooth® DETAILS ............. 47
Wi-Fi® Hotspot ....................................... 56
3. OTHER SETTINGS ......................... 60
GENERAL SETTINGS ........................... 60
VOICE SETTINGS ................................. 64
VEHICLE SETTINGS ............................. 65
1. BASIC OPERATION ....................... 72
QUICK REFERENCE ............................. 72
SOME BASICS....................................... 74
2. RADIO OPERATION ....................... 80
AM/FM/SiriusXM (SXM) RADIO ............. 80
INTERNET RADIO ................................. 92
3. MEDIA OPERATION ....................... 93
CD .......................................................... 93
USB MEMORY ....................................... 96
iPod ........................................................ 99
Bluetooth
® AUDIO................................ 102
AUX ...................................................... 107
4. AUDIO/VISUAL REMOTE CONTROLS ................................. 109
STEERING SWITCHES ....................... 109
5. SETUP ........................................... 111
AUDIO SETTINGS ............................... 111
6. TIPS FOR OPERATINGTHE AUDIO/VISUAL SYSTEM ... 113
OPERATING INFORMATION .............. 113
1QUICK GUIDE
2BASIC FUNCTION
3AUDIO/VISUAL SYSTEM
Page 70 of 292
70
MIRAI_Navi_USA_OM62029U_17CY
1. QUICK REFERENCE .................... 72
2. SOME BASICS .............................. 74
TURNING THE SYSTEM ON AND OFF...................................................... 74
SELECTING AN AUDIO SOURCE ........ 74
DISC SLOT ............................................ 75
USB/AUX PORT..................................... 76
SOUND SETTINGS ............................... 76
AUDIO SCREEN ADJUSTMENT ........... 78
VOICE COMMAND SYSTEM ................ 79
1BASIC OPERATION
3
AUDIO/VISUAL SYSTEM
Page 71 of 292

3
71
1
2
3
4
5
6
7
8
9
MIRAI_Navi_USA_OM62029U_17CY
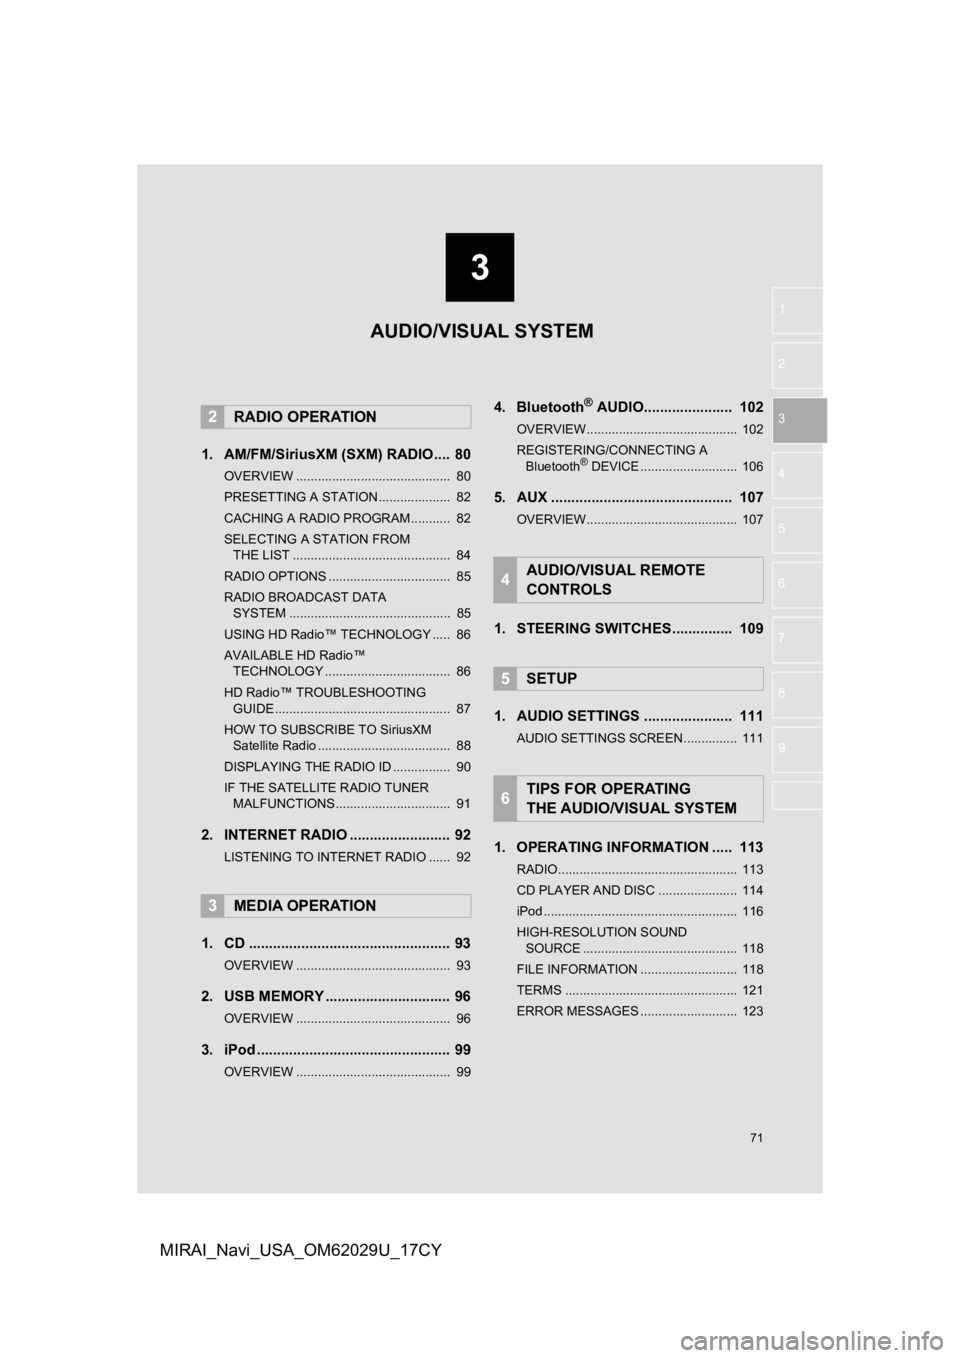
1. AM/FM/SiriusXM (SXM) RADIO .... 80
OVERVIEW ........................................... 80
PRESETTING A STATION .................... 82
CACHING A RADIO PROGRAM ........... 82
SELECTING A STATION FROM THE LIST ............................................ 84
RADIO OPTIONS .................................. 85
RADIO BROADCAST DATA SYSTEM ............................................. 85
USING HD Radio™ TECHNOLOGY ..... 86
AVAILABLE HD Radio™ TECHNOLOGY ................................... 86
HD Radio™ TROUBLESHOOTING GUIDE ................................................. 87
HOW TO SUBSCRIBE TO SiriusXM Satellite Radio ..................................... 88
DISPLAYING THE RADIO ID ................ 90
IF THE SATELLITE RADIO TUNER MALFUNCTIONS ................................ 91
2. INTERNET RADIO ..... .................... 92
LISTENING TO INTERNET RADIO ...... 92
1. CD .................................................. 93
OVERVIEW ........................................... 93
2. USB MEMORY ............................... 96
OVERVIEW ........................................... 96
3. iPod ................................................ 99
OVERVIEW ........................................... 99
4. Bluetooth® AUDIO...................... 102
OVERVIEW.......................................... 102
REGISTERING/CONNECTING A
Bluetooth
® DEVICE ........................... 106
5. AUX ............................................. 107
OVERVIEW.......................................... 107
1. STEERING SWITCHES............... 109
1. AUDIO SETTINGS ...................... 111
AUDIO SETTINGS SCREEN............... 111
1. OPERATING INFORMATION ..... 113
RADIO.................................................. 113
CD PLAYER AND DISC ...................... 114
iPod ...................................................... 116
HIGH-RESOLUTION SOUND SOURCE ........................................... 118
FILE INFORMATION ........................... 118
TERMS ................................................ 121
ERROR MESSAGES ........................... 123
2RADIO OPERATION
3MEDIA OPERATION
4AUDIO/VISUAL REMOTE
CONTROLS
5SETUP
6TIPS FOR OPERATING
THE AUDIO/VISUAL SYSTEM
AUDIO/VISUAL SYSTEM
Page 73 of 292
73
1. BASIC OPERATION
AUDIO/VISUAL SYSTEM
3
MIRAI_Navi_USA_OM62029U_17CY
FunctionPage
Using the radio80, 92
Playing an audio CD or MP3/WMA/AAC disc93
Playing a USB memory96
Playing an iPod99
Playing a Bluetooth® device102
Using the AUX port107
Using the steering wheel switches109
Audio system settings111
Page 76 of 292
76
1. BASIC OPERATION
MIRAI_Navi_USA_OM62029U_17CY
1Open the console box.
2Open the cover and connect a device.
Turn on the power of the device if it is not
turned on.
1Display the audio control screen.
( P.74)
2Select “Sound” .
3Select the desired item to be set.
USB/AUX PORT
INFORMATION
●The AUX port only supports audio input.
● If a USB hub is plugged-in, two devices
can be connected at a time.
● Even if a USB hub is used to connect
more than two USB devices, only the
first two connected devices will be rec-
ognized.
SOUND SETTINGS
No.FunctionPage
Select to set the treble/
mid/bass.77
Select to set the fader/bal-
ance.77
Select to set the Automat-
ic Sound Levelizer.78
Page 78 of 292
78
1. BASIC OPERATION
MIRAI_Navi_USA_OM62029U_17CY
1Select “Automatic Sound Levelizer” .
2Select to set the Automatic Sound Lev-
elizer on/off.
1Press the “MENU” button.
2Select “Setup”.
3Select “Audio” .
4Select “Common” .
5Select “Screen Format” .
6Select the desired item to be adjusted.
AUTOMATIC SOUND
LEVELIZER (ASL)
The system adjusts to the optimum vol-
ume and tone quality according to ve-
hicle speed to compensate for
increased road noise, wind noise, or
other noises while driving.AUDIO SCREEN
ADJUSTMENT
SCREEN FORMAT SETTINGS
The screen format can be selected for
USB video.
No.Function
Select to display a 4 : 3 screen, with
either side in black.
Select to enlarge the image horizon-
tally and vertica lly to full screen.
Select to enlarge the image by the
same ratio horizontally and vertical-
ly.
Page 96 of 292
96
3. MEDIA OPERATION
MIRAI_Navi_USA_OM62029U_17CY
2. USB MEMORY
■CONTROL SCREEN
■CONTROL PANEL
OVERVIEW
The USB memory operation screen can be reached by the following methods:
P.74
Connect a USB memory
P.76
USB video
USB audio
Page 98 of 292
98
3. MEDIA OPERATION
MIRAI_Navi_USA_OM62029U_17CY
WA R N I N G
●Do not operate the player’s controls or connect the USB memory while driving.
NOTICE
●Do not leave your portable player in the car. In particular, hi gh temperatures inside the
vehicle may damage the portable player.
● Do not push down on or apply unnecessary pressure to the portab le player while it is con-
nected as this may damage the portable player or its terminal.
● Do not insert foreign objects into the port as this may damage the portable player or its
terminal.
INFORMATION
● The system can only output t he sound while driving.
● If tag information exists, the file names will be changed to tr ack names.